316 Rolling resto and upgrades

User avatar
polov8
E21 Pro
Posts: 512
Joined: Wed May 29, 2013 6:30 pm
My E21(s): '83 Polaris silver 316
Location: Dronfield

Re: 316 Rolling resto and upgrades

Post by polov8 »

I still haven't fitted the suspension, I'm working on taking all the suspension off and blasting and painting it, and that means the car being off the road for a while, so I'll wait till the mrs is off work next week so I can use hers!

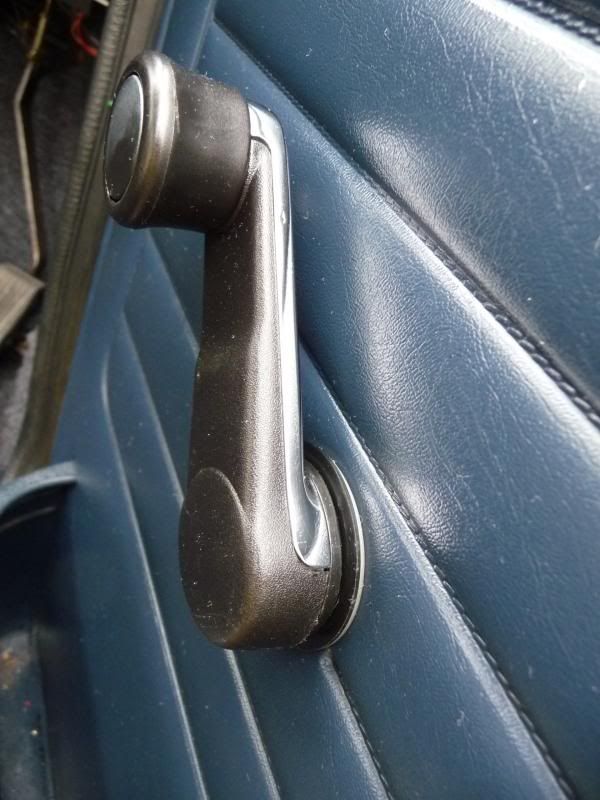
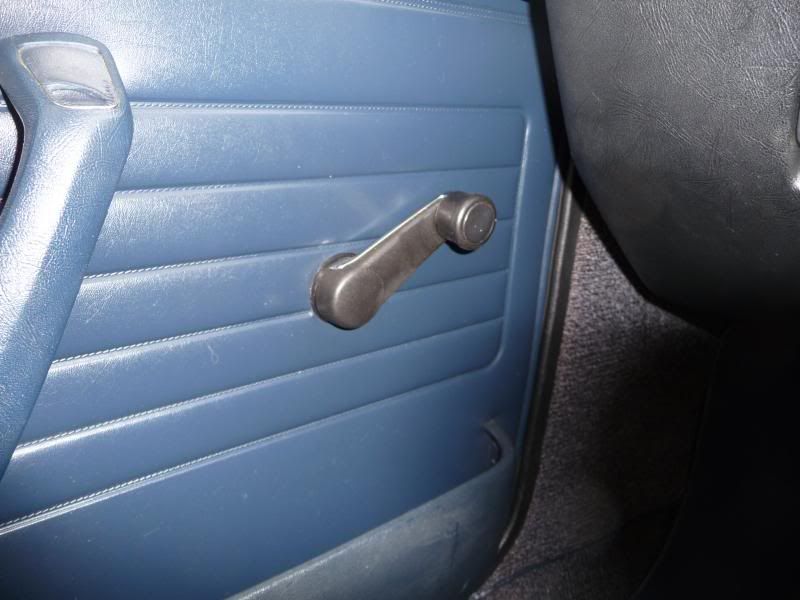
In the mean time I've solved a minor bug bear! The shitty window winders have been (wait for it) Winding me up for ages. They're just really cheap and nasty looking, the plastic is all scratched and the knob wobbles. Also the speakers don't make much bass, but the little they do makes the knob of the winder vibrate and it drives me mad!

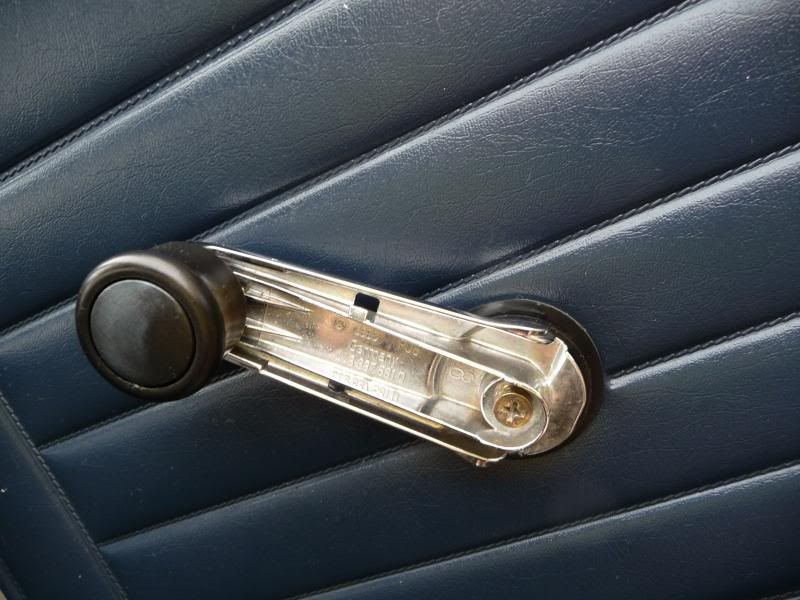
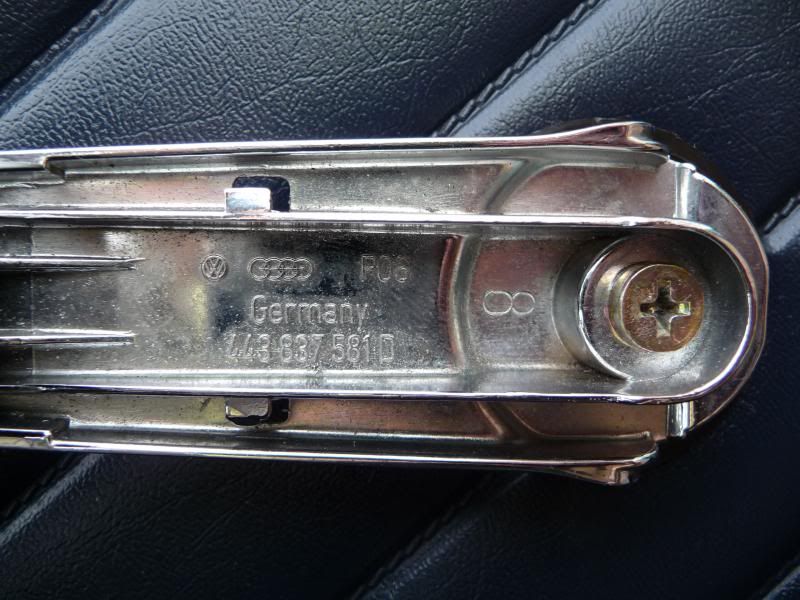
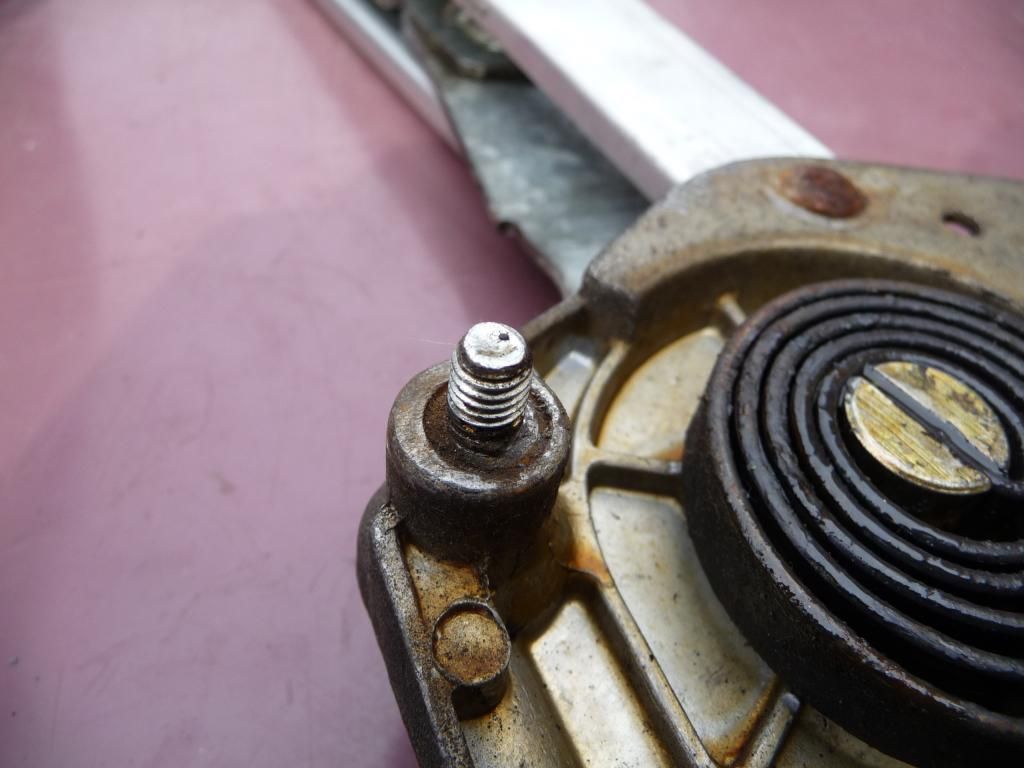
On my old Scirocco I upgraded the similarly crappy winders to some part chrome ones from a late 80's/early 90's Audi. They felt much nicer to use, and didn't vibe. I wondered if they might fit an E21 and lo and behold, they're the exact same 16 spline fitting! All I had to do was drill out the screw hole to clear the shank of the E21 securing screw and voila!

Image
Image
Image
Image

Surely this is the start of a revolution in how we wind our windows! :shake
Last edited by polov8 on Wed Aug 20, 2014 9:18 pm, edited 1 time in total.


Andy
User avatar
Jeroen
Site Admin
Posts: 29247
Joined: Tue Sep 14, 2004 12:23 pm
My E21(s): '81 323i Baur
Location: The Netherlands
Contact:

Re: 316 Rolling resto and upgrades

Post by Jeroen »

:whistle :P
Regards/groeten, Jeroen
mendipdriver
E21 starter
Posts: 31
Joined: Mon May 16, 2011 9:57 pm

Re: 316 Rolling resto and upgrades

Post by mendipdriver »

They look great - i'm off to ebay!!
mendipdriver
E21 starter
Posts: 31
Joined: Mon May 16, 2011 9:57 pm

Re: 316 Rolling resto and upgrades

Post by mendipdriver »

Rear window winders Audi 80 - £12.50 a pop - http://www.ebay.co.uk/sch/i.html?_odkw= ... 3f328138d3
User avatar
polov8
E21 Pro
Posts: 512
Joined: Wed May 29, 2013 6:30 pm
My E21(s): '83 Polaris silver 316
Location: Dronfield

Re: 316 Rolling resto and upgrades

Post by polov8 »

It's been a good week, I dropped my wheels off for a total refurb (and yes they'll be staying gold, just a different shade!), The motorsport front air dam I got off Mark is at my mates paint shop, I picked up an adjustablised rear beam from Problemchild, and got back today from Brum having relieved Drilla of rear trailing arms, a front crossmember and a pair of front hubs. I'll be modding the rear beam to accept an E30 diff, the rear arms will be adapted to take alloy handbrake calipers from a mk4 golf, and everything is going to be blasted and Epoxy painted, before being reassembled with all new bushes, bolts, etc.

Then I can bolt on the coilovers, the totally refurbed front and rear suspension, and the new wheels and tyres, and this thing might start looking like a properly sorted E21!

Pics to follow as things happen! :boogie
Andy
User avatar
Jeroen
Site Admin
Posts: 29247
Joined: Tue Sep 14, 2004 12:23 pm
My E21(s): '81 323i Baur
Location: The Netherlands
Contact:

Re: 316 Rolling resto and upgrades

Post by Jeroen »

yes please :takepicture
Regards/groeten, Jeroen
User avatar
polov8
E21 Pro
Posts: 512
Joined: Wed May 29, 2013 6:30 pm
My E21(s): '83 Polaris silver 316
Location: Dronfield

Re: 316 Rolling resto and upgrades

Post by polov8 »

It's been a little while since I updated this, but I'm hoping this will be worth the wait!

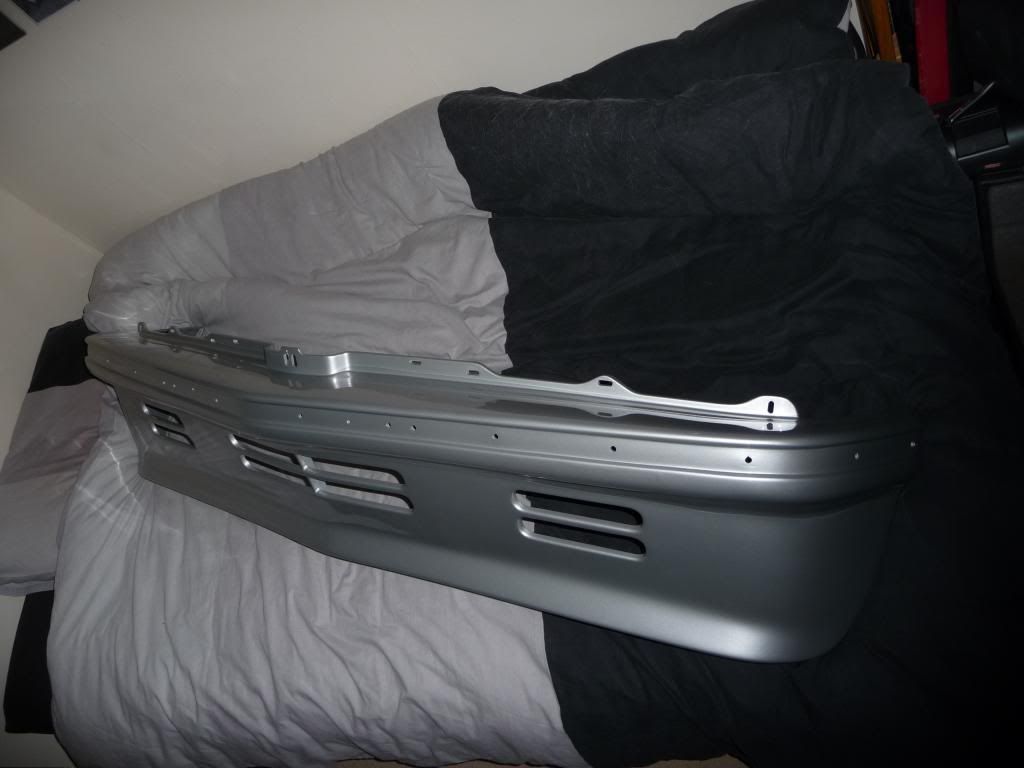
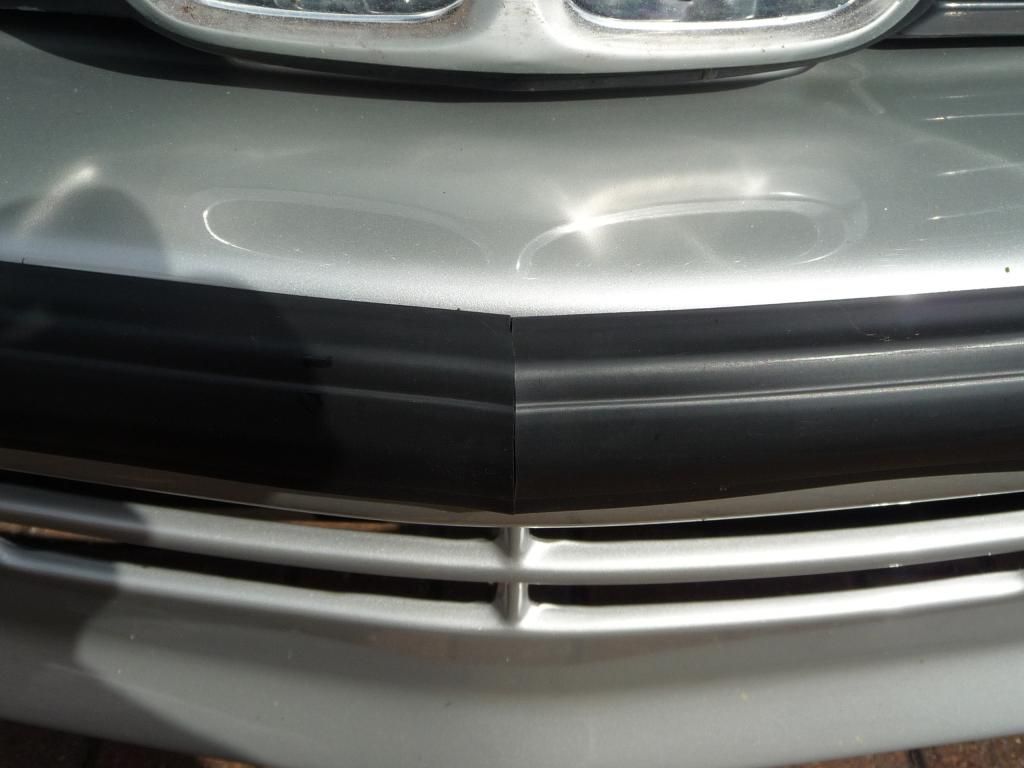
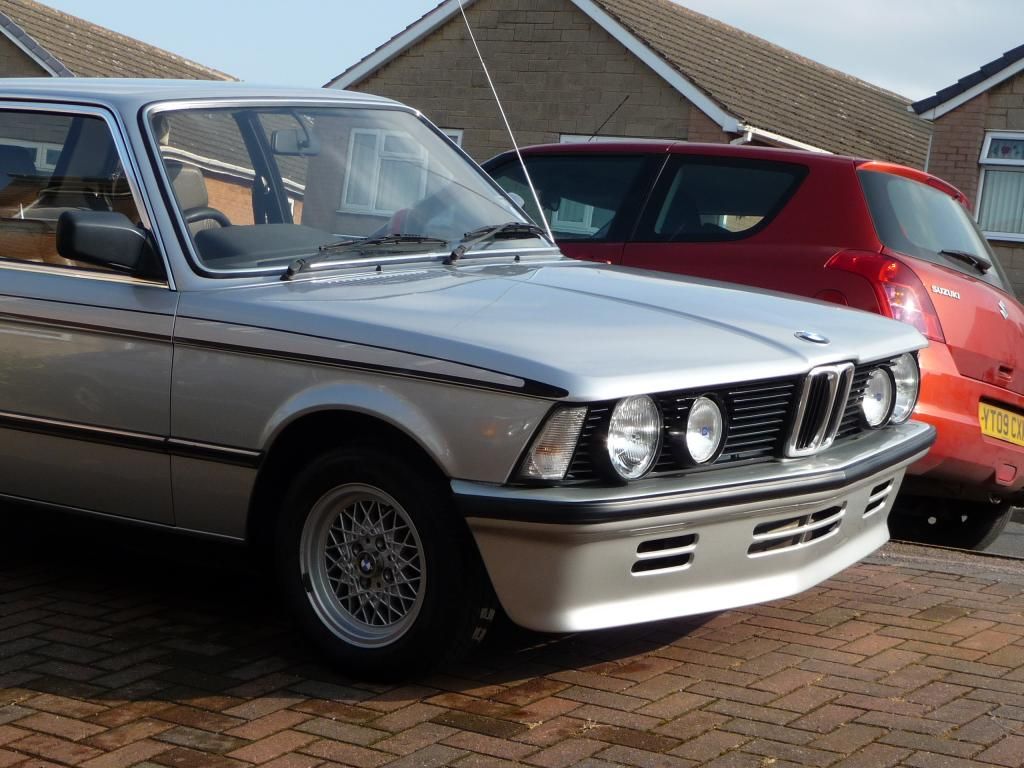
While still waiting for the return of my wheels, I got my genuine BMW Motorsport airdam back from my mate, who was painting it in return for some Scirocco parts (trades are more bank friendly I find). I got a new rubbing strip for it, but BMW kindly fail to tell you that the rubbing strip needs shortening by about 35mm to fit onto a motorsport airdam! There were two options, either cut off the moulded ends, remove 17ish mm per side, and then try and reattach the ends, but that would be a pain, and probably look like ass. Option 2 is cut it in the middle, and try to get a perfect mitred joint in the middle. I went with option 2.

Image

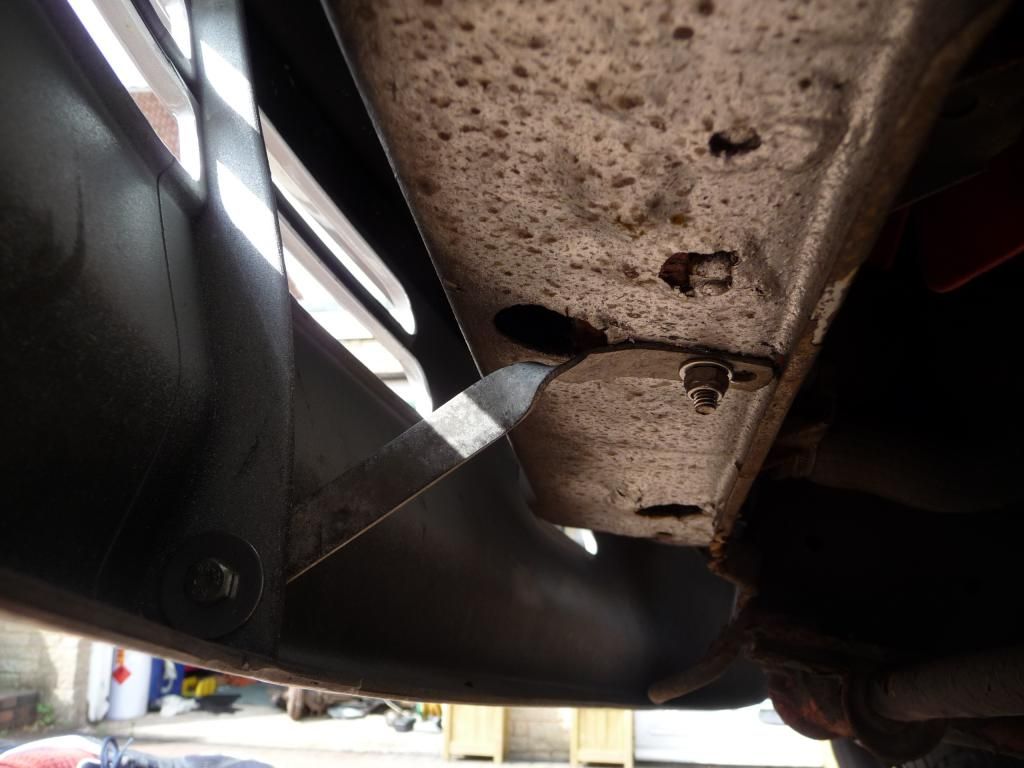
I'm afraid I was too busy wrestling with the strip, putting cavity wax on the back side of it, and all the fittings, and getting it on to the dam without scratching anything to get pics of the fitting process. Unlike the original bumper which uses clips, the strip on the air dam is held on with captive studs, which have a flat, square head that slots into the back of the strip, and which then pass through the airdam and have nuts on the back side. I got stainless penny washers and nuts to avoid corrosion, and sprayed them with wax too. Here's the fitted bumper, the lower bracket (which i think gets left off many of these judging by how saggy some of them look on a google image search), and the mitred joint.

Image
Image
Image
Image

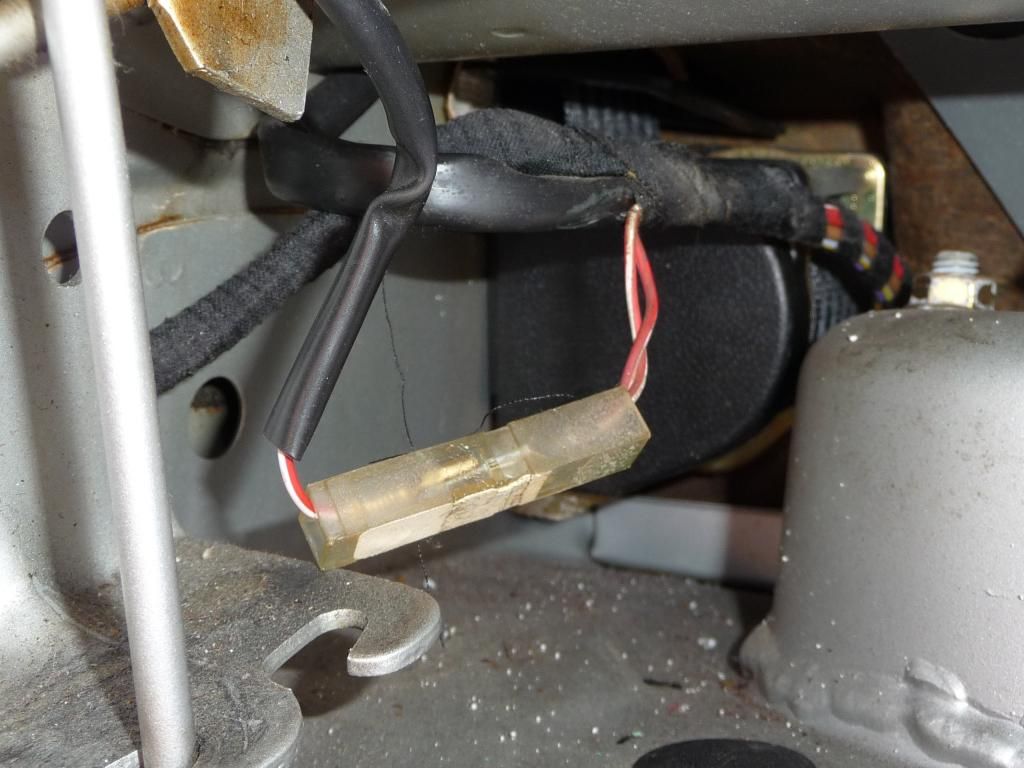
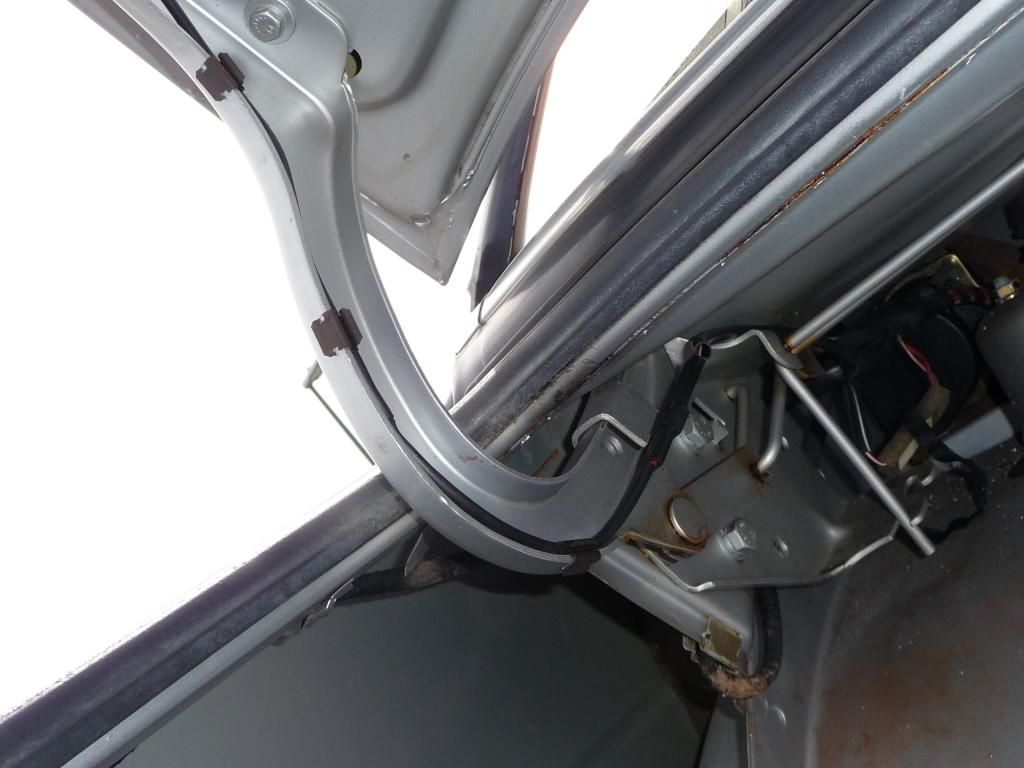
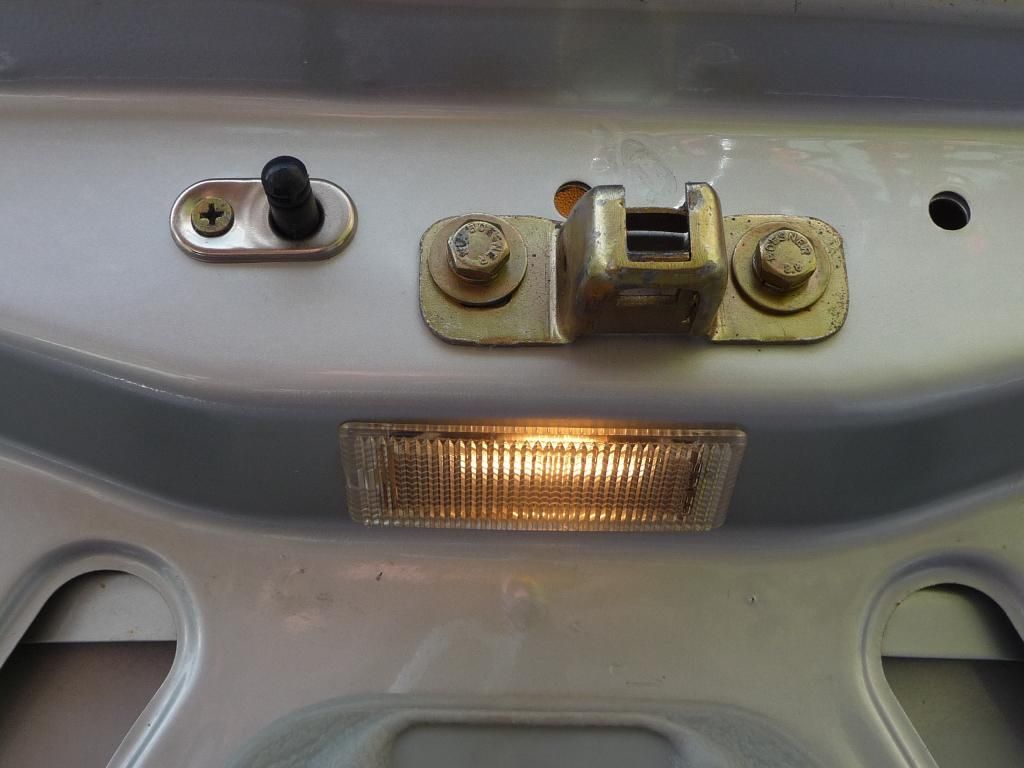
Next up, I discovered an E28 520i in my local breakers, and poured over it to find useful bits for my car. I was surprised how little of it was of any real use, but a couple of things did prove to be worth having, the first of which was the boot light. I know this is a very minor upgrade, but my car has the hole for the light, the hole for the switch, and when I explored, it even had the wiring in the boot with a plug ready to go! I got the light and switch, and the wiring, and clips that hold the wiring to the boot hinge. Fitted, it looks like this:

Image
Image
Image

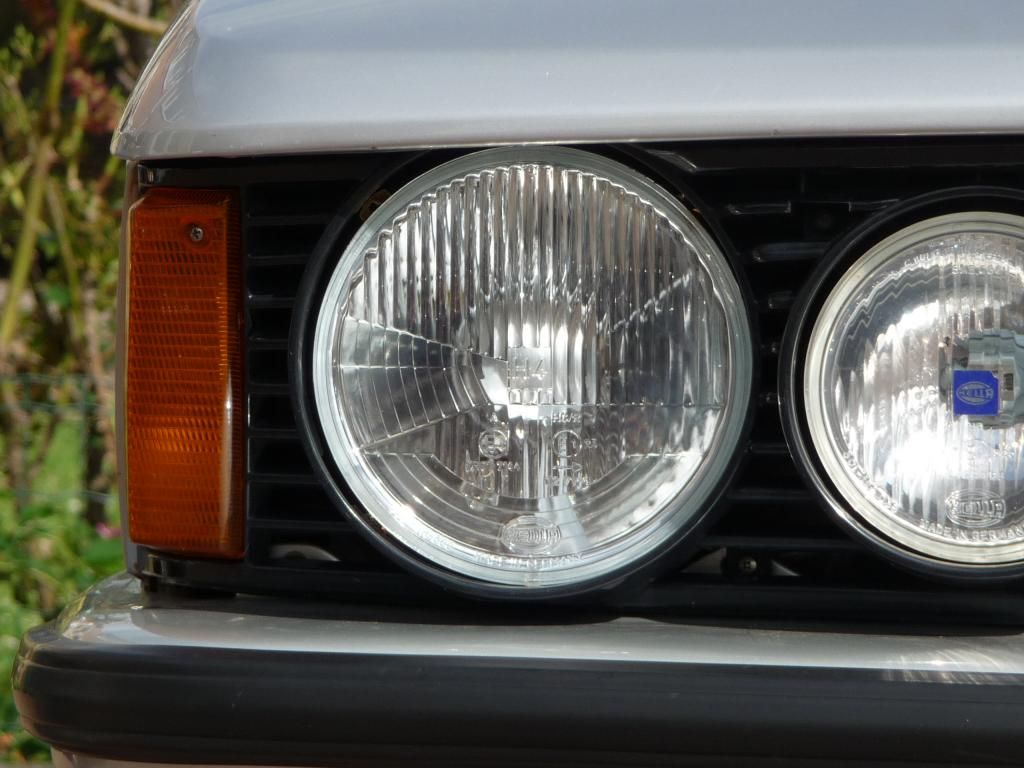
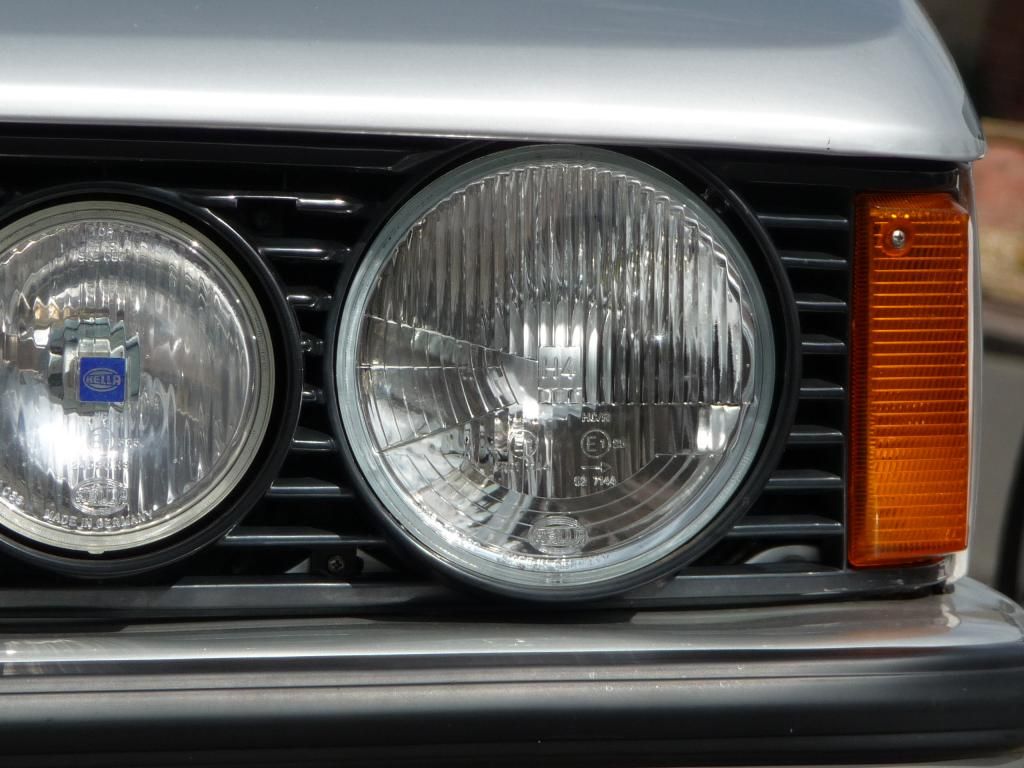
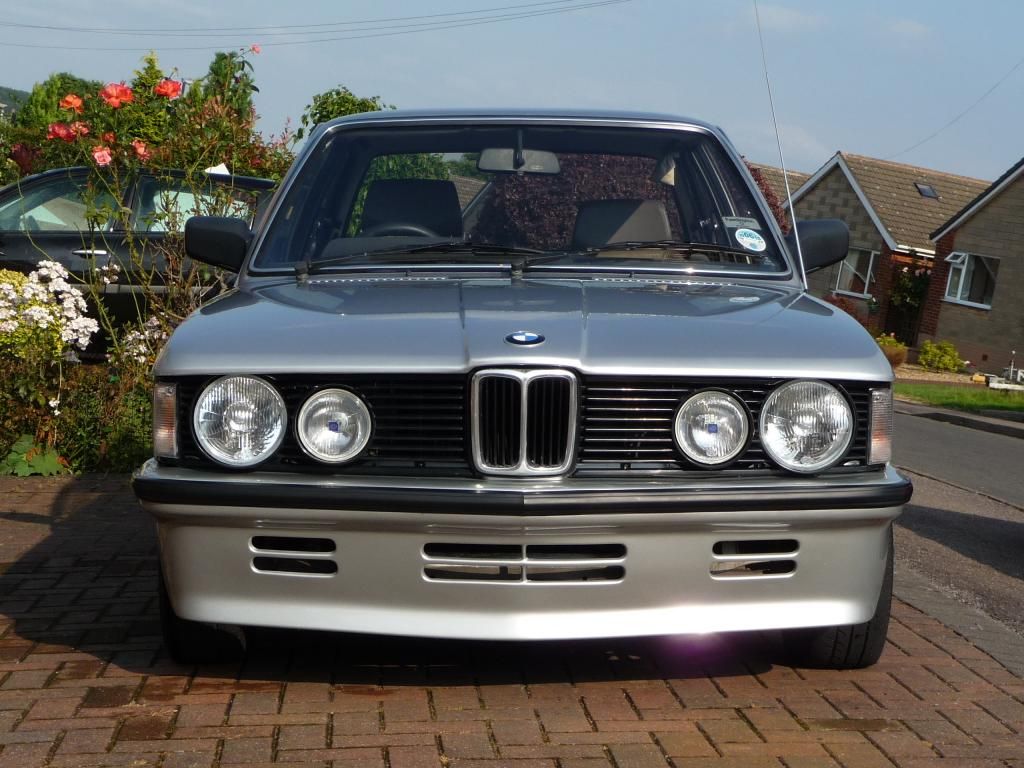
The second item(s) fron the E28 can wait, as the next things I upgraded were the crappy looking headlamps. Visitors to the classifieds will note I'm selling one good, and one crusty stock Bosch H4 lamp. The reason being, in the same yard was a mk1 golf Cabriolet which had a brand new pair of genuine Hella headlamps fitted prior to scrapping! I figured it can't be THAT hard to adapt them, so struck a deal with the yard that I'd buy them, try to fit them, and if I failed, I'd bring them back intact in return for yard credit (I'm there often, it's as good as money back! )

again, I failed to take pics of the process, but it basically went as follows:

Remove adjuster threads from old lamps and clean up and fit to new lamps.
Mark and cut new mounting points in the original E21 mounting frame as the ones on the new lamps are in a slightly different place.
Fit lamps to mounting brackets and fit on the car.
Add extra wiring for the sidelight bulb which is seperate on the Hella lamps, and swap the plug on the main lamp wiring

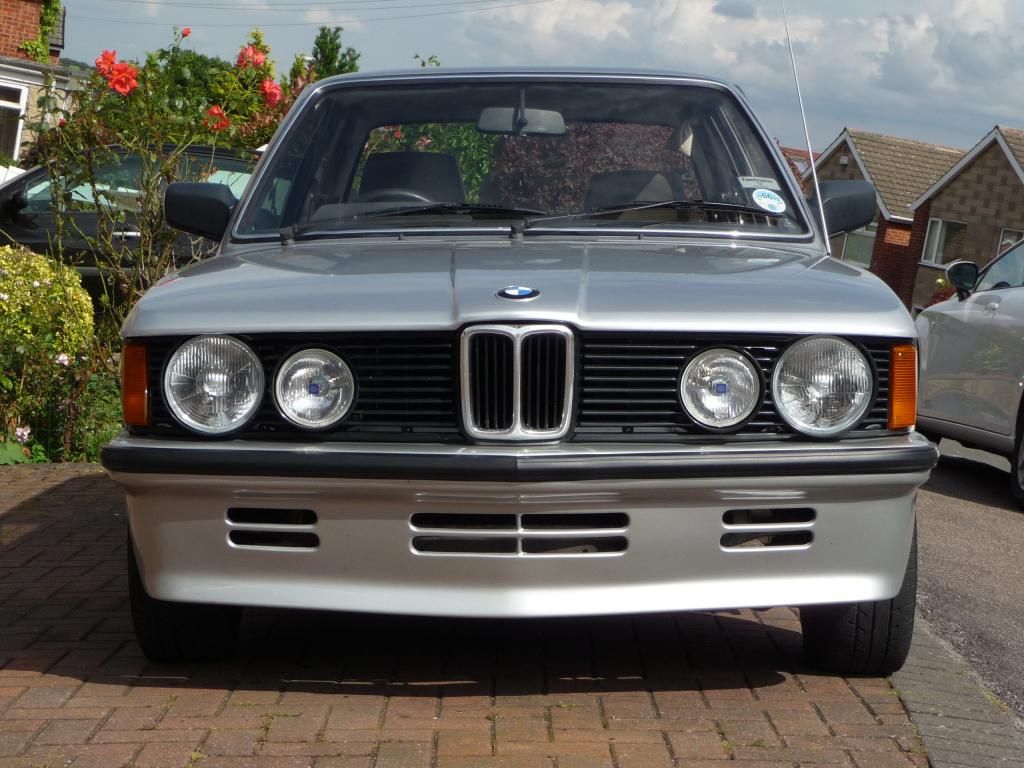
Fitted, this is the end result:

Image
Image
Image

They work a treat, and look so much fresher than the manky old ones.

Next up, clear indicators! Came from our friends at Walloth & nesch, great kit with all wiring, seals, bulbs, fitted perfectly, no problems at all, Really smartens up the front end.

Image
Image

More to follow very shortly.......................... :boogie
Andy
User avatar
Jeroen
Site Admin
Posts: 29247
Joined: Tue Sep 14, 2004 12:23 pm
My E21(s): '81 323i Baur
Location: The Netherlands
Contact:

Re: 316 Rolling resto and upgrades

Post by Jeroen »

Nice upgrades, and beautiful attention to detail with the Motorsport air dam! 10 bonus points sir!
Regards/groeten, Jeroen
User avatar
polov8
E21 Pro
Posts: 512
Joined: Wed May 29, 2013 6:30 pm
My E21(s): '83 Polaris silver 316
Location: Dronfield

Re: 316 Rolling resto and upgrades

Post by polov8 »

Thanks Jeroen, how are my points redeemable? :wink:

Ok, next thing I did was fit item(s) 2 from the E28. Now, having revolutionised my window cranking with the Audi winders, you may be forgiven for thinking that was that, and I was a happy camper, but I'll be honest, I find it really odd that a small premium car, which came as standard with electric mirrors has no electric windows, not even as an option on the top of the range models. I accept that there is a (small) weight penalty, and that they may well be less reliable, but given this is a system with a switch and a motor, I'm willing to risk it, and if I feel the need to save the weight penalty, I'll use the toilet before I drive anywhere!

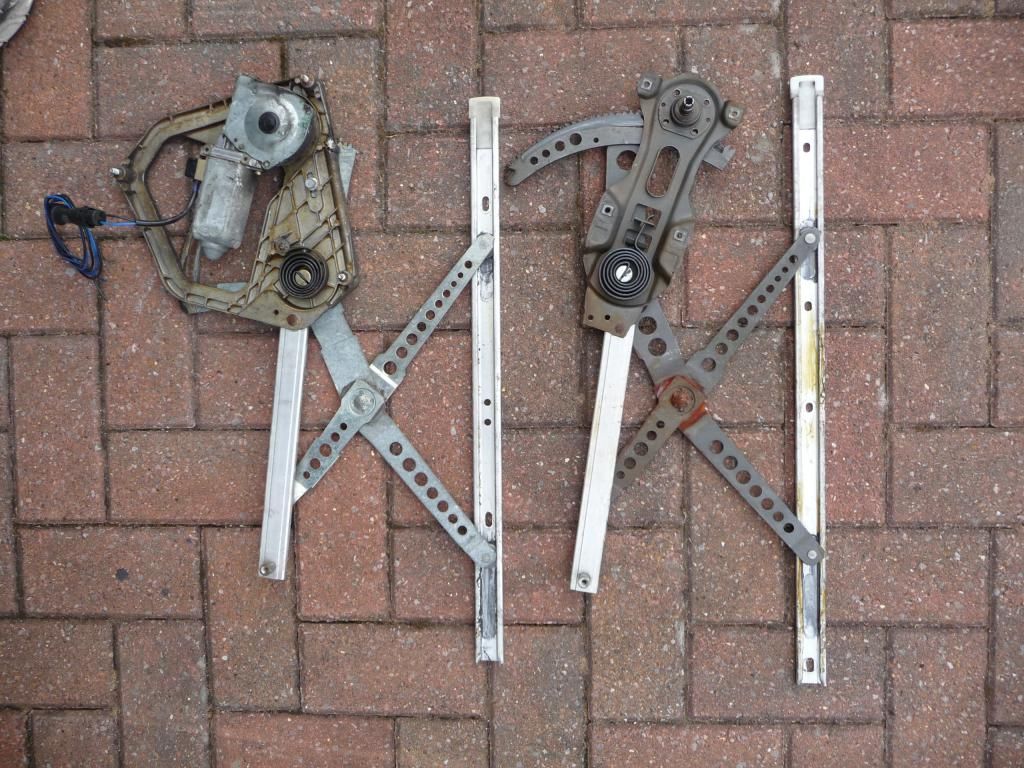
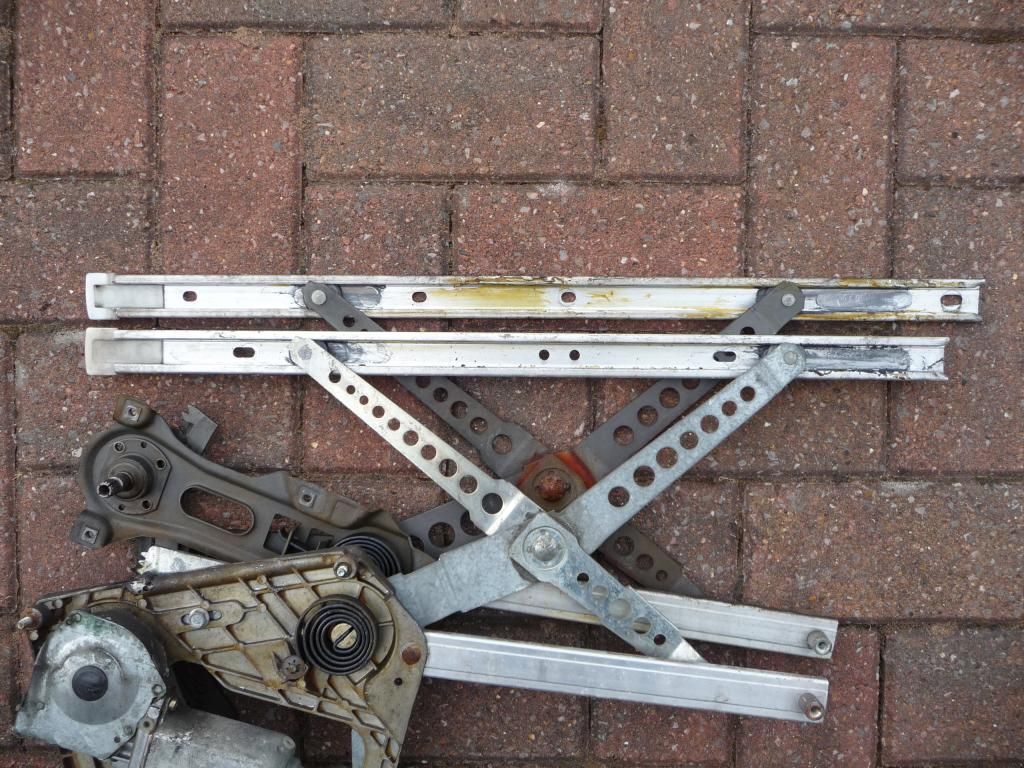
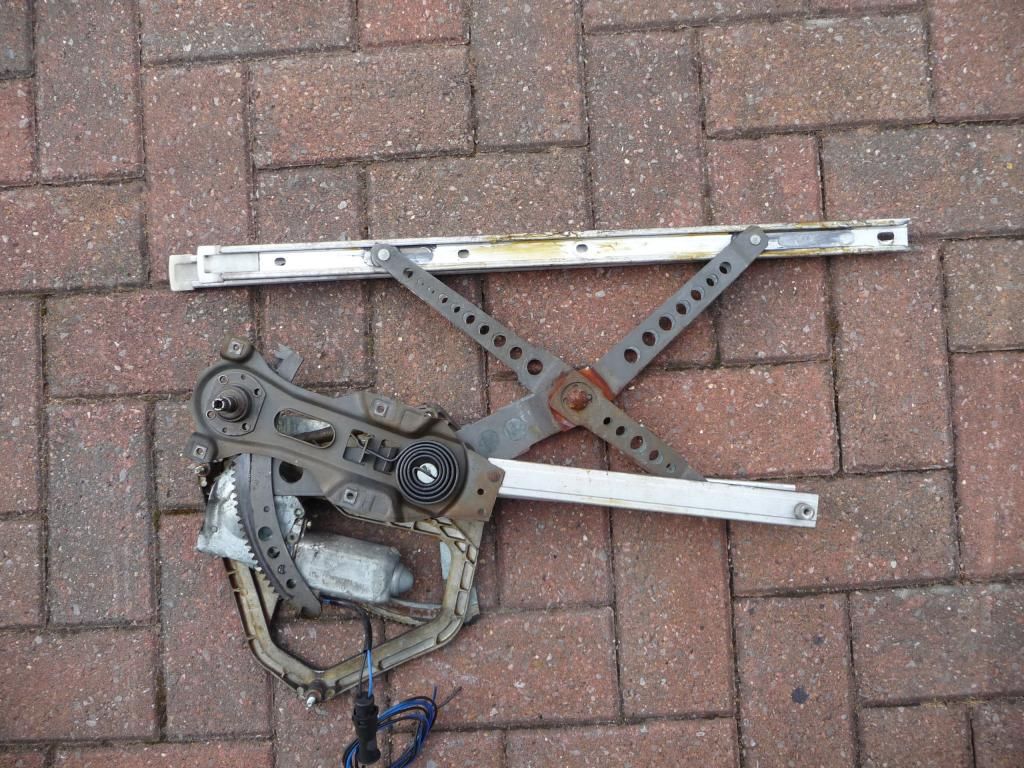
So, with that, I salvaged the window mechanisms, from the E28 and set to stripping my door. I took out the manual mechanism to do a comparison with the elctric ones, and the results were very favorable! As you can see from the following pics, the mechanism is all but identical, with the only significant differences being the length and hole layout of the top rail that bolts to the glass, and obviously the area around the motor. The lengths of the various arms of the scissor mechanism, and the shorter botom rail are the same! 8)

Image
Image

This is one mech on top of the other
Image

So, first things first, I swapped the top rail over, which involved bending out the tabs at the back end of the rail pulling it off the scissor rollers, and putting the replacement on, and re bending the tabs
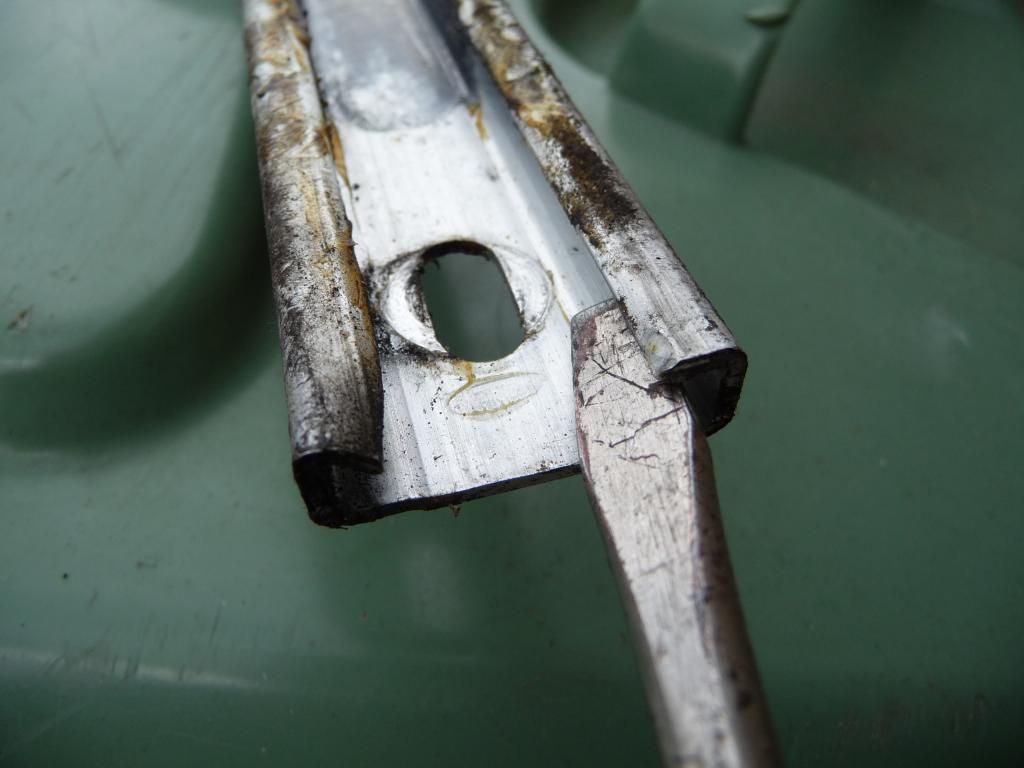
Image

Next I used my jump starter pack to power the mechanism into it's most compact shape in order to fit into the door easily
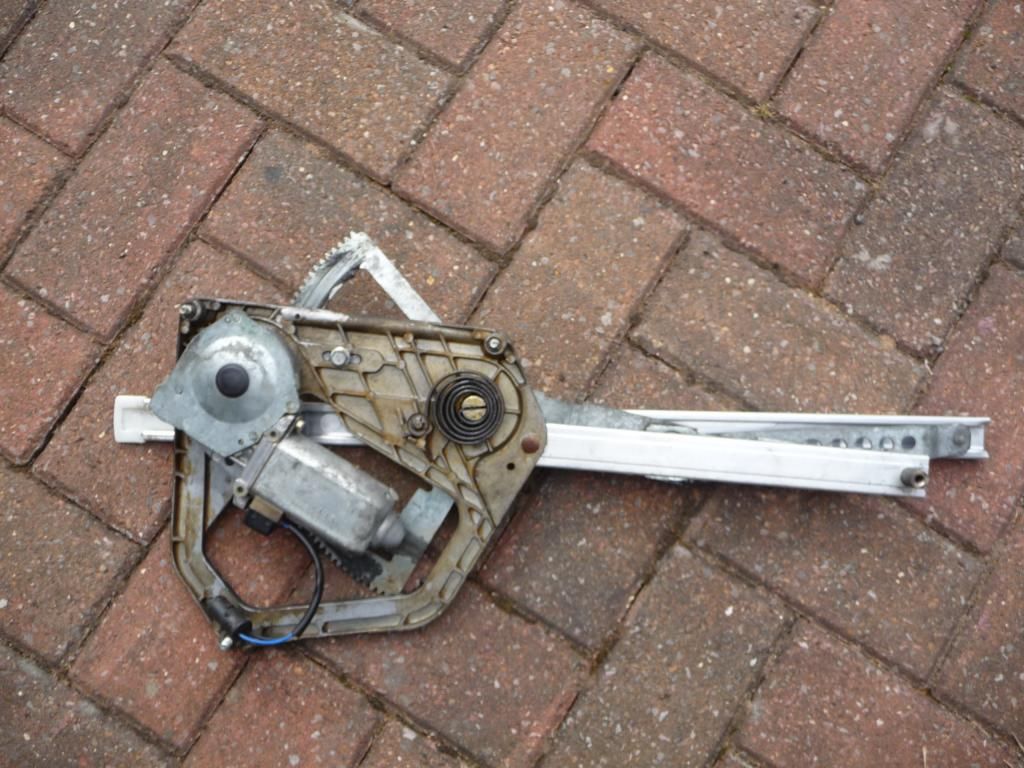
Image

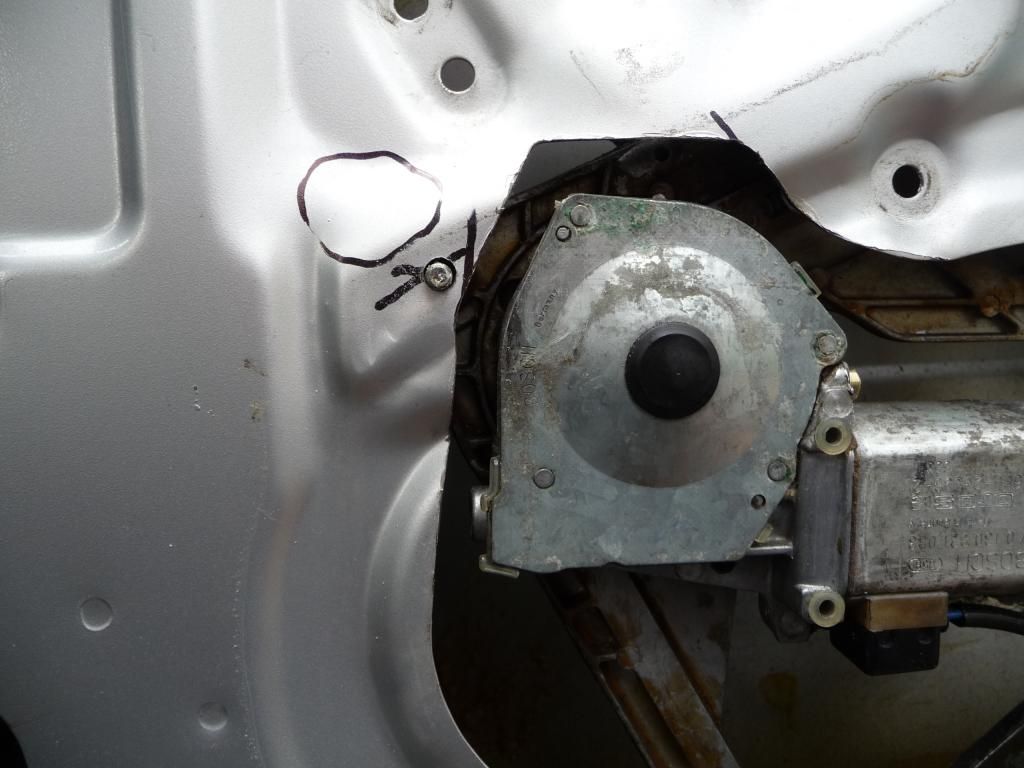
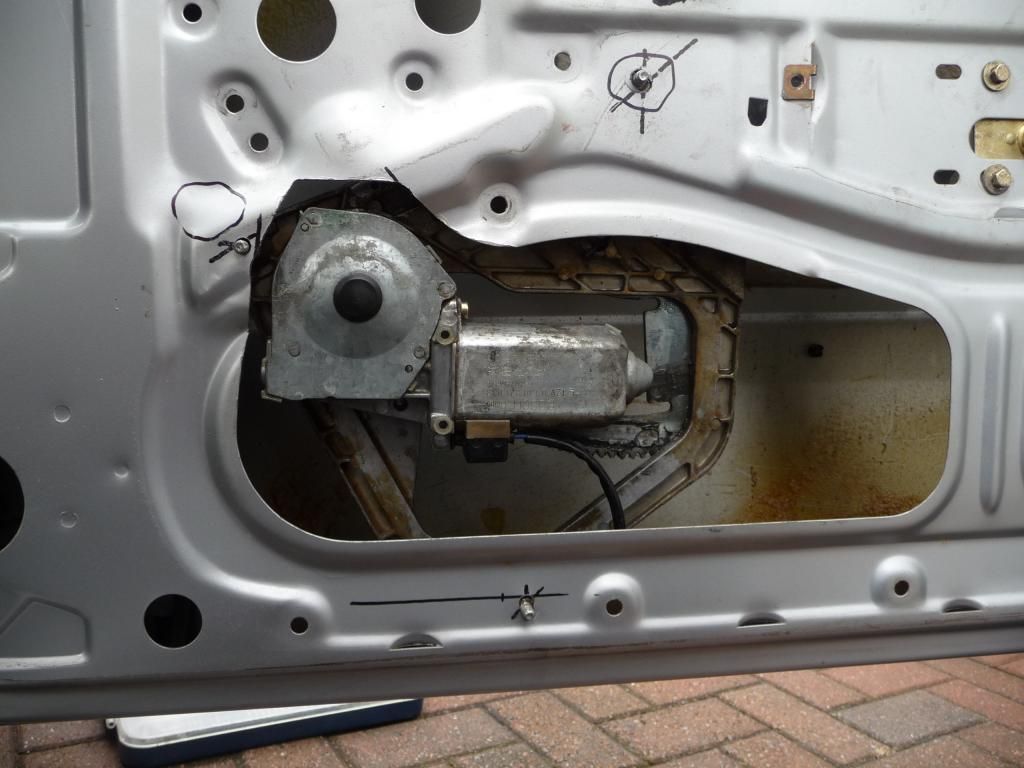
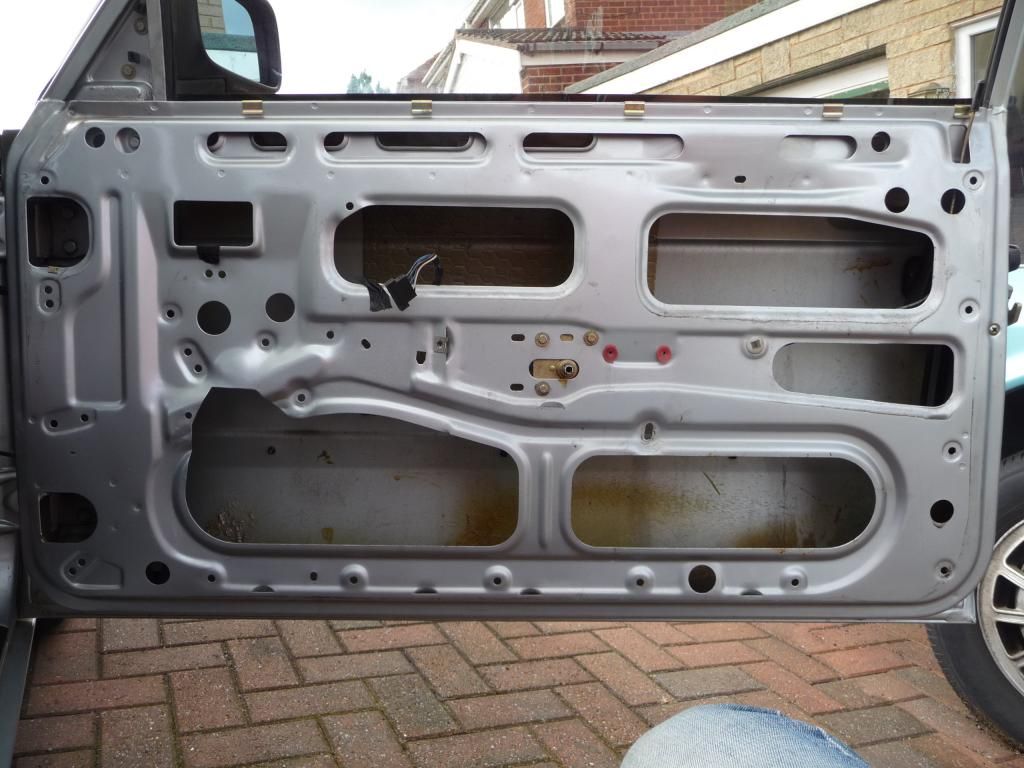
With it in the door I powered it out again, bolted the rail to the glass, and put the bolt in at the back end of the lower rail, which lined up perfectly. at this stage I powered the window to it's highest position and began marking the door for the three mounting holes needed for the motor mounting frame. I also decided that the mechanism would be under less stress and there'd be more glass clearance if the motor sat further out, which meant trimming the inner door panel. I'll admit I didn't want to do this at first, but on further inspection, nothing would be affected, and the original mechanism could be put back without detriment, so I marked carefuly, and cut out a section.
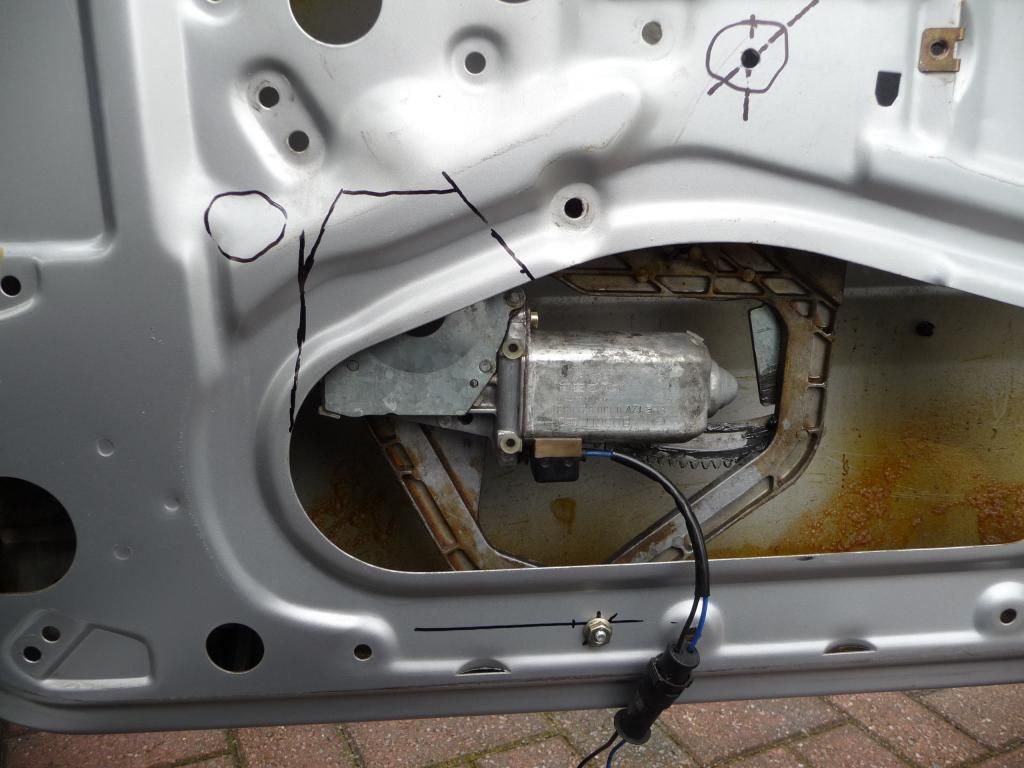
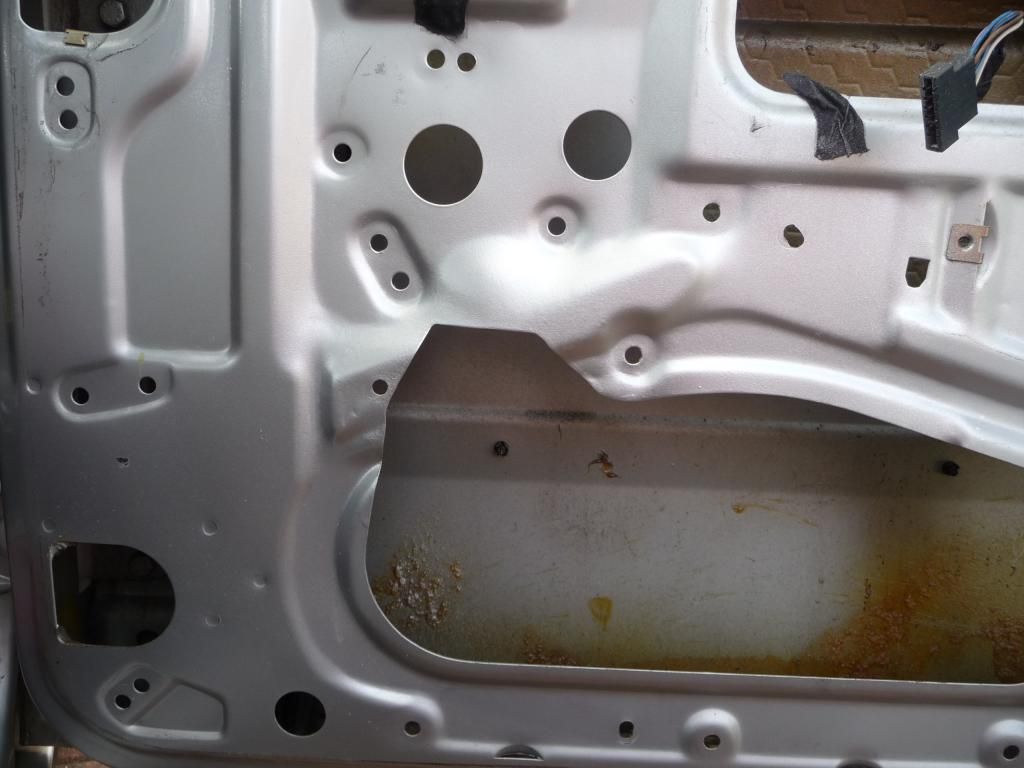
Image
Image
Image
Image

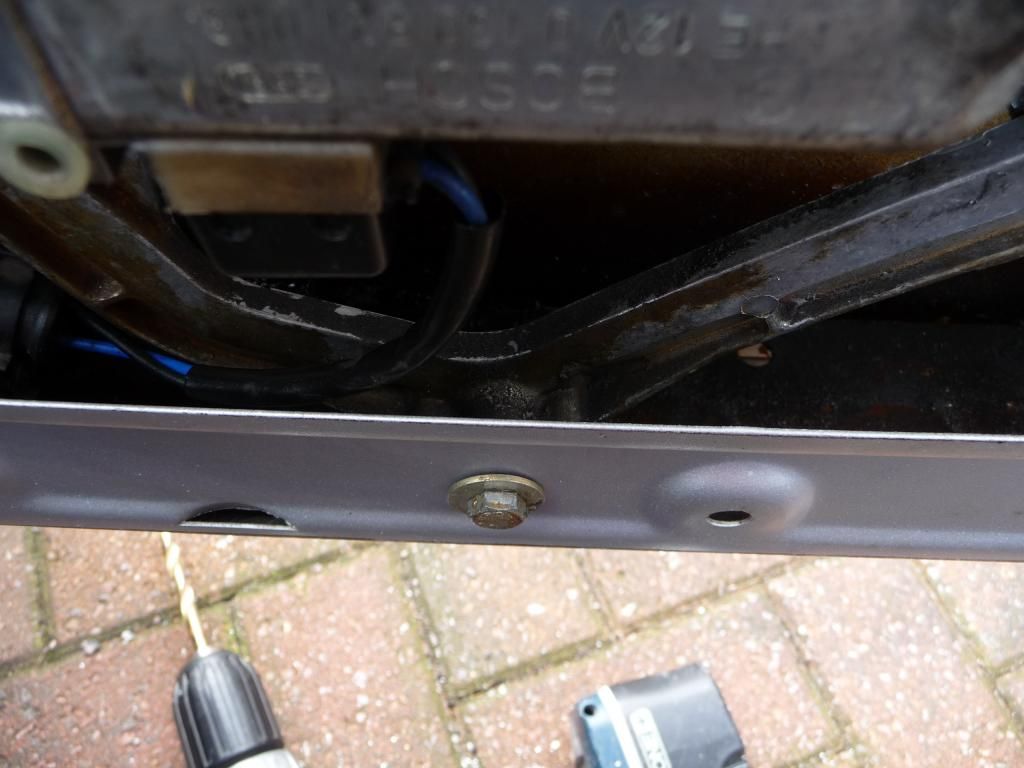
You can also see in those pics the holes for the other three mounting bolts. These were bolts pressed into the alloy mounting frame from behind, but I decided they stuck out a little too far and would distort the door card, so knocked them out and put nuts in their place, so I could use the bolts to go through the other way into them. It's worth leaving them as studs initially, as it helps the marking out for the holes. The holes in the door ended up getting slotted slightly, but not beyond the edge of the washers, so are still plenty strong.
Image

I cleaned up all the holes, and the cut edges, and gave it all a paint job.
Image
Image

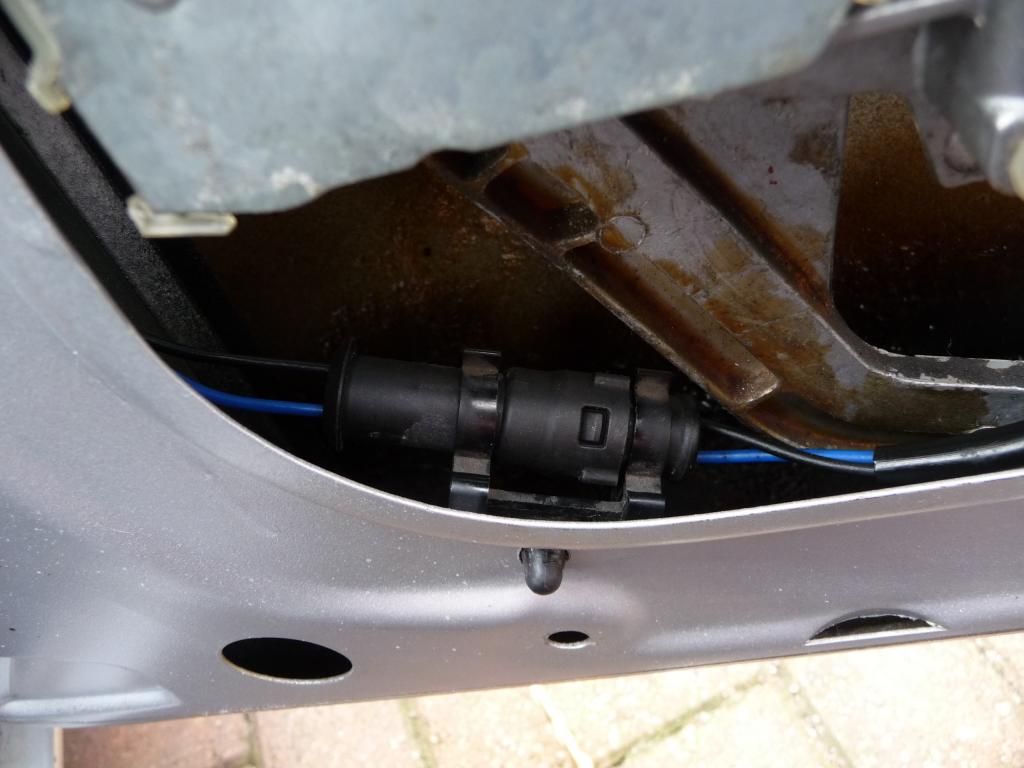
Whilst that dried, I took the time to strip the mechanism down a little, and clean off all the old grease, and apply some fresh stuff. I also sprayed some Bilt Hamber Dynax S50 cavity wax on various things inside the door. Once all dried, greased and waxed the whole thing went in the door, and was bolted up. I saved the plug clips from the inside of the E28 doors so it all looks as it should in there.
Image
Image

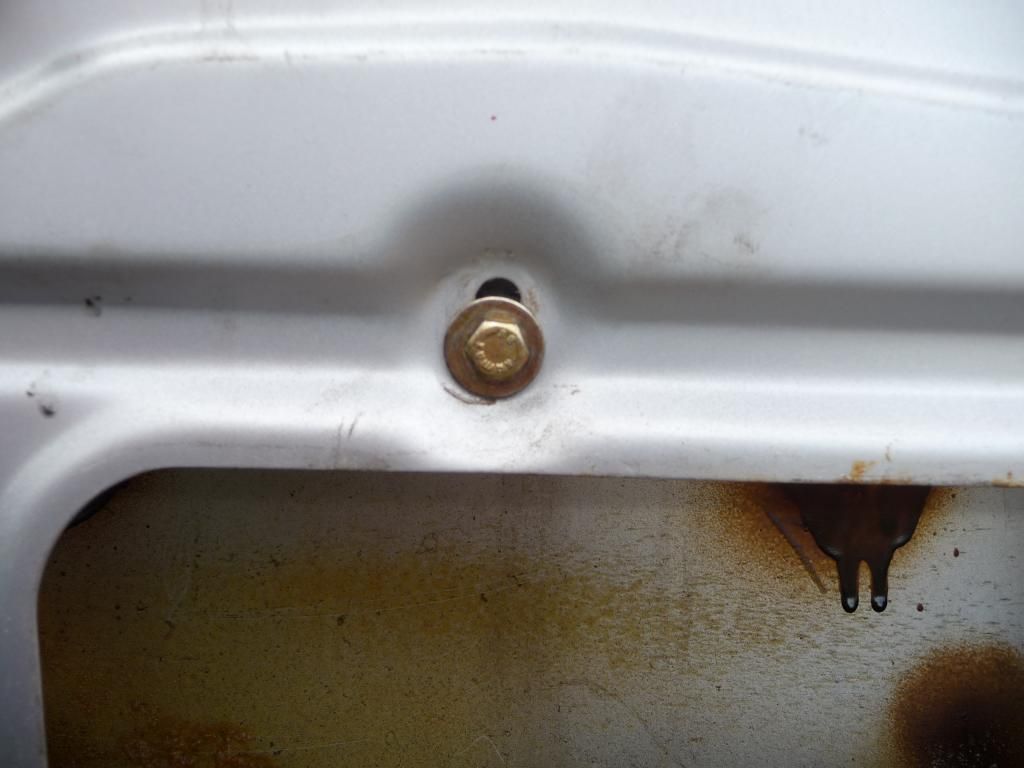
The bottom rail bolt goes into a slotted hole on the door (the original hole hole from the old mechanism) and this is where the angle of the glass can be adjusted.
Image

So, everything set, I hooked it up to my jump starter pack to see if it all still works ok...... Click for vids!

Image
Image

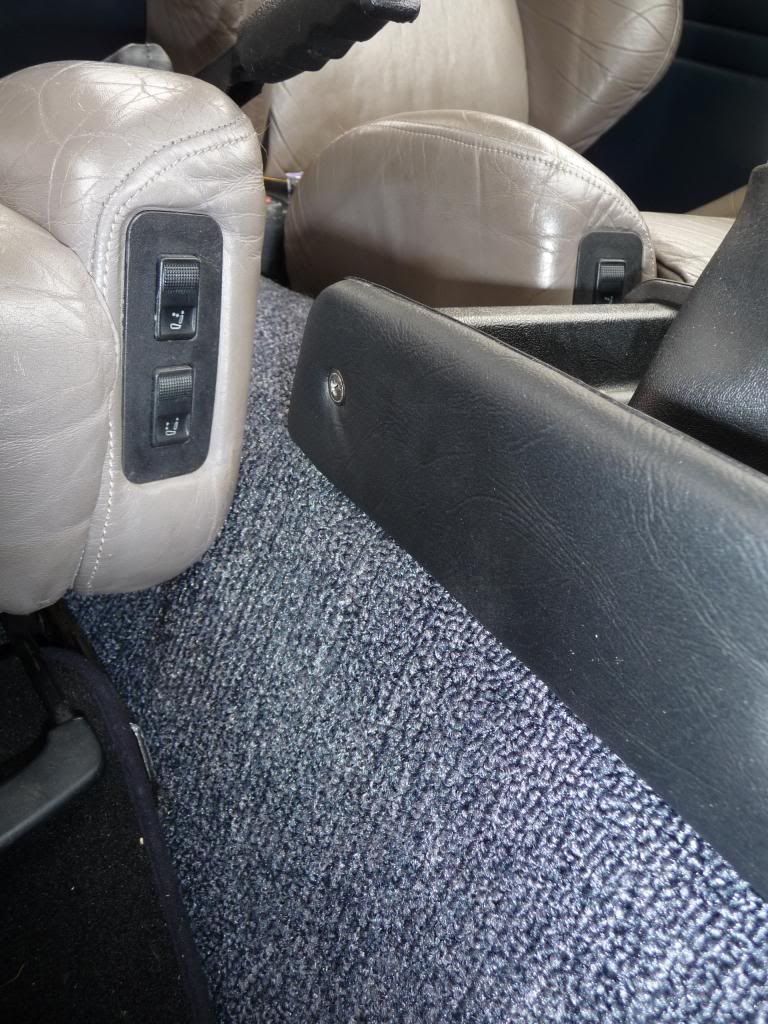
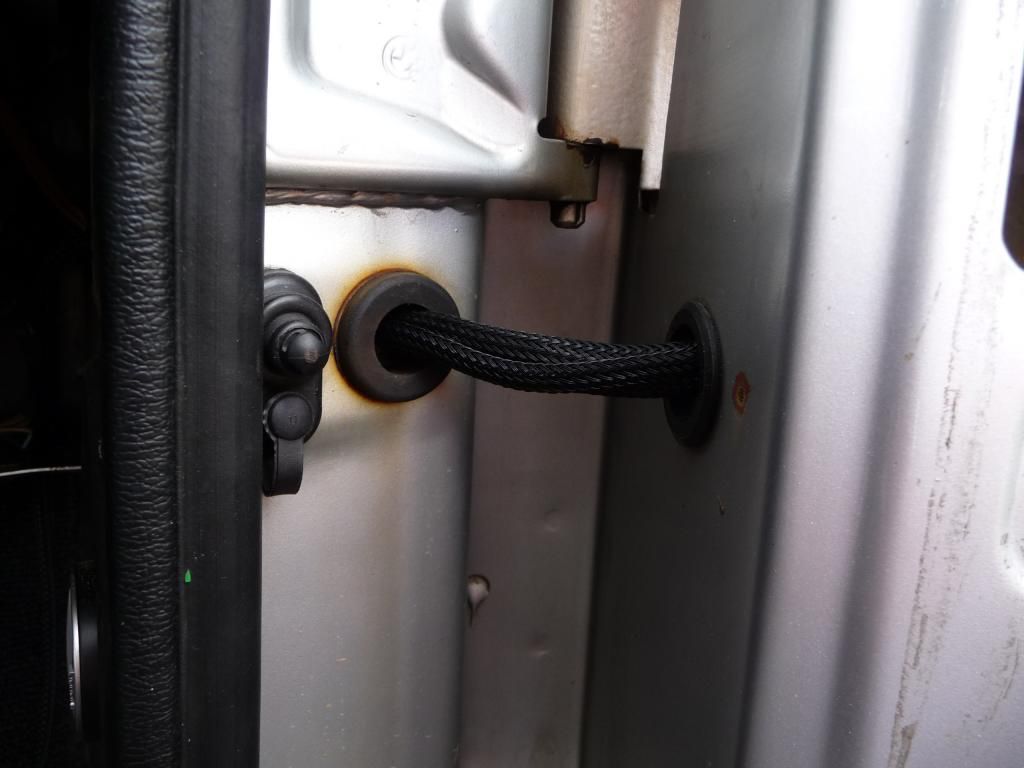
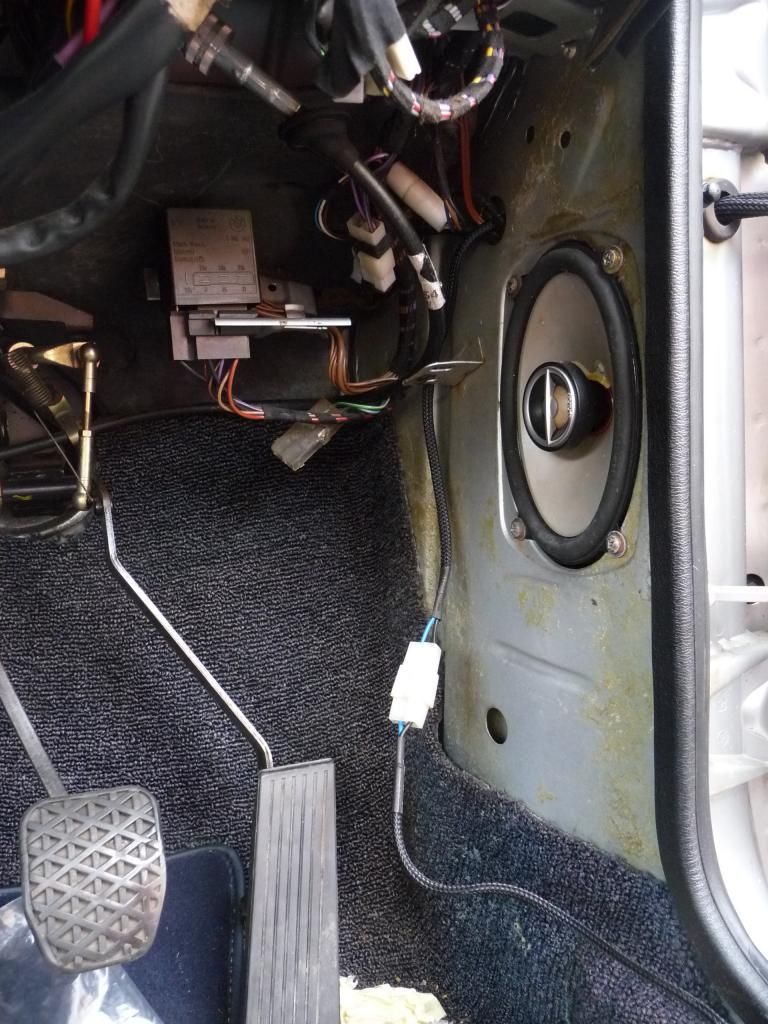
As you may remember my electric seats had a well placed surplus switch, so seeing as the plug was doing nothing under the seat, they're all fused already, and whilst I salvaged the E28 switches, I couldn't find a place for them (yet) so figured I'd make up looms for each side to just connect to them. It sounds an odd place, but it's easy to reach. The conector represents the limit of the E28 door loom wiring I salvaged, but also is where i might hook in a one touch module so I just have to hit the button for them to either open all the way or close.
Image
Image
Image

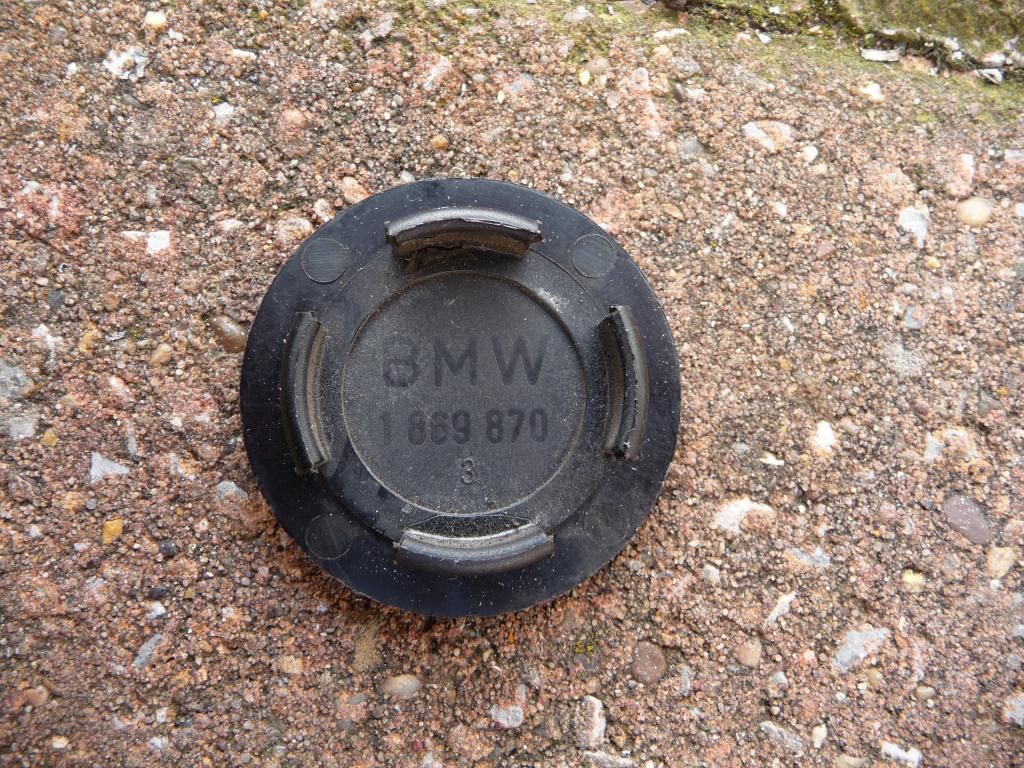
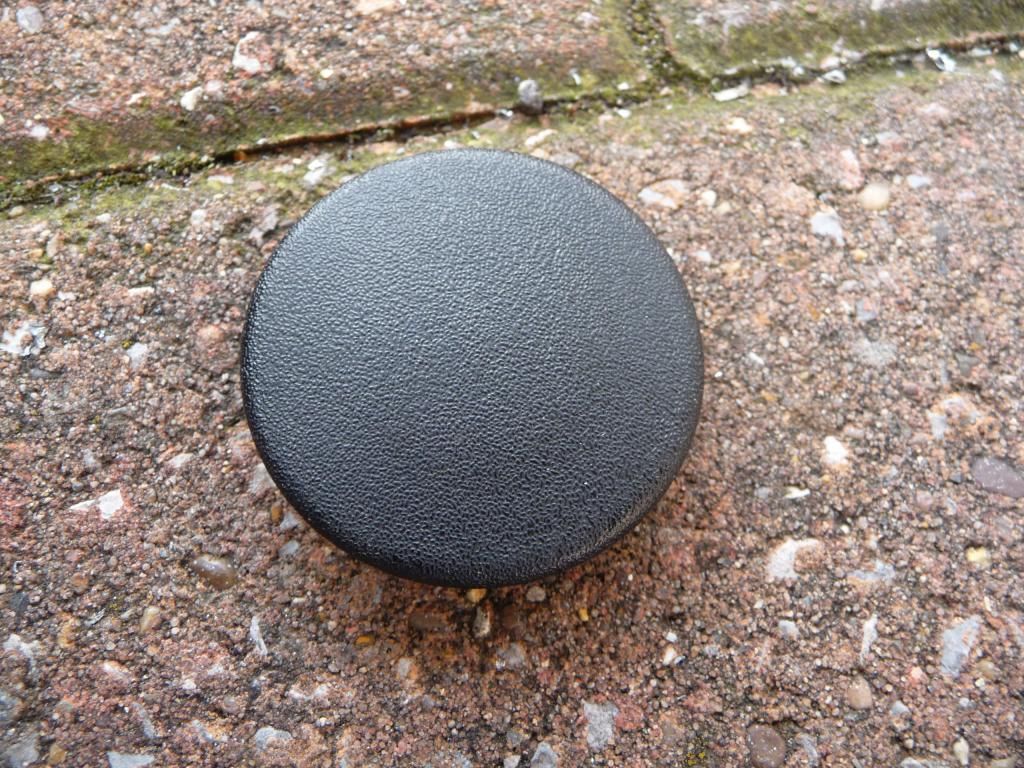
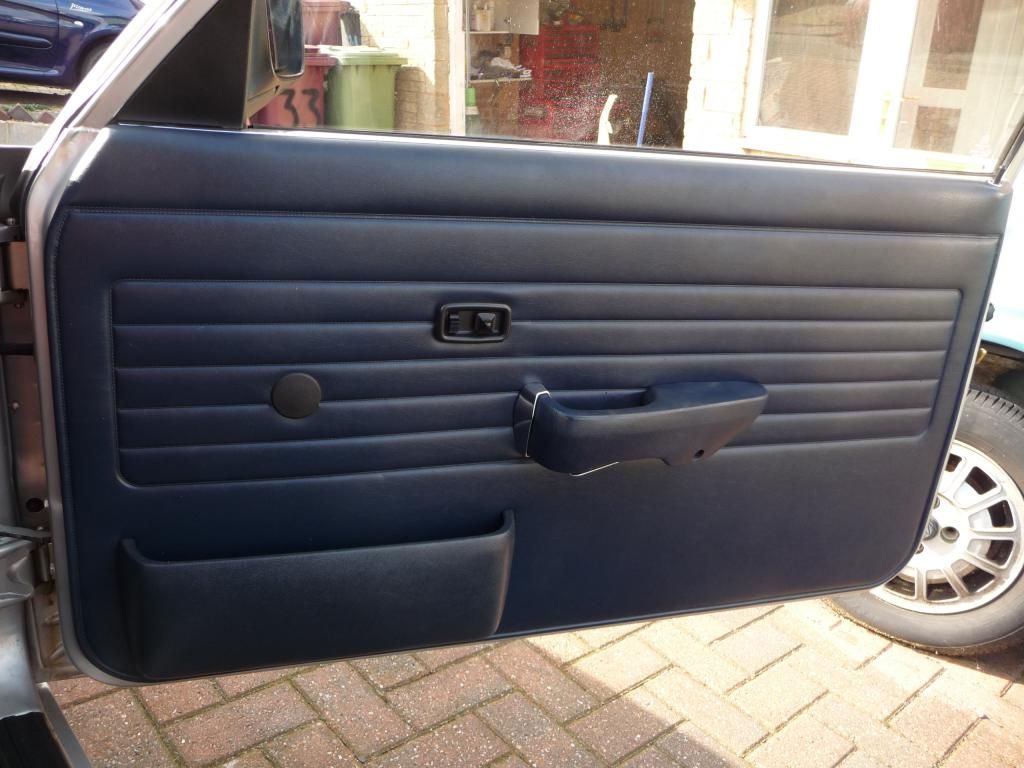
As for the hole in the door card, I saved the E28 door blanks, so fitted those, and then it was all done!
Image
Image
Image

Next up, the return of the wheels, and coilover fitment............ :banana
Andy
User avatar
uwbuurman
E21 VIP
E21 VIP
Posts: 18664
Joined: Fri Jun 12, 2009 4:49 pm
My E21(s): 1978 type 1 323i 5speed dogleg Polaris
Location: Ljouwert

Re: 316 Rolling resto and upgrades

Post by uwbuurman »

Nice works! 10 bonus points from my side on the power windows! (You can trade them for a beer at the sharknosemeeting 2015)
It's the man next door!

1978 BMW 323i
1980 BMW 528i maior restitutio
1987 BMW 325iA cabriolet
2006 BMW 320d touring High Executive
2015 BMW 320dA touring xDrive High Executive ///Msport
User avatar
polov8
E21 Pro
Posts: 512
Joined: Wed May 29, 2013 6:30 pm
My E21(s): '83 Polaris silver 316
Location: Dronfield

Re: 316 Rolling resto and upgrades

Post by polov8 »

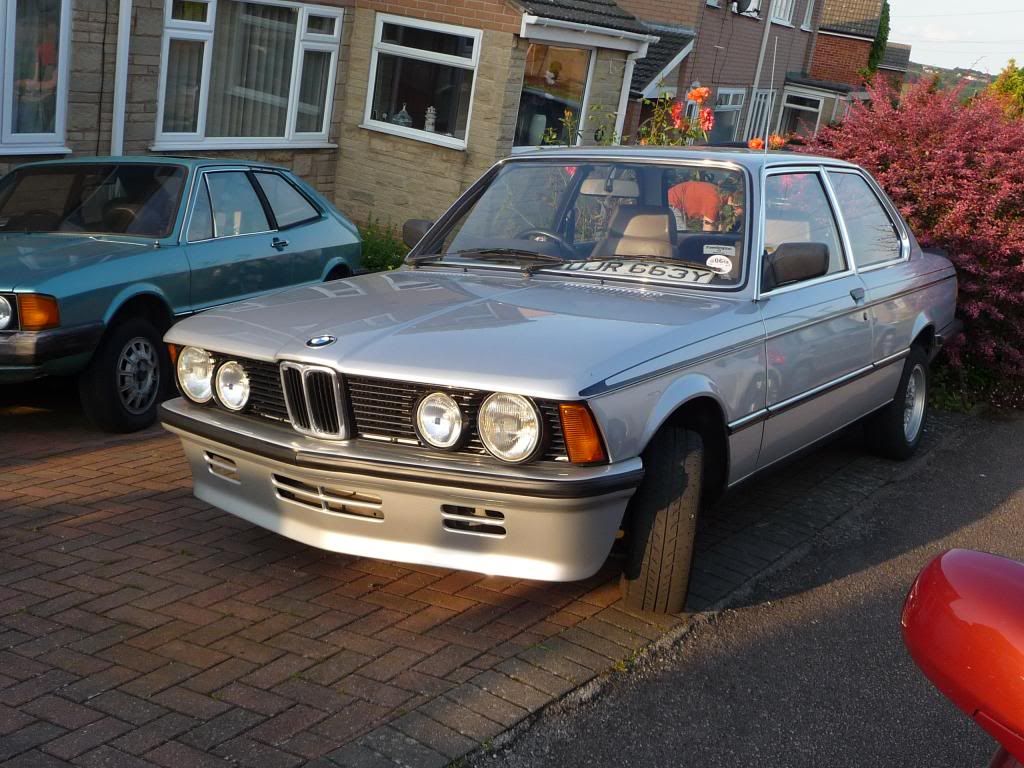
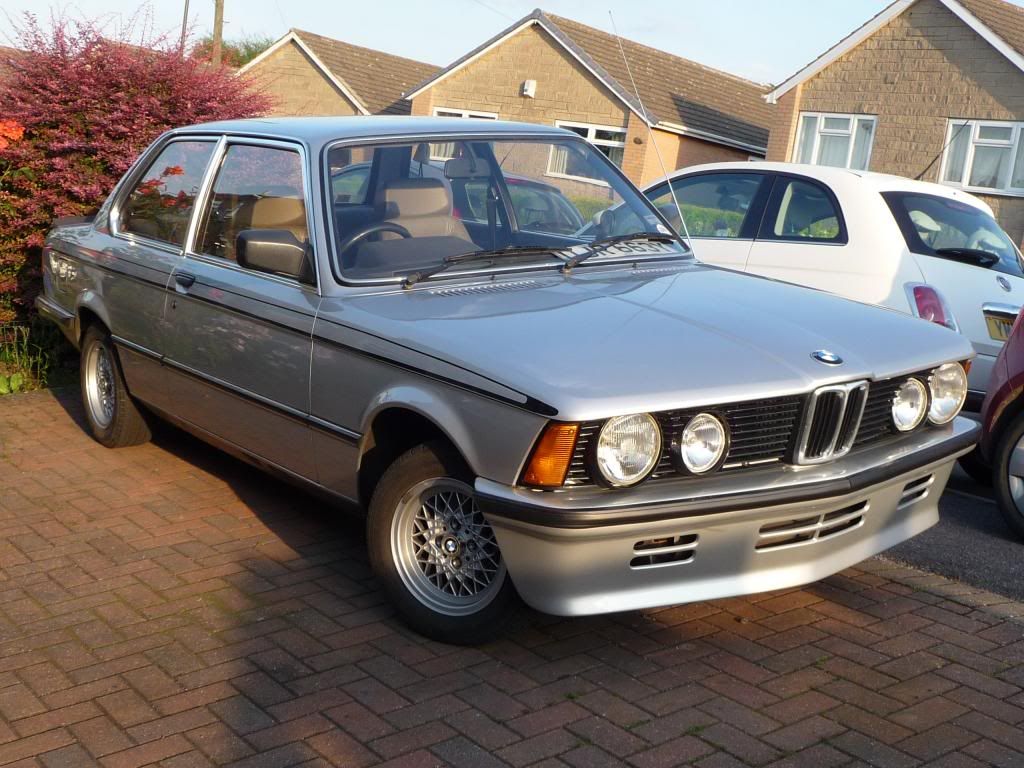
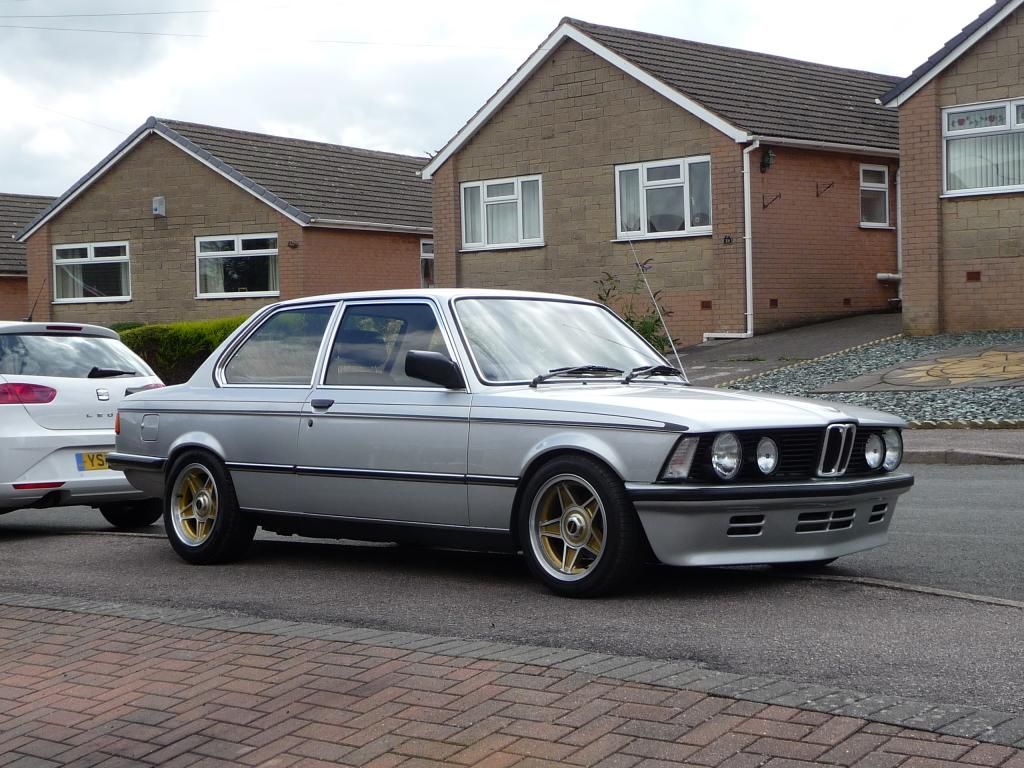
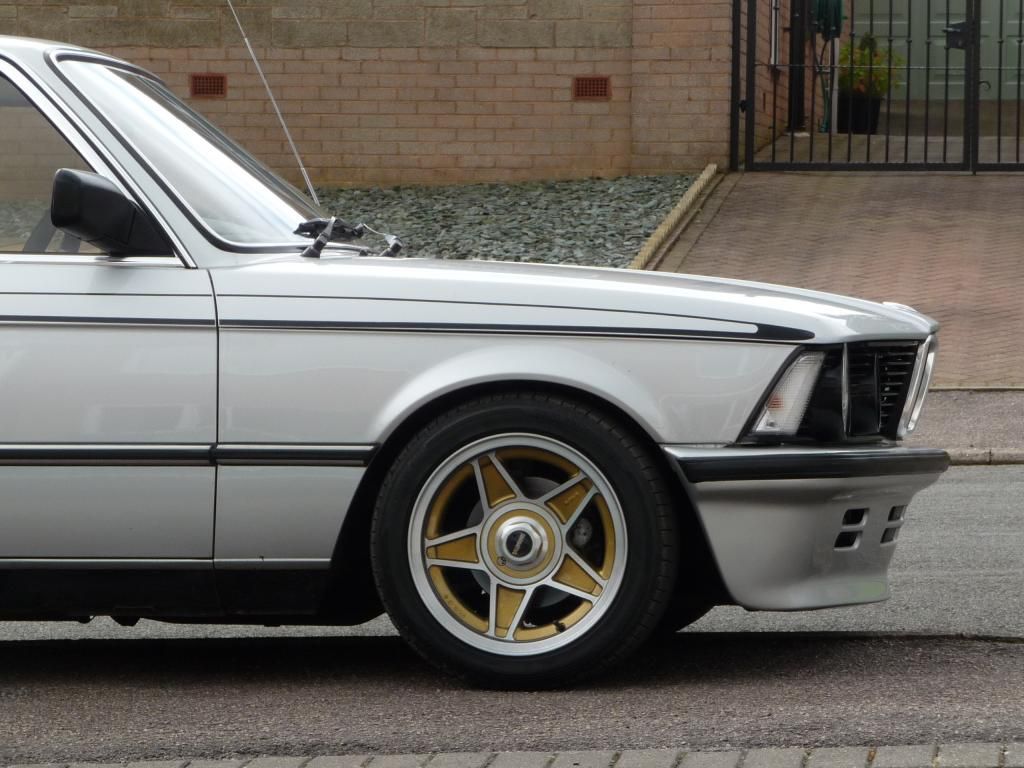
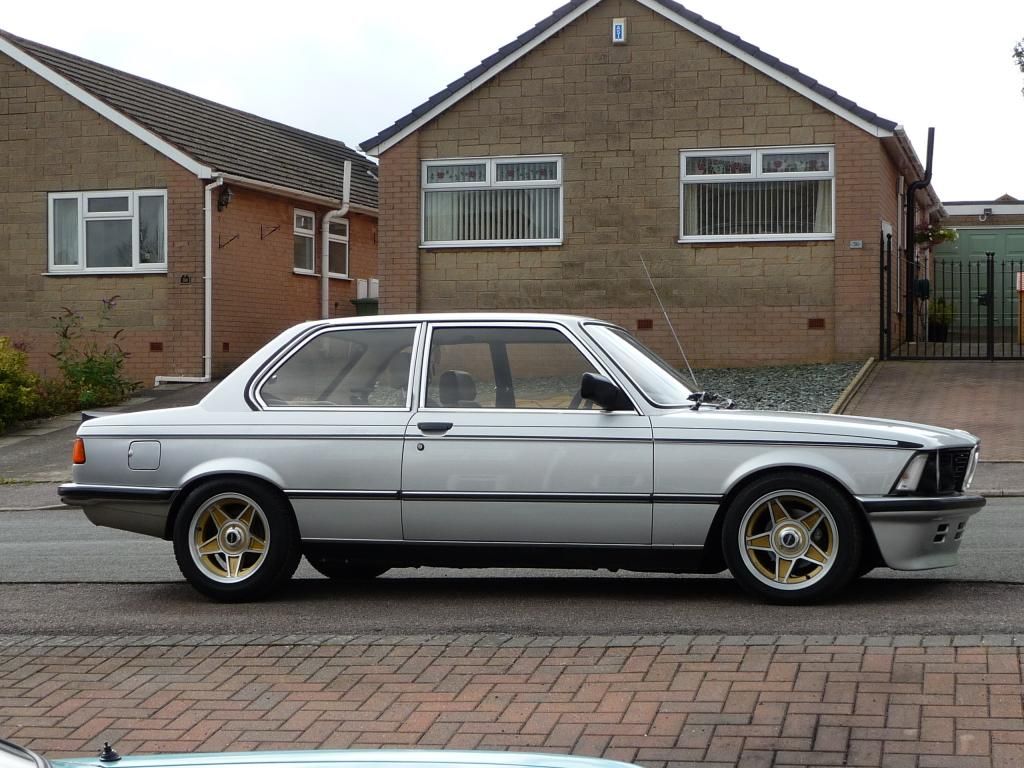
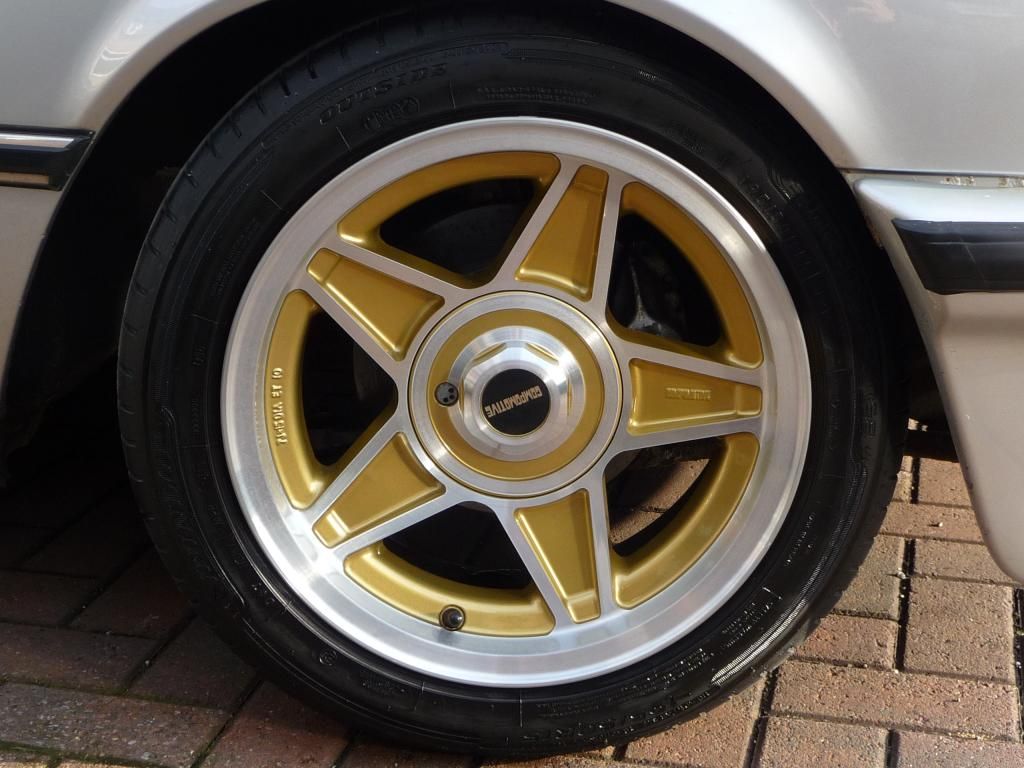
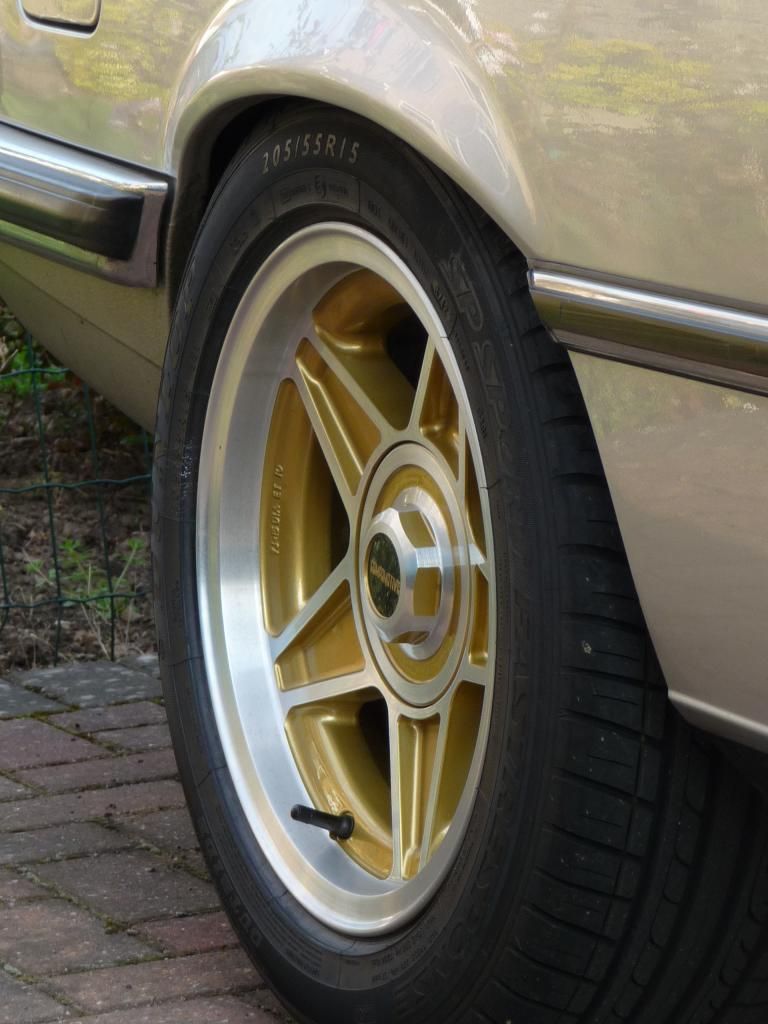
Allrighty, just in time for this weekends Retro rides show, I FINALLY get the suspension and wheels on!

It decided to start raining just as I had all the wheels and struts off, so forgive the lack of photographic evidence, I was more concerned with getting done and dry rather than taking a record. Anyways, you all know what E21 suspension looks like, and my struts are on the previous page so you'll have to use your imagination! Two things I did discover, to my embarassment and cost, are that with the coilovers I made, 10" springs meant it wouldn't go much lower than standard, so I got 8" springs, and also went down to 200lb/in rears and 250lb/in front. Still seems a little firm, but I haven't decided if it's the springs or the firm damping. The rebound damping does seem quite aggressive, but boy does it pay off at speed in the twisties! Secondly, with the rear top mount arrangement I had going the top part of the spring was being forced into a different angle than the shock, so the pring formed a slight curve, that was just enough to rub the threaded tube slightly. I put regular 2 1/2" spring platforms on, with a big thick washer to spread the load into the top mount bush, and all is good now with the shorter springs.
The wheels have been stripped, powdercoated, painted gold, diamond cut, and then laquered. I think they've turned out great, especially for a daily driver. I'm going to get something else to run in winter to keep these nice, but right now, these suckers are on and I'm very happy. Tyres are 205/55 rear and 195/50 front and have given it a healthy but not ridiculous rake. I don't do stance, I don't do stretched tyres, and I don't do air ride. The car clears all the speed bumps around here, and the ride isn't too bad, though I might go even lower on the spring poundage, just to see.

On with the pics!

Image
Image
Image
Image
Image

No rubbing, reasonable ride, great handling, plenty of grip! I am a happy camper! :driving
Andy
User avatar
Jeroen
Site Admin
Posts: 29247
Joined: Tue Sep 14, 2004 12:23 pm
My E21(s): '81 323i Baur
Location: The Netherlands
Contact:

Re: 316 Rolling resto and upgrades

Post by Jeroen »

:thumbsup Pics? Now we need action videos! :lol:
Regards/groeten, Jeroen
User avatar
nas80
E21 Mad
Posts: 2975
Joined: Sun Jun 14, 2009 12:12 am
Location: West Yorkshire

Re: 316 Rolling resto and upgrades

Post by nas80 »

oh man you have done so much justice to that car :) really nice work there mate - it looks so old school
[img]http://s13.photobucket.com/albums/a285/nasbucket/forumsig.jpg[/img]
alschux
Upcoming E21 fanatic
Posts: 96
Joined: Mon Dec 17, 2007 6:46 pm
Location: Innsbruck, Austria

Re: 316 Rolling resto and upgrades

Post by alschux »

Great mods and a lovely Individual look!
User avatar
Nick1984
E21 VIP
E21 VIP
Posts: 1756
Joined: Fri Aug 15, 2008 6:08 pm
Location: Kasterlee Belgium

Re: 316 Rolling resto and upgrades

Post by Nick1984 »

Nice looking car!!!
[img]https://i.imgur.com/NwLeGXT.jpg[/img]
Post Reply