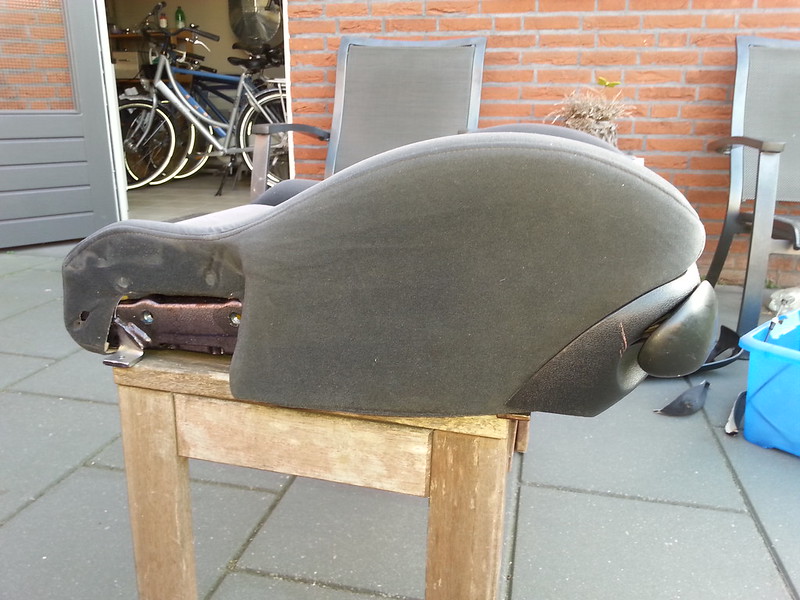
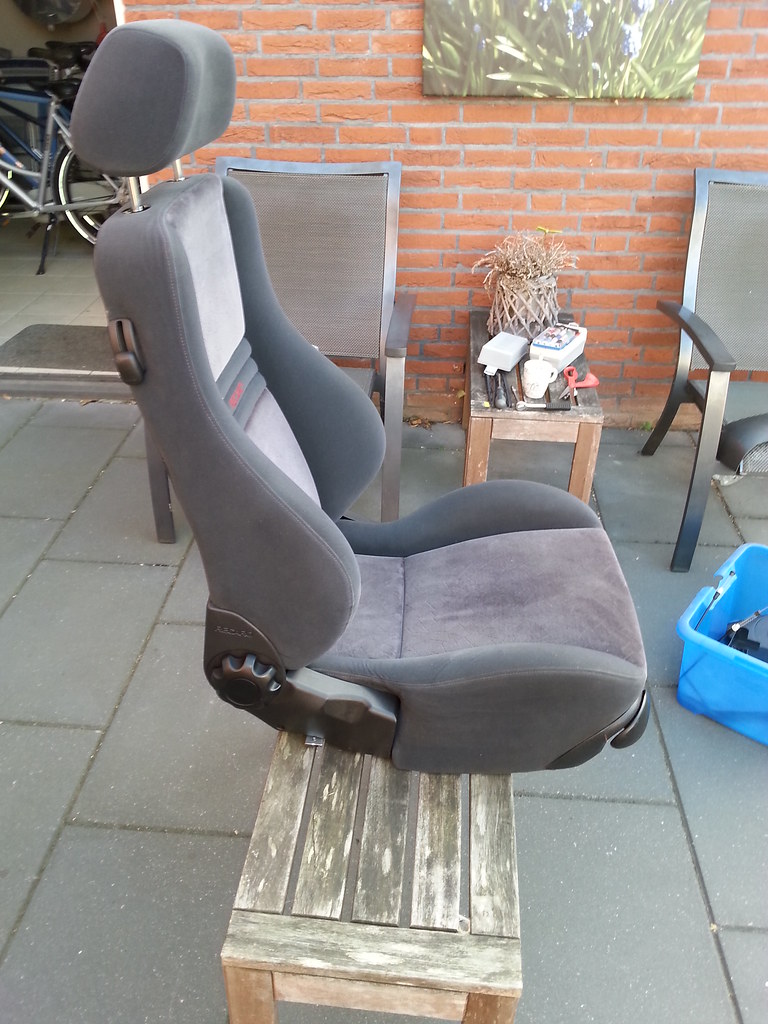
Last week i purchased a set recaro seats, not originaly E12 because they are rare, expensive and dificult to get. Goal is th get good seats in the car for comfortable long trips, without getting a painfull butt.
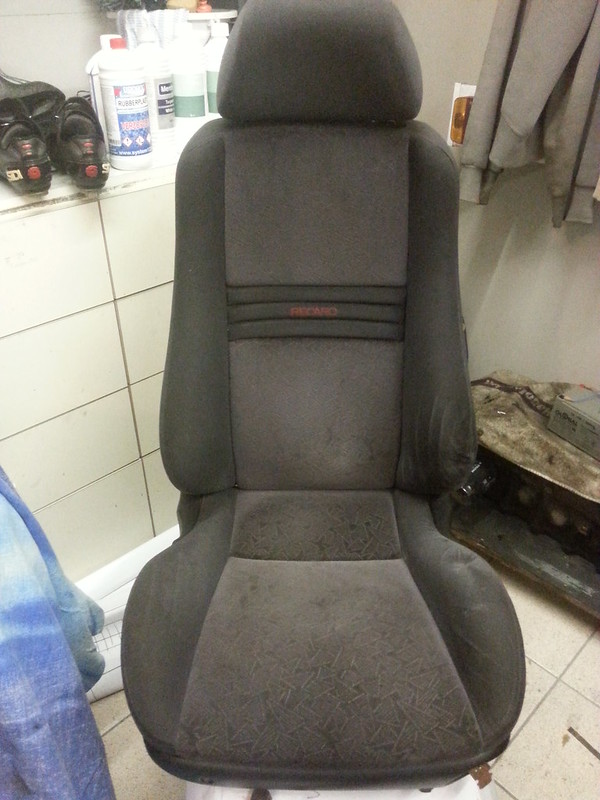
The seats came from a ford escort and therefore they weren't a direct fitt. upholstery is OK but not matching ofcourse, only the bolsters from the drivers seat are collapsed and need repair.
Maybe i'll make new upholstery for these seats with matching cloth, nice winter project.
I'll switch positions so the best seat will be the driver seat now.
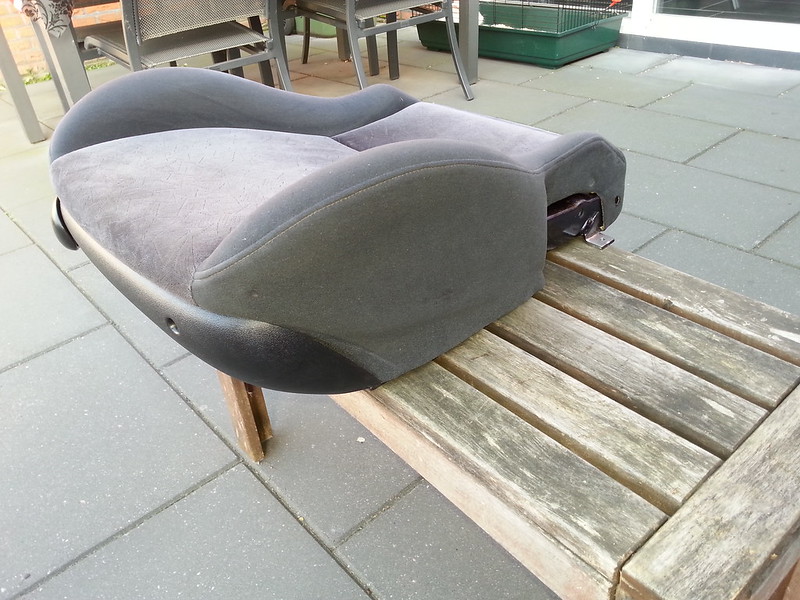
Here they are:
driver:
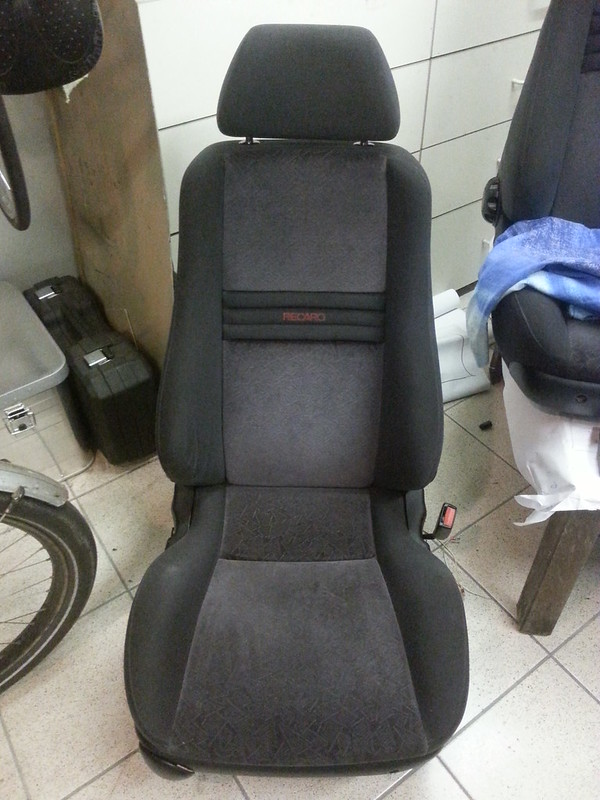
passenger:
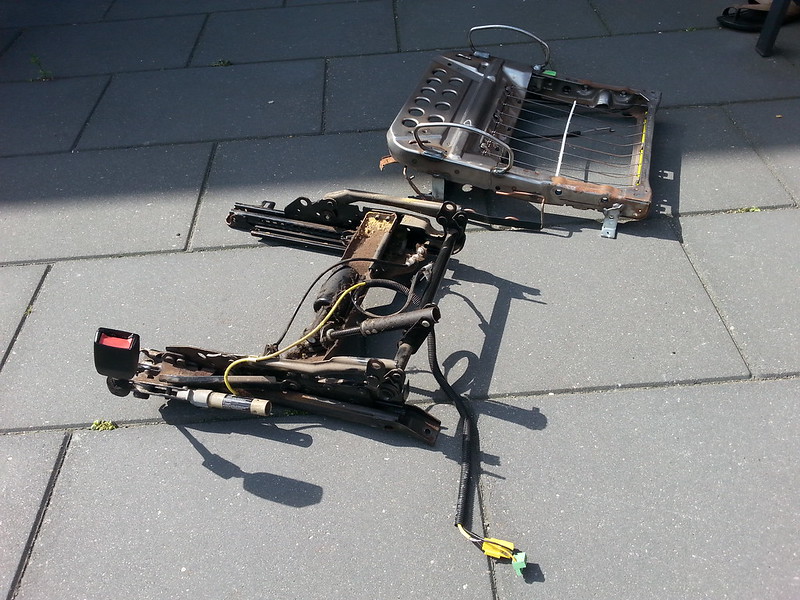
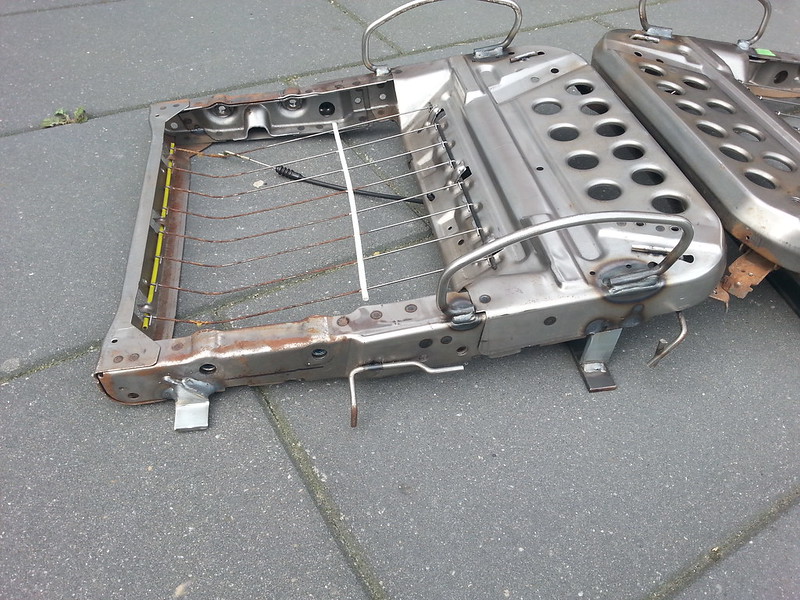
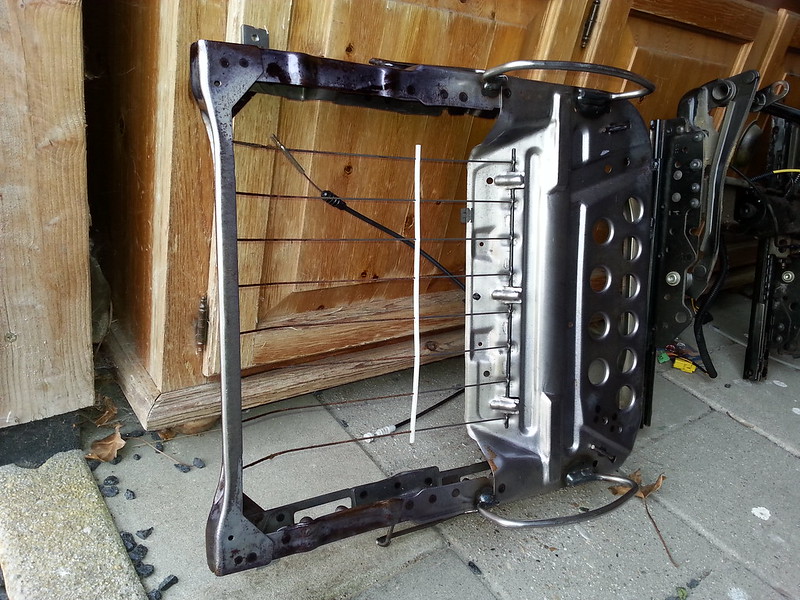
After a rough cleaning i dismantled the seats, because some modifications are needed to fit them on the rails in the E12.
first thing i did was some weight shedding. The rails, seatbelt lock assembly and height adjustment motor and assembly weren't needed anymore, so they're binned (15kg scrap metal)
then i started to fabricate new brackets for bolting the seats to the rails, first attempt was a littebit to high:
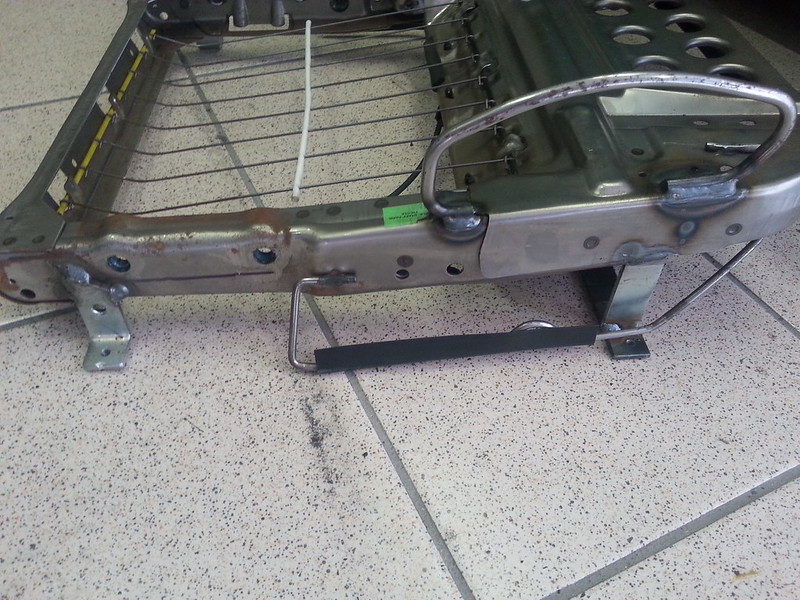
So i did a second attempt to make the brackets such a way the seat is as close down to the rails as possible in the right angle
This ment that more modifications are nessesary, the brackets that hold the upholstery at the sides needed shortening, upholstery itself needs shortening and the plastic trimming at the front and sides need a litle rework.
Shorter mounting brackets:
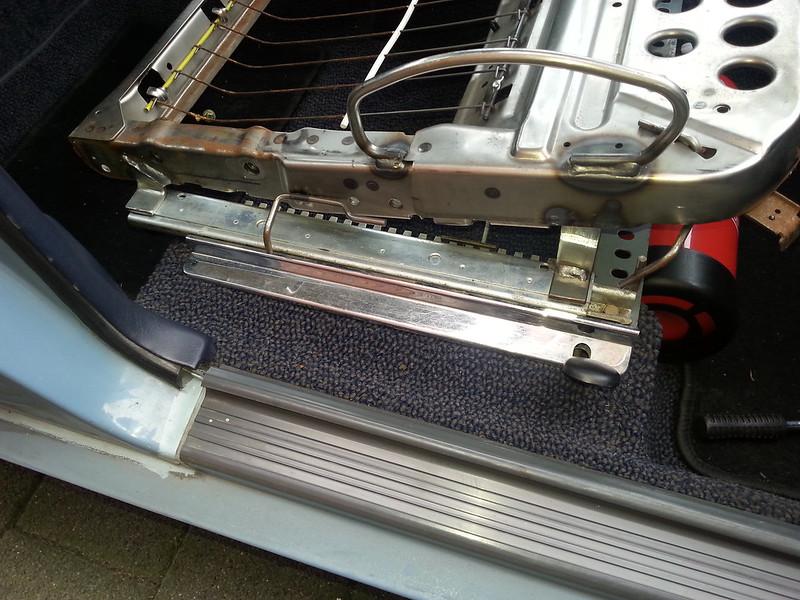
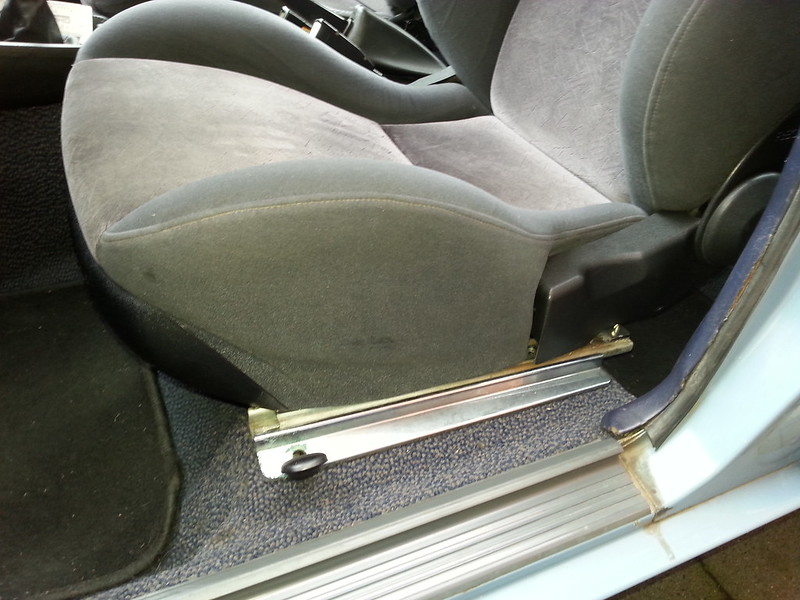
test fit on rails:
After that i've drilled the mounting holes and threaded M6 thread.
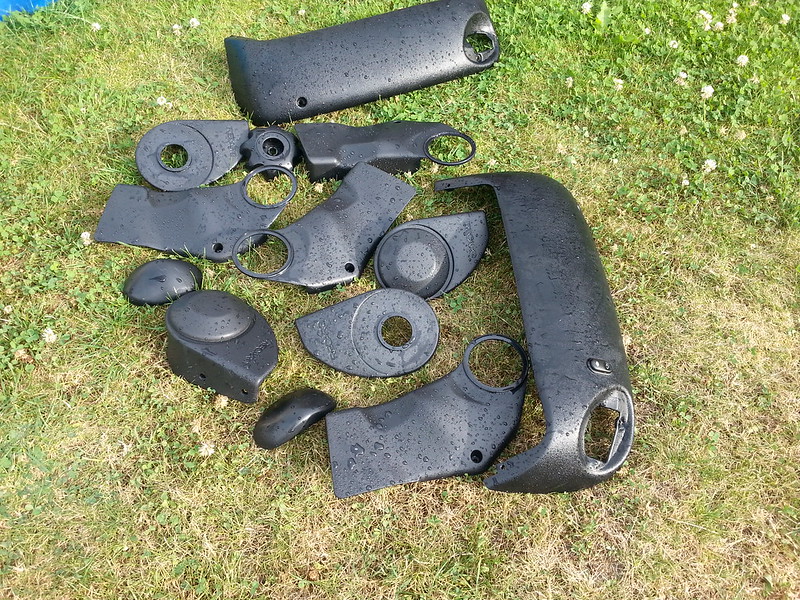
Washed the plastic trimming parts:
adjusted the upholstery holding brackets, sew the upholstery sides, and trimmed some plastic parts.
dottet lines needed restitching the seat cloth:
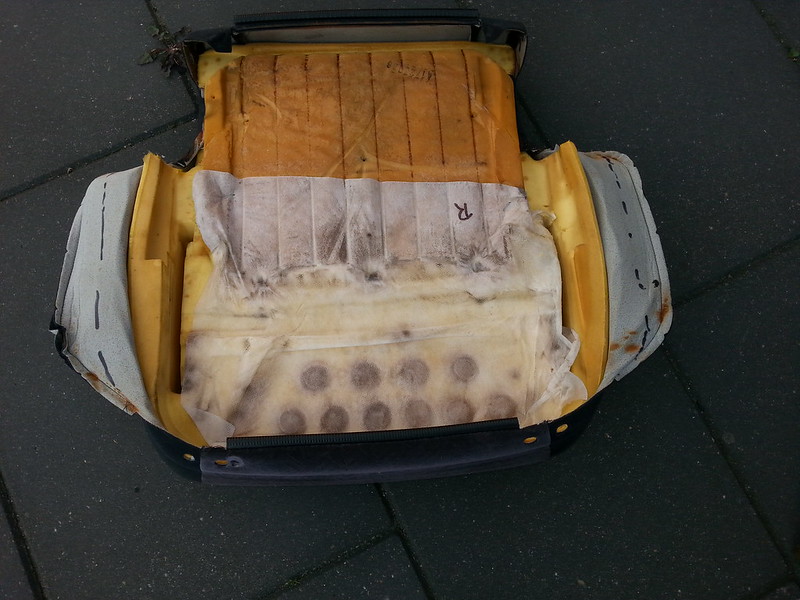
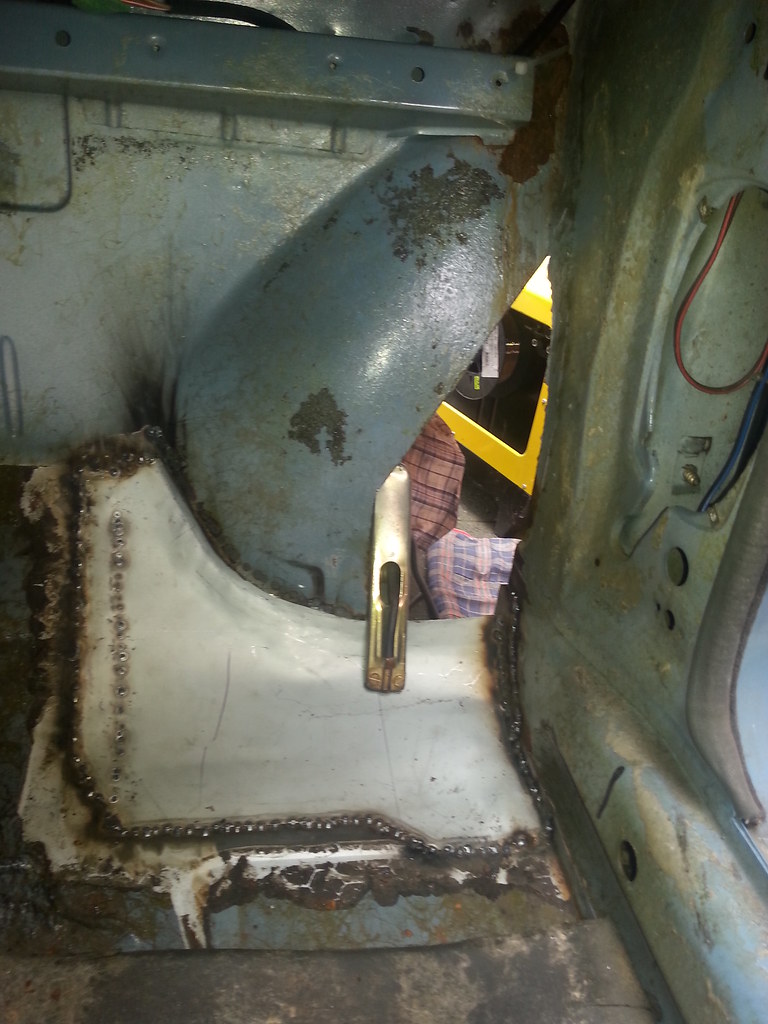
The bottom seat part had a few rusty spots which i sprayed wirh a rust converter primer:
then reassembling the seats:
And mounted in the car:
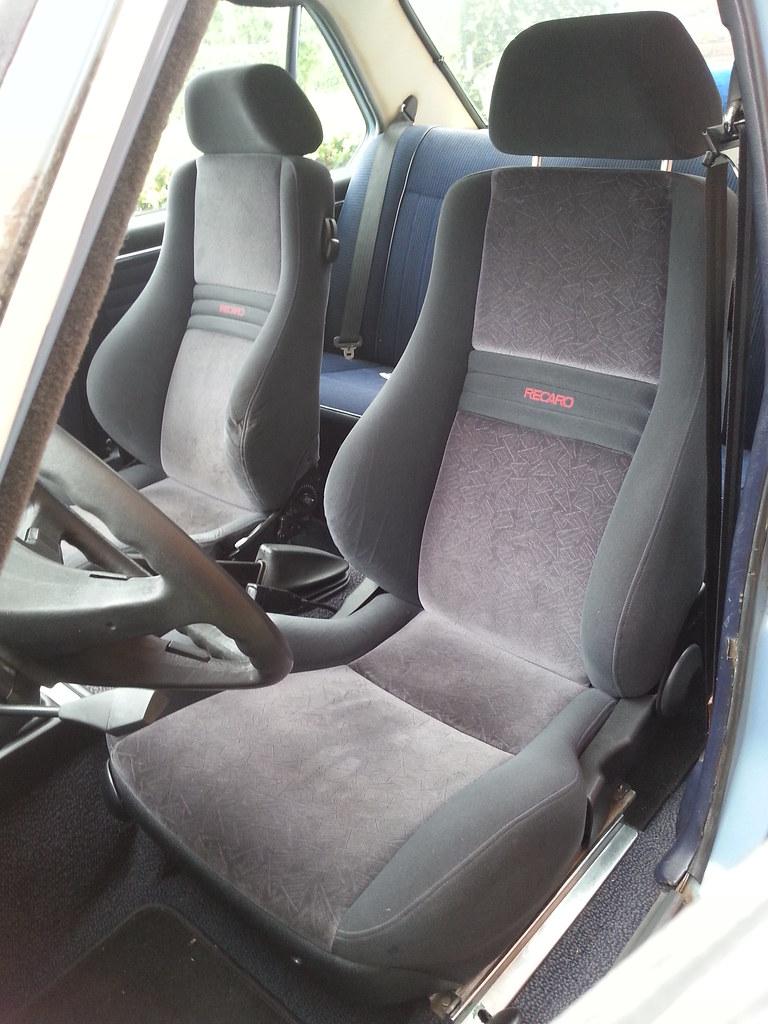
Then finaly made a test drive, looks lik the car corners better now