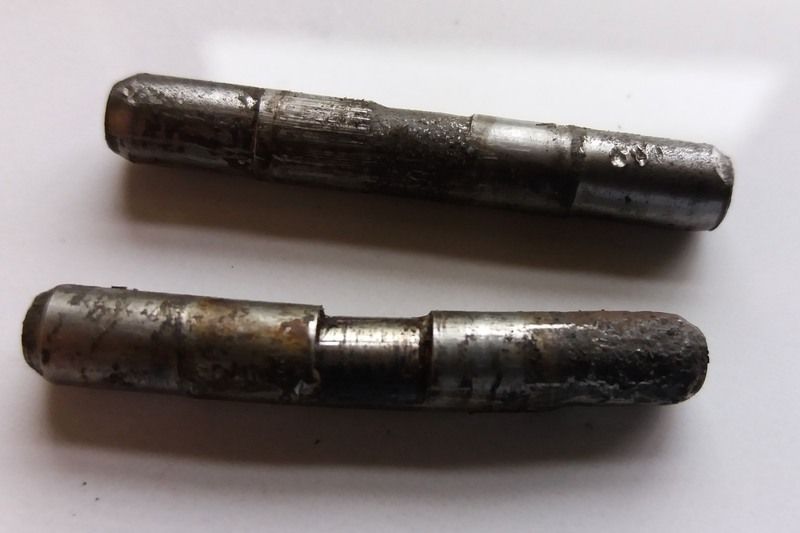
After that I took the pins out of the wheels. The were pretty worn. My guess is that this won't work all to well.
So I cleaned some.parts
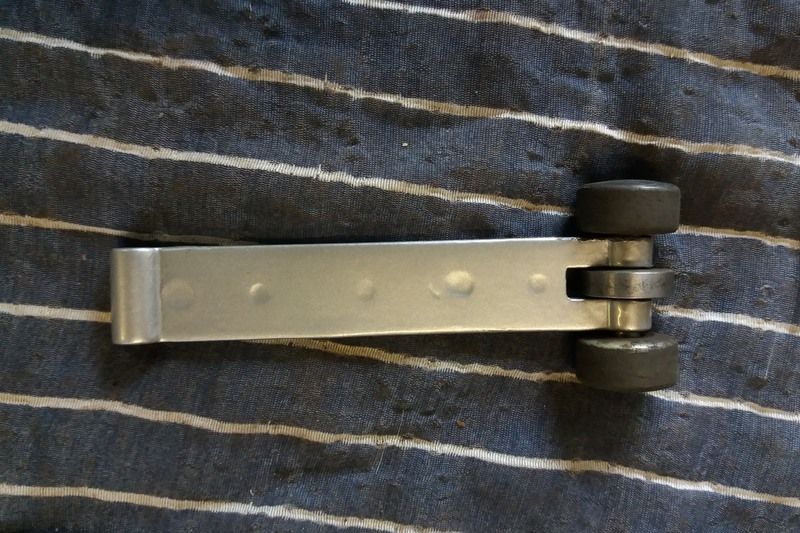
Made new pins
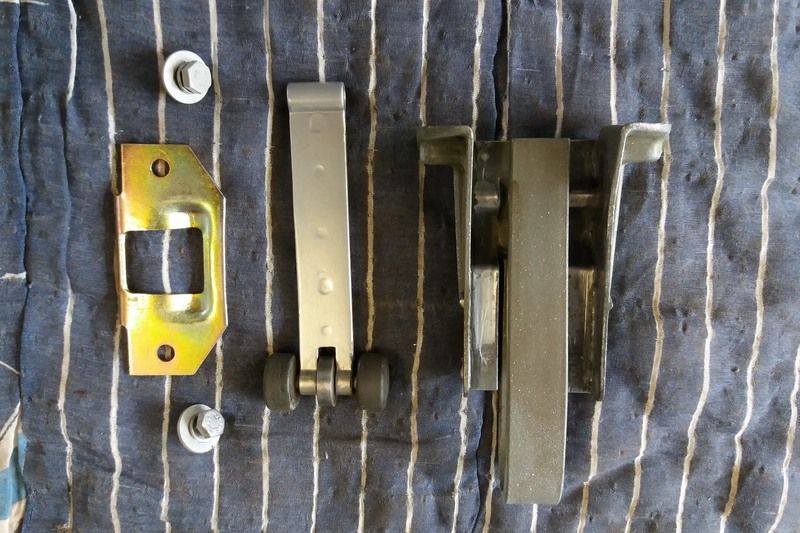
And assembled
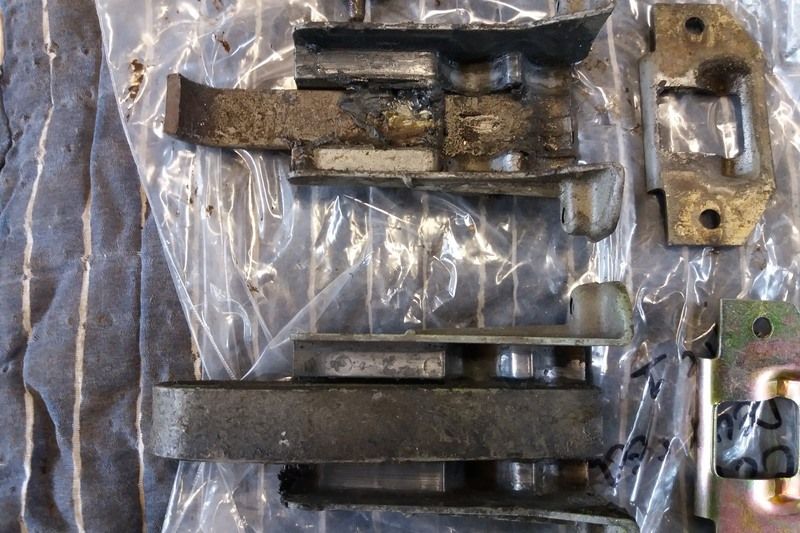
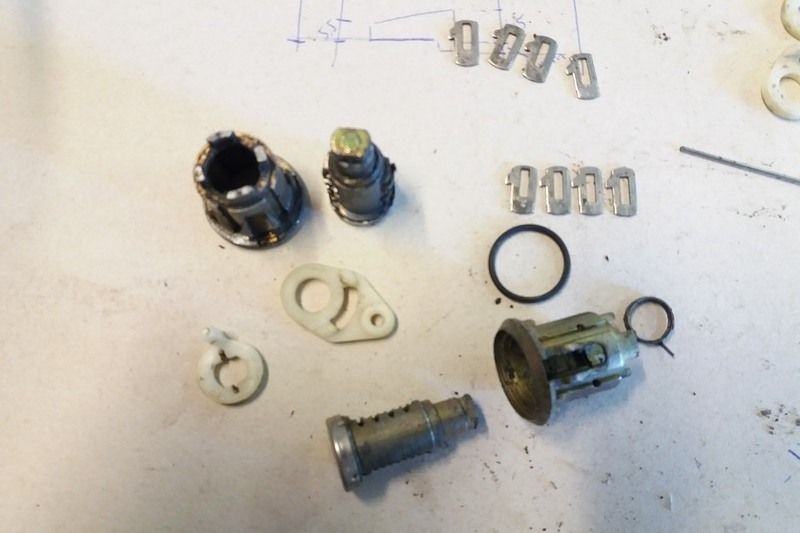
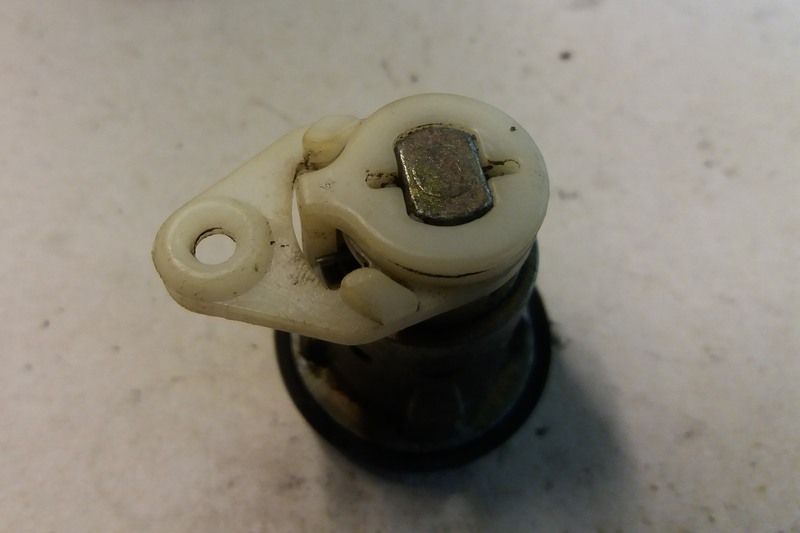
The locks needed work aswell. So I took them apart.
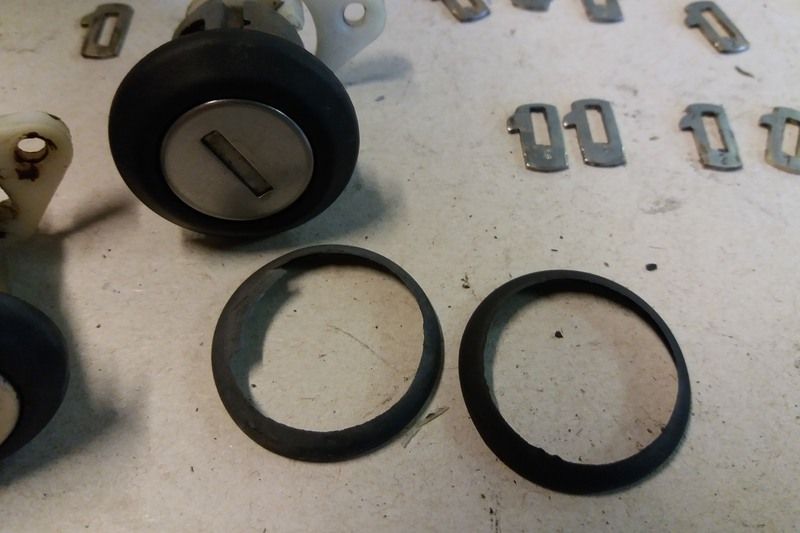
Rings on the outside are broken to.
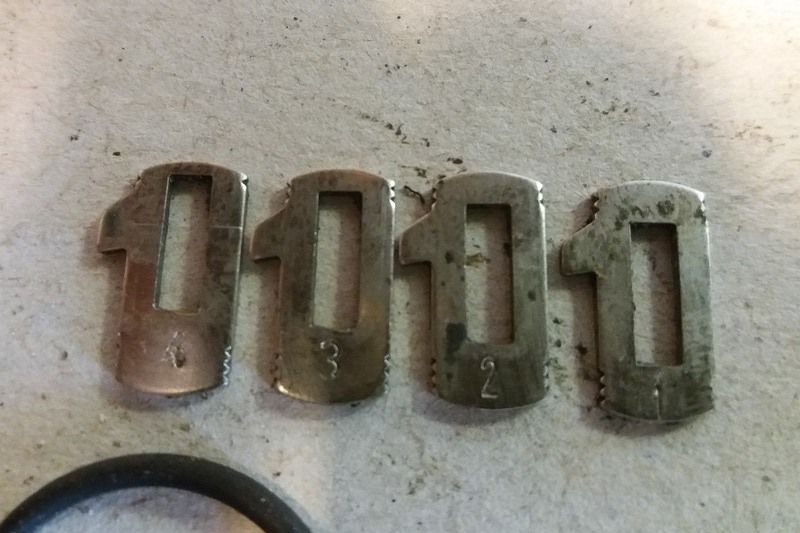
These are the lockplates. Size 1 to 4. Per lock in a unique order. A lock contains more than 4 ofcourse.
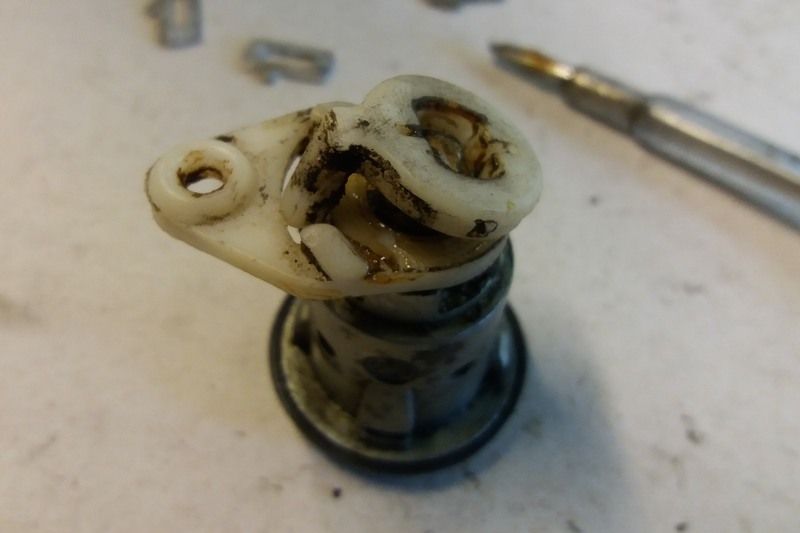
Lock taken apart
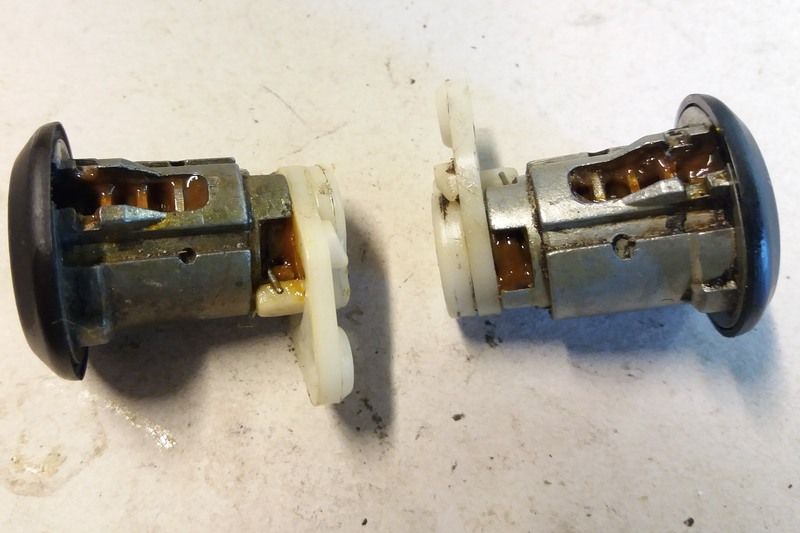
All cleaned en put together with not worn plates.
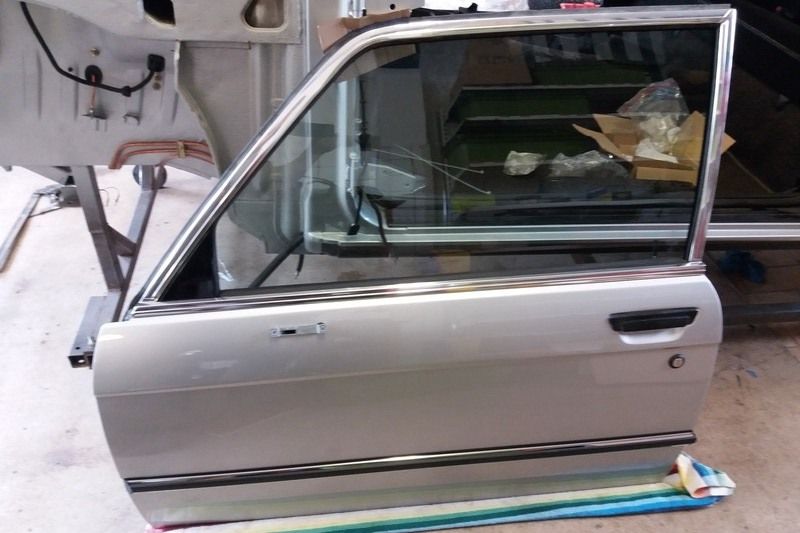
And at last, I could start assembling the doors. Rubber glued to the door.
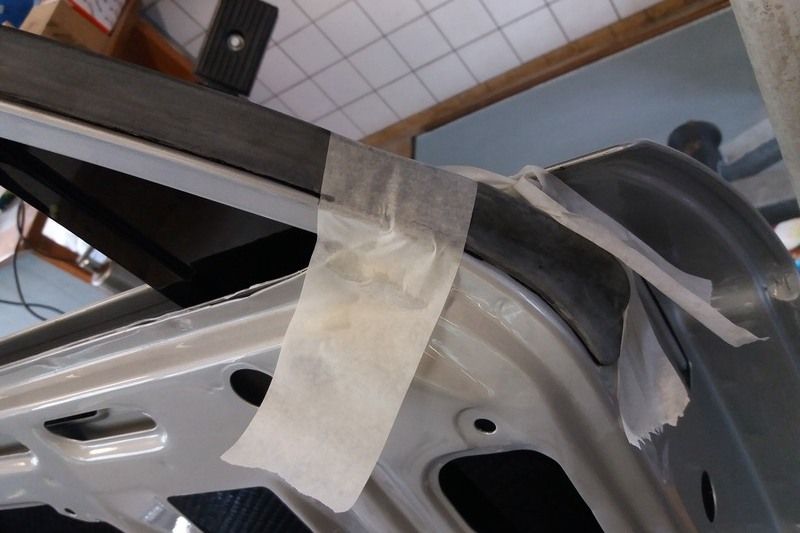
My freshly painted triangles mounted. These will show, because the type 1 mirror are on the door, not in the corner.

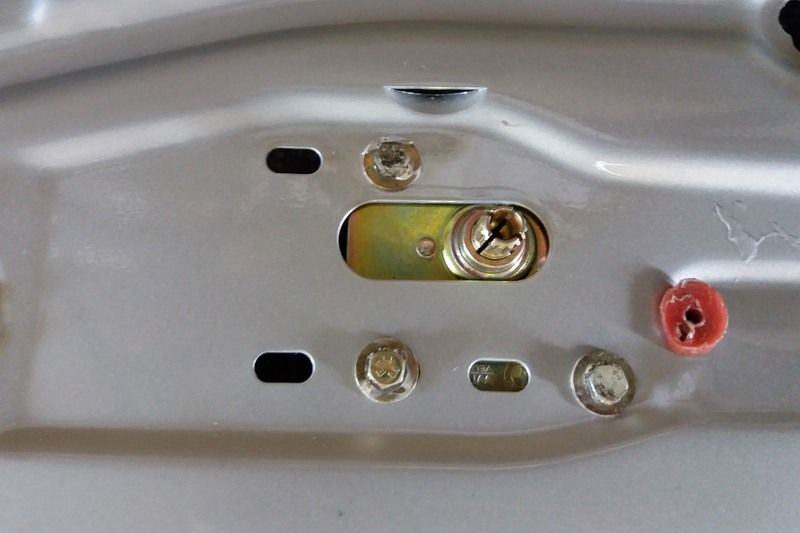
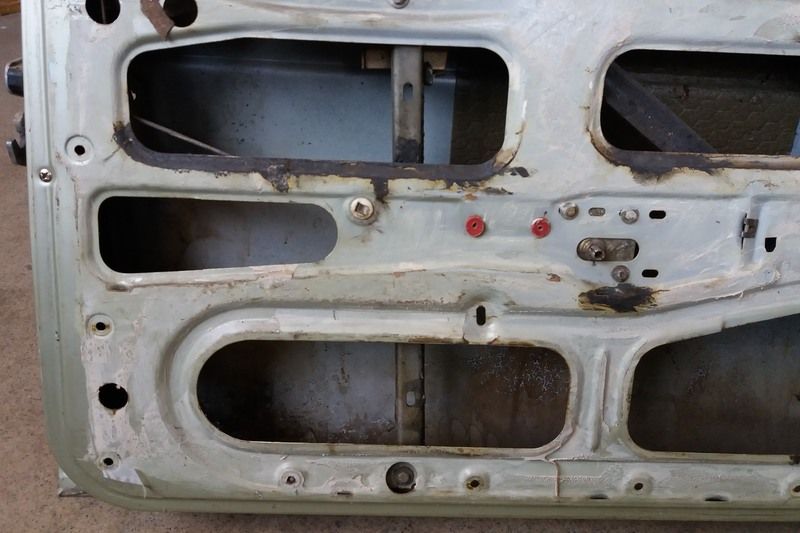
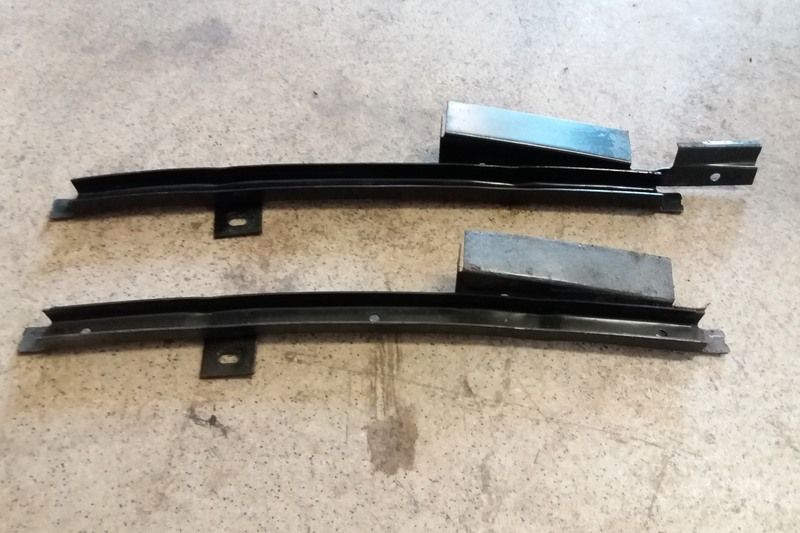
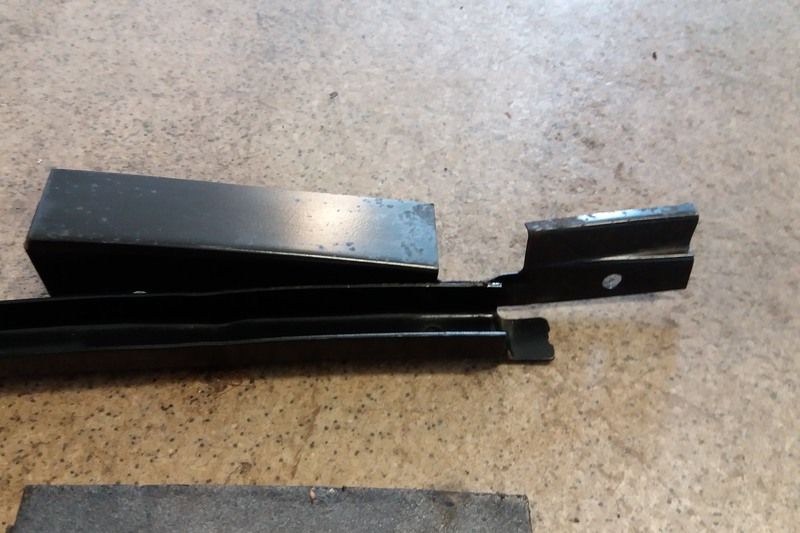
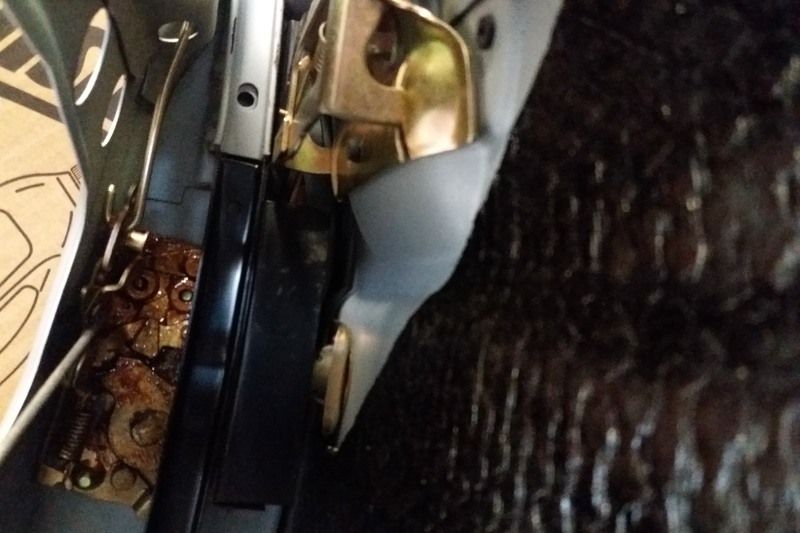
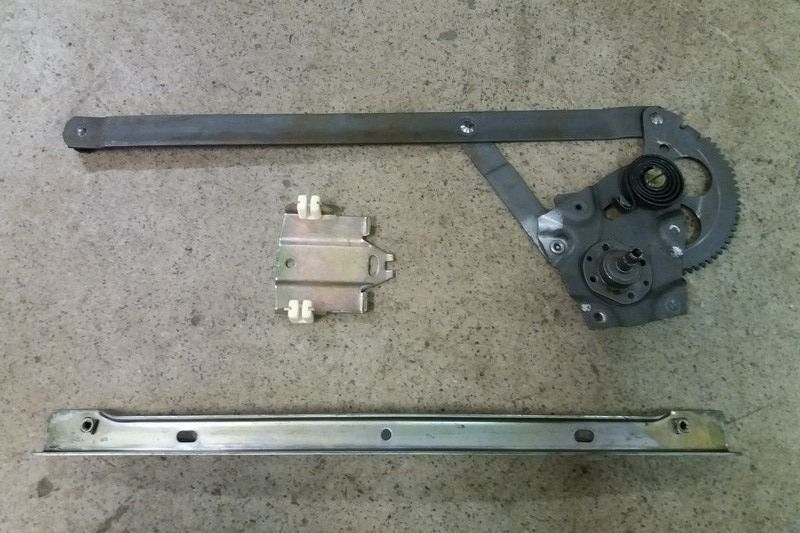
Seen from the inside, you see the locking mechanisma and window guide.
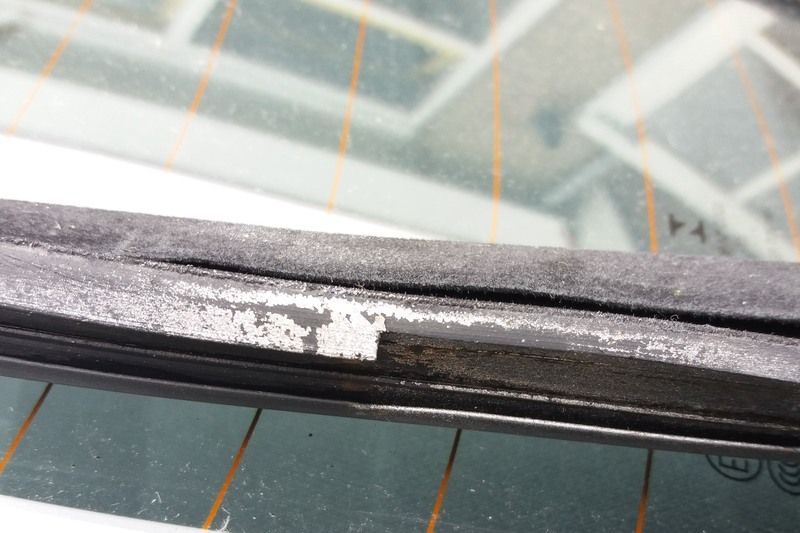
In the guide is the rubber that holds the window. Ofcourse, in my car that rubber is covered in paint.
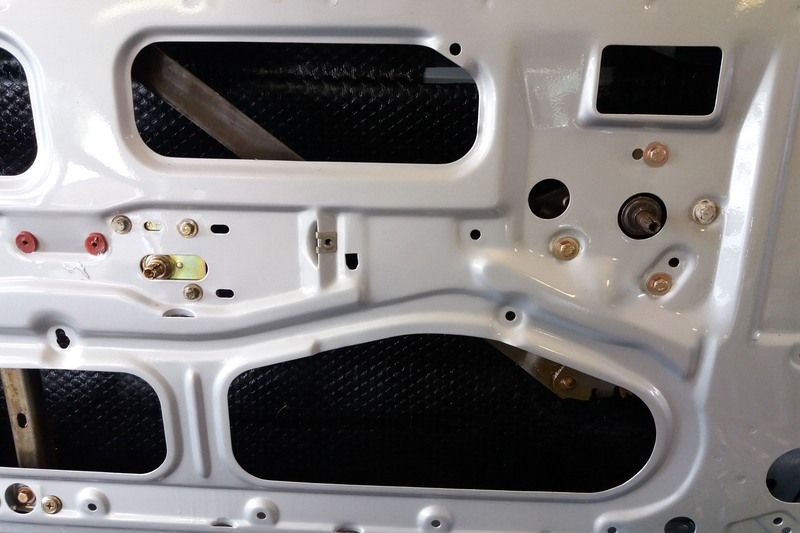
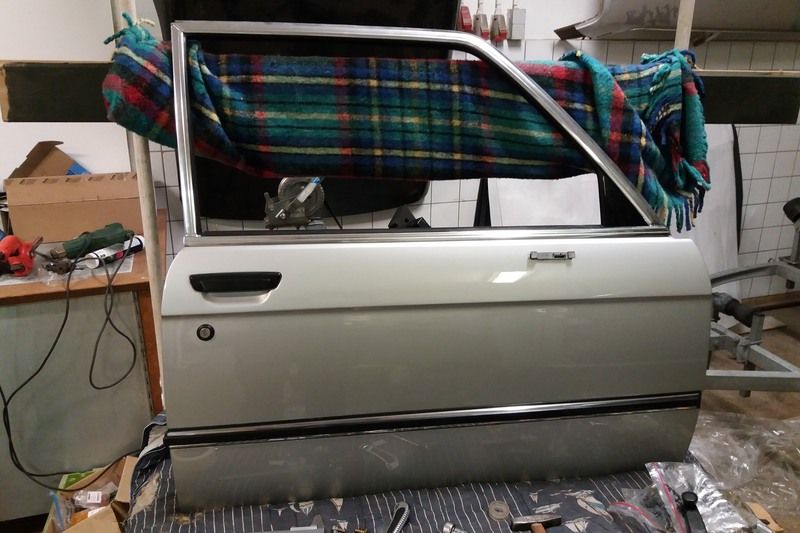
Cleaned and put in to place and then I placed mechanism.
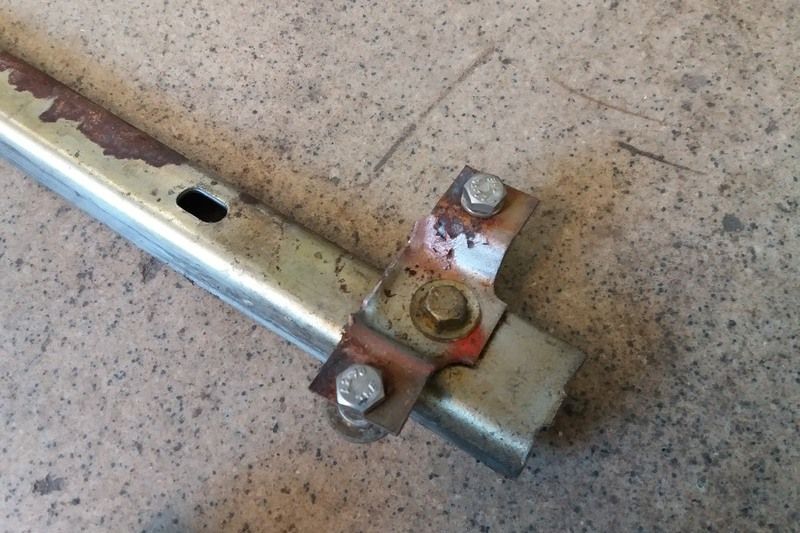
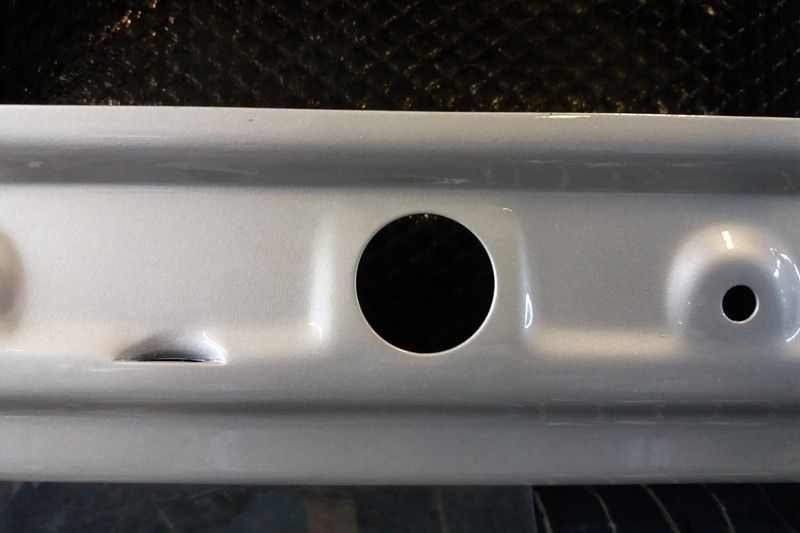
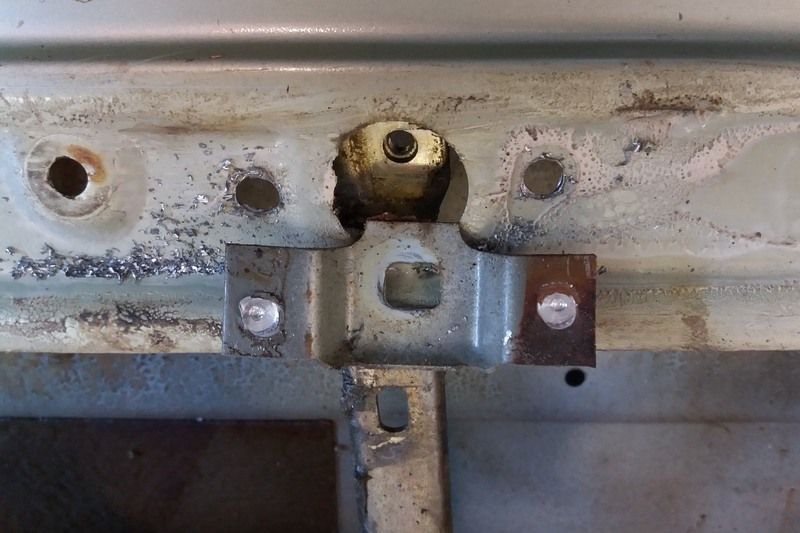
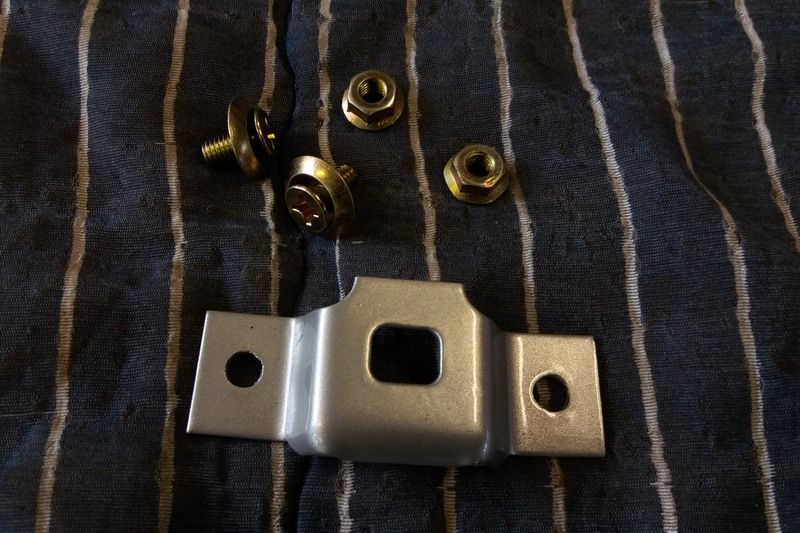
The mentioned bracket couldn't be welded anymore, since the door is already painted. But I had some original BMW nuts and bolts laying around.
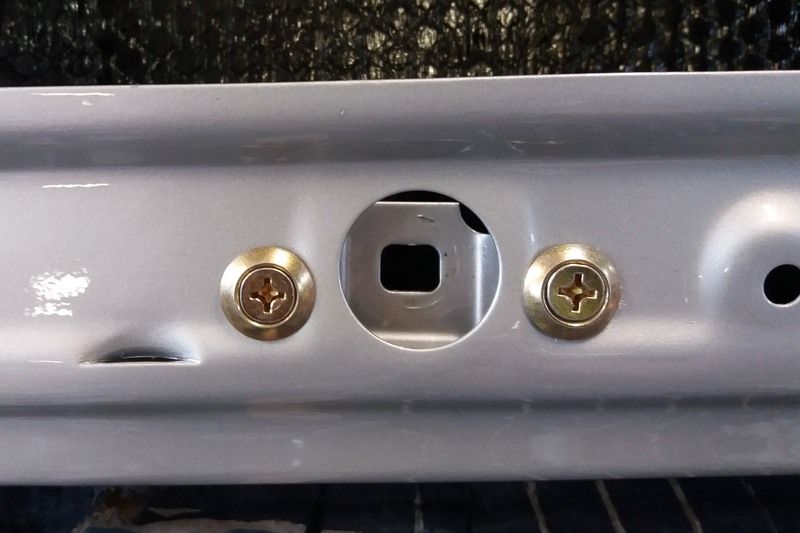
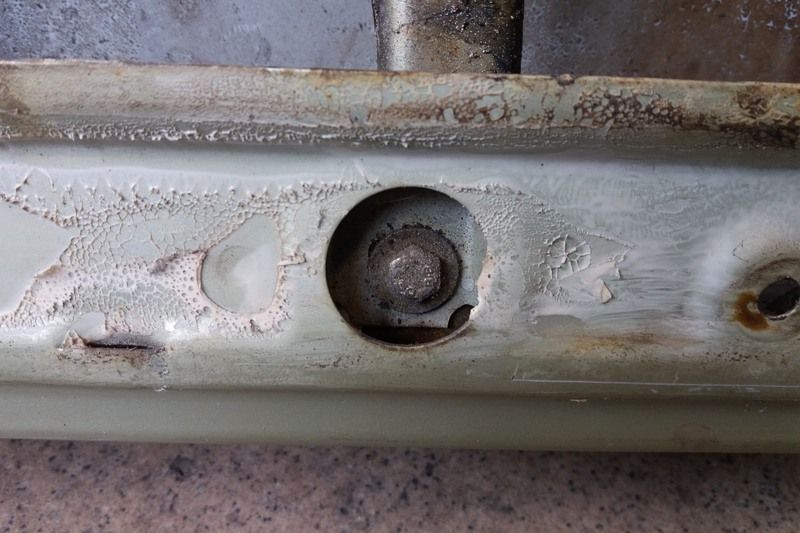
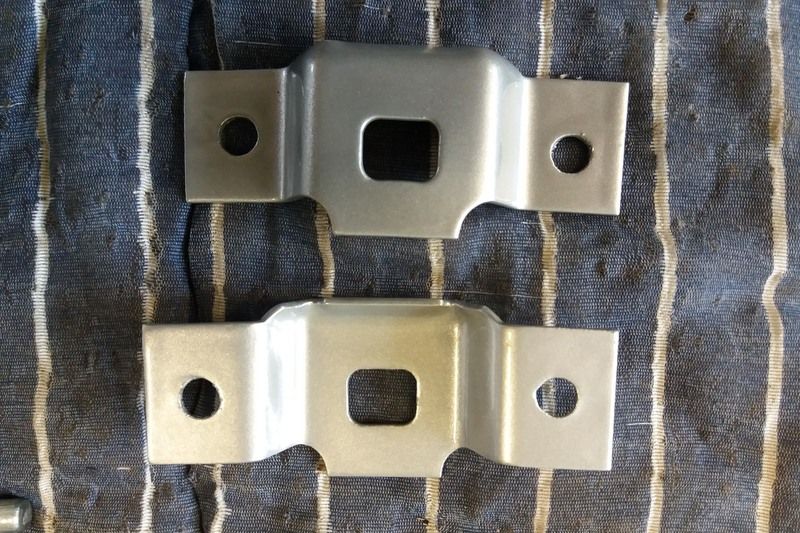
Put the reïnforcement plate for the mirror in place.:
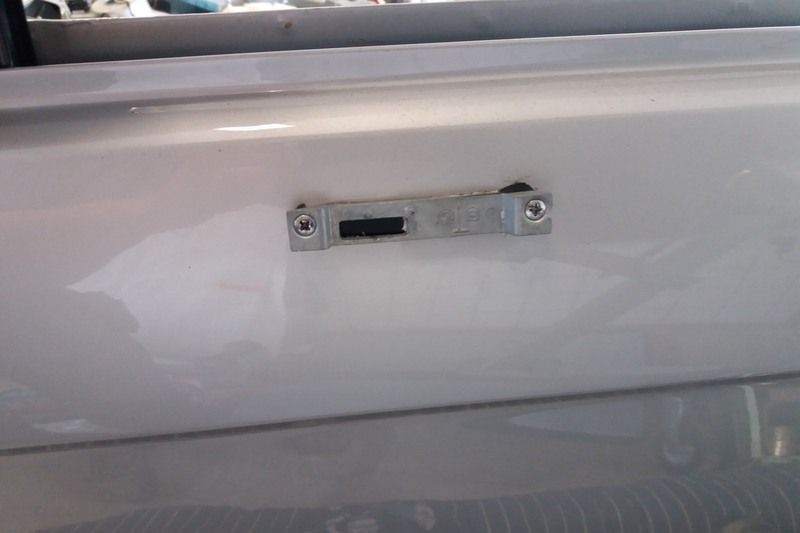
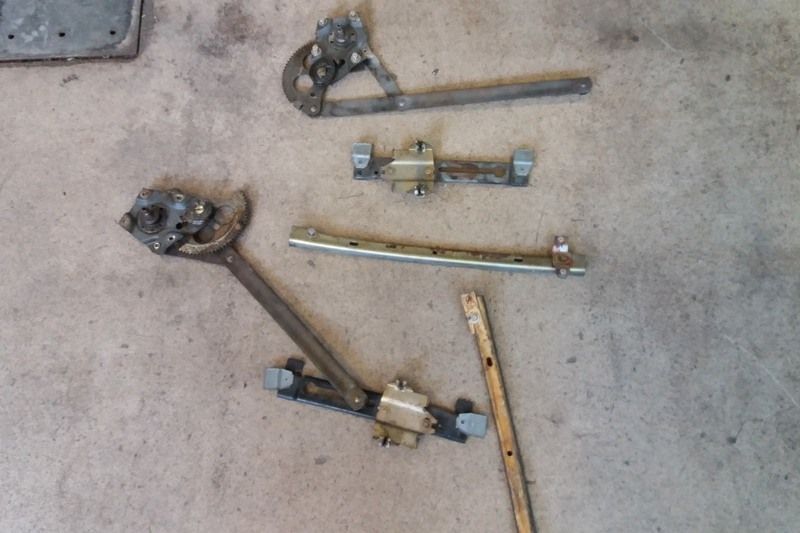
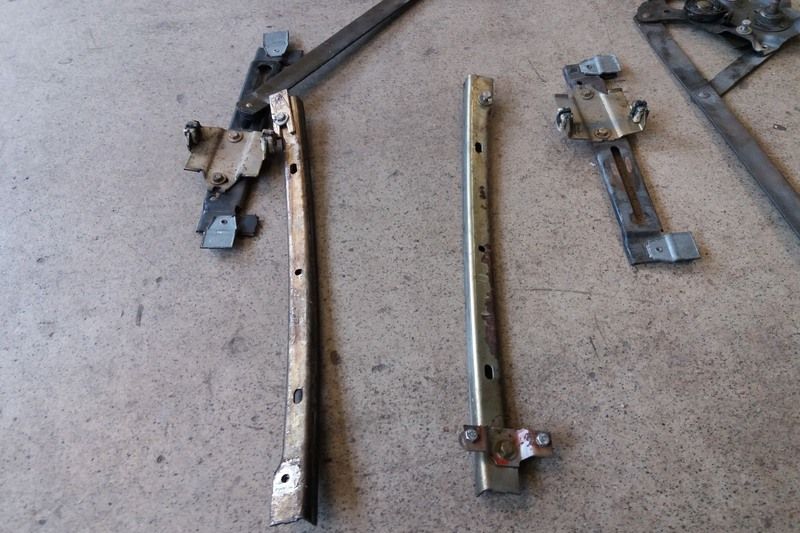
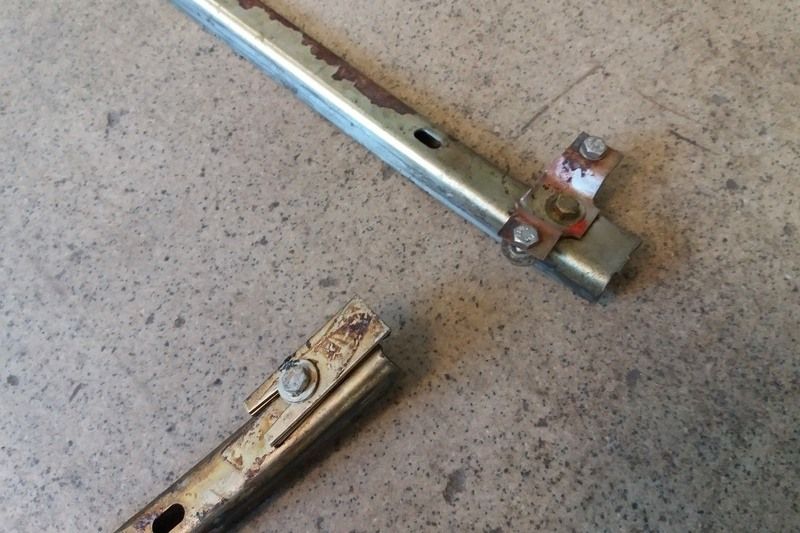
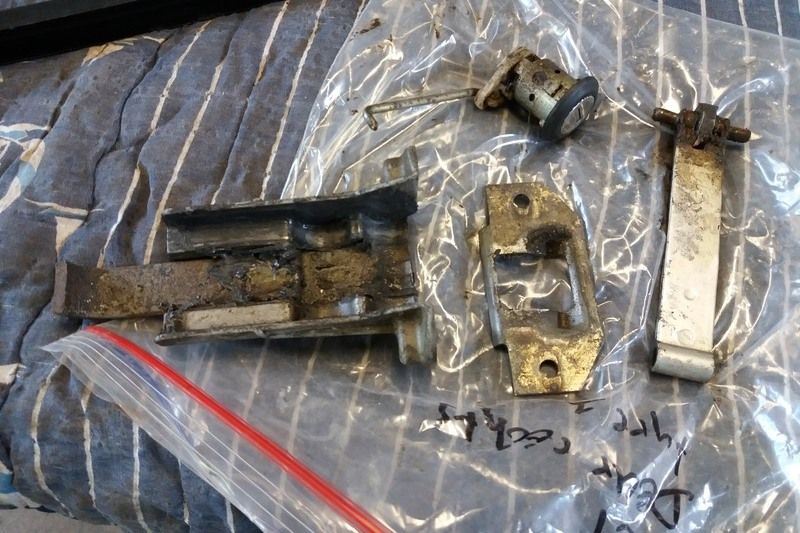
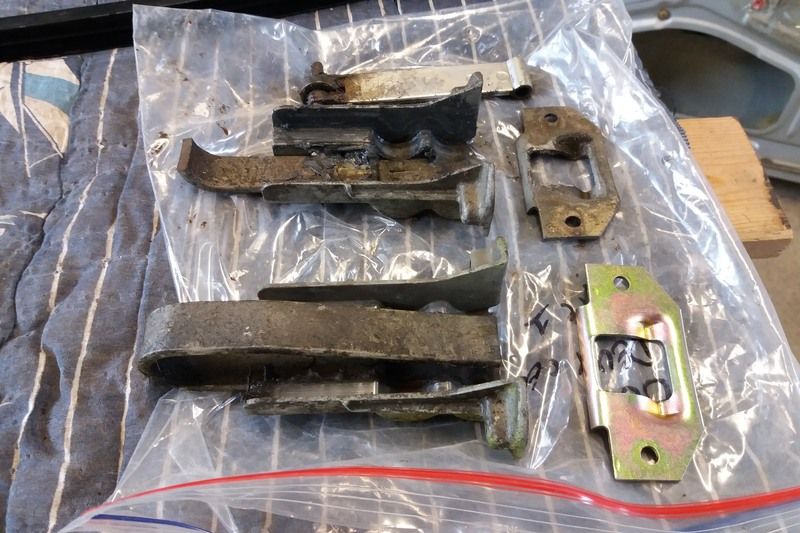
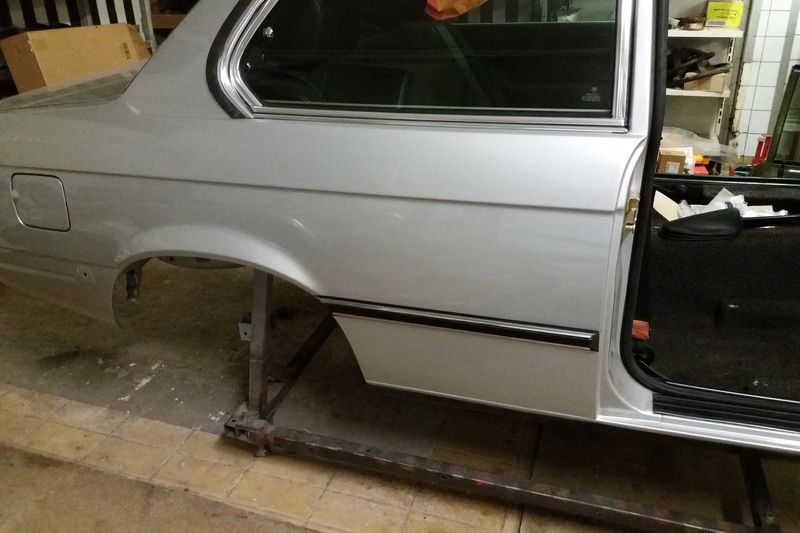
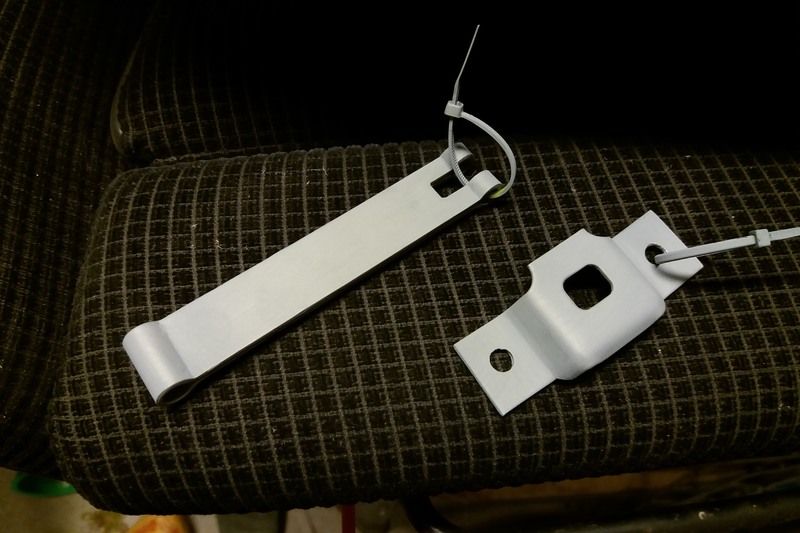
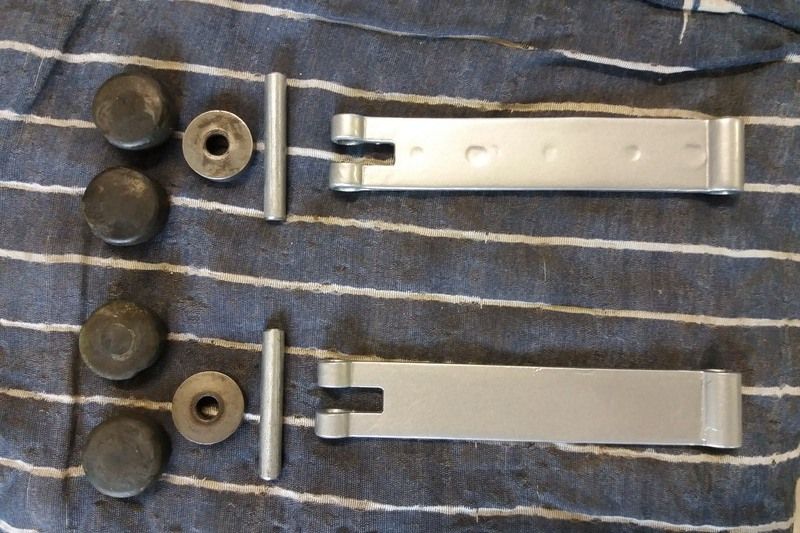
The last thing was the unlocking mechanism inside. I had tho lenghts of rod. I figured that the diffence was type 1 and 2. But it turned out that it is for the left and right door. The door handel.is in a different place, hence the difference in length.