Page 4 of 7

Re: Project E3 is Go! 2014

Posted: Mon Feb 23, 2015 5:39 pm
by nas80
next time mockup engine and gear box connected, making engine mounts...

sorry for the slow updates, its been far too freezing cold to work this winter.

Re: Project E3 is Go! 2014

Posted: Mon Feb 23, 2015 8:42 pm
by Jeroen
Same feeling here! Its about time to start but too cold indeed!

Re: Project E3 is Go! 2014

Posted: Tue Mar 03, 2015 9:27 pm
by arshad76
I thought I'd add a little update to Nas's hard graft so far. In addition to doing a sterling job with the car, he's also been advising me about various upgrades and parts.

Again, learning lessons from before, the wiring on this car needs to be as pain free as possible - both during installation and when it does become a daily driver. Many E21's will be finding themselves in the same predicament where the stock wiring will be becoming brittle, and ultimately a false economy to keep repairing. Needless to say then that using the even older existing E3 wiring, especially when a lot of the engine etc will be non-standard would have been asking for trouble.

We opted for a custom loom from an American company called Painless Performance Products: http://www.painlessperformance.com/webc ... p?sl=20104

Hats off to my sister and brother in law who really should have been enjoying some time off in Chicago to do a 4 hour round trip and collect this product for me. It's a lovely piece of kit that is guaranteed to work.

Image

We had a few chats about what transmission we were going to go with, with an autobox and e21 5 speed being discussed then rejected. Although I liked the idea of an autobox, we decided to opt for a 6 speed E46 gearbox that will make it a really nice grand tourer for longer trips. I was lucky enough to find a rarer box 6 speed box from a 2003 330i with the thicker, more robust spindle. It made sense to think about upgrading the linkage at the same time.

Whilst looking into short shift kits I came across a company called UUC Motorwerks. They do an interesting analysis between pretty much all the short shift kits, including the stock BMW shifters arguing (quite convincingly perhaps) that the nylon cup design is ultimately flawed. Interesting reading here: http://www.nexternal.com/uuc/articles/plastic.htm

and here: http://www.nexternal.com/uuc/articles/S ... RISONS.htm

Predictably the conclusion was that their design surpassed the rest and as biased as it sounded, I was sold on the quality, no plastic design. The BMW selector rod is also a weak point in the BMW design, so I opted for an upgraded fully metal one of these too. The customer service for this company was pretty much non-existent and they failed to get back to any of my initial enquiries. Still, they do apparently make a great product according to those who have one. I won't be able to say until we have it fitted and it did end up costing nearly $600 US for both items :shock:

First impressions are of a real quality piece of kit though...

Image

We're now in the process of ordering various rubber seals all round for the car which are pretty much shot - being the original ones on the car and almost 50 years old. These aren't going to be cheap either, but once fitted should be good for another few decades we hope.

Re: Project E3 is Go! 2014

Posted: Fri Mar 06, 2015 11:56 pm
by uwbuurman
It's comming along now, great buys, Arshad!

Re: Project E3 is Go! 2014

Posted: Sun Apr 12, 2015 5:45 pm
by nas80
ok..

Because its been so cold in the UK and other work commitments meant i didnt do much for a little while, but i had a week off so thought id do some catching up.

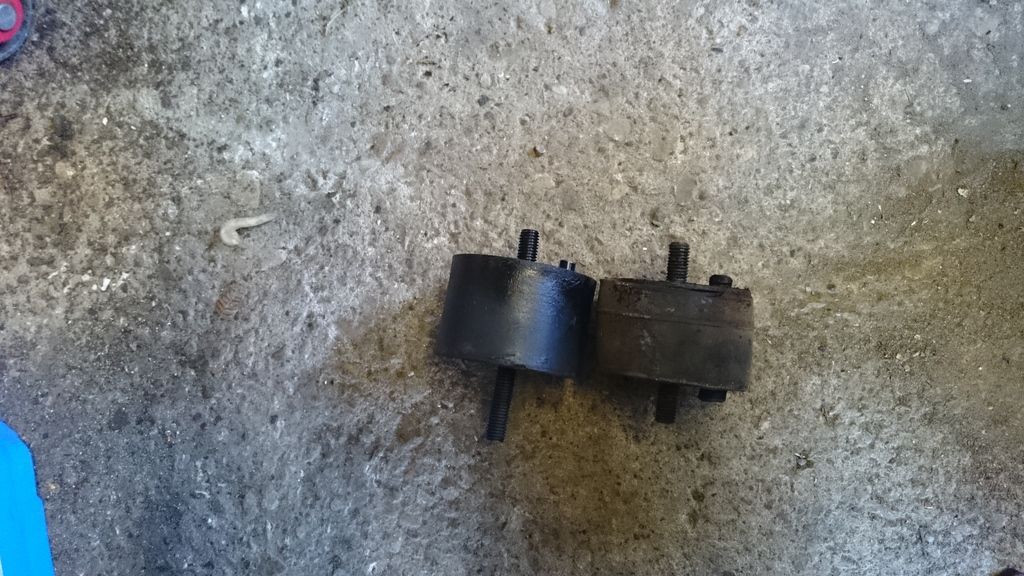
First had to buy some engine mounts, i didnt know for sure but the old mounts looked just like m20 mounts and turns out they fit.

Image

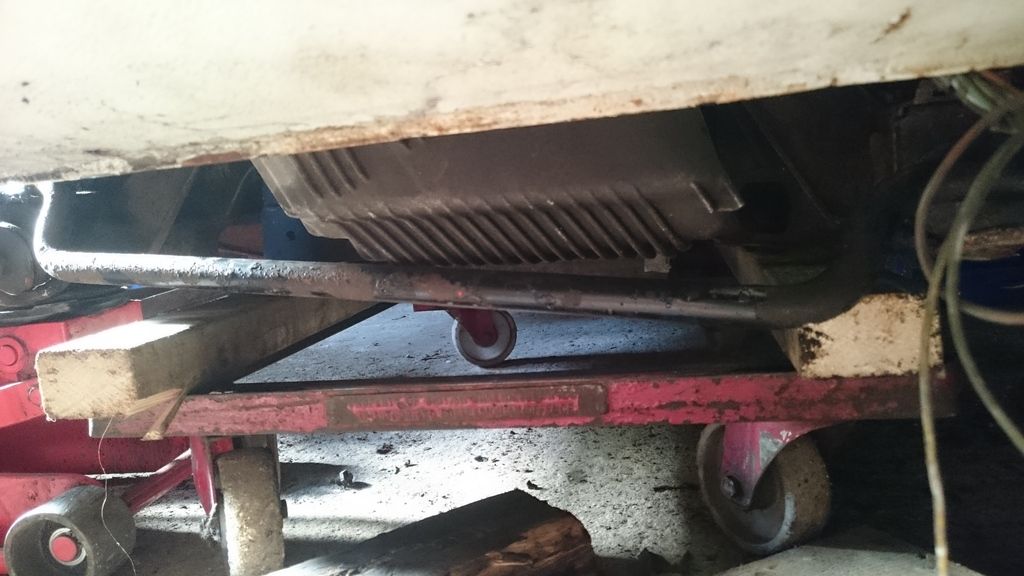
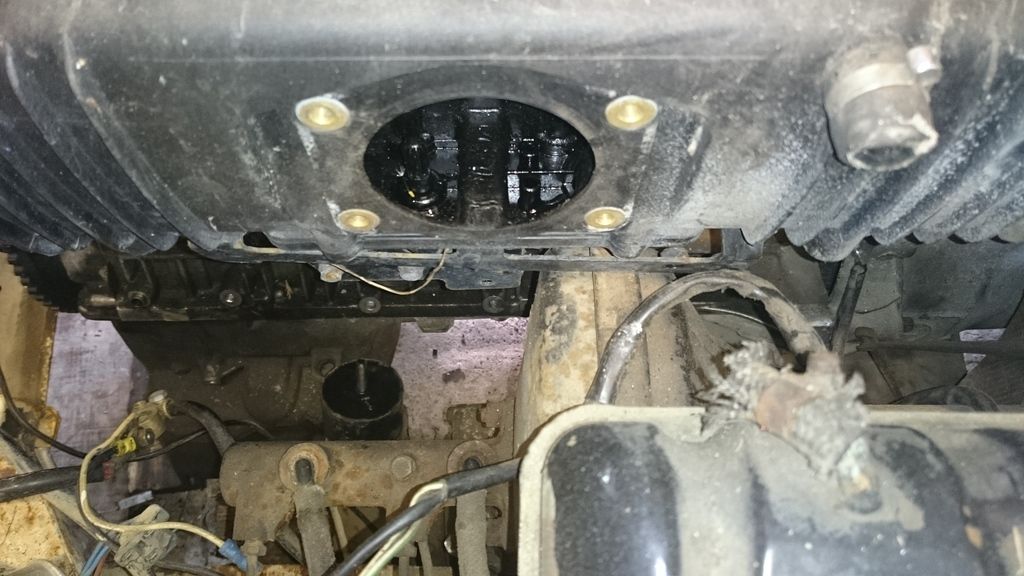
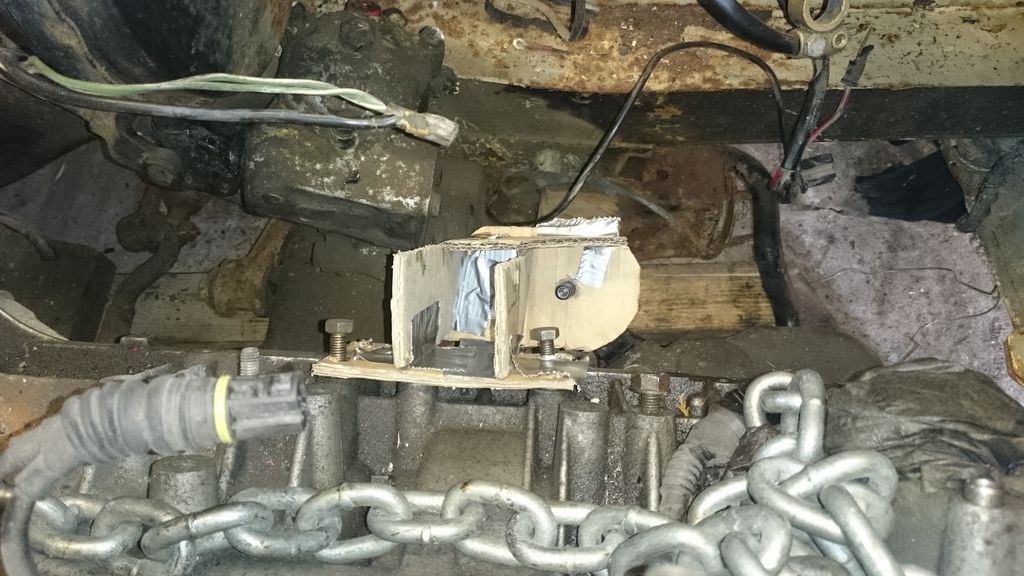
unfortunately you can see in the picture below there is a problem with the anti roll bar hitting the sump, the m30 oil pan was set back a bit further, I am not sure how to resolve this just yet, i think its more then likely that its going to be a custom ARB.

Image
Image

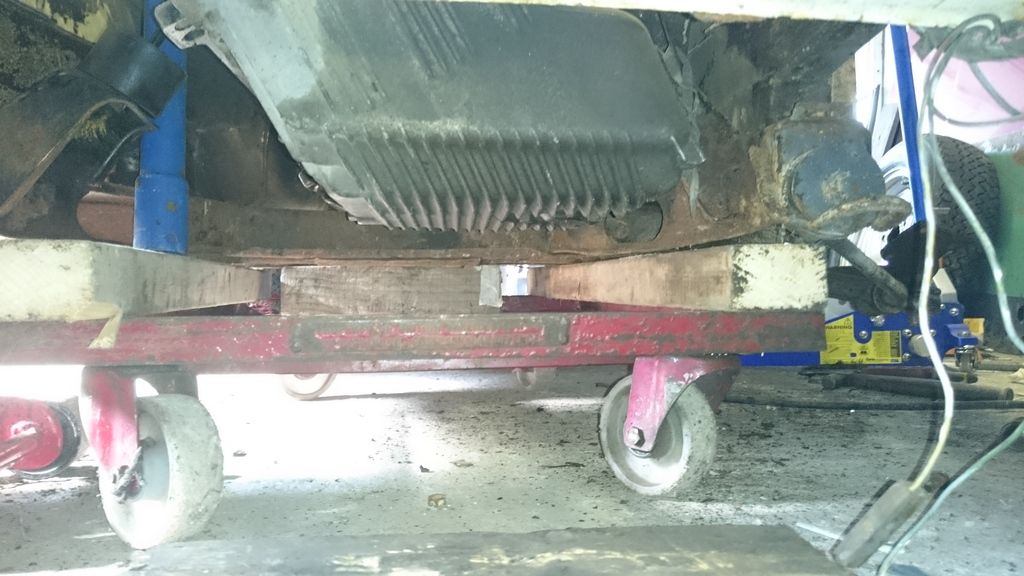
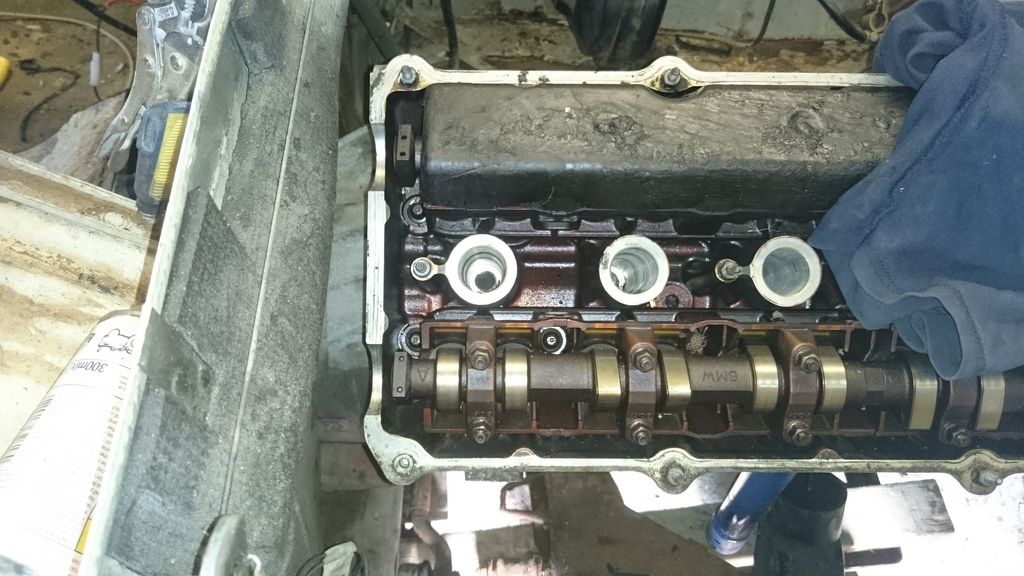
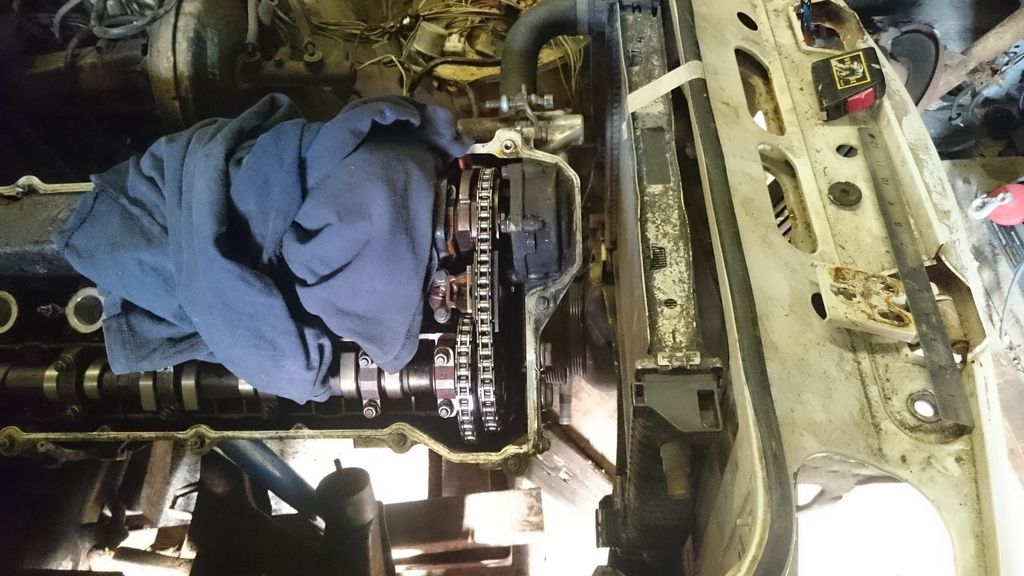
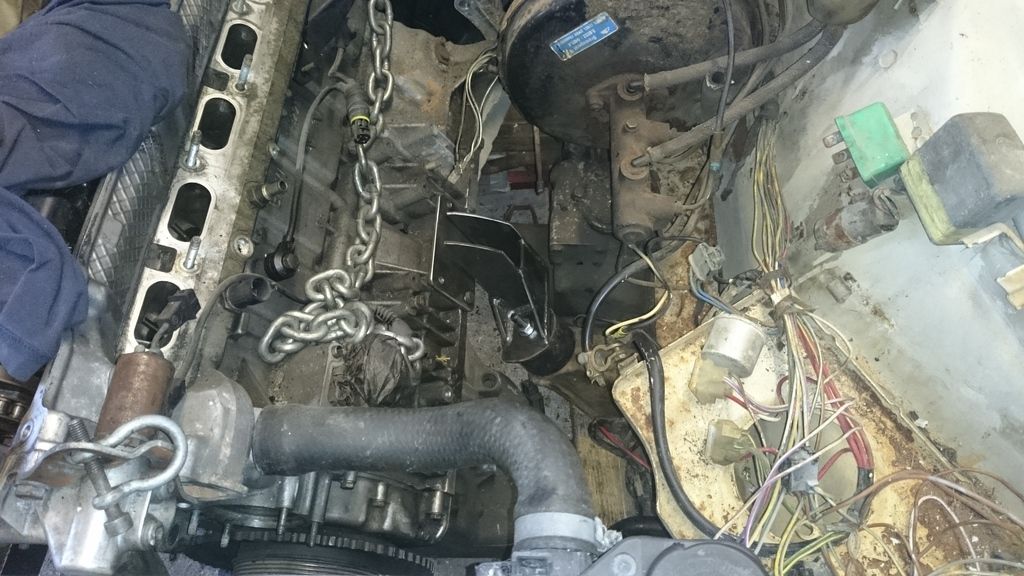
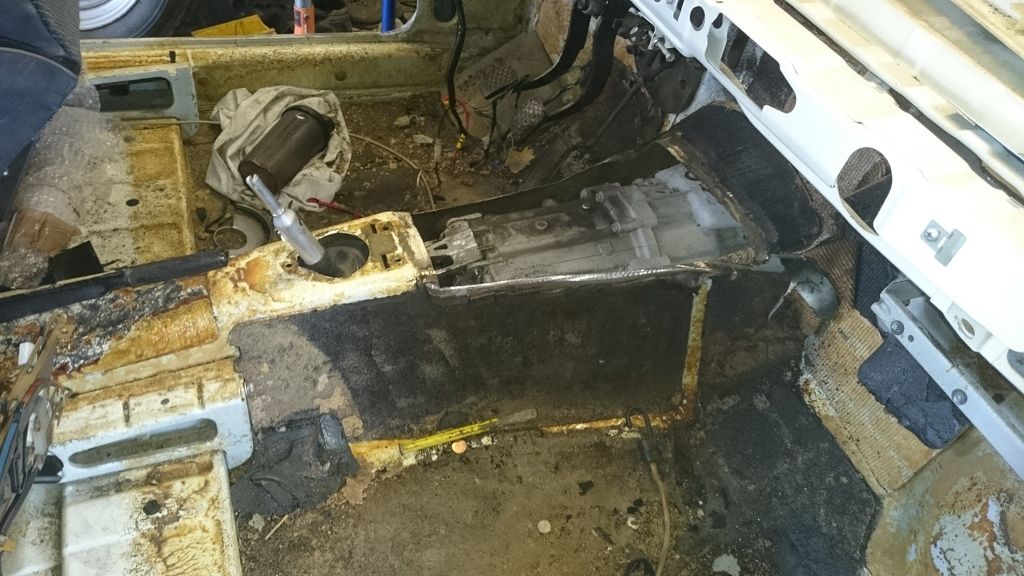
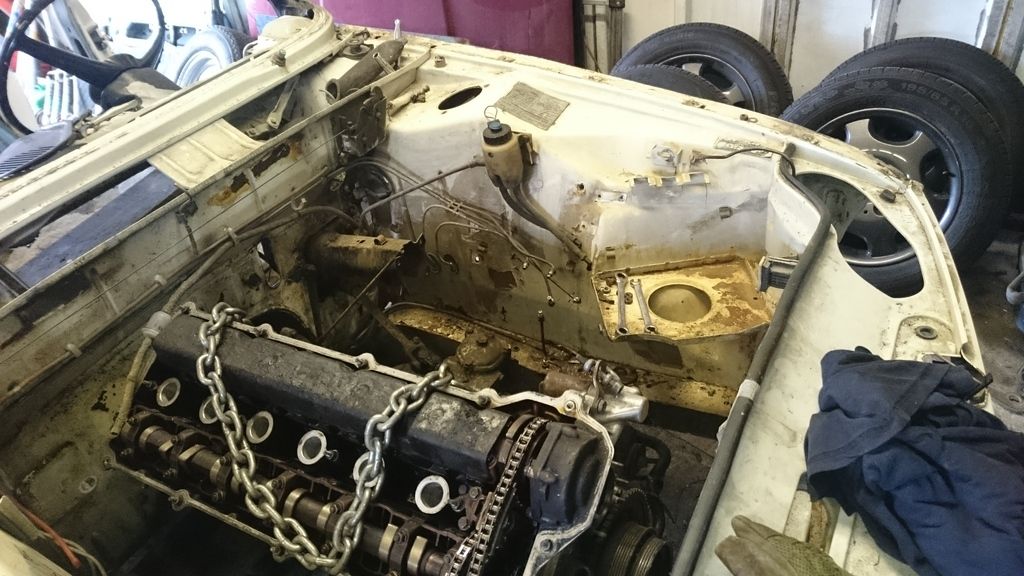
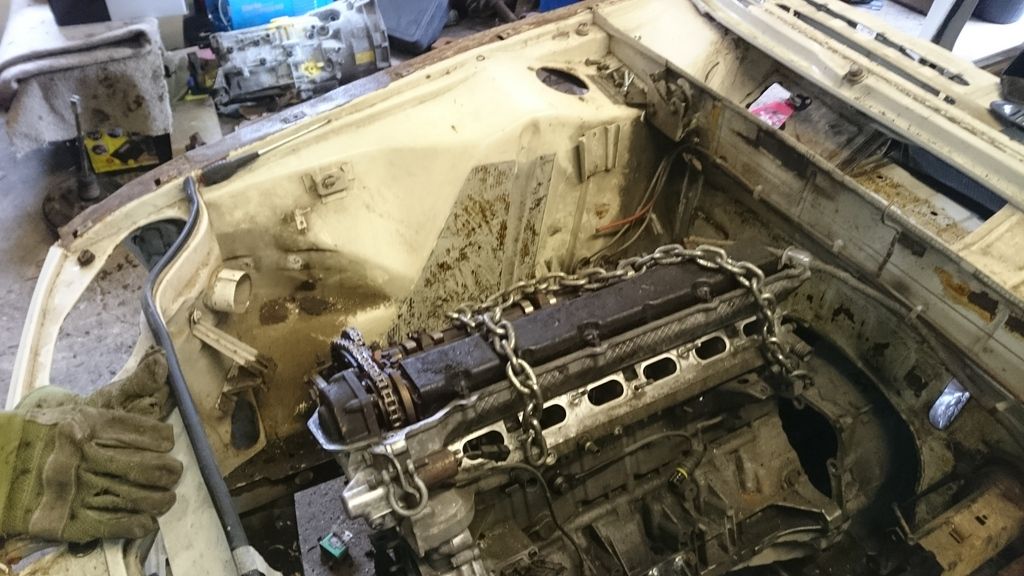
Thought I may as well crack on and see how the engine fits, i placed the engine on top of the subframe (held steady by planks of wood) put the whole lot on a wheeled dolly, stuck it under the car and lowered the car over the top. It fits pretty well indeed.

Image

Image

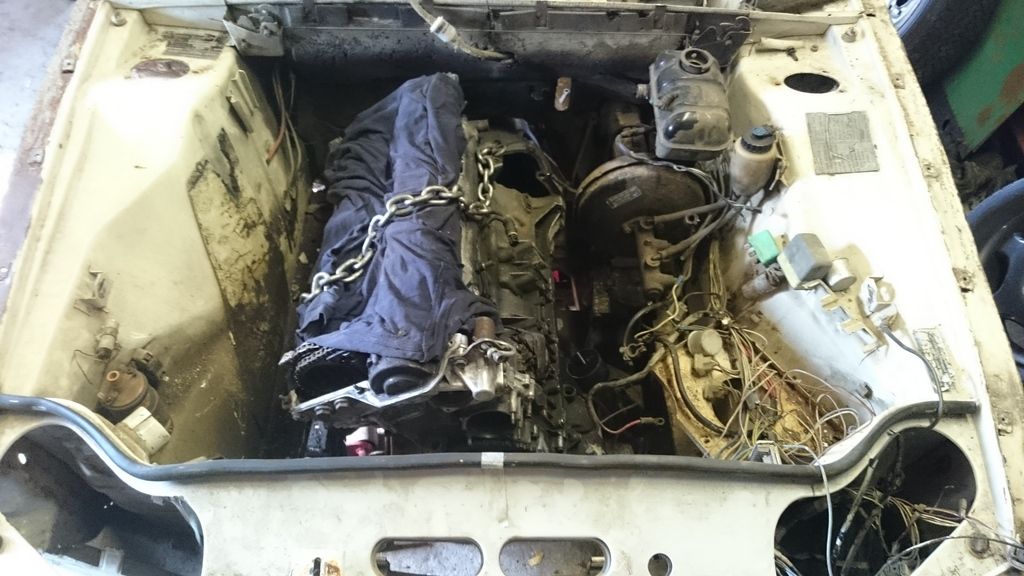
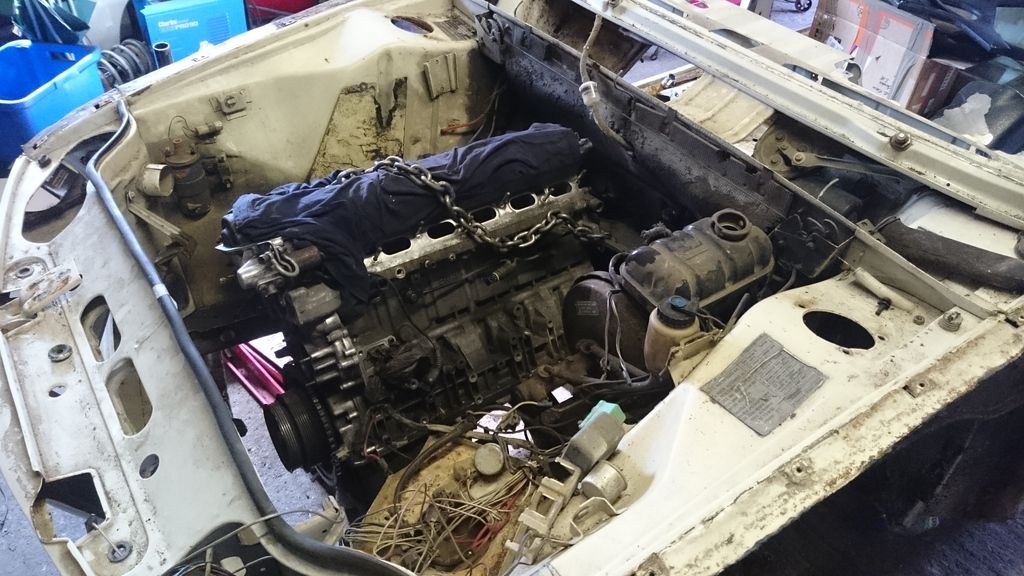
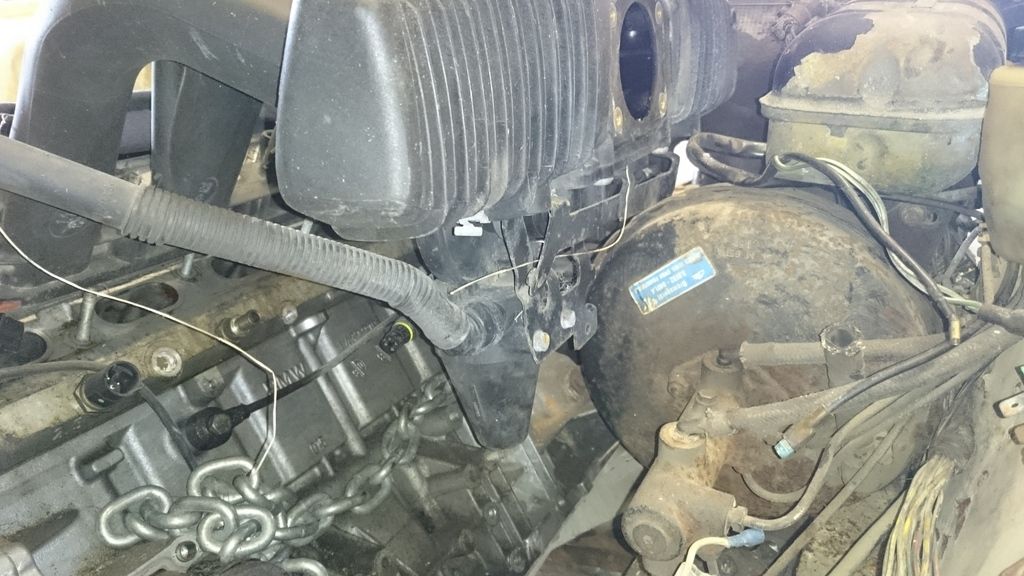
its not all good though as the m52 intake doesnt clear the brake servo - this is a 9" servo, thinking if i get a dual 7" ill be able to fit the intake.

Image

Image

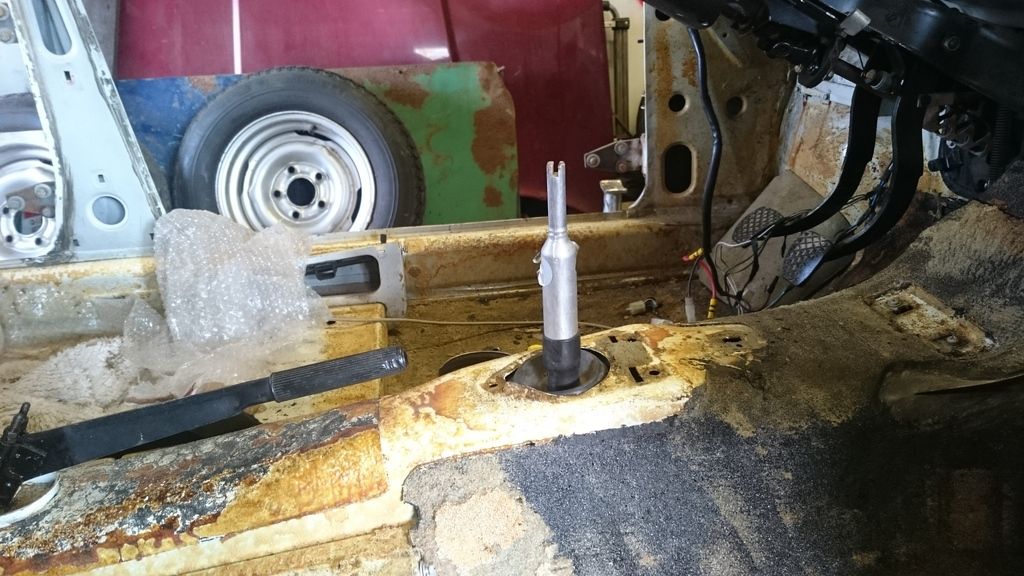
Gear stick is in the exact spot

Image

sump wont need any modifcations though which is a bonus as it saves a fair wedge of cash, and it sits 10mm above the lowest part of the subframe.

Image

doing stuff like changing a clutch will be a nice and easy job as theres a nice bit of clearence at the back too.

Image

stock rad fits alright too.

Image

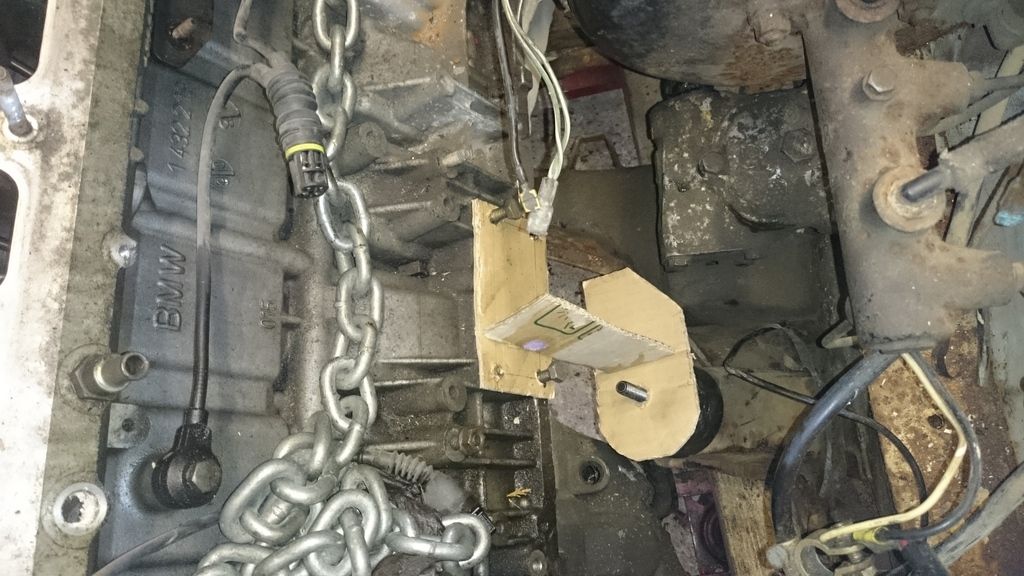
started making mounts, the easiest way i find how to do this is to use cardboard and then make it nice and strong - then throw the mount across the room at a wall as hard as you can, if it doesnt twist out of shape it's going to be fine.

Image
Image
Image


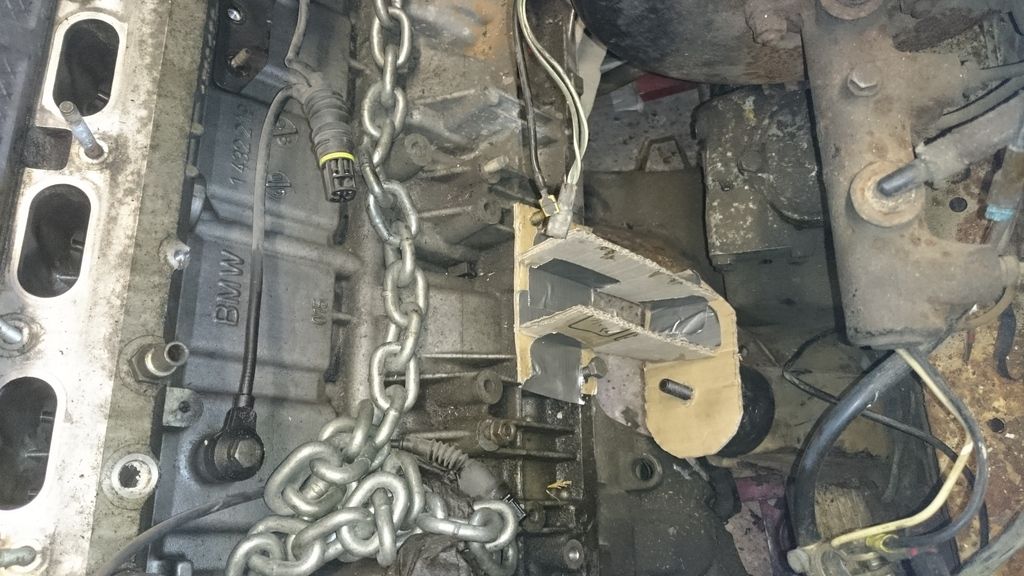
you get the idea. then you make them from nice thick metal
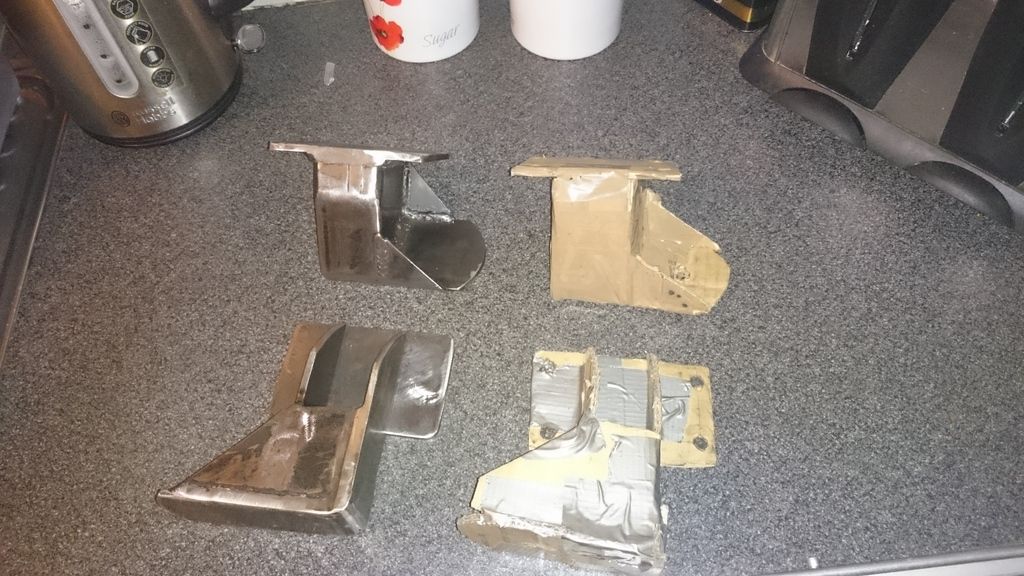
Image

they fit great

Image

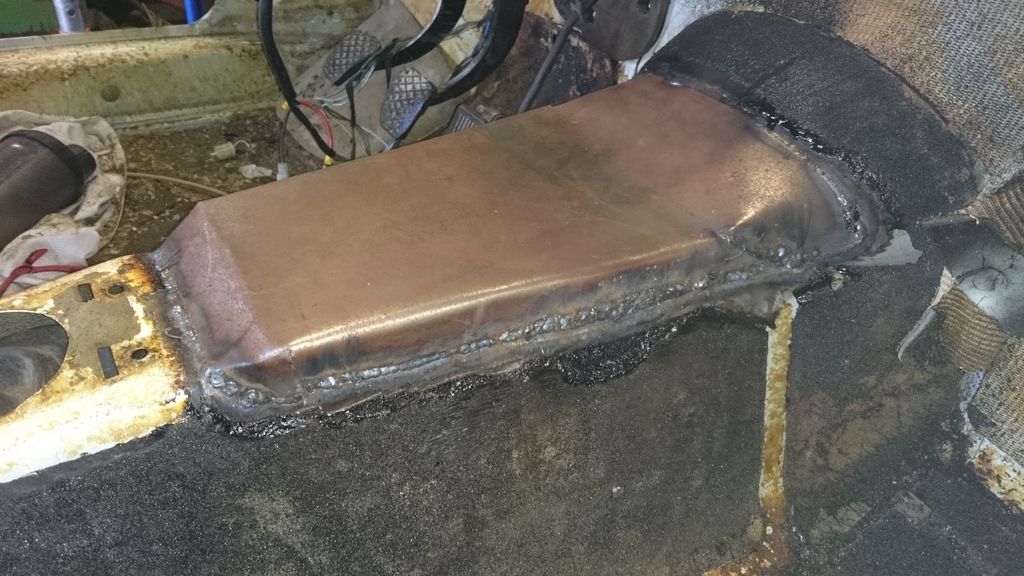
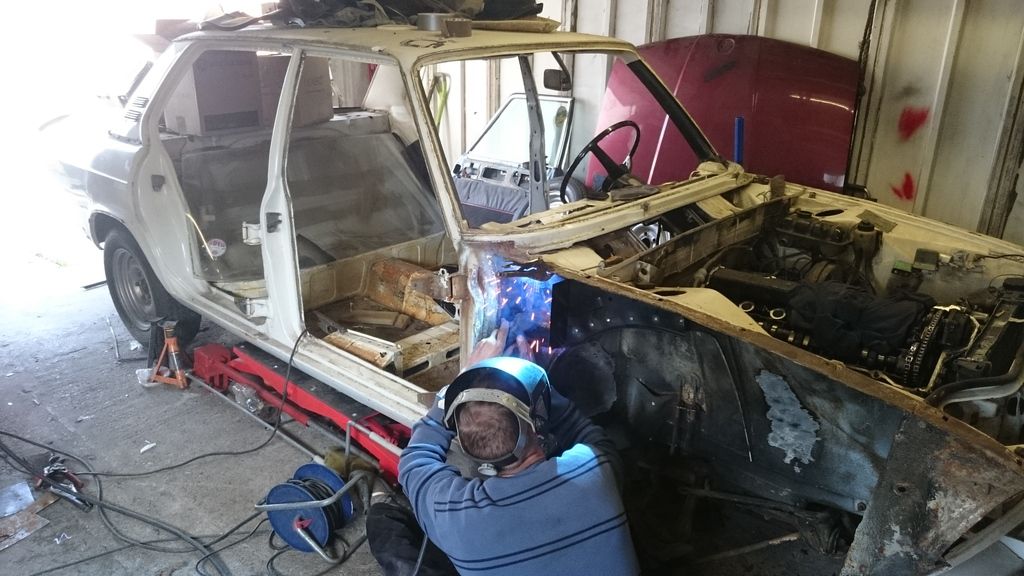
i have a welder but it isnt anywhere near powerful enough to weld this thickness of metal so i paid a mate to do it for me. he is pretty good

Image

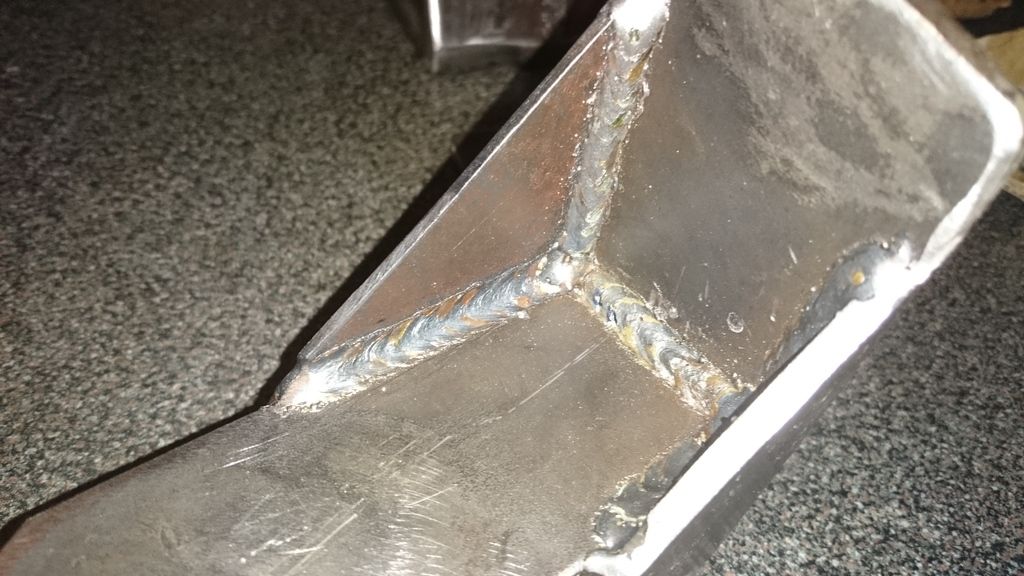
so i got him to do the some major bits
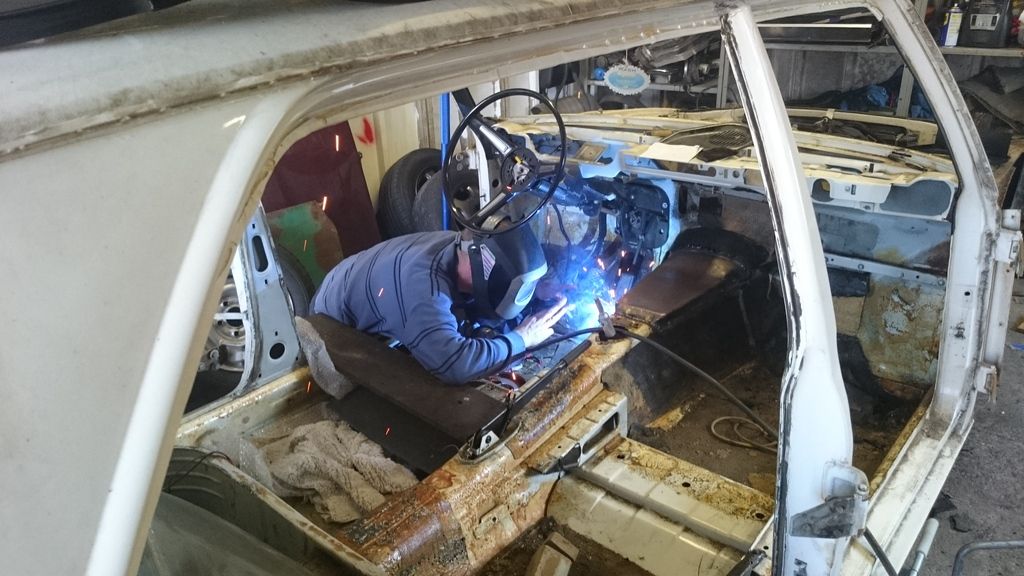
Image

Image

Image

action shot

Image

cut out this support frame it was crusty as hell

Image

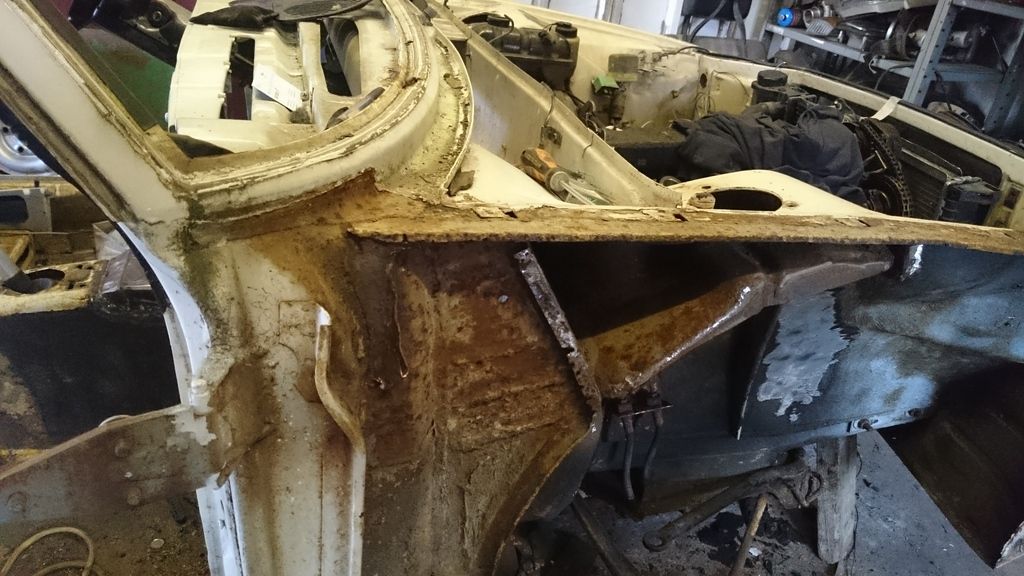
genuine panel used to replace it

Image

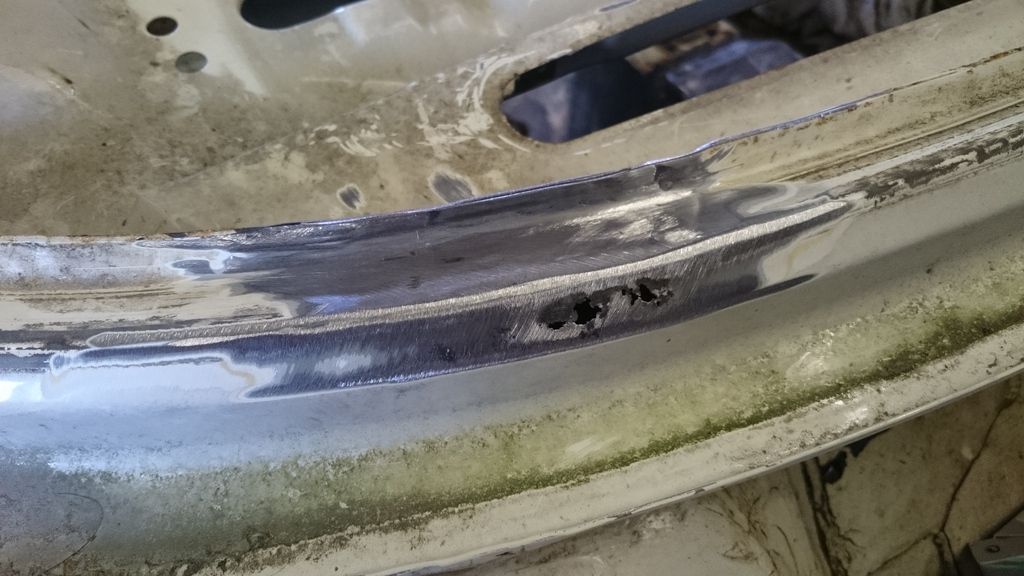
there was a bit here too that needed sorting

Image

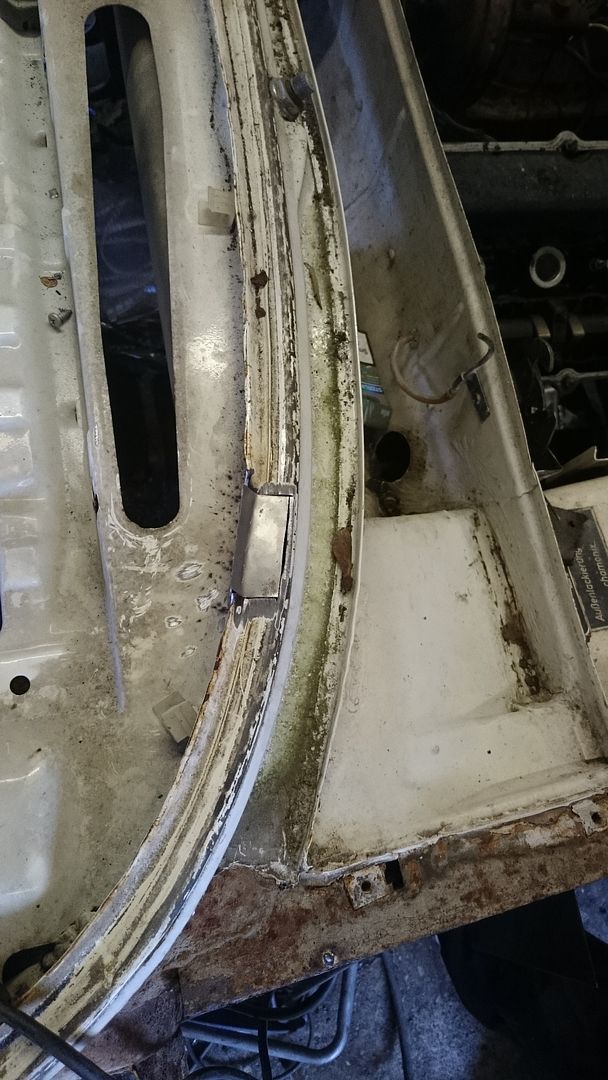
easily sorted but some evil previous owner had used filler to cover up holes below it

Image

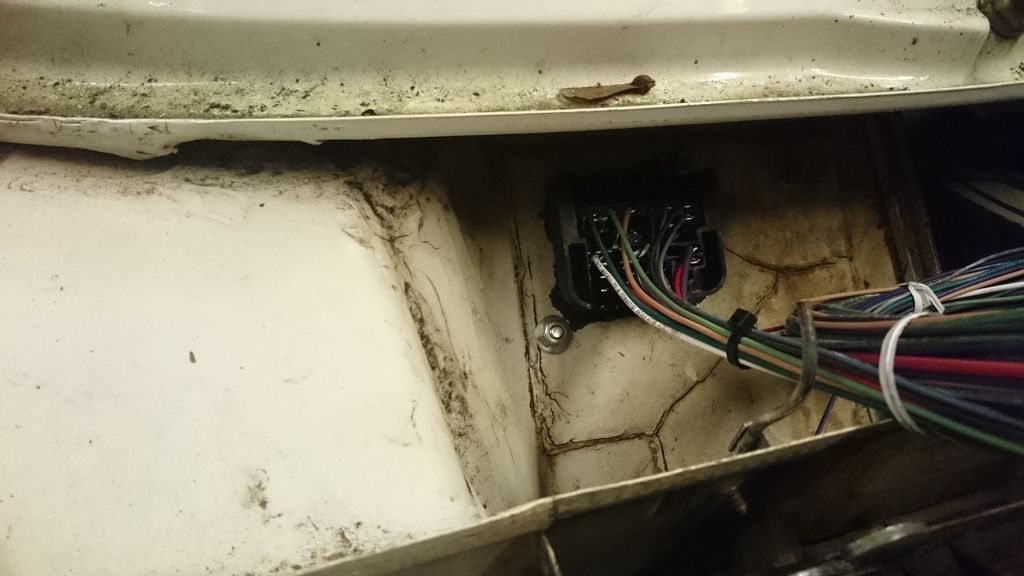
removed the brake servo and the bay wiring and relays, going to remove the tray, relay mounts and fill up some unused holes.

Image

Image

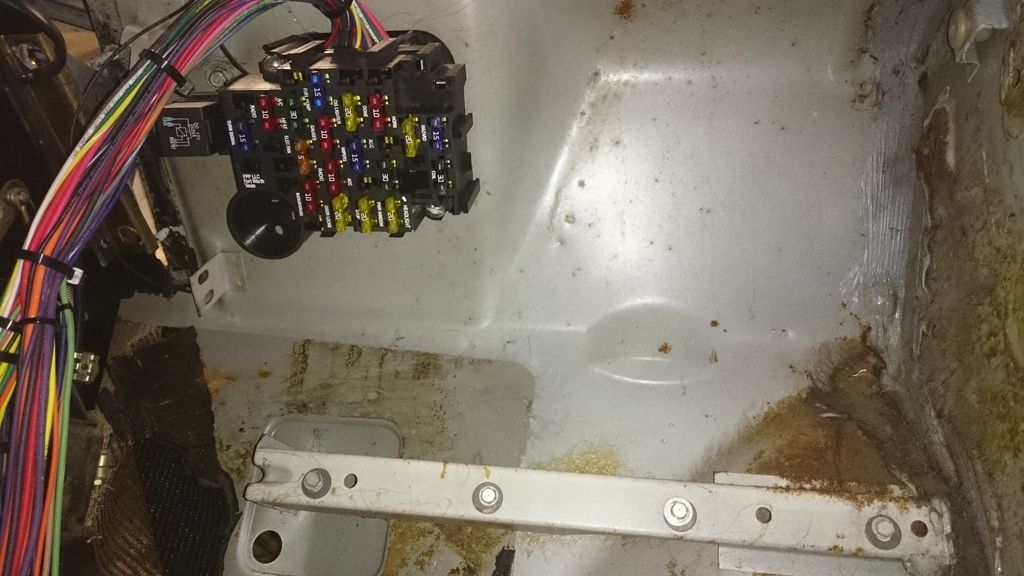
got the fuse box in - this was a bit of a head scratch as i needed it out of the way of the hot exhaust manifolds and theres not enough room for it on the drivers side. Ended up high in the scuttle but its easy to access from the glove box.

made a template first

Image

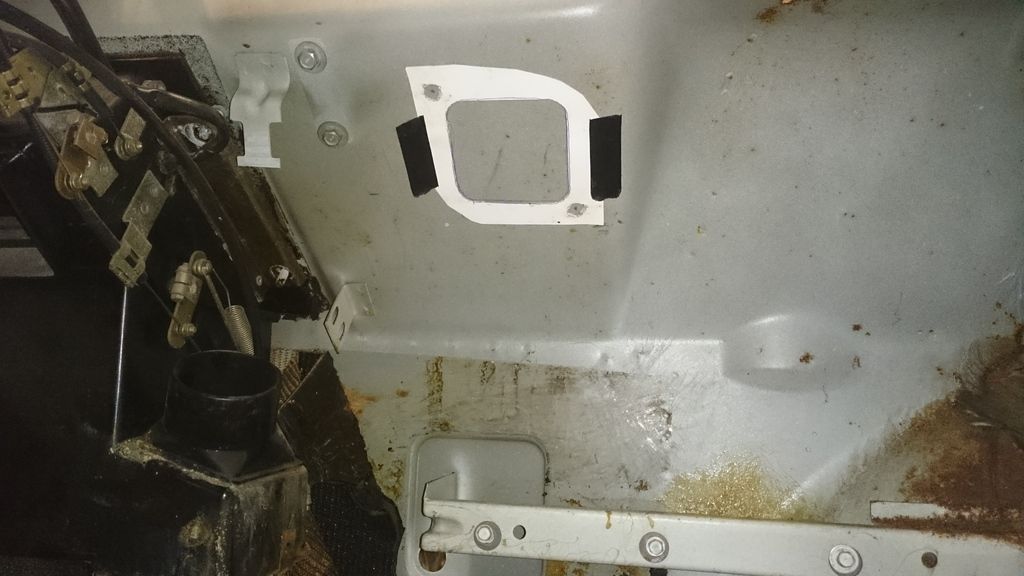
cut the hole and put the bulk head block though

Image

Image

i think thats about it for now. any feedback or suggestions are welcome.

Re: Project E3 is Go! 2014

Posted: Mon Apr 13, 2015 12:44 am
by Jeroen
Quite some progress, nice work sir!

As for the intake, considered a M50 conversion? Guess it won't be of much help to get more clearance but it gets you a few extra horses...

Re: Project E3 is Go! 2014

Posted: Mon Apr 13, 2015 1:17 am
by nas80
The engine thats going in is the alpina engine it has a high flow intake already.

The engine i am using is a spare 2.8 i use just for mocking up.

Re: Project E3 is Go! 2014

Posted: Mon Apr 13, 2015 1:35 am
by Jeroen
Ah ok thanks for clarifying!

Re: Project E3 is Go! 2014

Posted: Tue Apr 14, 2015 12:10 pm
by pandemonium001
Distance from E12 subframe section (not the flange) to aft edge of ARB is 40cm is that helps.

what rubber mounts are you going to use?
I was looking at these :
http://www.ebay.co.uk/itm/Engine-Mounti ... 3a9df7f36a

same size and PU, unless you know of anything cheaper.

Re: Project E3 is Go! 2014

Posted: Tue Apr 14, 2015 3:58 pm
by nas80
40cm - you mean thats how wide the center section is?

i need to know if it drops or lower then the one i have on the e3 - so from the subframe mount how far down does it drop?
can you get take a pic?

the e3 ARB part number is 31351103021
the e12 ARB part number is 31351113024

they look a bit different and i think the center section of the e12 ARB drops down a lot lower then the e3's

Re: Project E3 is Go! 2014

Posted: Tue Apr 14, 2015 5:46 pm
by BertjeConti
My arb center section drops approx 90 mm
its a e12 with M20 engine
distance between mount positions on subframe is aprox 740mm

Re: Project E3 is Go! 2014

Posted: Tue Apr 14, 2015 7:40 pm
by nas80
You guys are all legends on this forum. Many thanks.

Re: Project E3 is Go! 2014

Posted: Tue Apr 14, 2015 8:59 pm
by arshad76
nas80 wrote:You guys are all legends on this forum. Many thanks.
Word to that! :cheers

Re: Project E3 is Go! 2014

Posted: Thu Apr 16, 2015 11:18 am
by rob0r
Nice work on the mounts and the tunnel 8) All good information for mine :twisted: It looks like the tunnel has plenty of width but lacks height for the bigger boxes.

Re: Project E3 is Go! 2014

Posted: Thu Apr 16, 2015 11:23 am
by nas80
Yep. Just needs an inch on height i reckon. The thing is if you used another box like a five gang or an auto theres probably a bit more room you know