Page 5 of 62
Re: Uwbuurman: 1978 323i polaris
Posted: Wed Jun 04, 2014 12:11 am
by Jeroen
A thread well worth following, THIS is how a thorough restore is done. Lots of respect for all the work you're putting in, and document it in a very detailed way as well!
Re: Uwbuurman: 1978 323i polaris
Posted: Wed Jun 04, 2014 11:31 am
by uwbuurman
many thanks J.!
Re: Uwbuurman: 1978 323i polaris
Posted: Fri Jun 06, 2014 12:26 pm
by Lars-Nord
Still impresive work.
And we Are reading, Even if the photo's tell the story. Keep up the good story.
Re: Uwbuurman: 1978 323i polaris
Posted: Fri Jun 06, 2014 2:10 pm
by uwbuurman
Thanks Lars! later on, when I'm all the way updated you all wil see some restorations on the work that now is being done. In other words, what I'm posting now will be changed later on. But for that: keep looking here.
Re: Uwbuurman: 1978 323i polaris
Posted: Sat Jul 12, 2014 3:36 pm
by uwbuurman
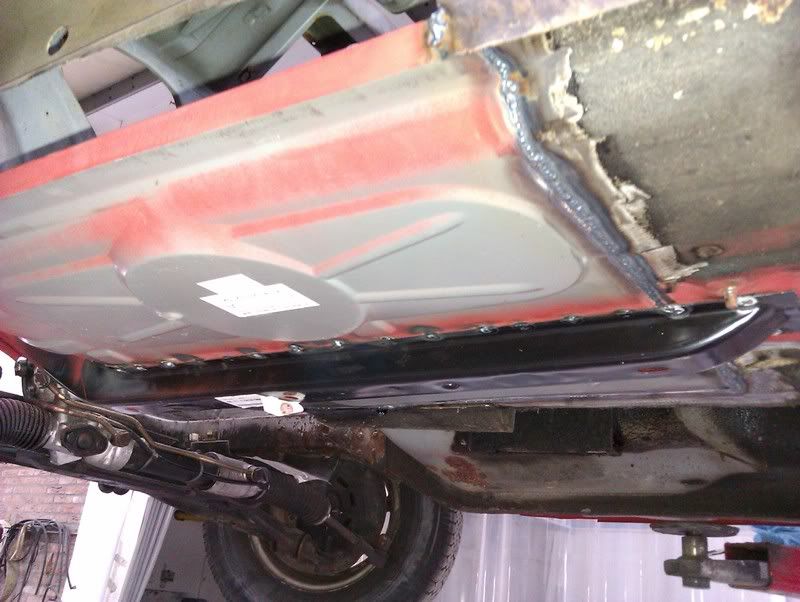
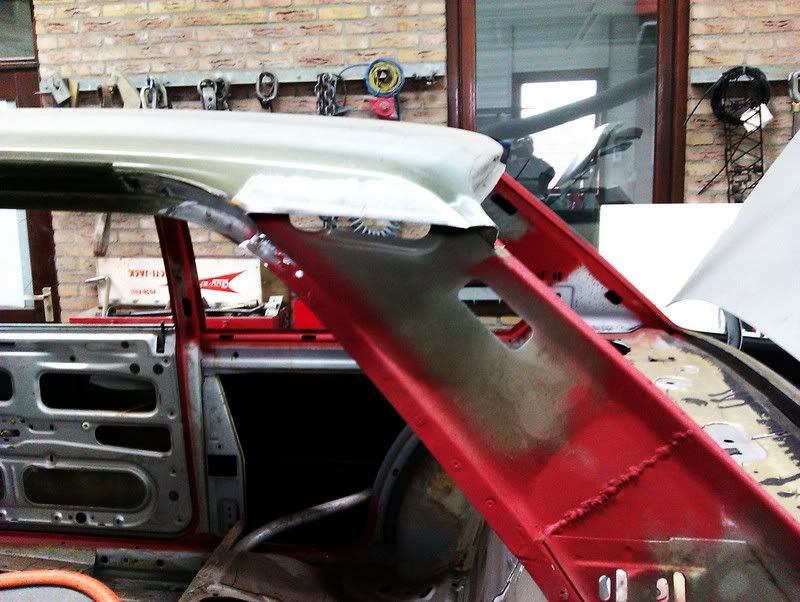
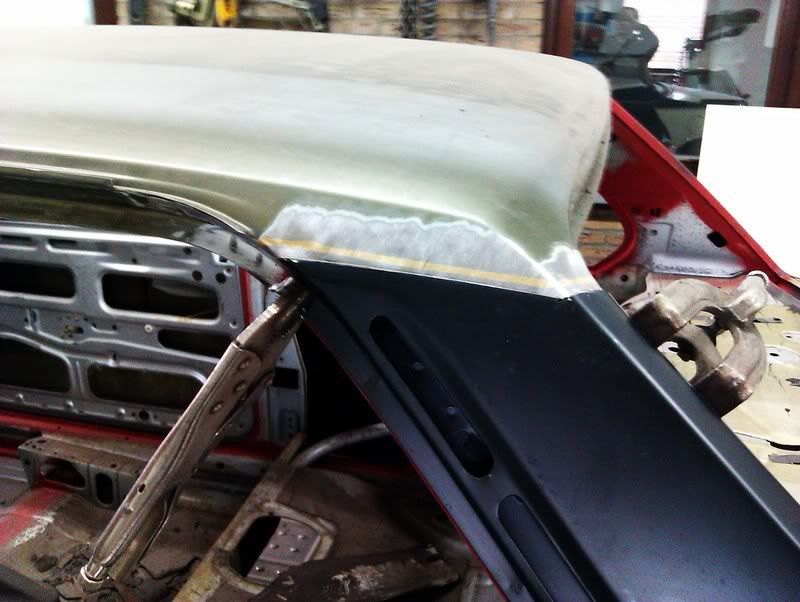
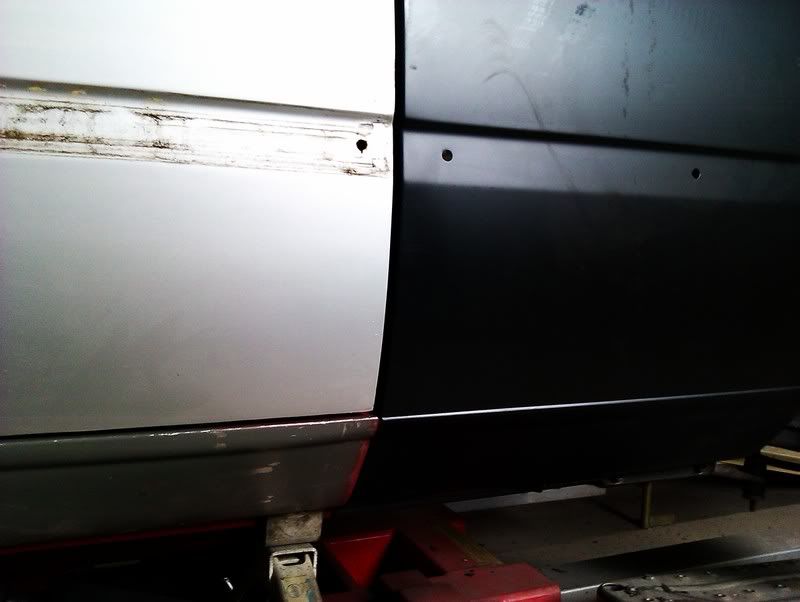
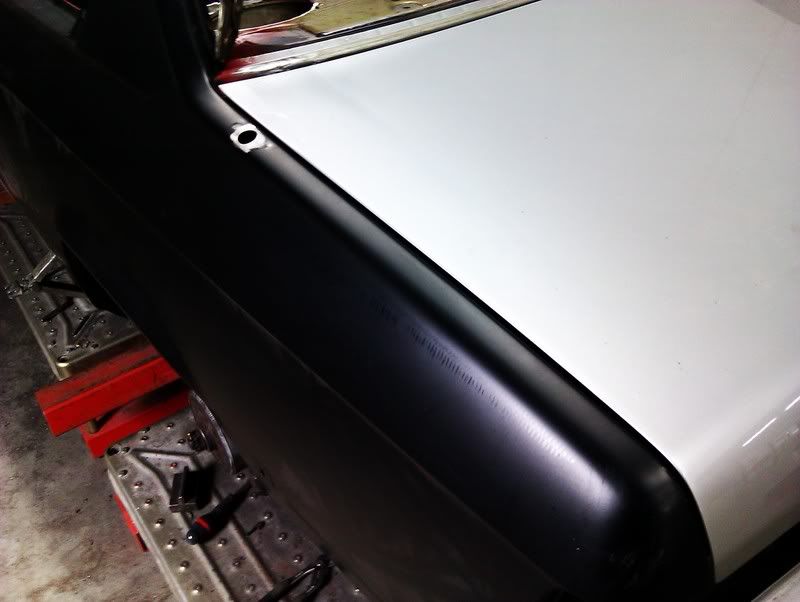
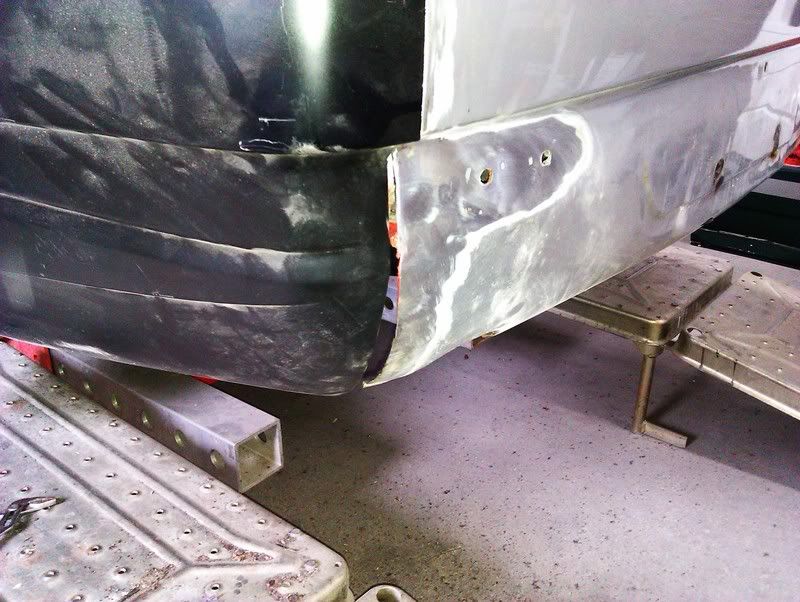
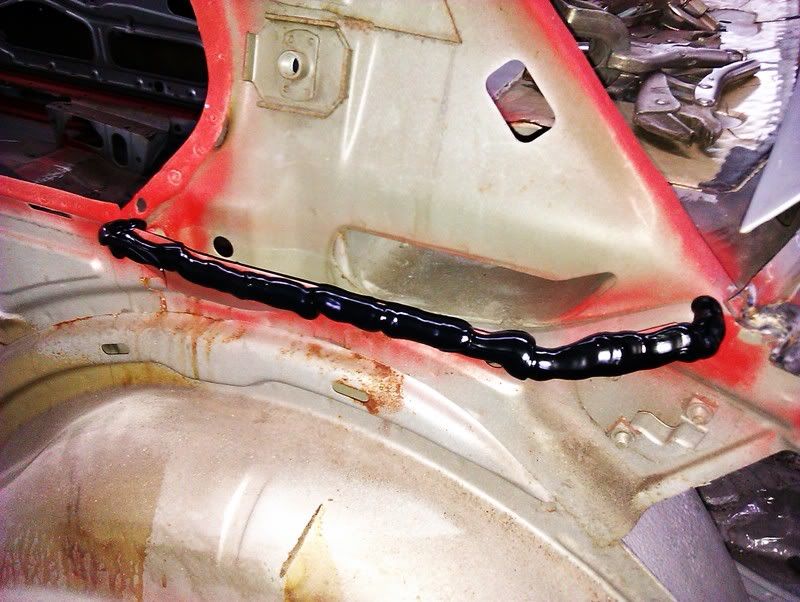
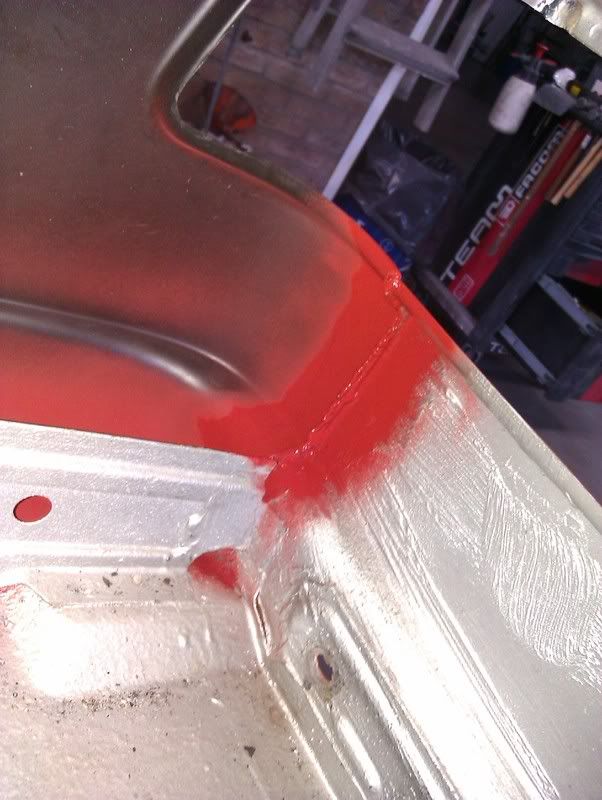
With the new sidepanel the gap between panel and bootlid has to be straight and even. Well, it is!
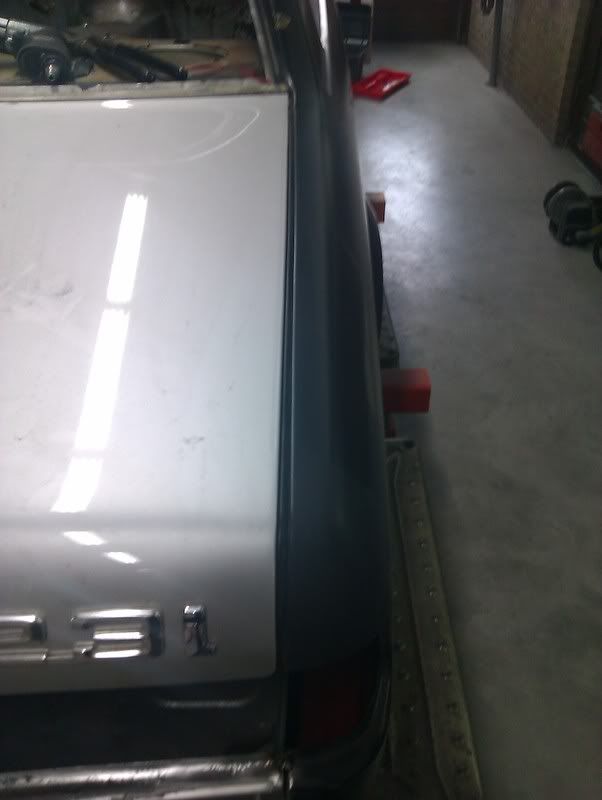
This gap has tobe closed
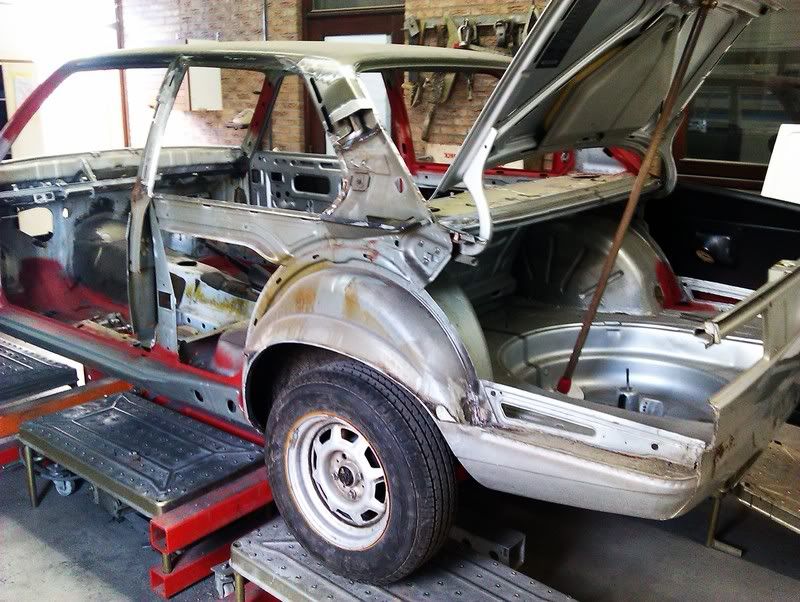
And this is were we stand right now. A damaged multi coloured beat up e21…
Re: Uwbuurman: 1978 323i polaris
Posted: Sat Jul 12, 2014 3:46 pm
by uwbuurman
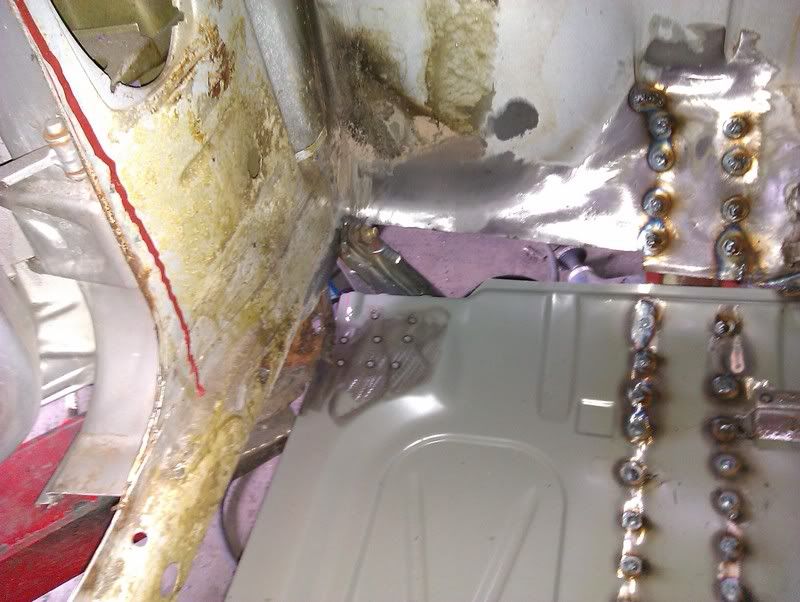
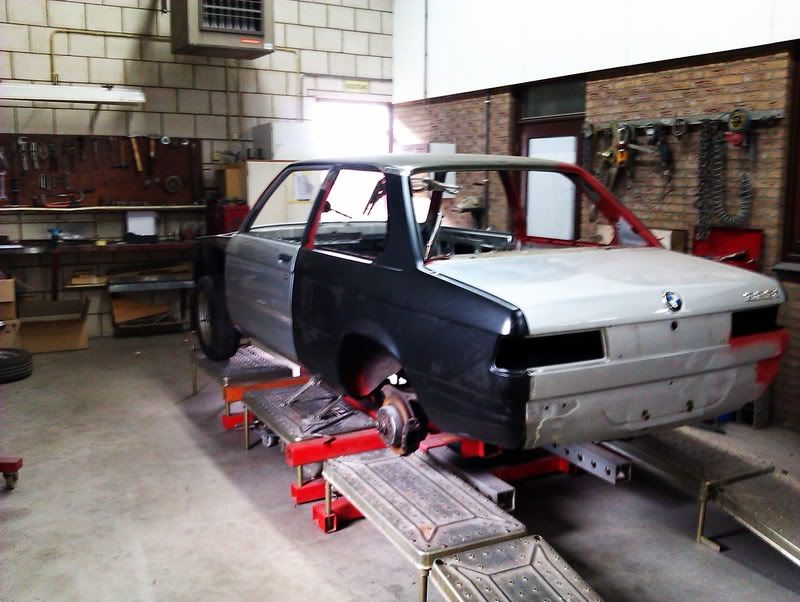
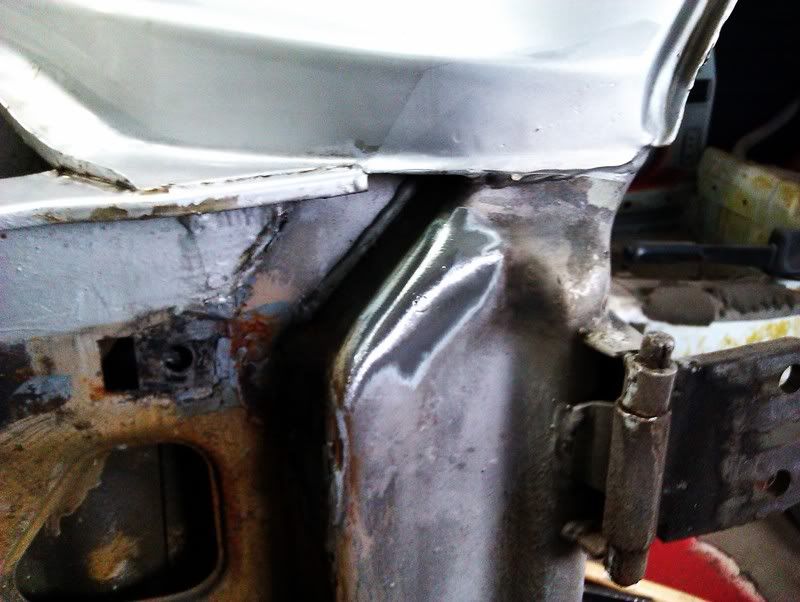
Almost to the day 3 years ago, July 15th 2011:
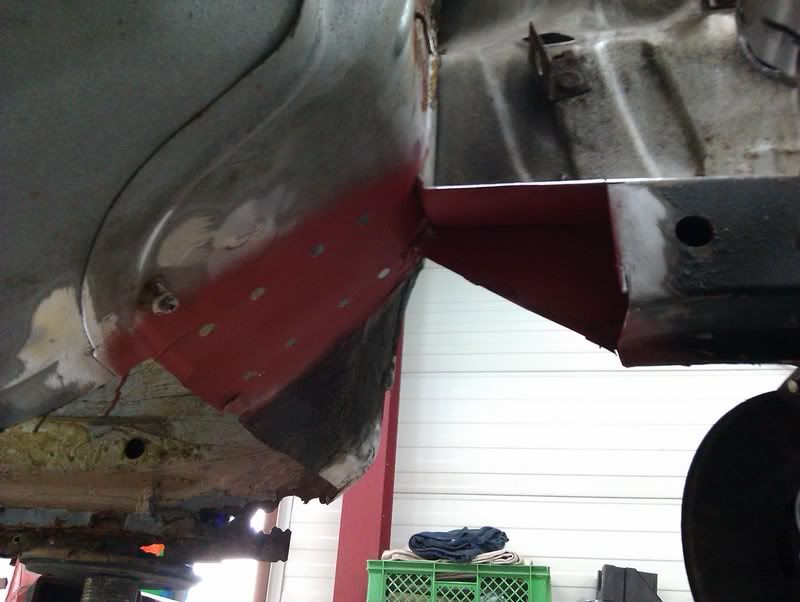
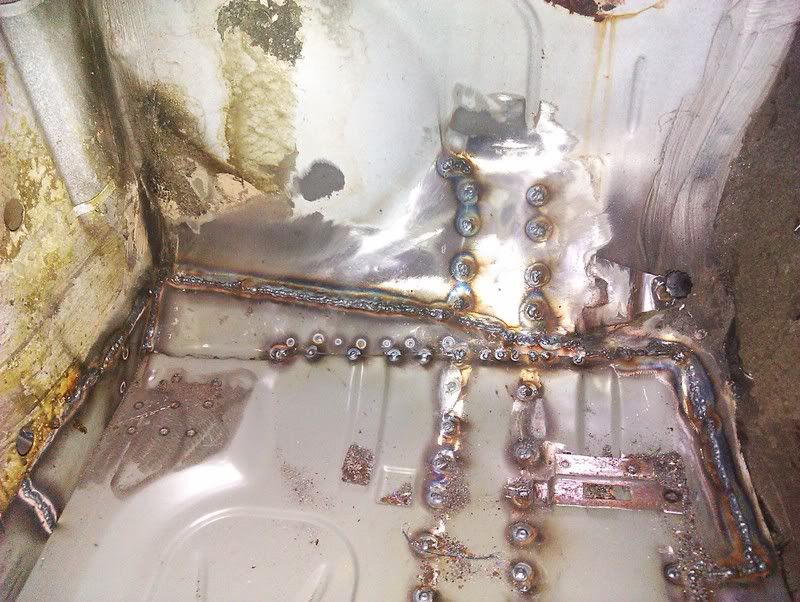
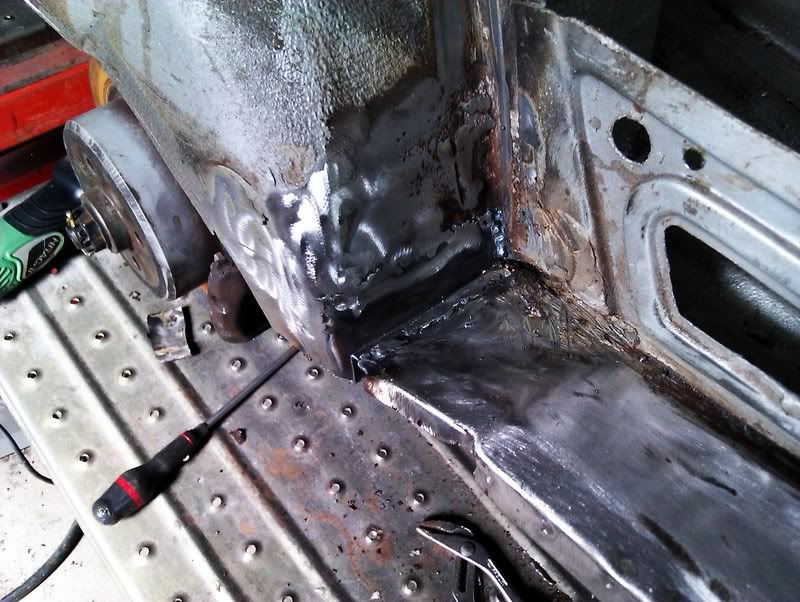
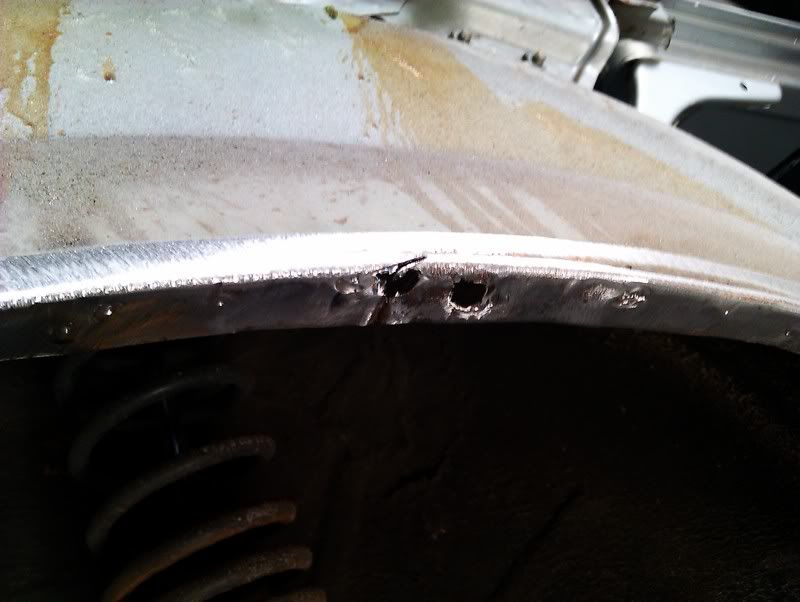
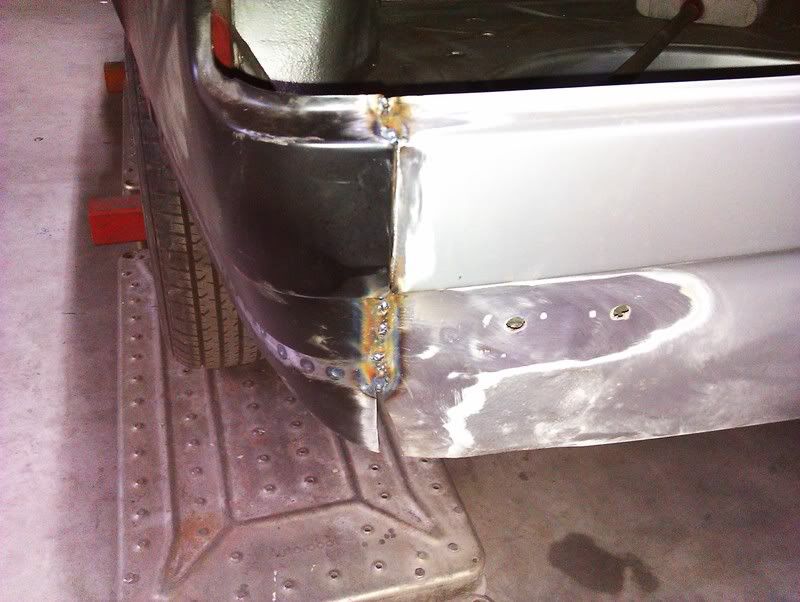
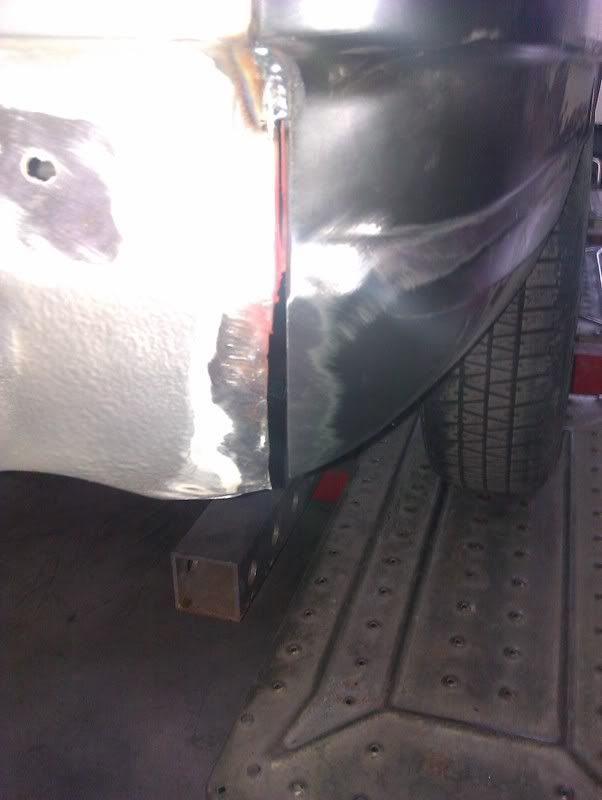
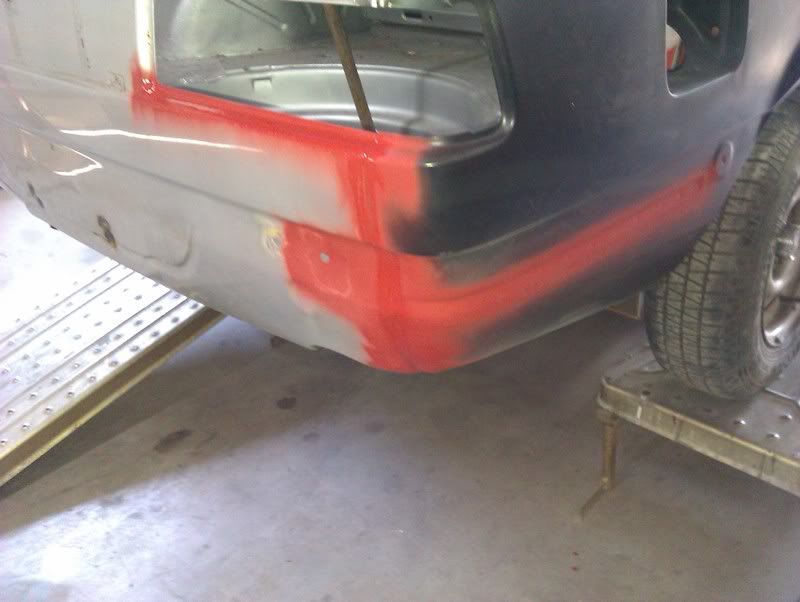
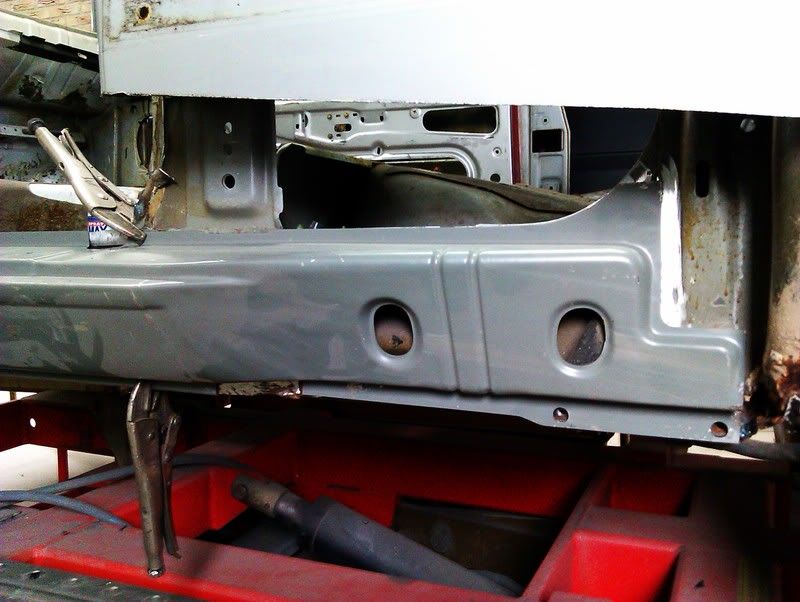
The right side is done, it’s ready!


The final chores have been done :
Welding under the taillight
Gap between side and rearpanel is closed.
And primered
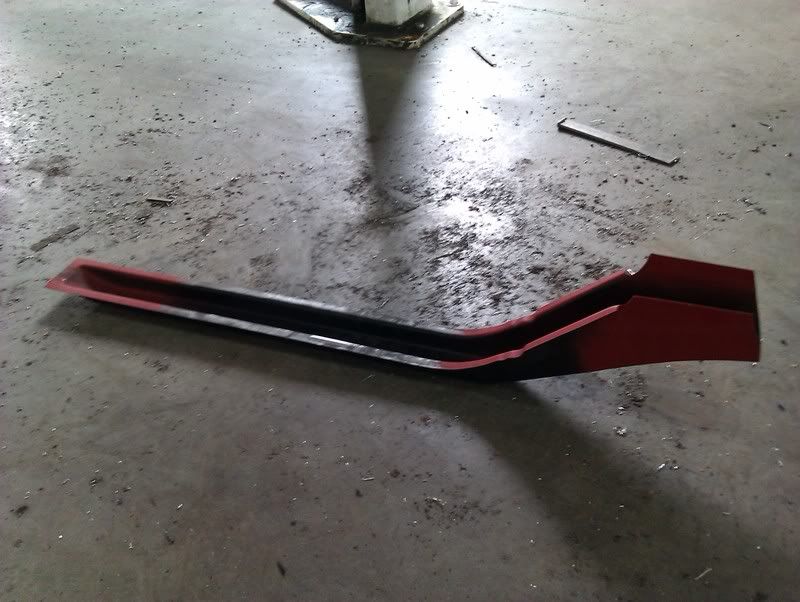
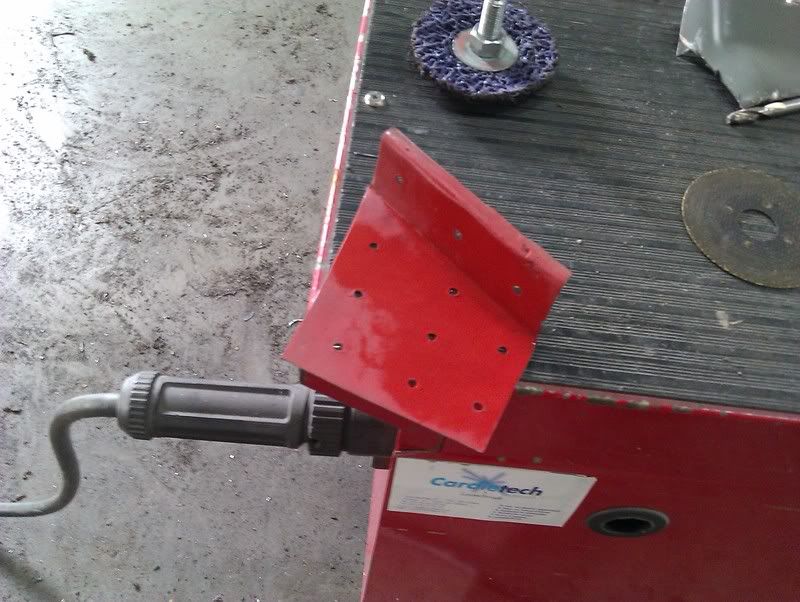
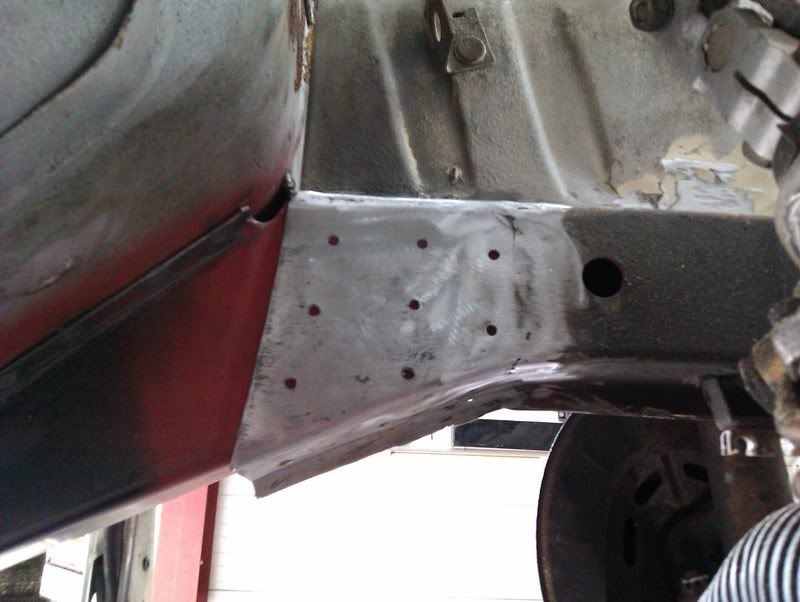
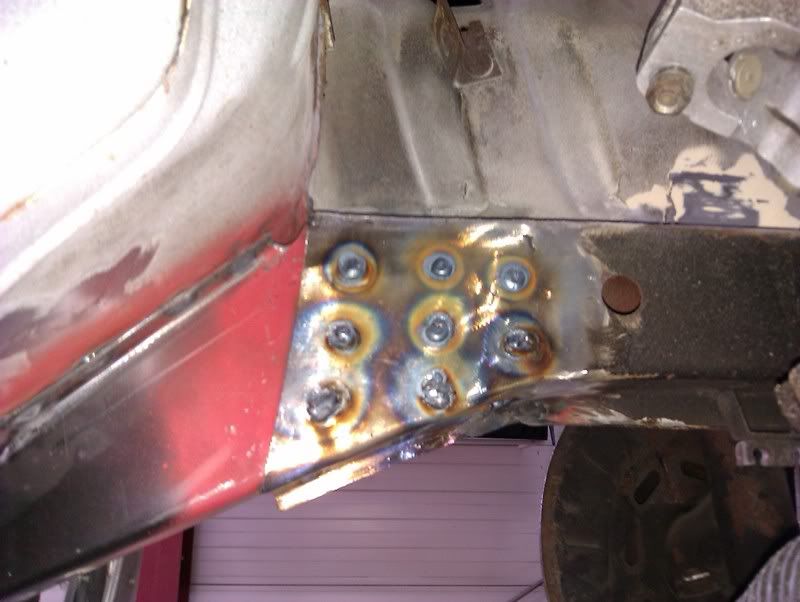
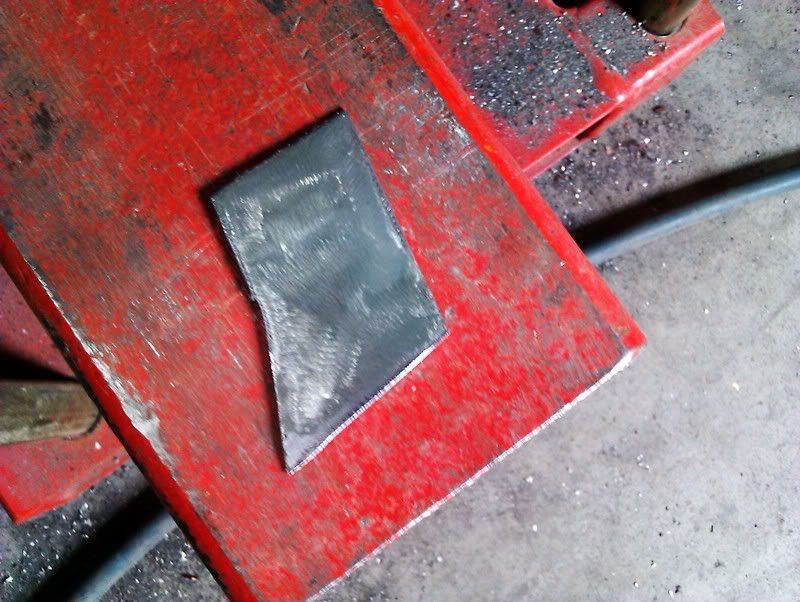
Welded in the triangular shaped piece
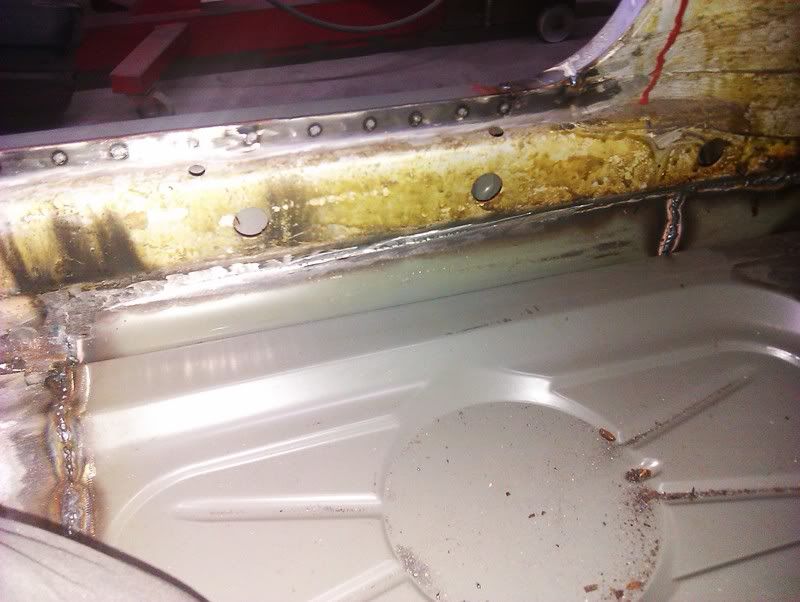
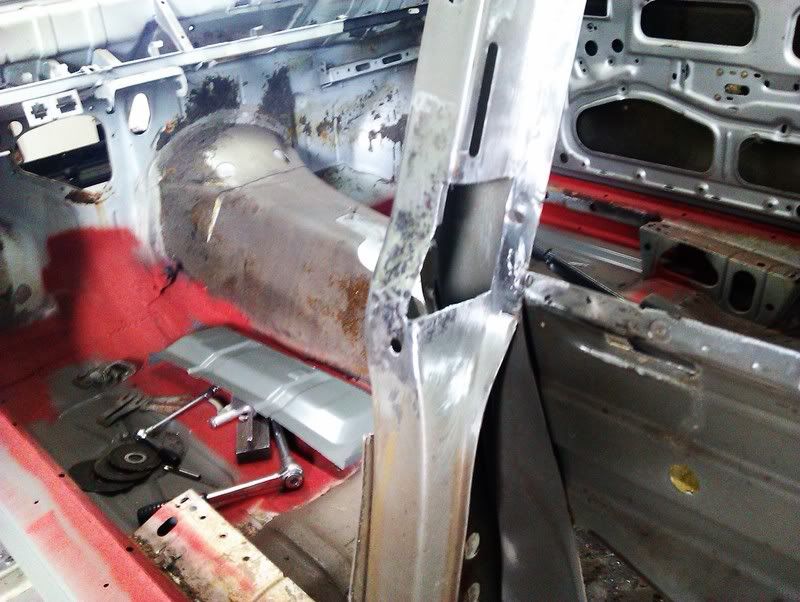
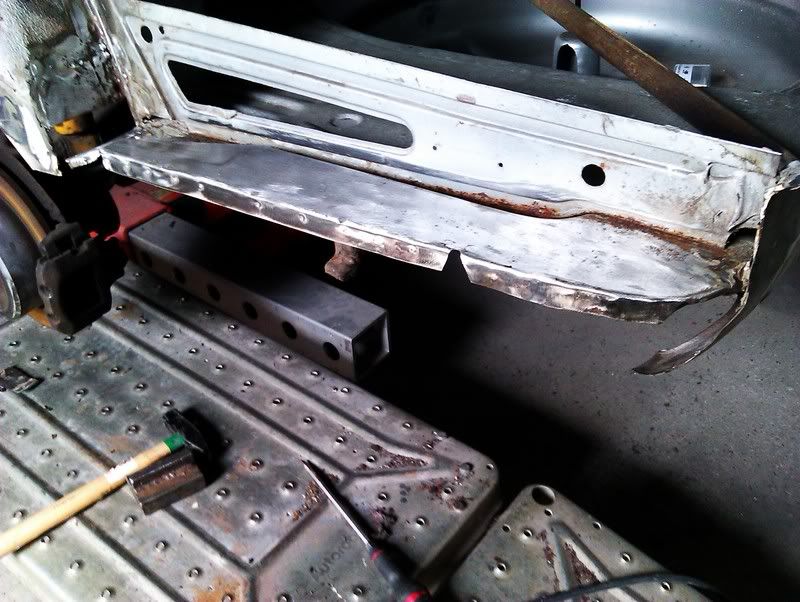
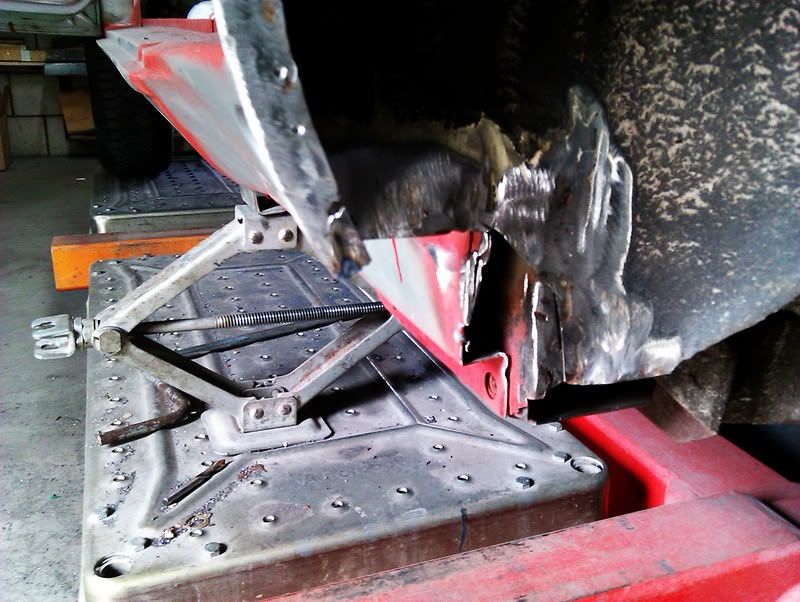
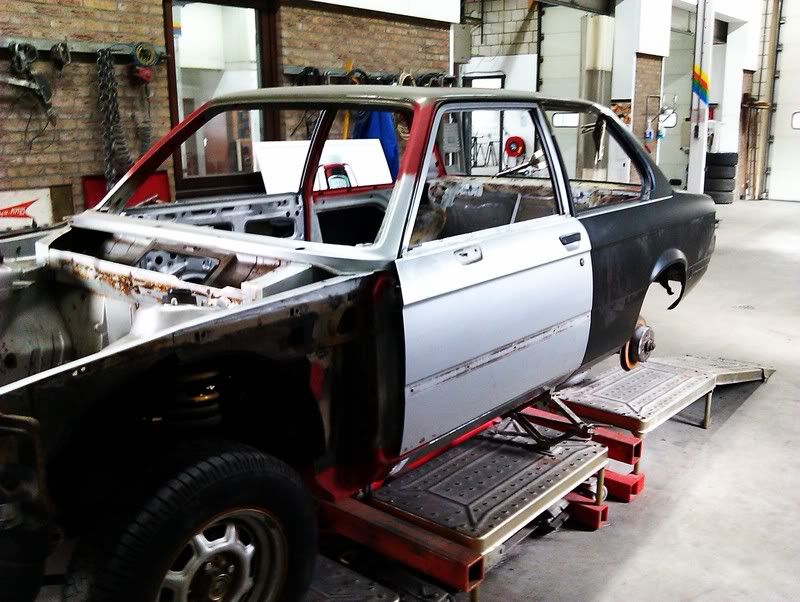
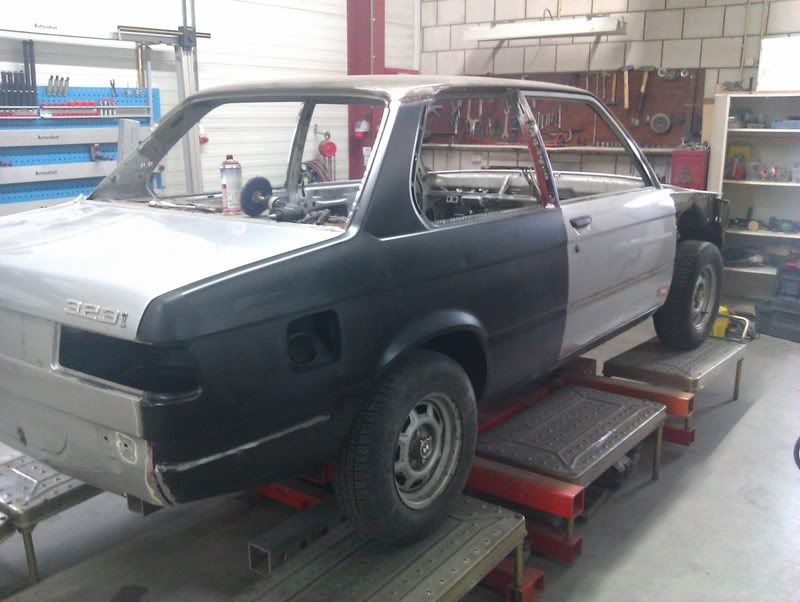
And we started at the left side
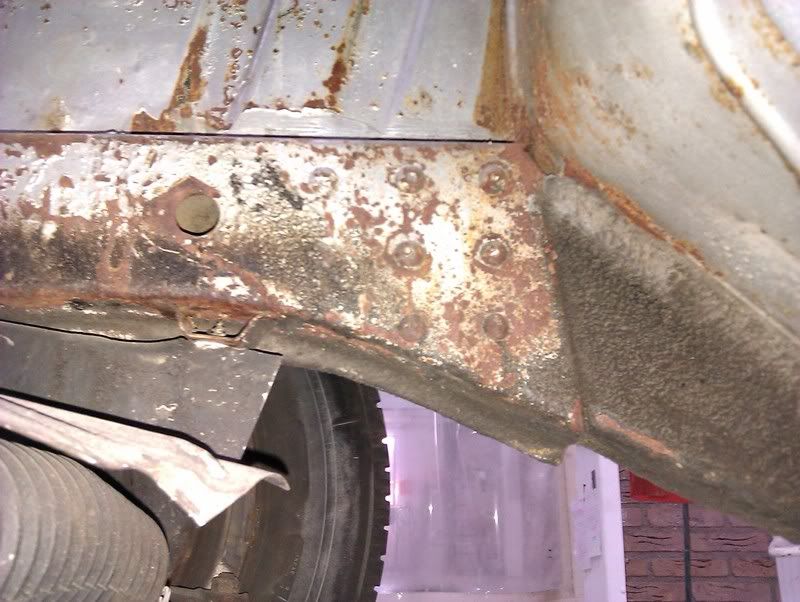
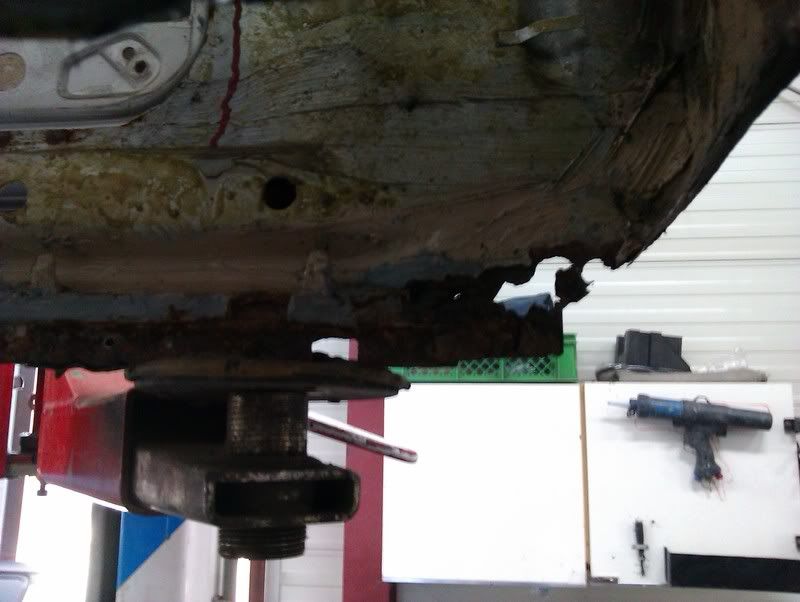
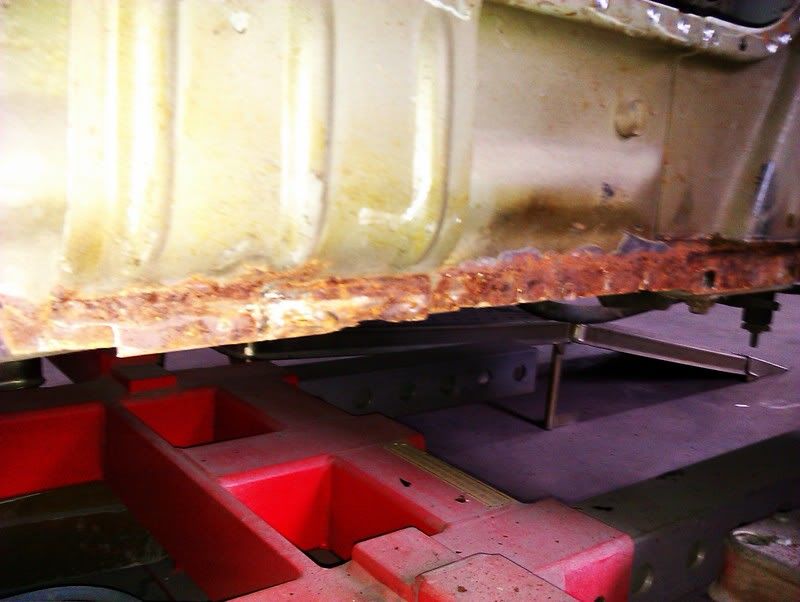
Grainded off the sill and guess what, it nealy came apart by itselve

The only spots were it still was attached are the little blank spots in the middle of all the rust.
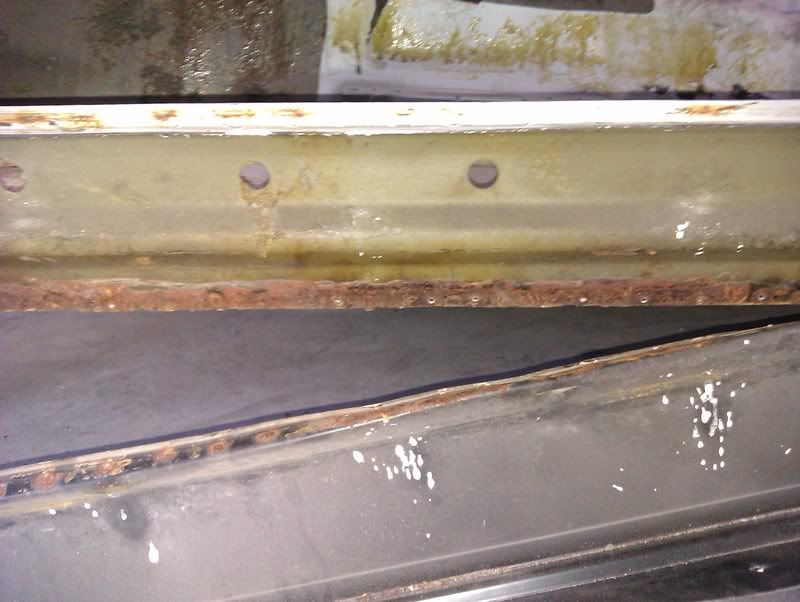
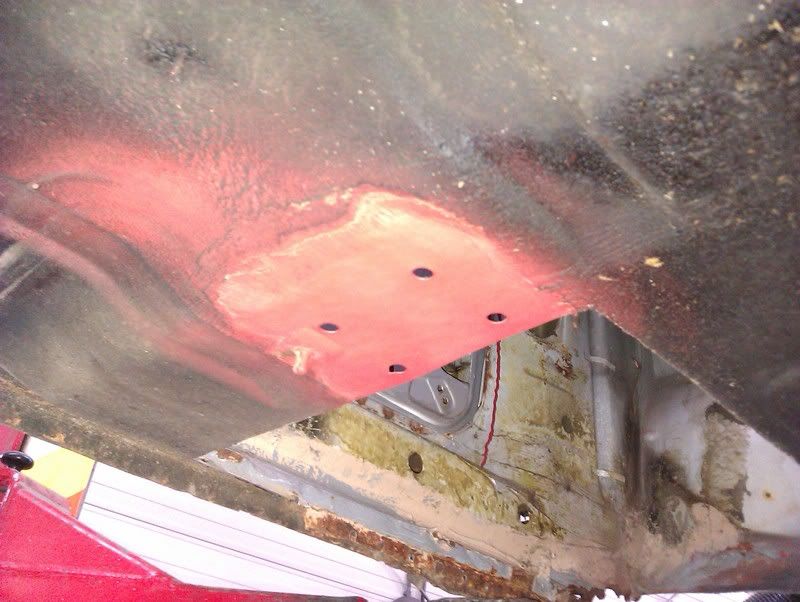
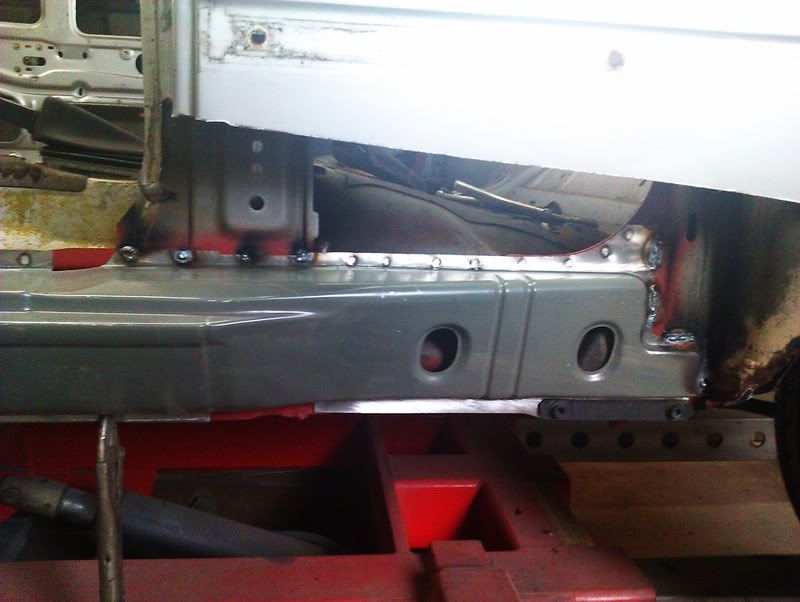
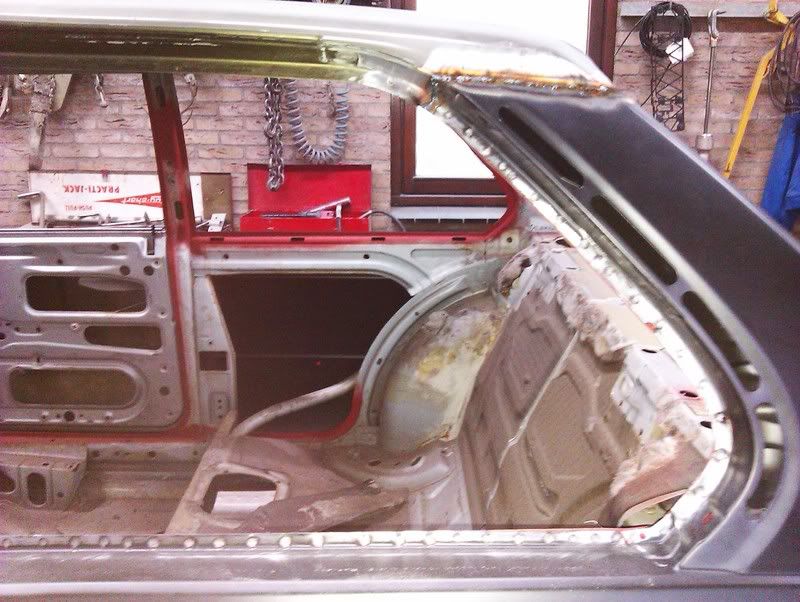
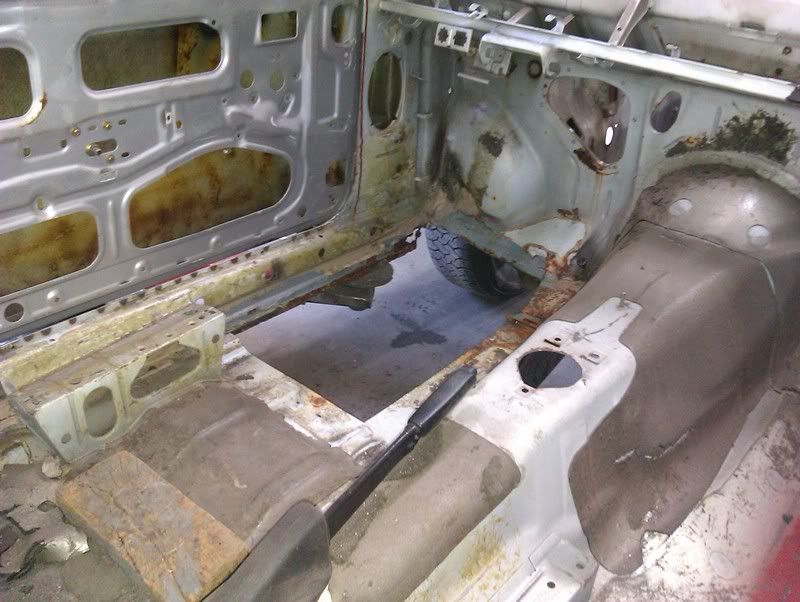
And we’ve cut out the floorpanel aswell, on this side the floor wasn’t welded to the chassisbar at all!!

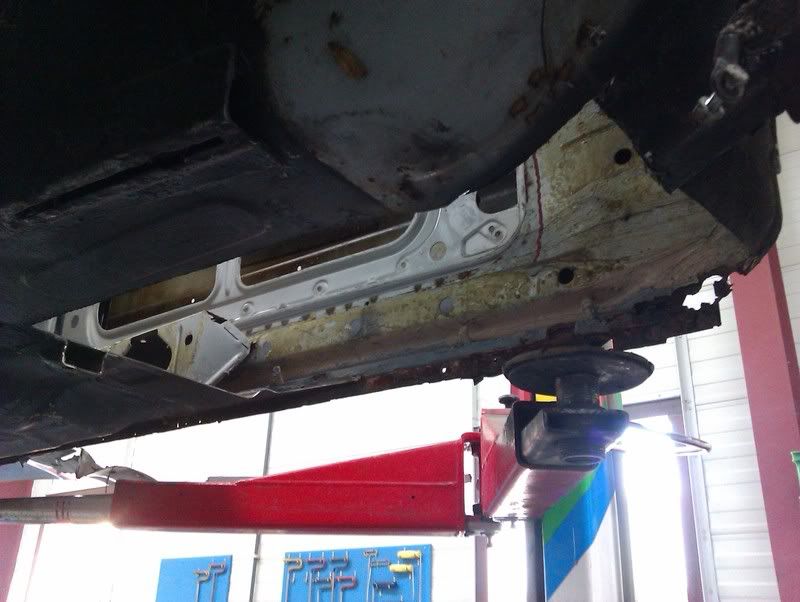
The innersill is also very bad.
More to come.
Re: Uwbuurman: 1978 323i polaris
Posted: Sat Jul 12, 2014 4:01 pm
by uwbuurman
Re: Uwbuurman: 1978 323i polaris
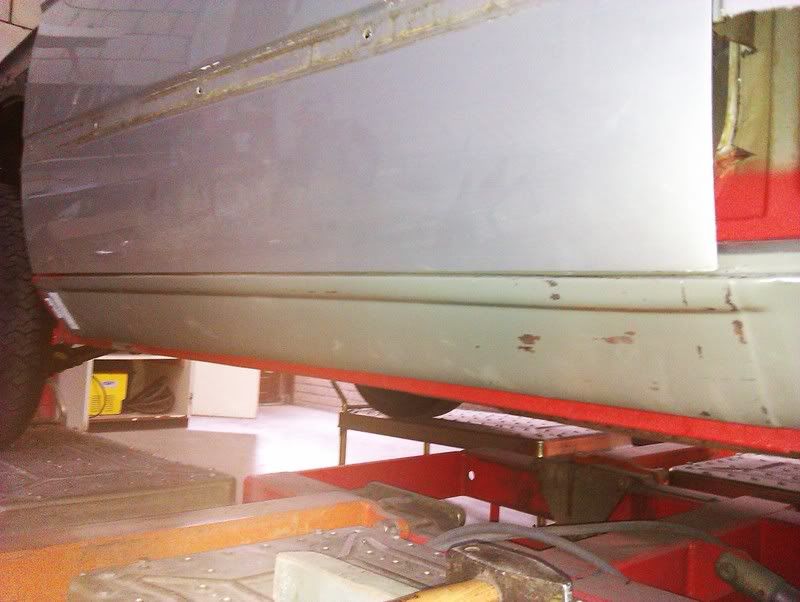
Posted: Sat Jul 12, 2014 4:04 pm
by uwbuurman
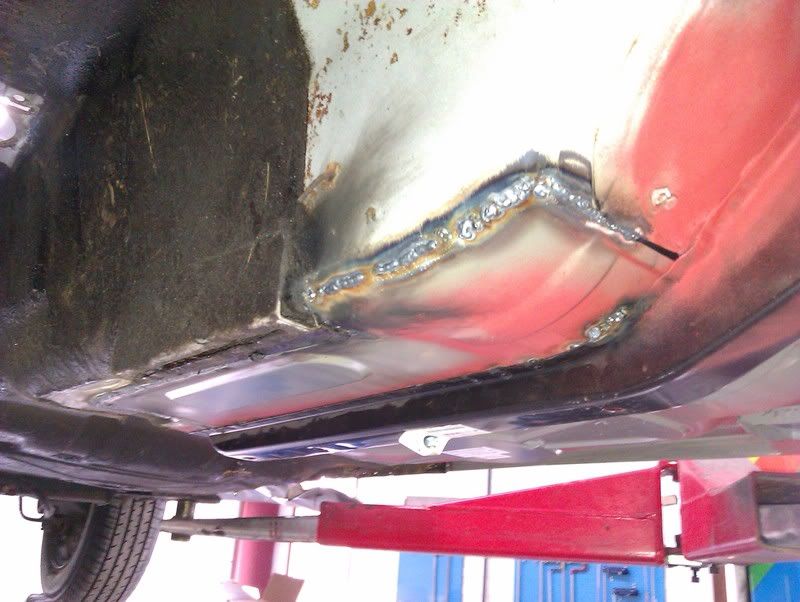
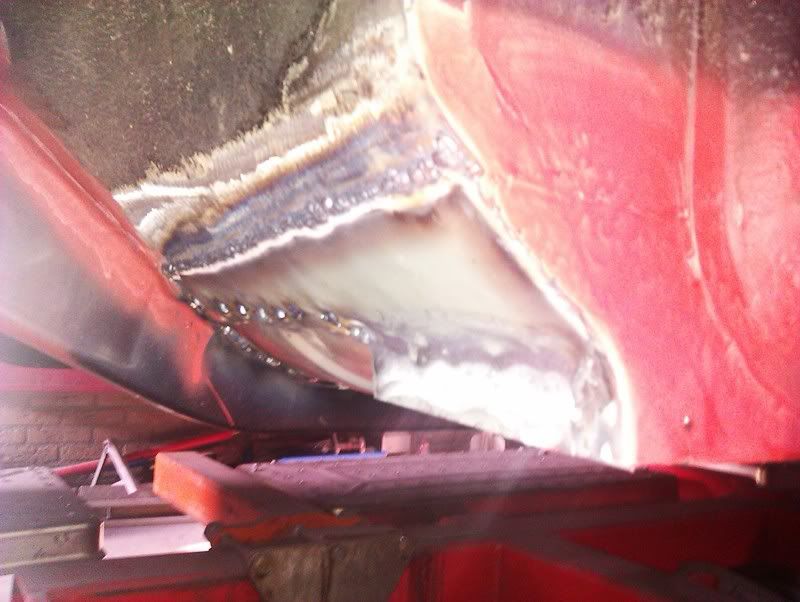
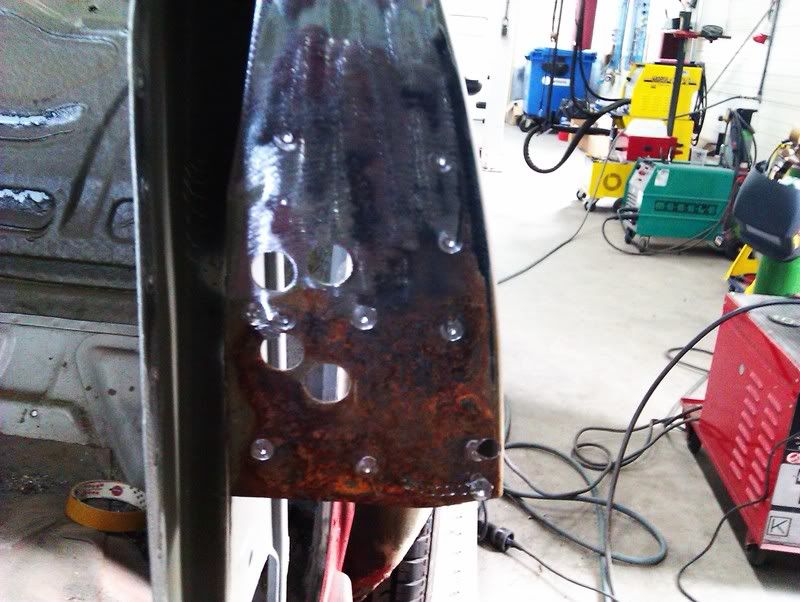
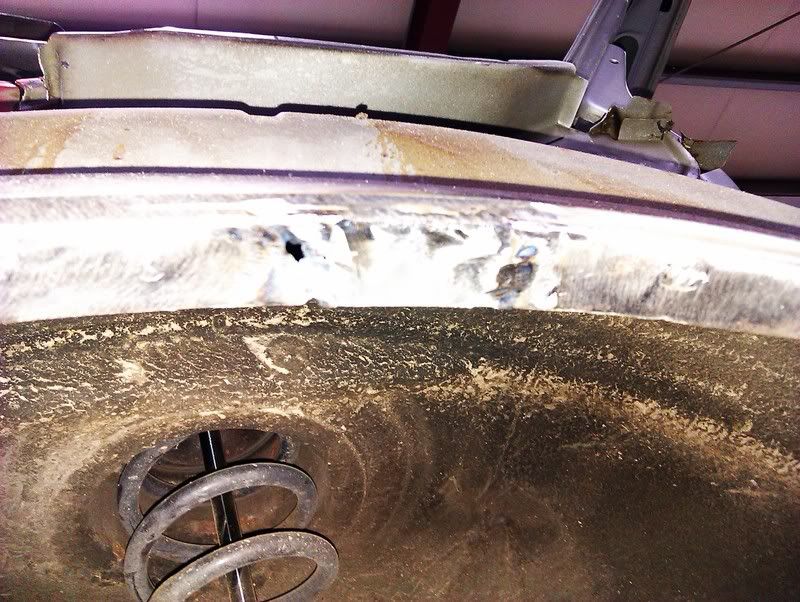
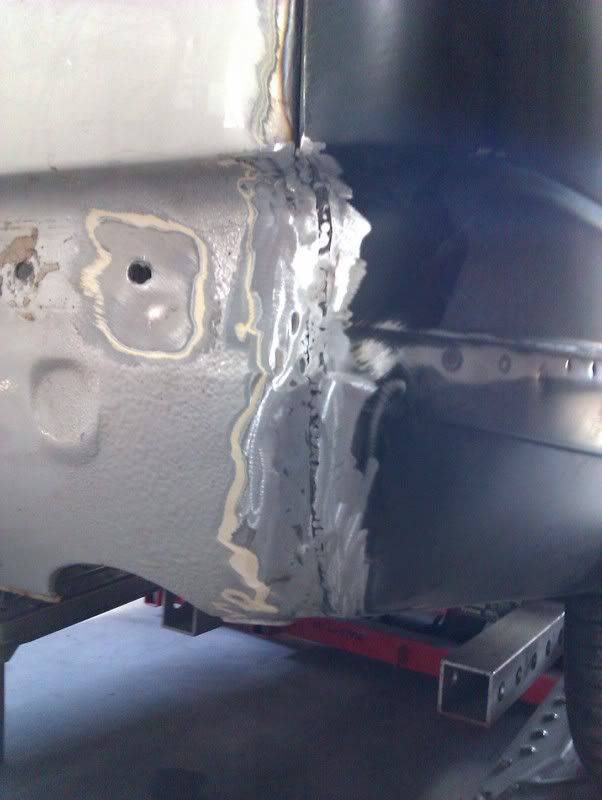
Monday July 19th 2011
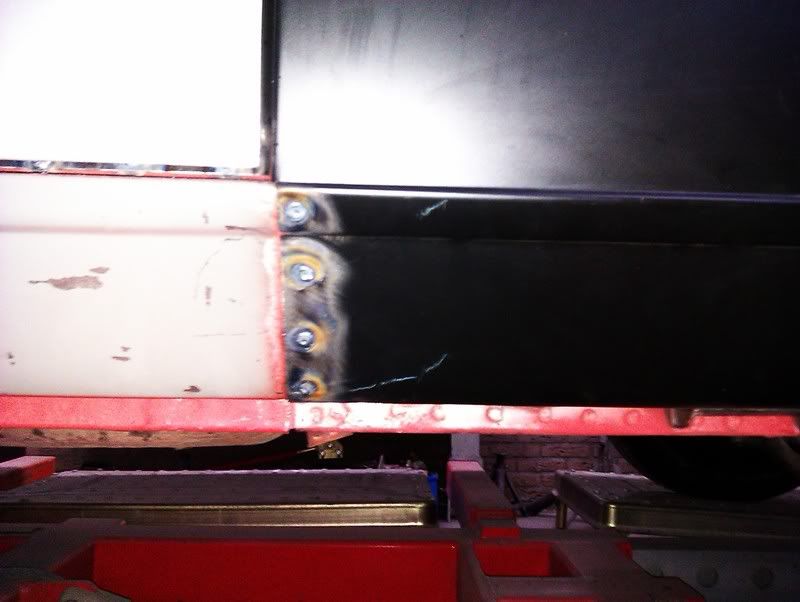
We took off the outer sill and discovered this crap
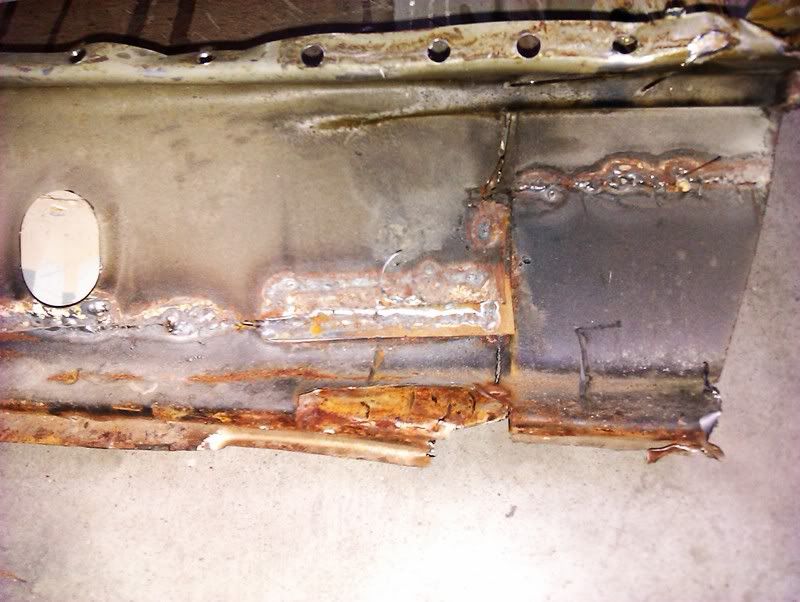
Prepping the new sill
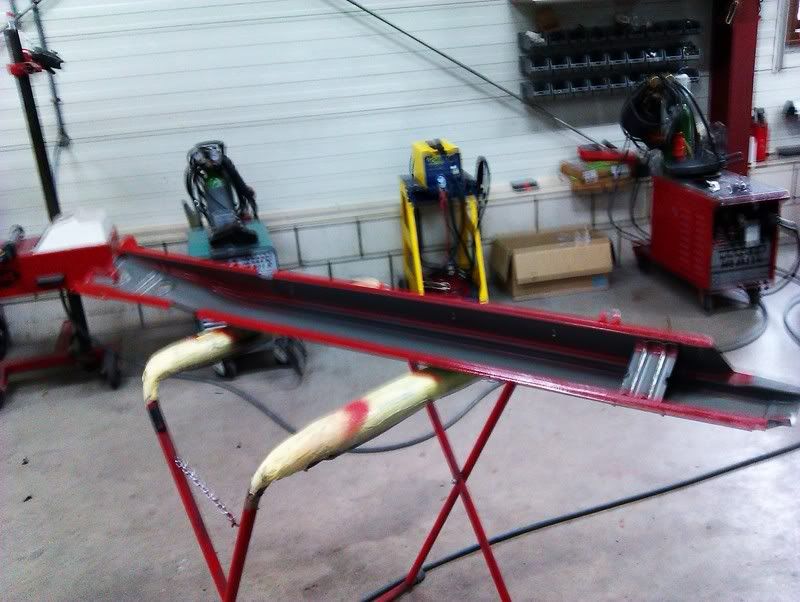
Prepping the innersill
Fitting them dry
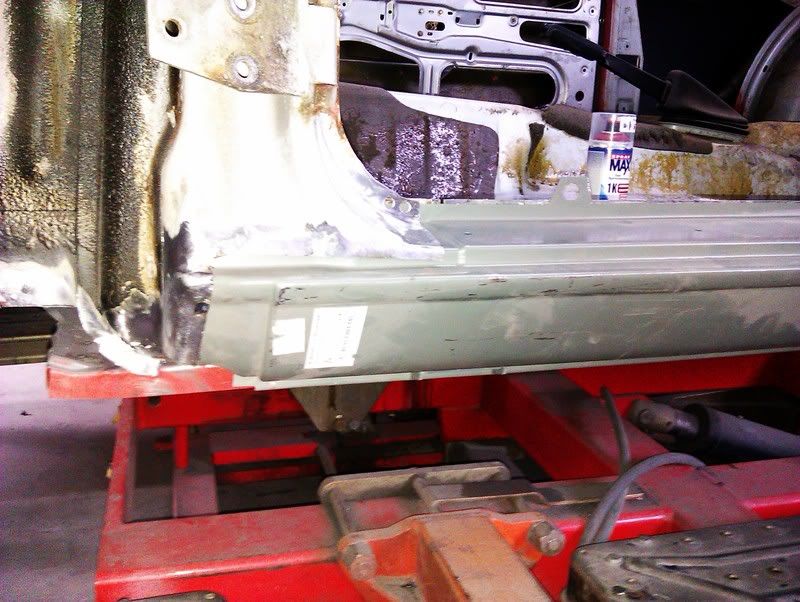
And the day is gone, so more to come!
Re: Uwbuurman: 1978 323i polaris
Posted: Sat Jul 12, 2014 4:10 pm
by uwbuurman
Re: Uwbuurman: 1978 323i polaris
Posted: Sat Jul 12, 2014 4:14 pm
by uwbuurman
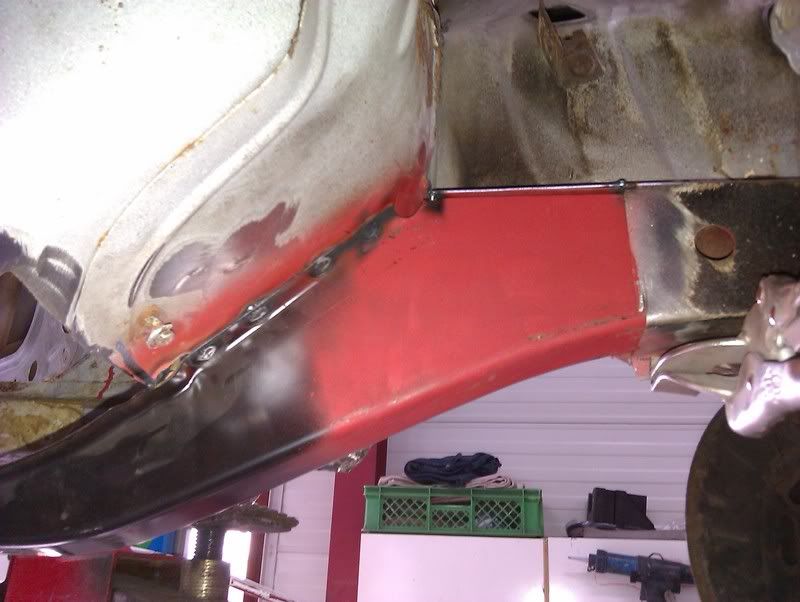
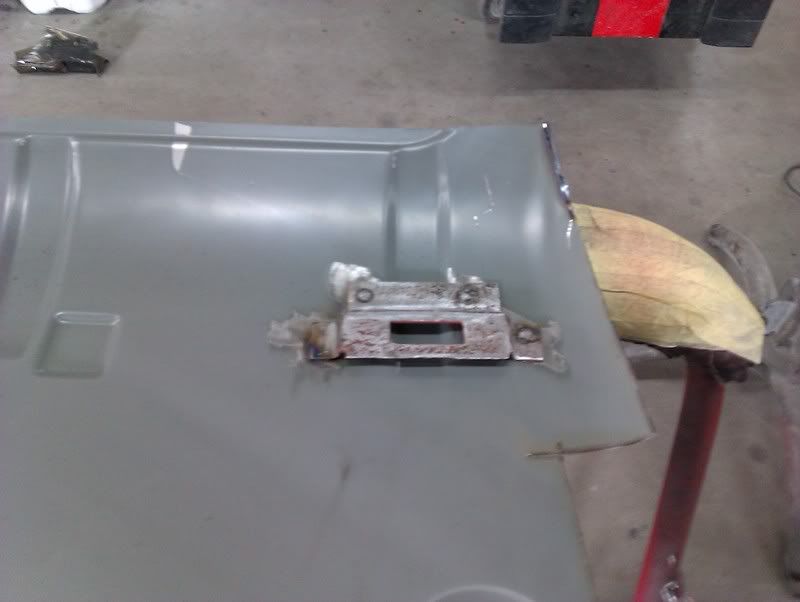
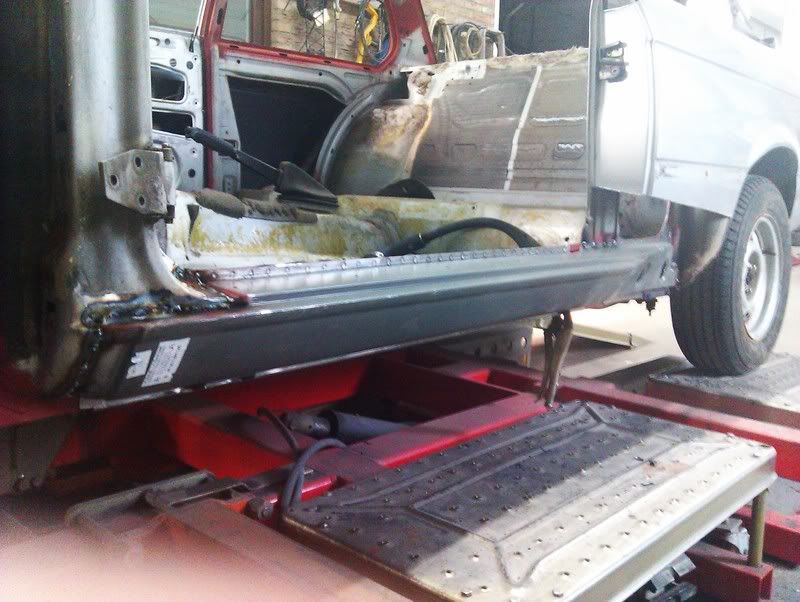
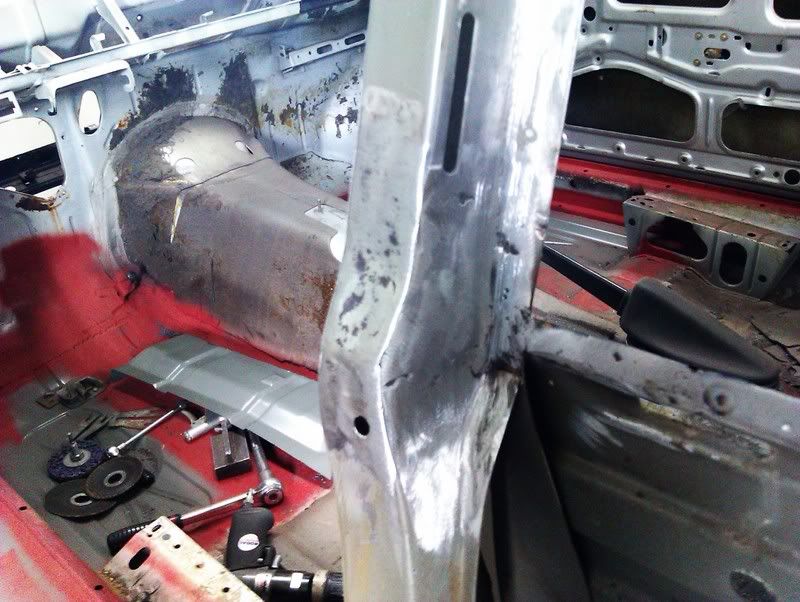
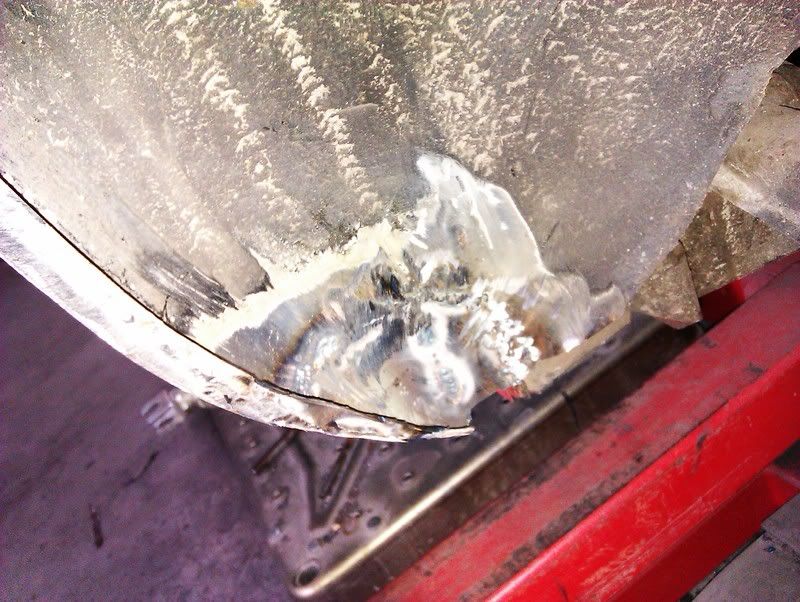
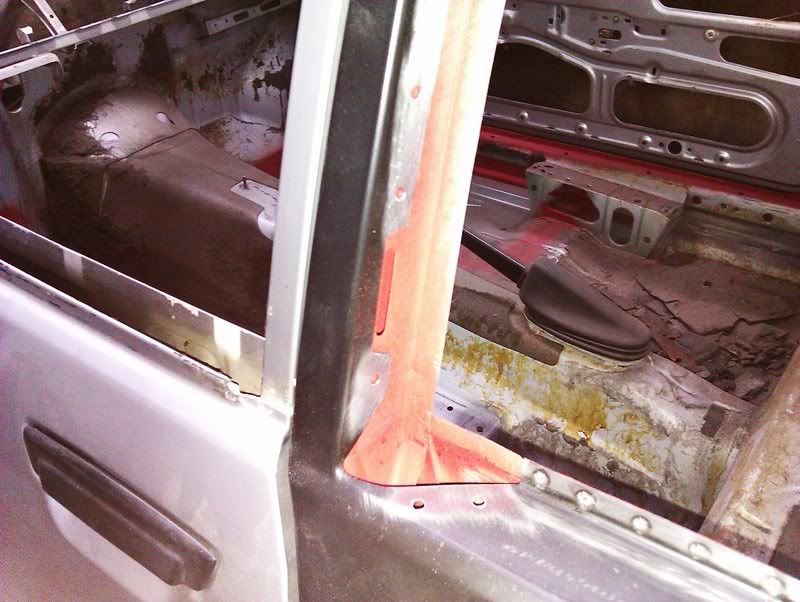
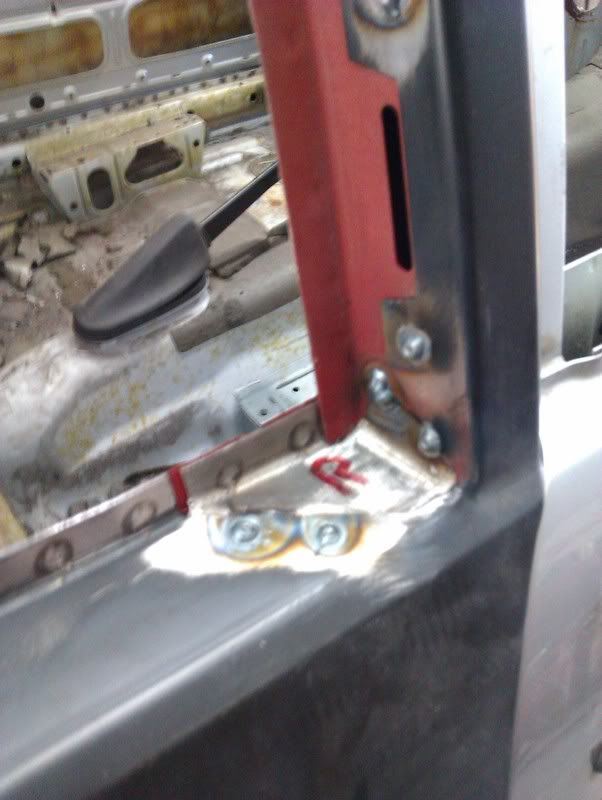
July 21th 2011
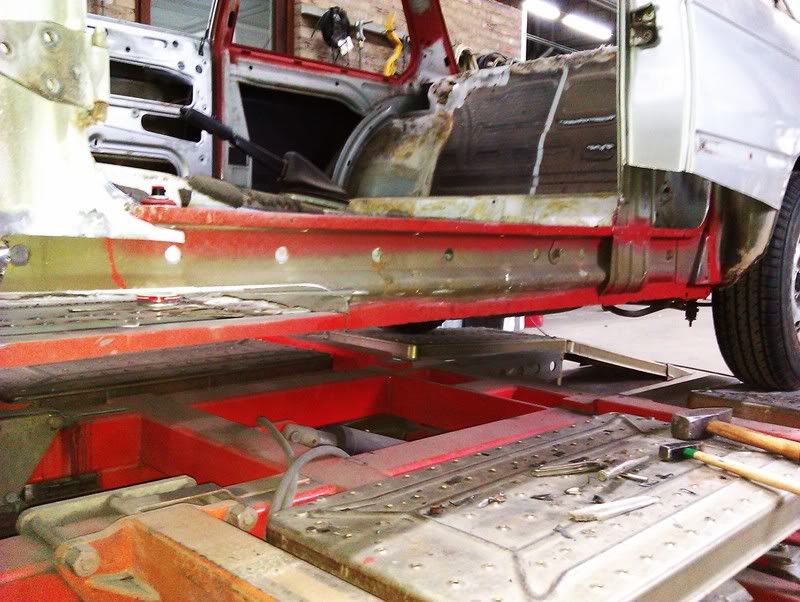
We grainded of everything and spotwelded the sill on the lower side. Then we took of the antennamount on the Apillar, because my electric genuine BMW antenna will be put at the rear!
Grainded of the floor
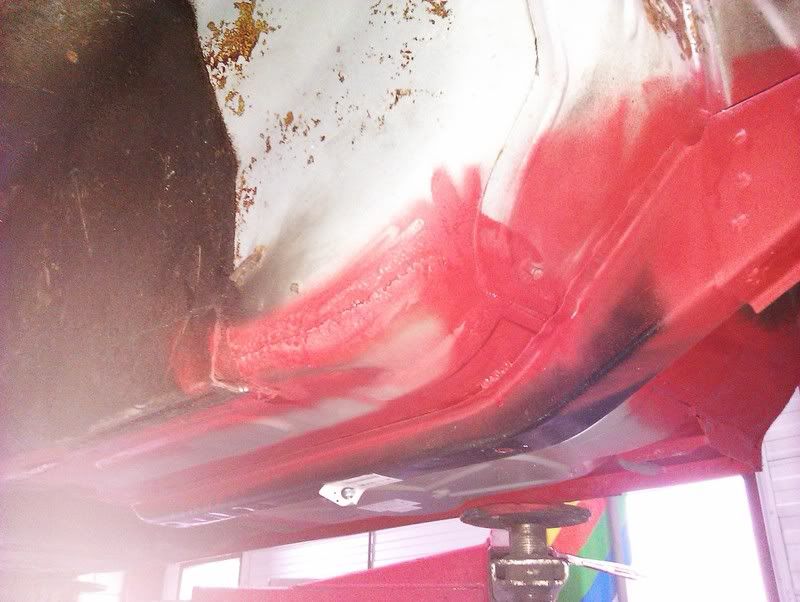
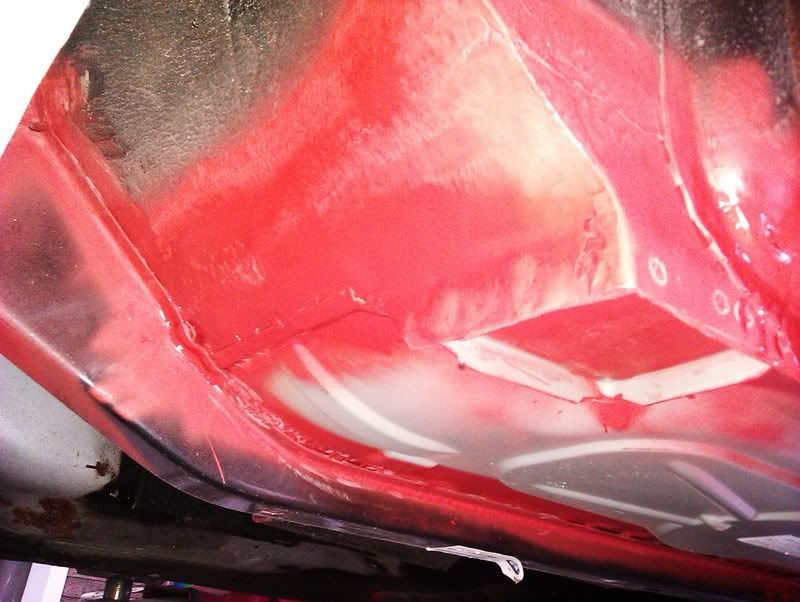
Closing the holes from the antenna

And remounted the door
Re: Uwbuurman: 1978 323i polaris
Posted: Sat Jul 12, 2014 4:15 pm
by uwbuurman
Any comments so far? Just curious to know what you think of my work in progress...
Re: Uwbuurman: 1978 323i polaris
Posted: Sat Jul 12, 2014 4:24 pm
by uwbuurman
Re: Uwbuurman: 1978 323i polaris
Posted: Sat Jul 12, 2014 4:34 pm
by uwbuurman
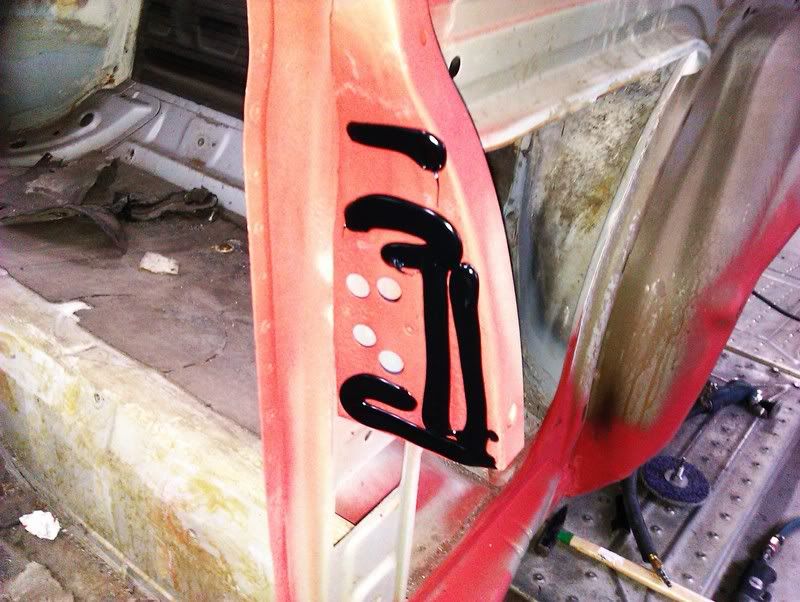
My thoughs were to have the bodyshell put in a acidbath and then to be dipped in a paintbath. The acid will eataway all the paint, filler and left over sealant. But as it turned out, in the Cpillar, some plates between the skin are glued in, and smeared with sealant. But also the fuelcover, where the fillerneck is fitted (how the hell is that piece named?) is glued on to the sidepanel. If I was to put the car in an acidbath, those parts would desolve and let go. So thats not an option.
My new plan is stripping of all the paint and filler, have it sandblasted and then coated in expoyprimer. After the paintjob, I'll drown her in Dinitrol, so she'll never rust again!
Re: Uwbuurman: 1978 323i polaris
Posted: Sat Jul 12, 2014 4:43 pm
by uwbuurman
Re: Uwbuurman: 1978 323i polaris
Posted: Sat Jul 12, 2014 4:54 pm
by uwbuurman