Page 5 of 10
Re: Bealo's 320/6
Posted: Sun Nov 28, 2021 12:17 am
by Jeroen
Oh that do great in this fresh chassis!
Re: Bealo's 320/6
Posted: Sun Nov 28, 2021 12:12 pm
by bealo
Just a shame I spent a lot of time and money re building the b20 engine, but all good experience
Re: Bealo's 320/6
Posted: Sat Dec 11, 2021 8:43 am
by uwbuurman
Congrats, Mate!
Re: Bealo's 320/6
Posted: Sun Feb 13, 2022 4:24 pm
by bealo
By the end of December Id finished the passenger outer sill and some small repairs underneath and where the arch tub meets the sill.
Some of the metal came from panel cuts i got from a parts car which was very handy for awkard shapes

[/url]
ACF9AC0E-D77B-4F15-AABB-F4EAFB041070 by
Iain Bell, on Flickr[/img]

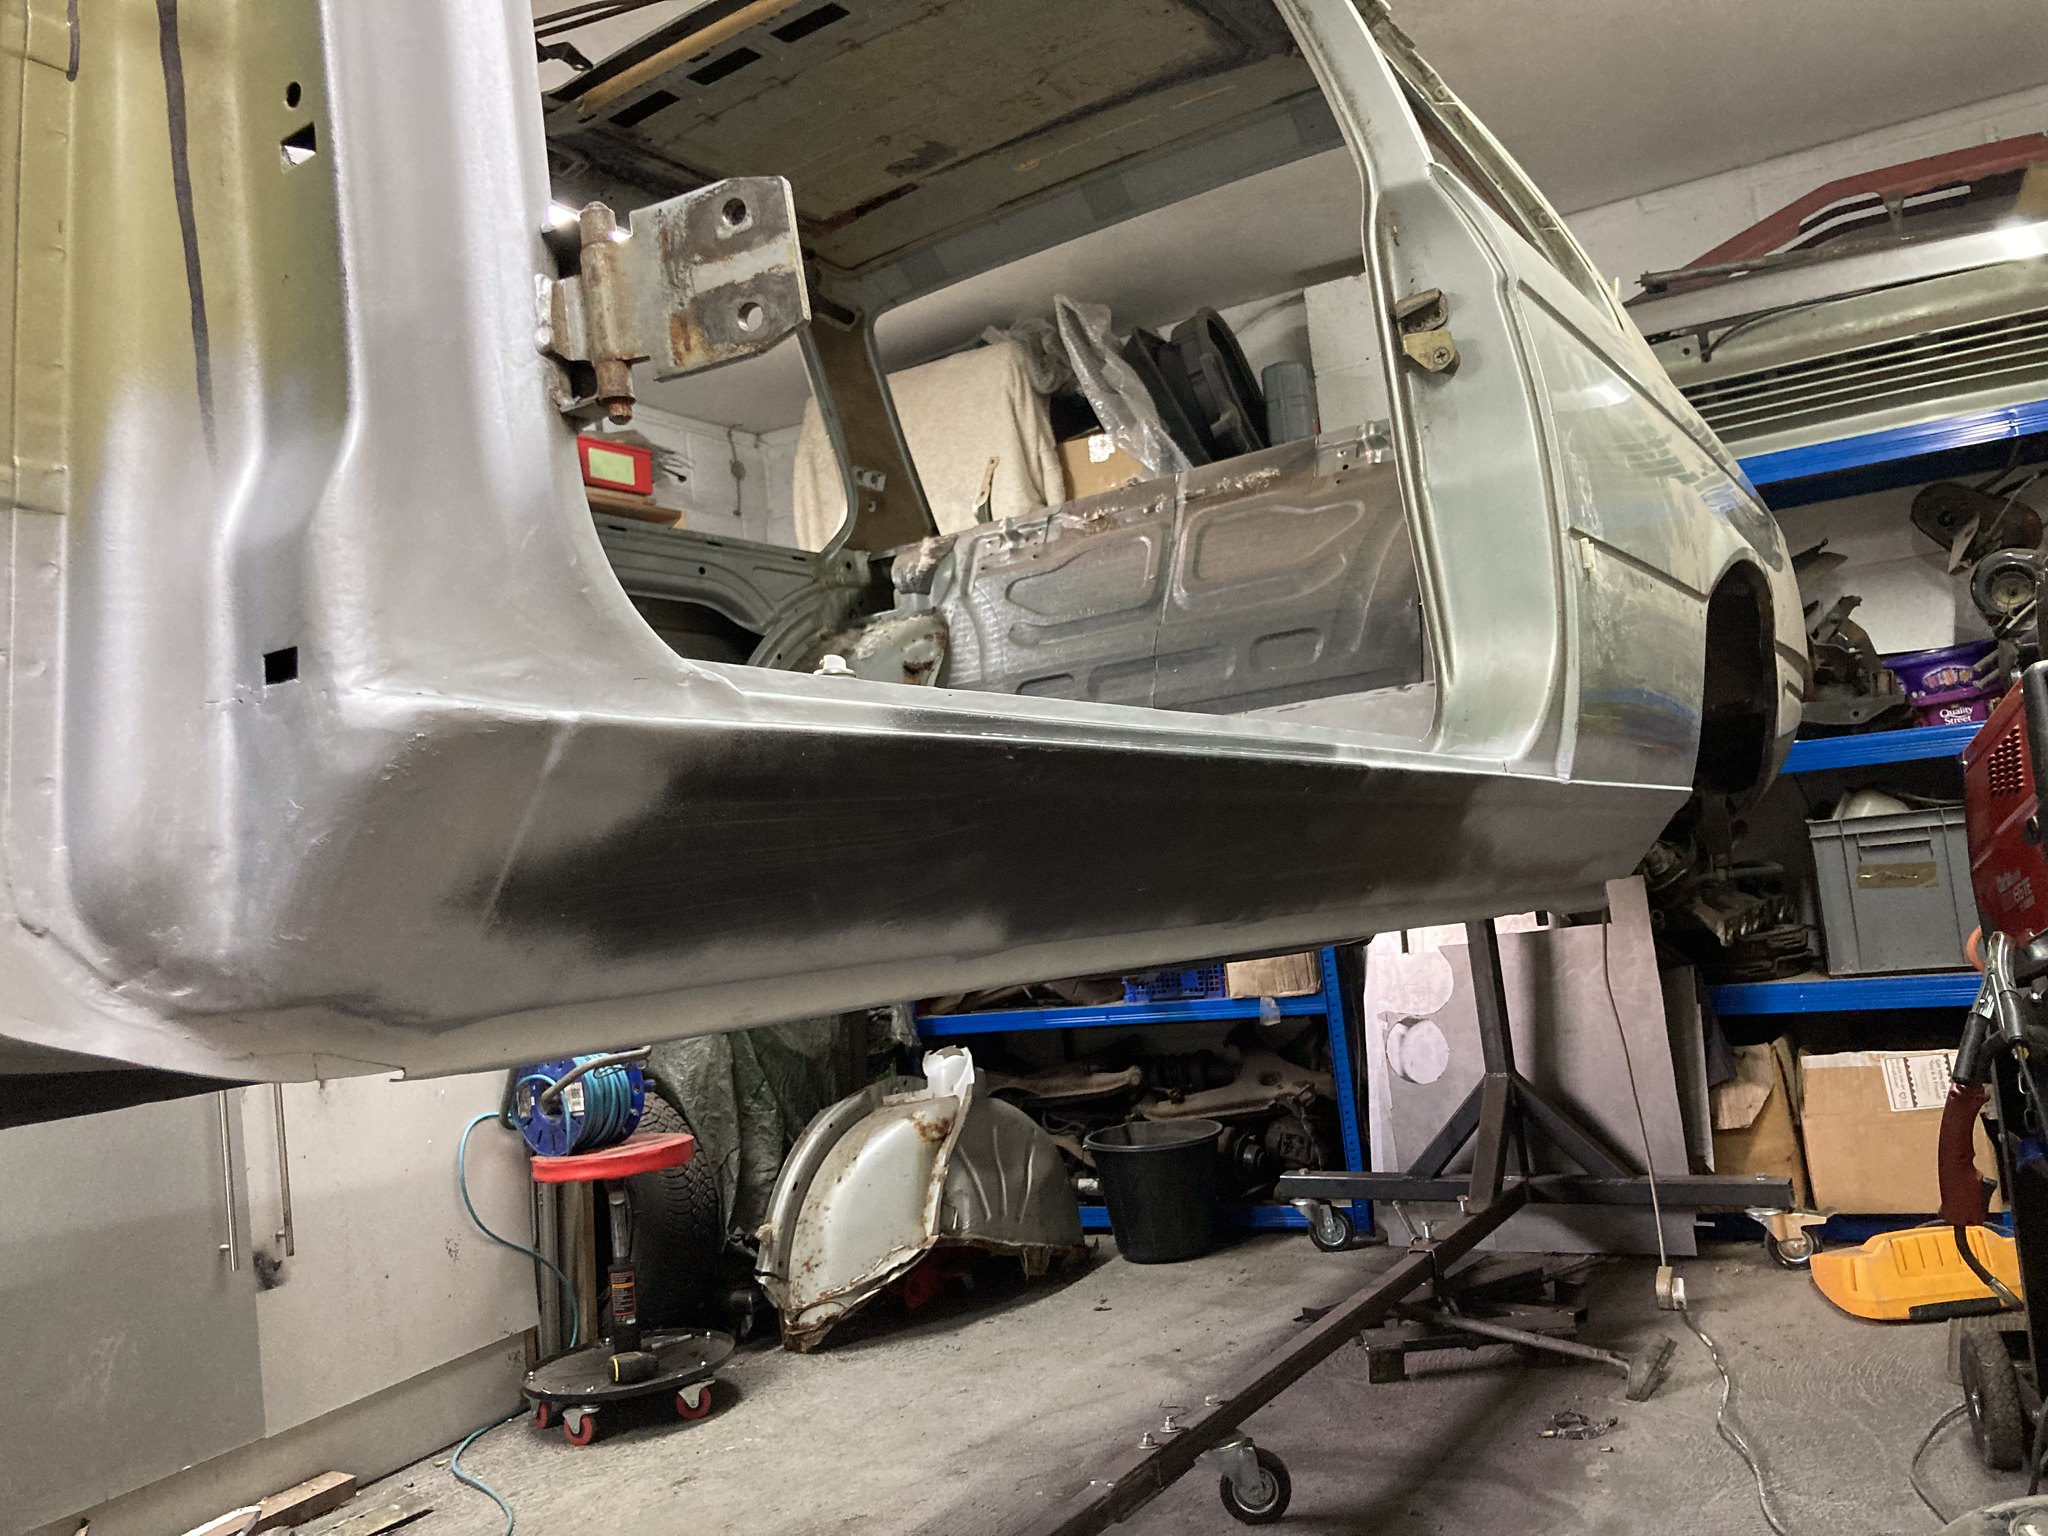
I struggled a lot more on this sill to get a nice fit. A bit of time was spent with a hammer a dolly to get it sitting nice with the door and where it joins the rear quarter will need a bit of filler to bring back the line, not really visible in picture. Also after test fitting the wing i realised no amount of woirk will make it fit well. I bought a pair of after market wings from the same place, Driver side fits perfect but passenger side is awful so i will now cut it to repair the original wing.... lucky I kept hold of it!
Rot cut out

New metal welded and primed

Metal from donor panels ready to weld


Tacked in place

welded

Dressed back


Re: Bealo's 320/6
Posted: Sun Feb 13, 2022 5:44 pm
by bealo
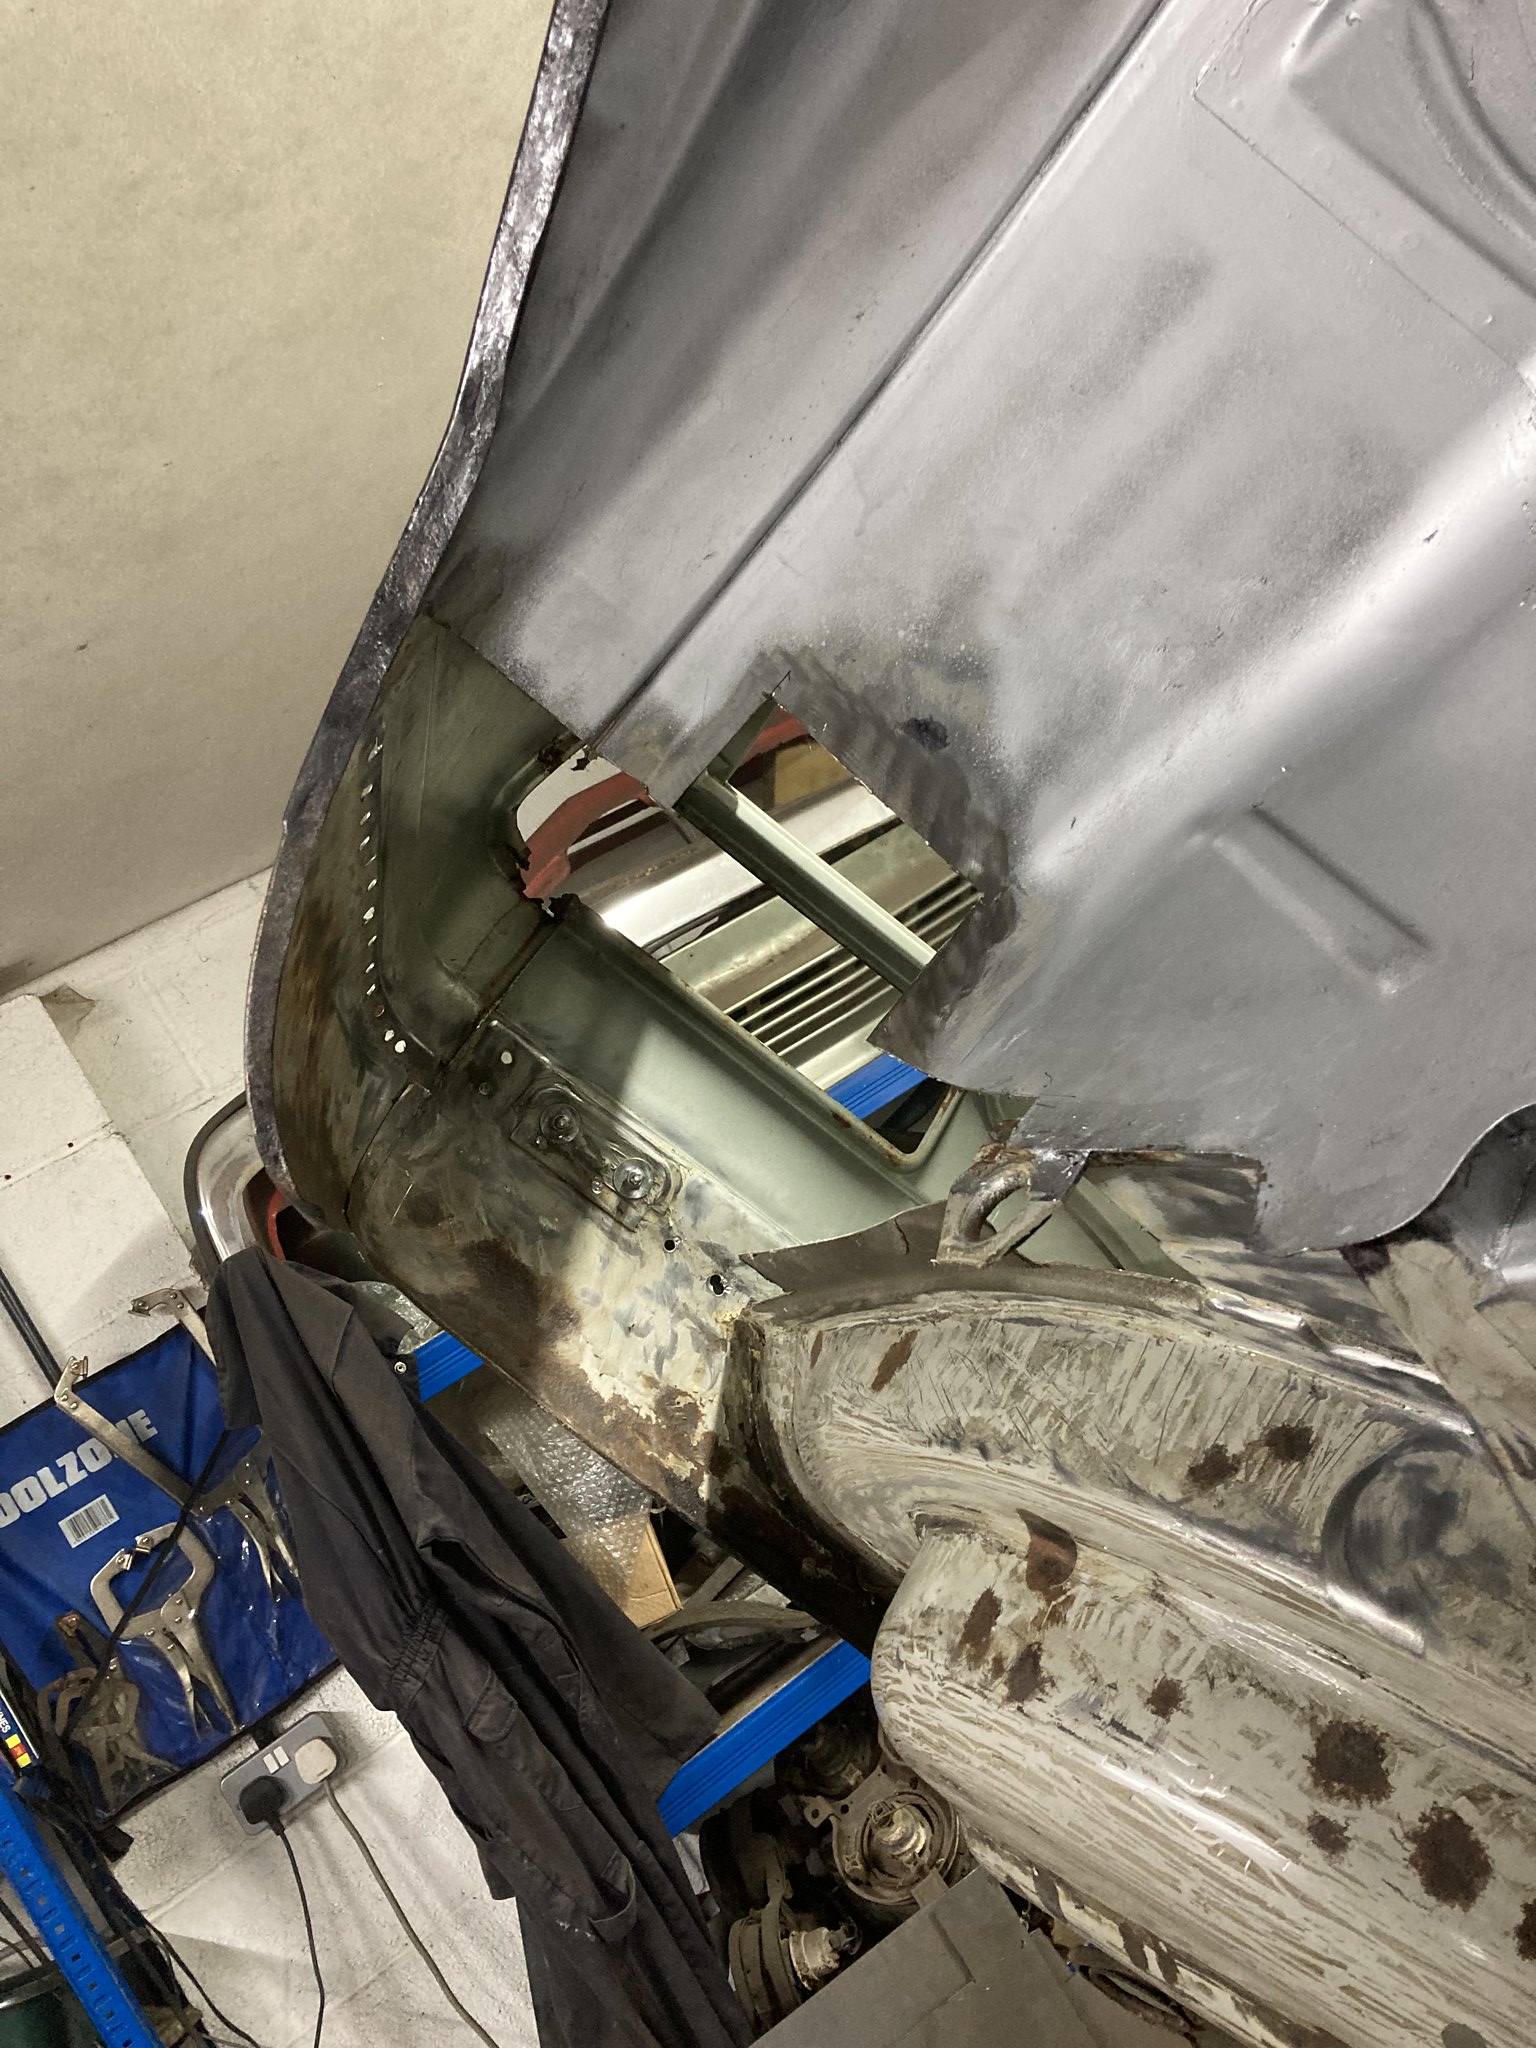
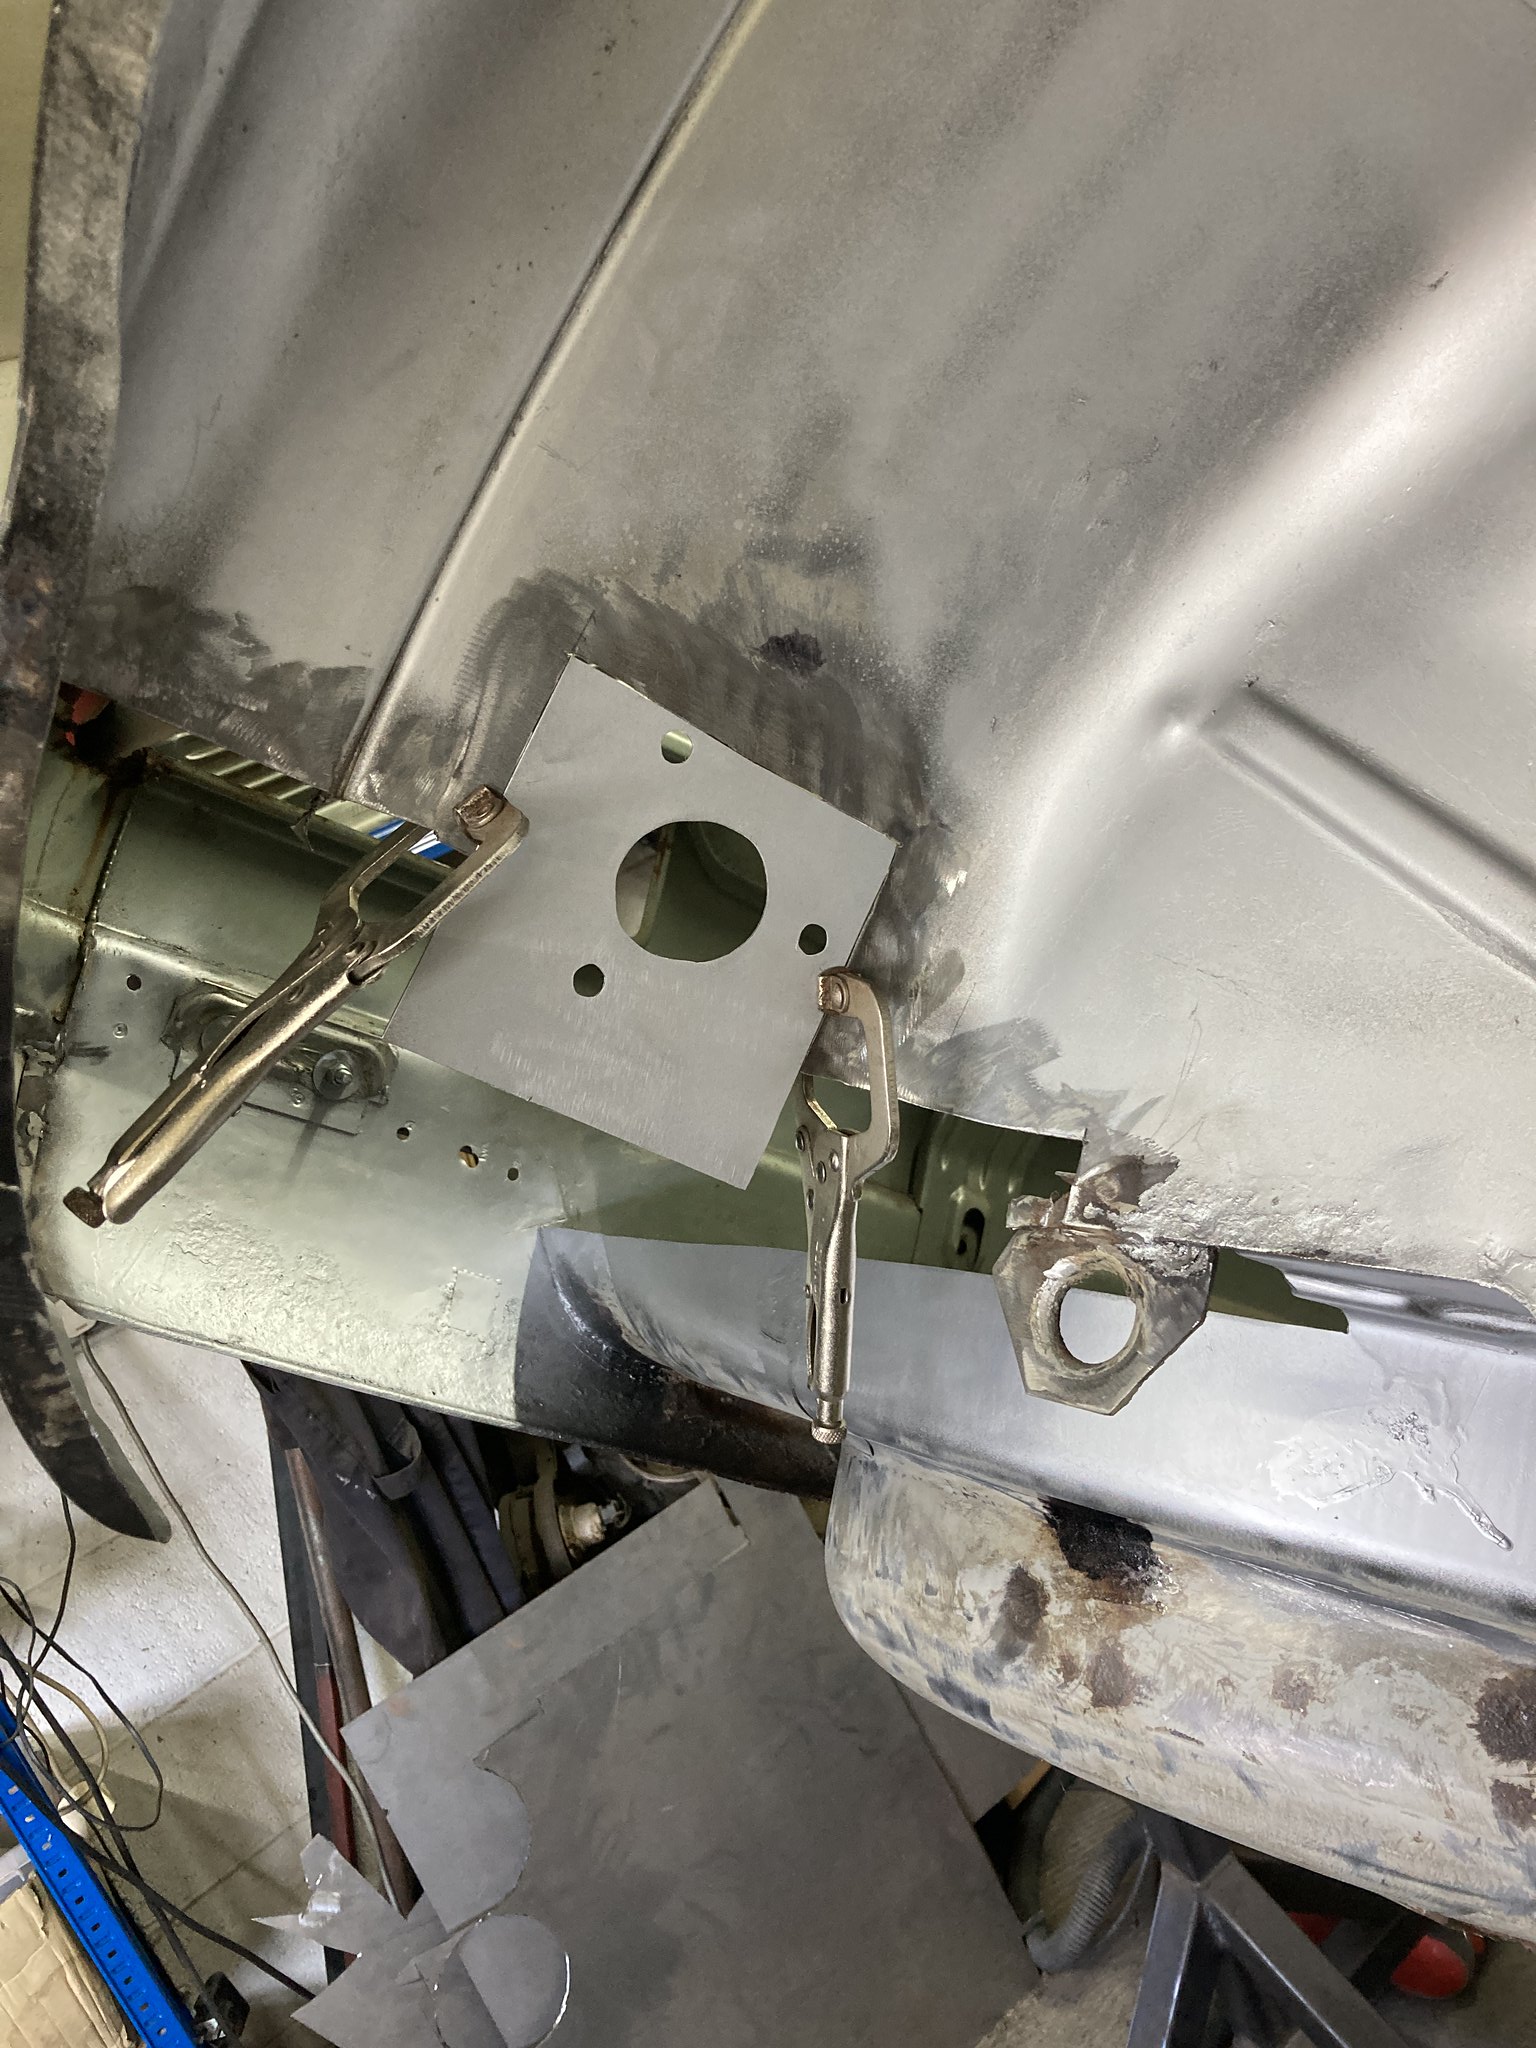
So the thread is now up to last week, time to sort out those dreaded rear arch tubs

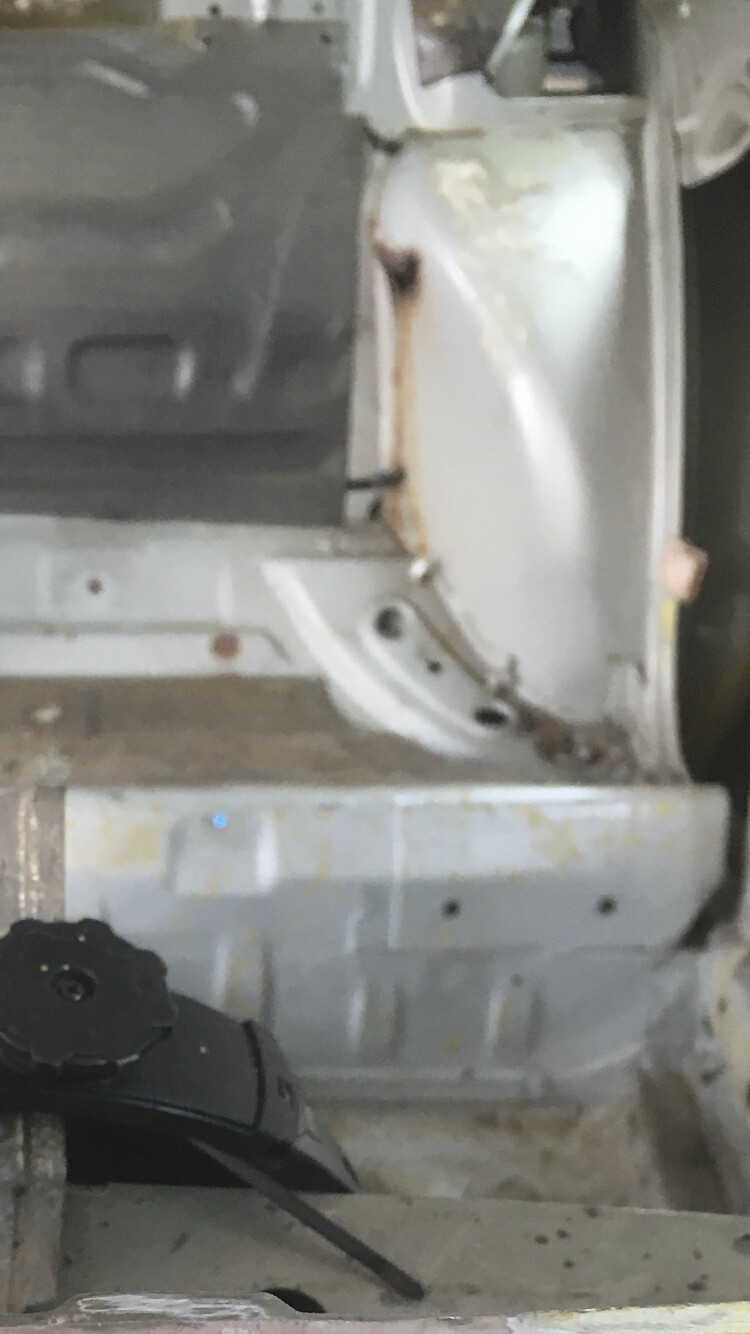
I searched for new but couldnt find any so I got some from a donor car (not much better condition). They did help to some extend fabricating patches to repair the arch tubs.
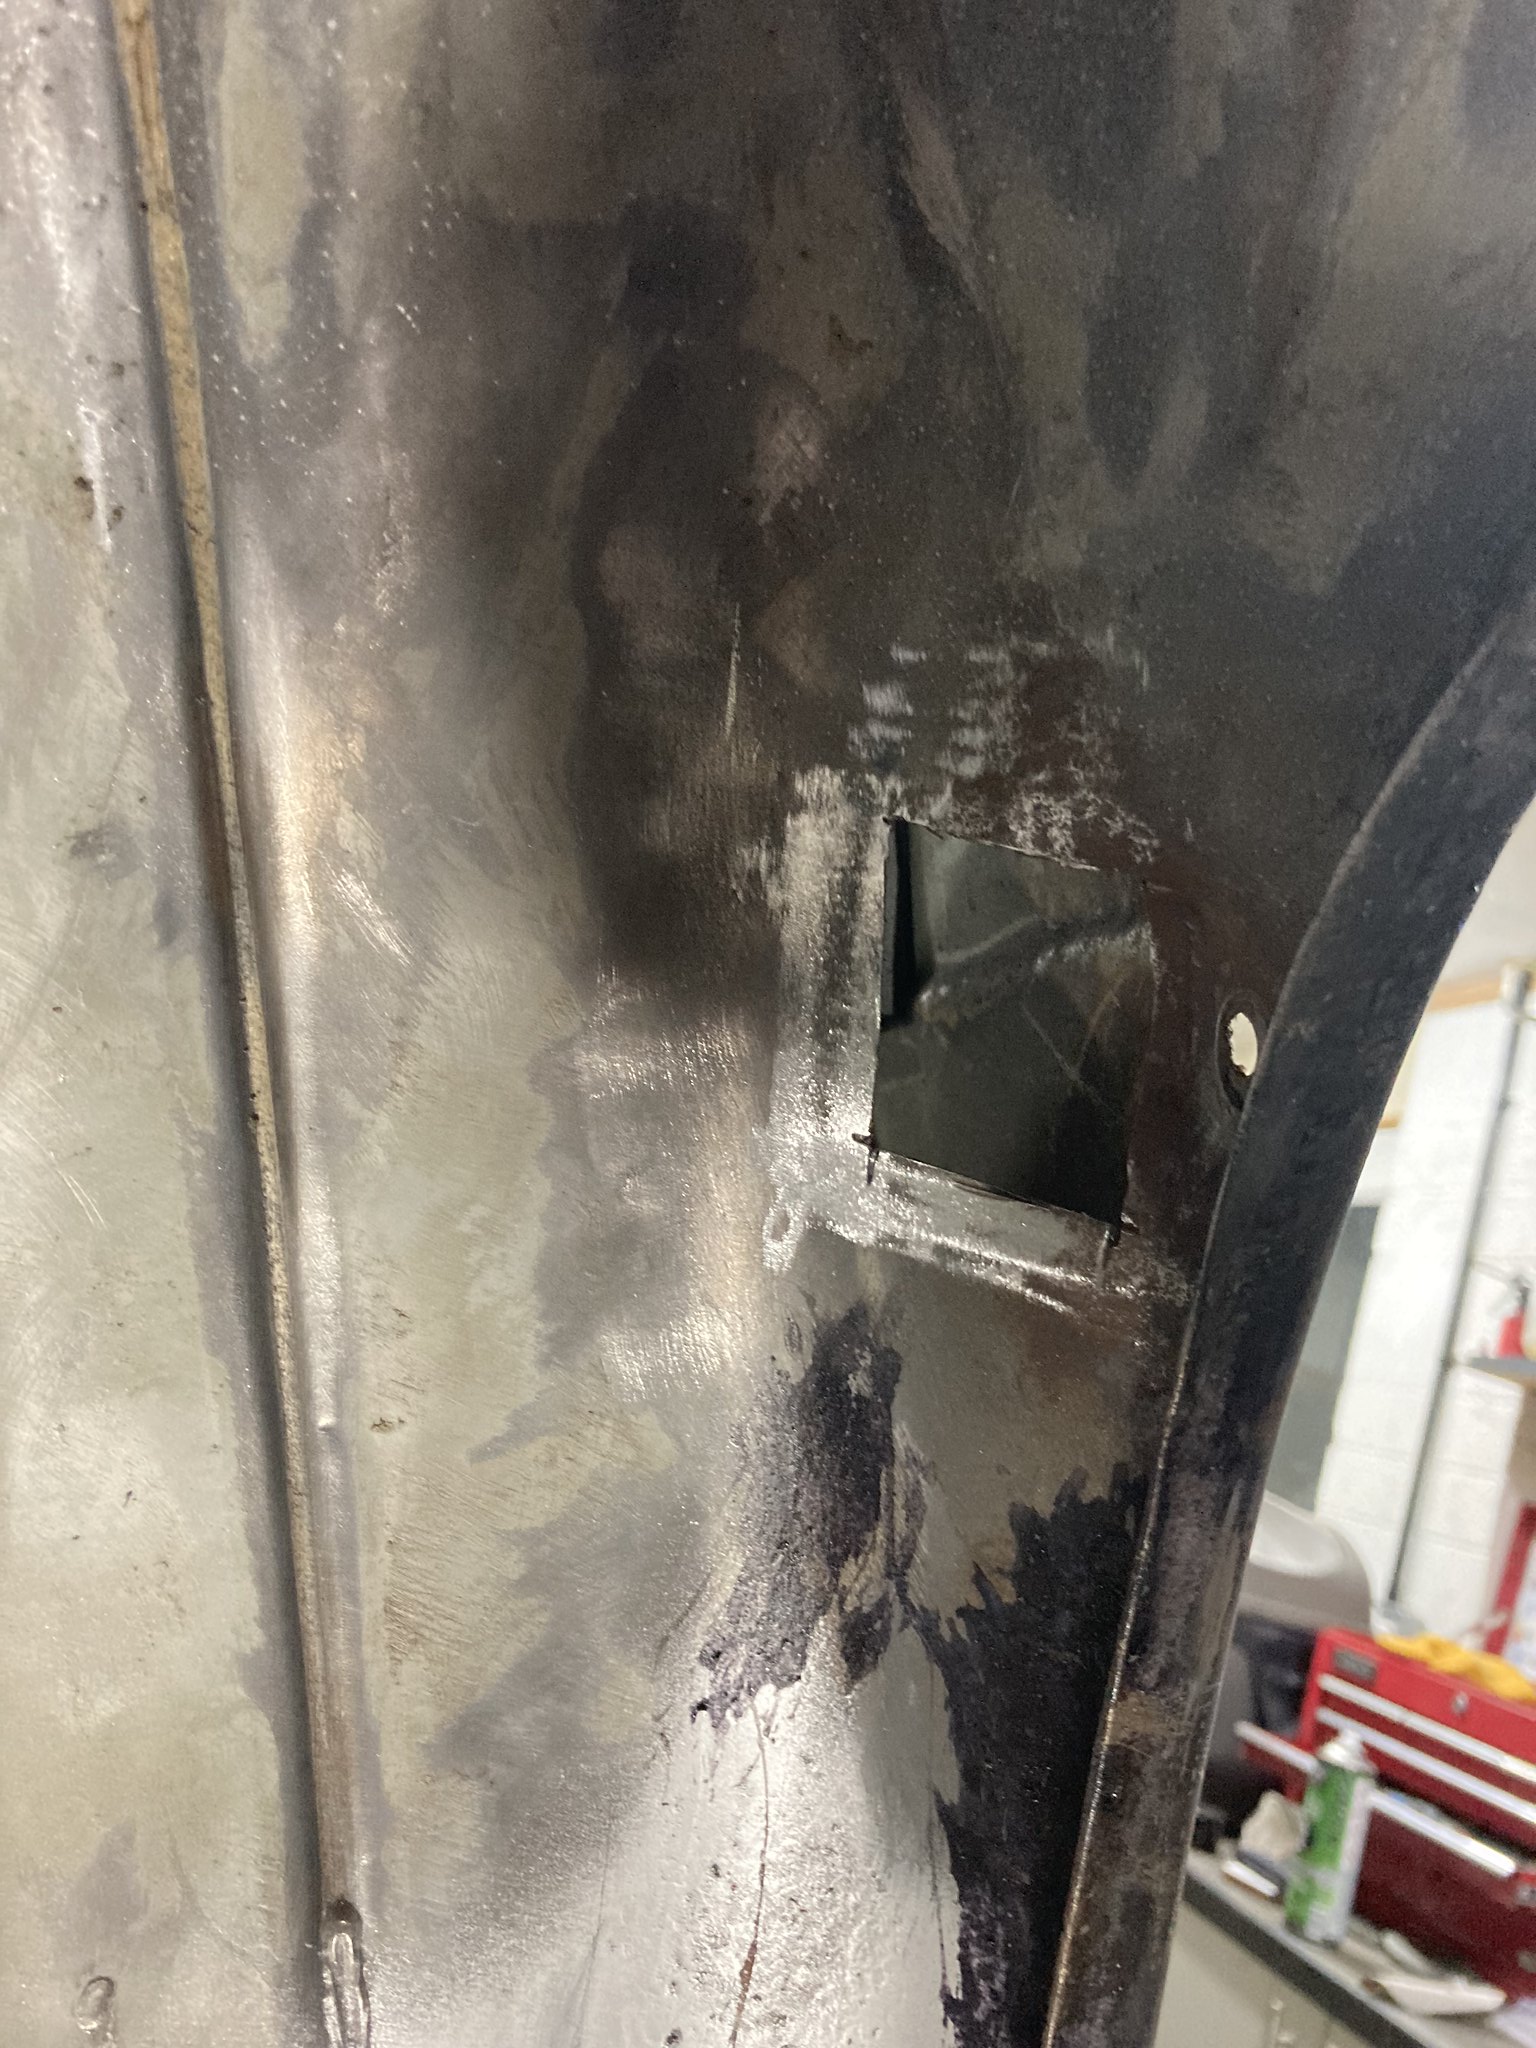
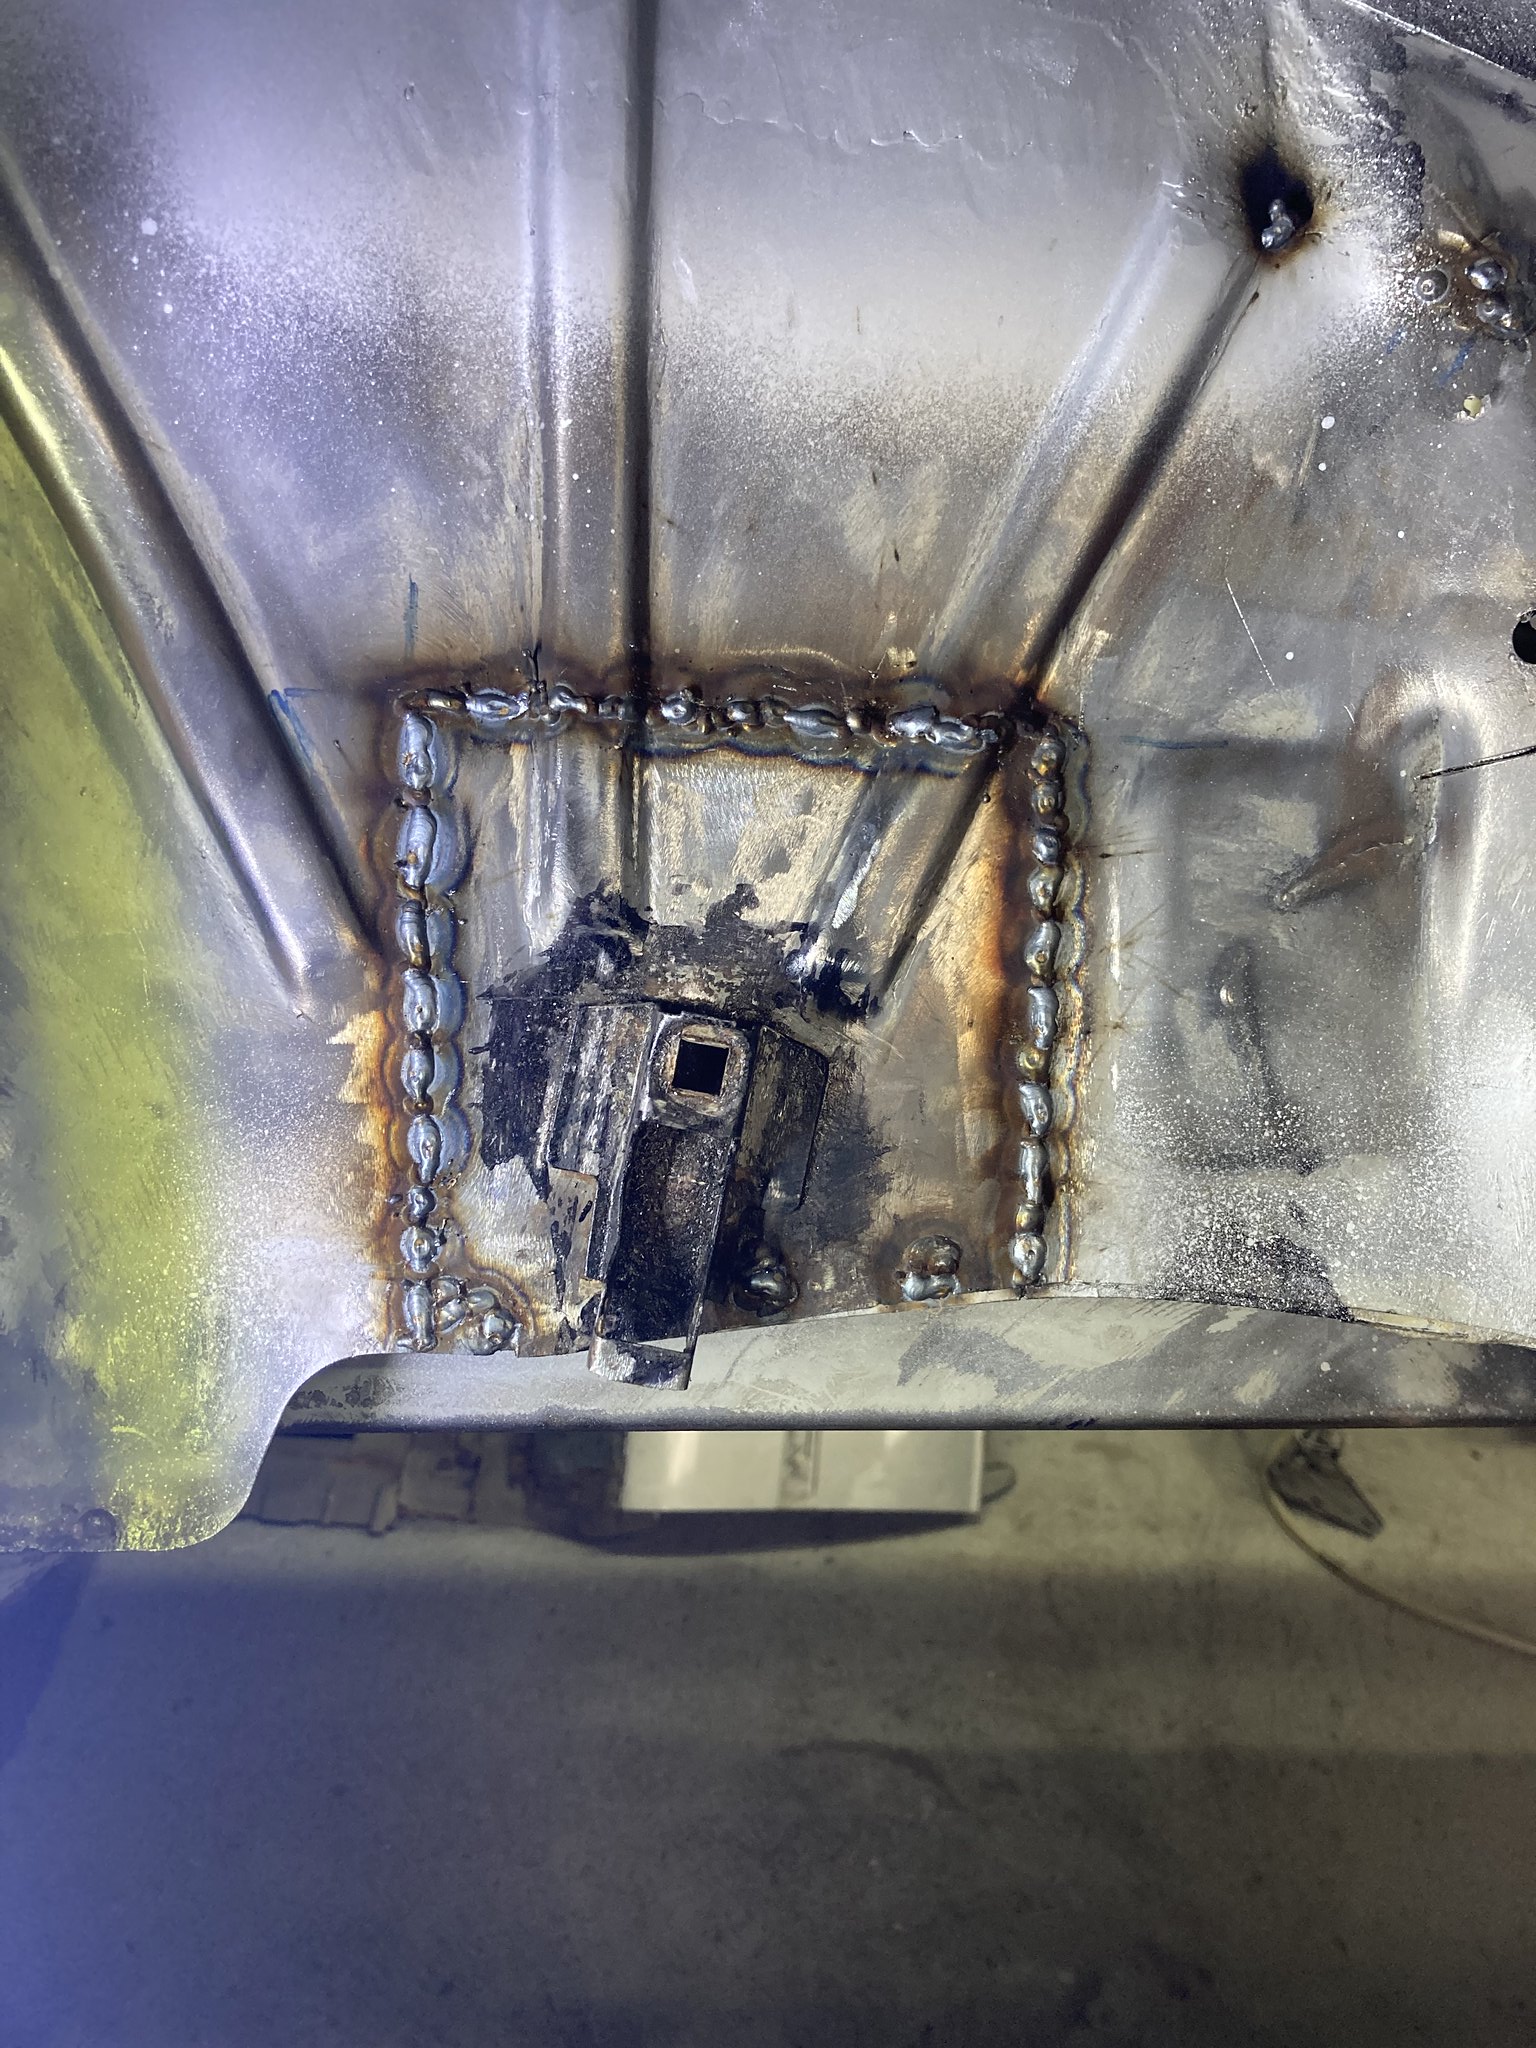
Due to where the rust was and access needed I unfortunatly had to cut a hole in the seat back panel as I couldnt see another way round it without tking the panel out completely or opening up the rear quarter. Would like to know what other people have done in this situation???


Apologies for the lack of photos again! Once I get in the garage i get in the "zone"

Nasty rot cut out
Welded up

Seat back panel welded
So now thats done Im hoping to get some time next week to start the drivers side arch tun which is much worse!

Re: Bealo's 320/6
Posted: Sun Feb 13, 2022 10:55 pm
by Jeroen
Extensive job but you're not taking half measures, nice to see the attention to detail sir! Thanks for sharing this detailed update and I'm pretty sure our compadre Koos will share his ideas on fixing the rear tubs.
Re: Bealo's 320/6
Posted: Mon Feb 14, 2022 9:05 am
by nic65
great nice job
Re: Bealo's 320/6
Posted: Mon Feb 14, 2022 10:59 am
by uwbuurman
Great, man! I see all the familiar spots. This car is fixed like it should be done.
Re: Bealo's 320/6
Posted: Tue Feb 15, 2022 5:28 pm
by bealo
Thanks guys, yes if koos or anyone has any input on the rear arch tubs that would be great before I start the other side
Re: Bealo's 320/6
Posted: Tue Feb 15, 2022 5:55 pm
by uwbuurman
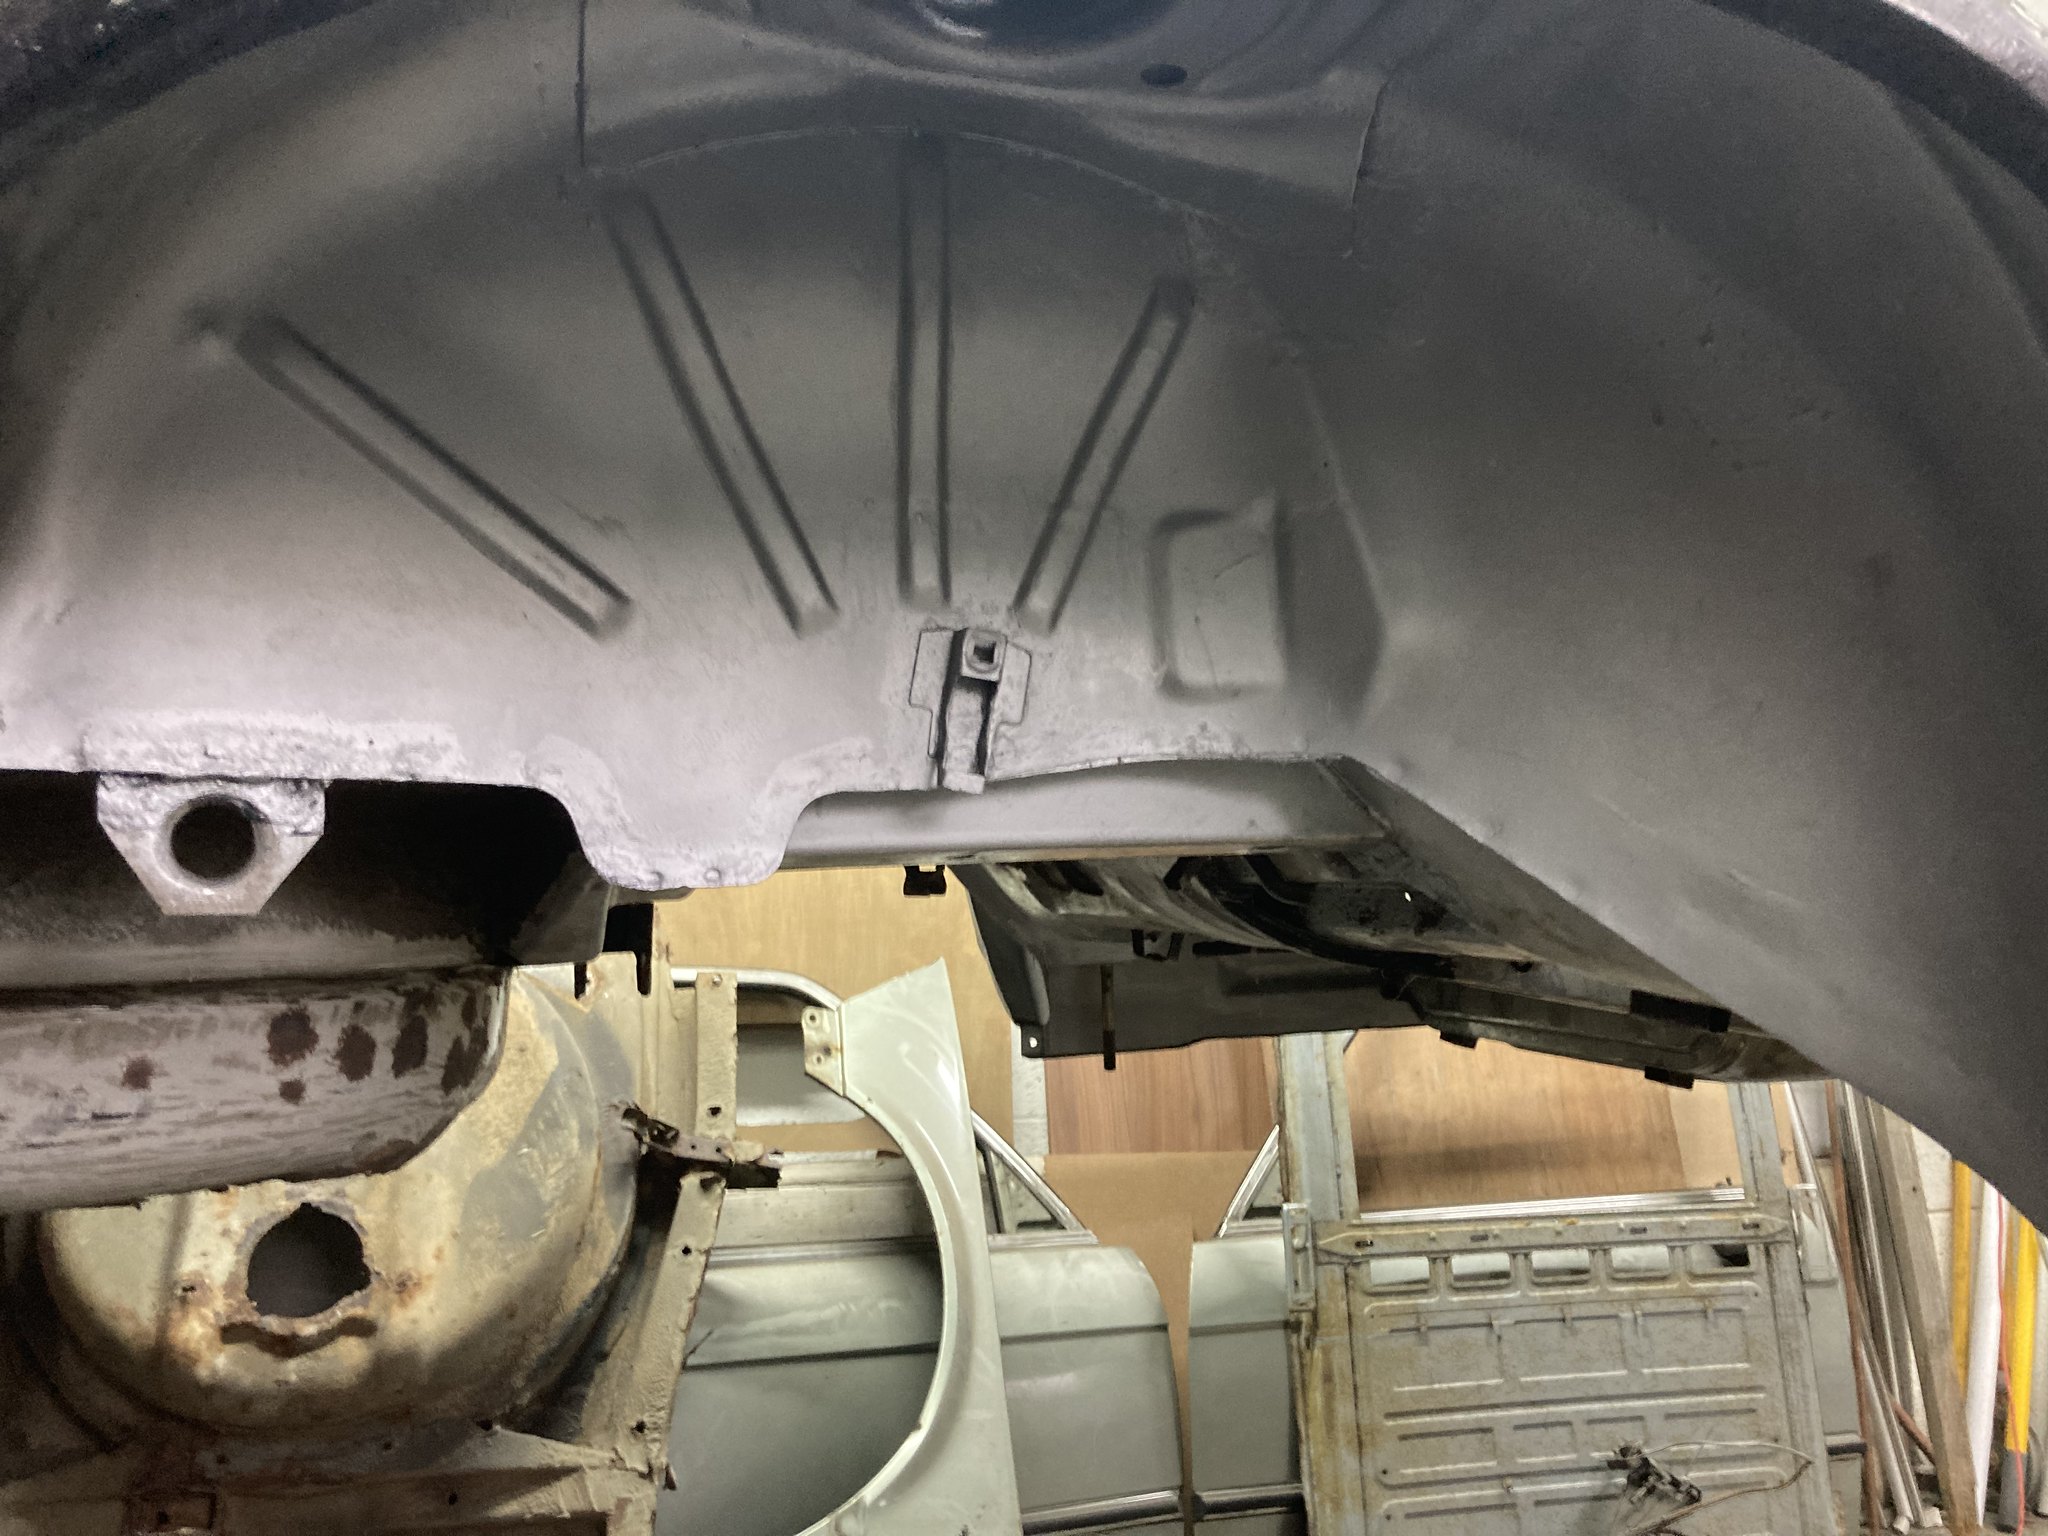
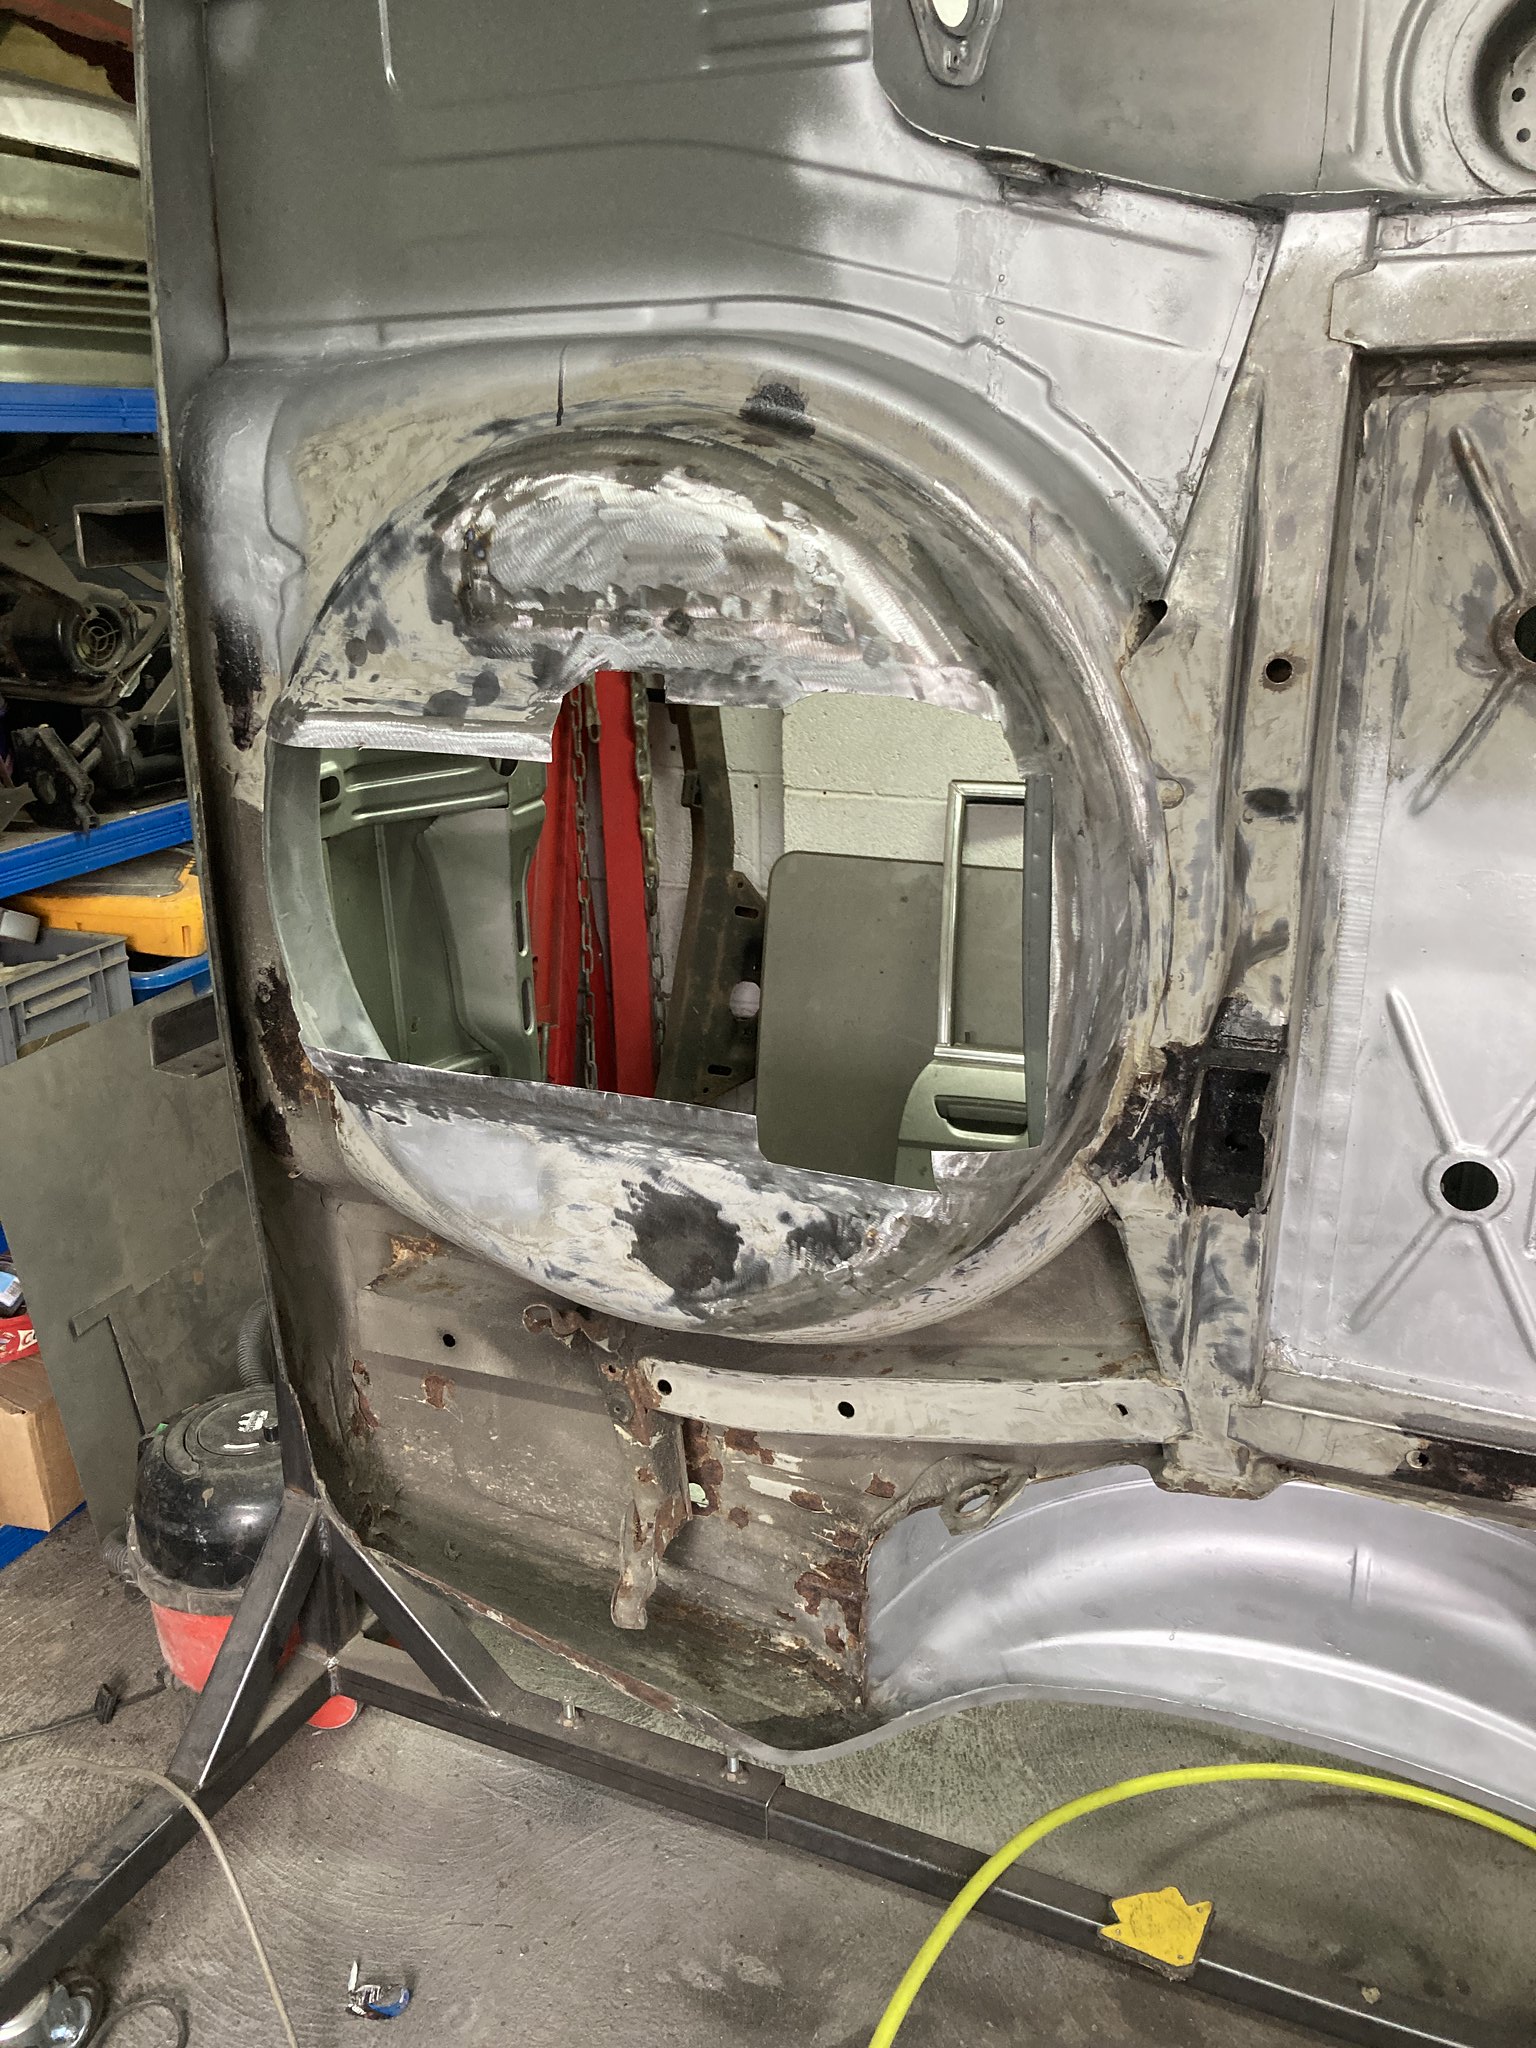
Well, I guess you've done it the right way, cut out a small section of backseat, to gain access to the rear arches. I just cut out the whole wheelhousing, since I had two brand new ones. But for these repairs, this is the way to go.
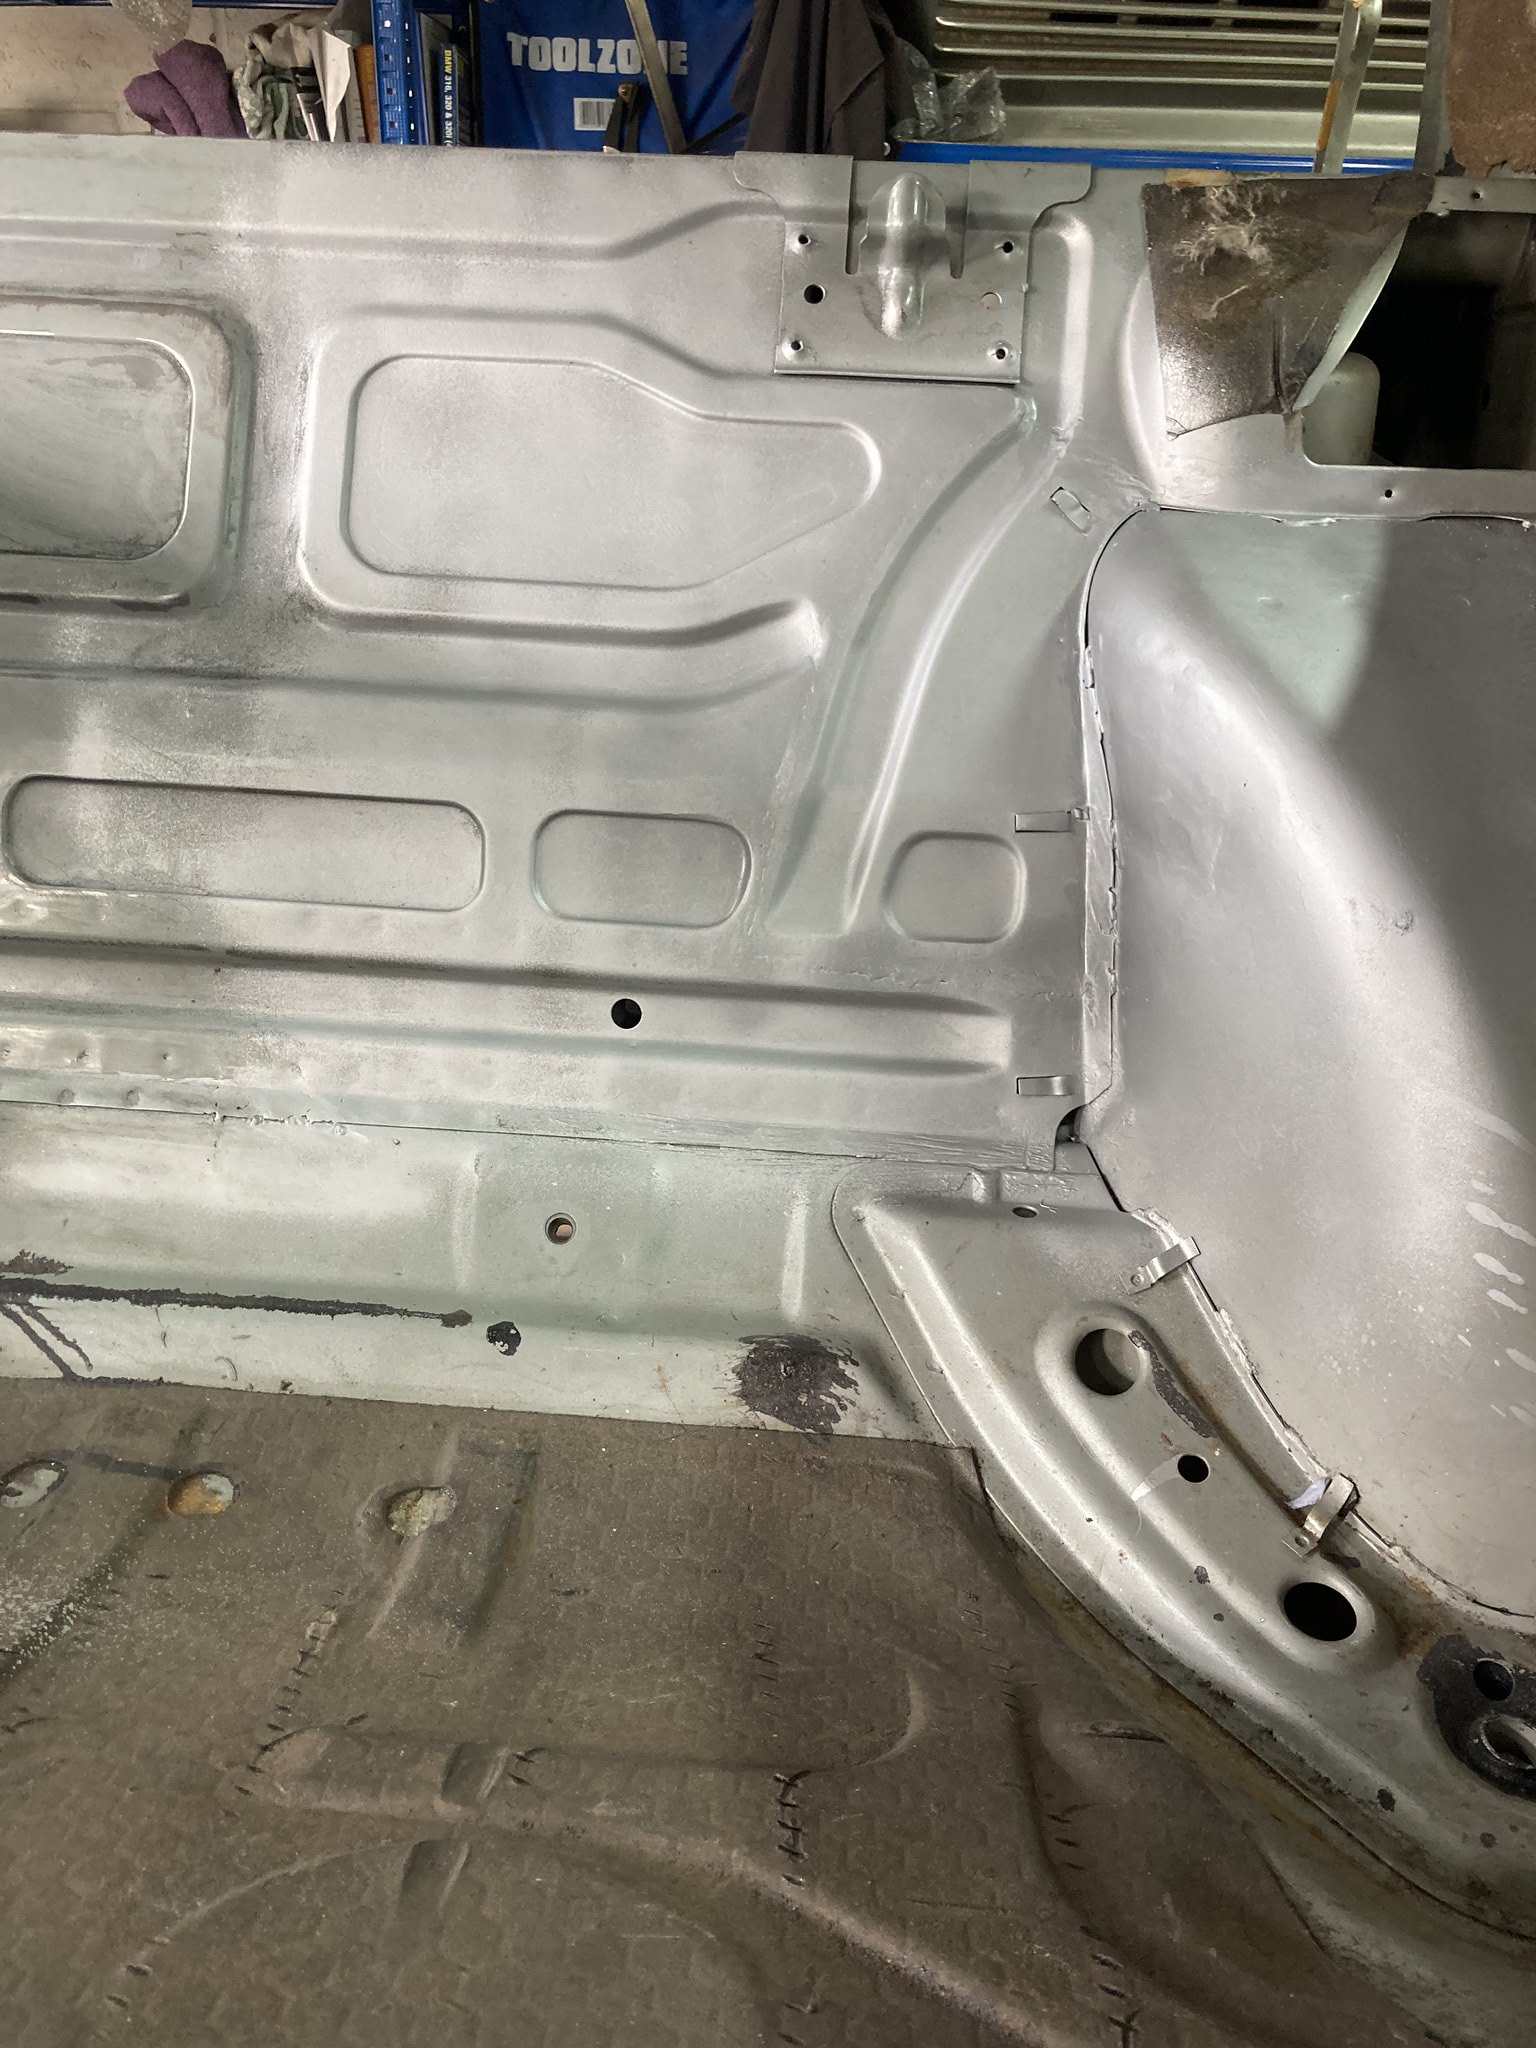
To prevent shit like this happening again, I sealed the reinforcement plate for the strut and filled it up with dinitrol. In the booth, next to the strut mounting points are these holes with a clear plastic cap. Thats where you put in the Dinitrol wax
Re: Bealo's 320/6
Posted: Sun Sep 18, 2022 5:09 pm
by bealo
Overdue update.......
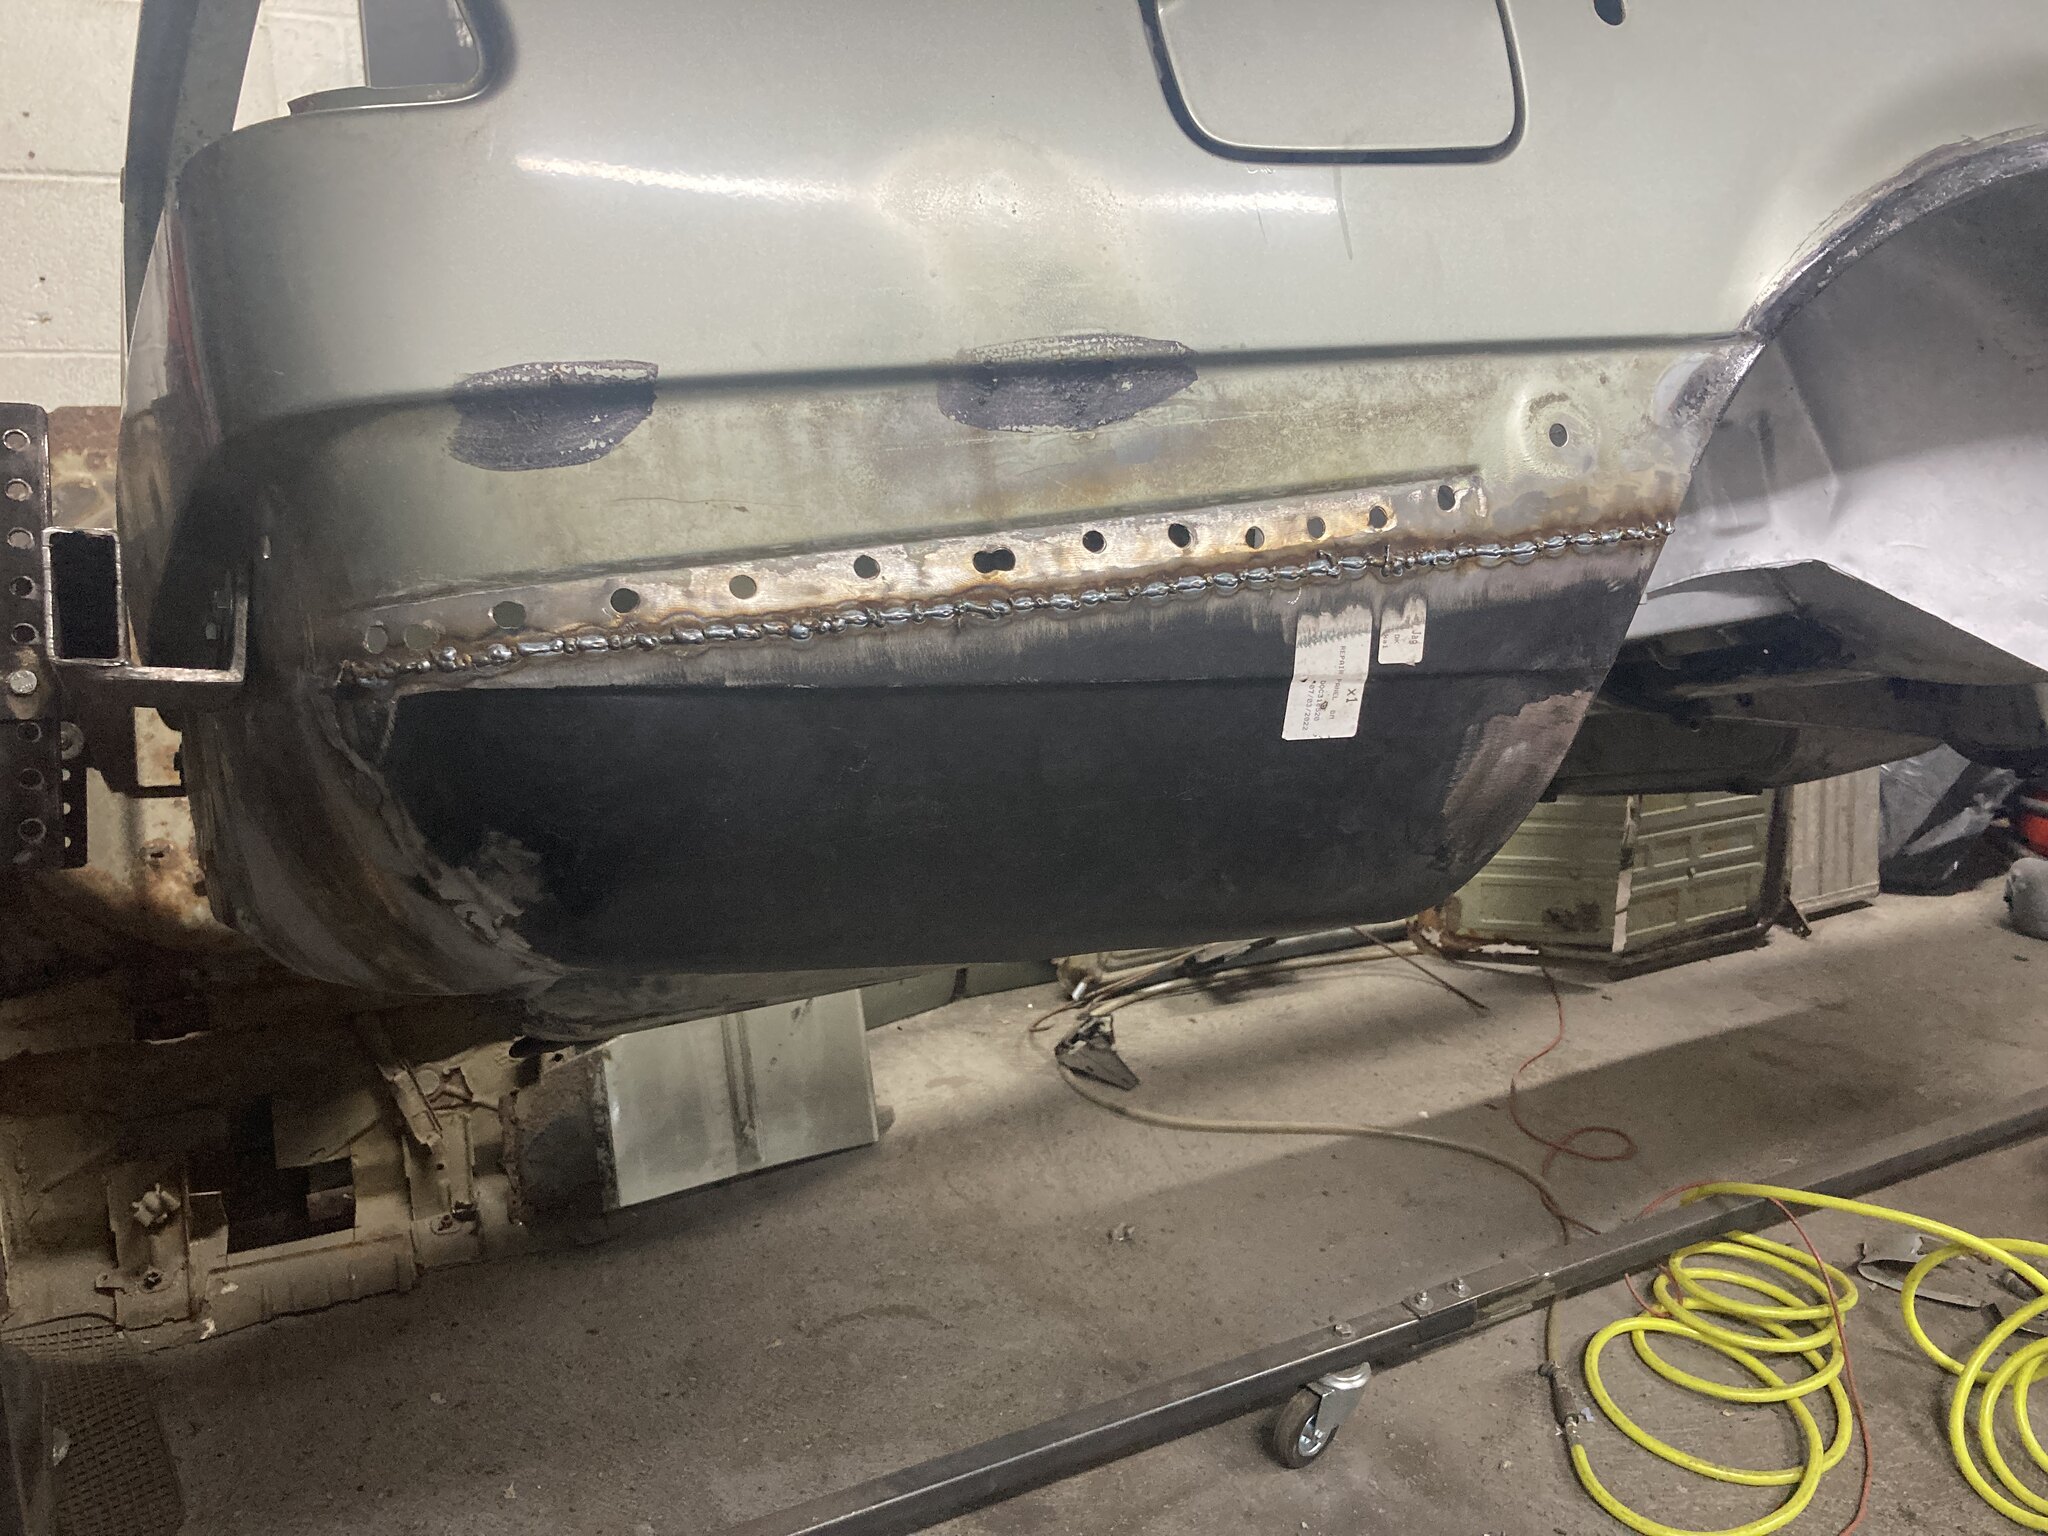
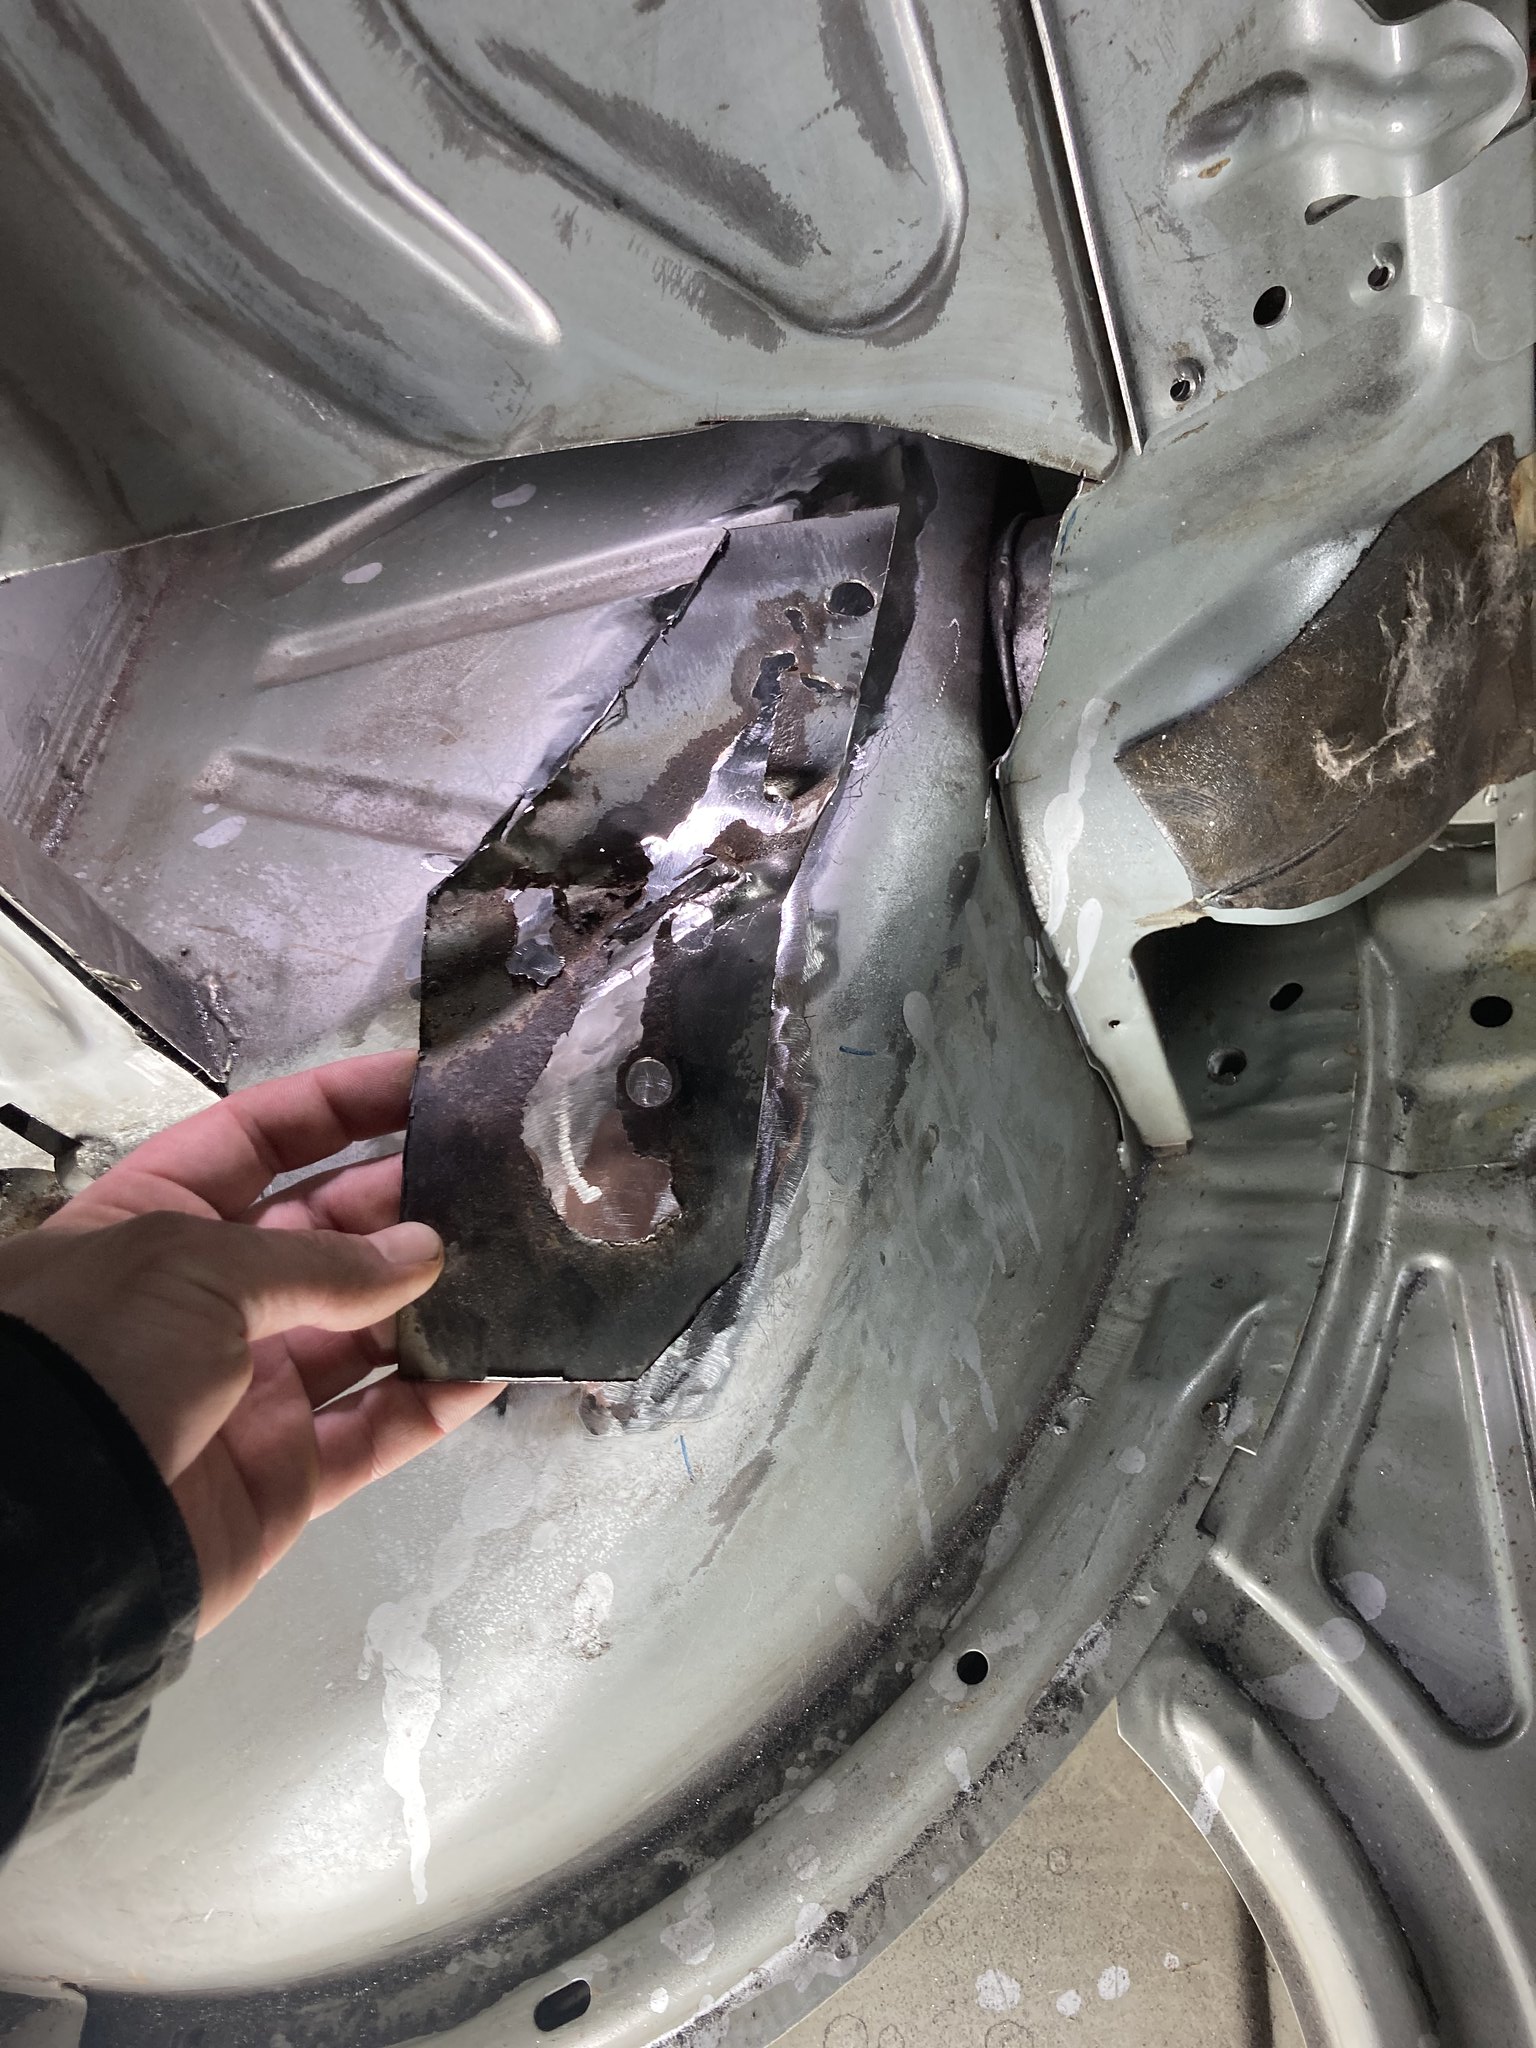
so the rest of February I attacked the drivers side Arch tub, Lots of head scratching and swearing but here it is
started out by cutting out the rot and cutting a access hole in the seat panel.
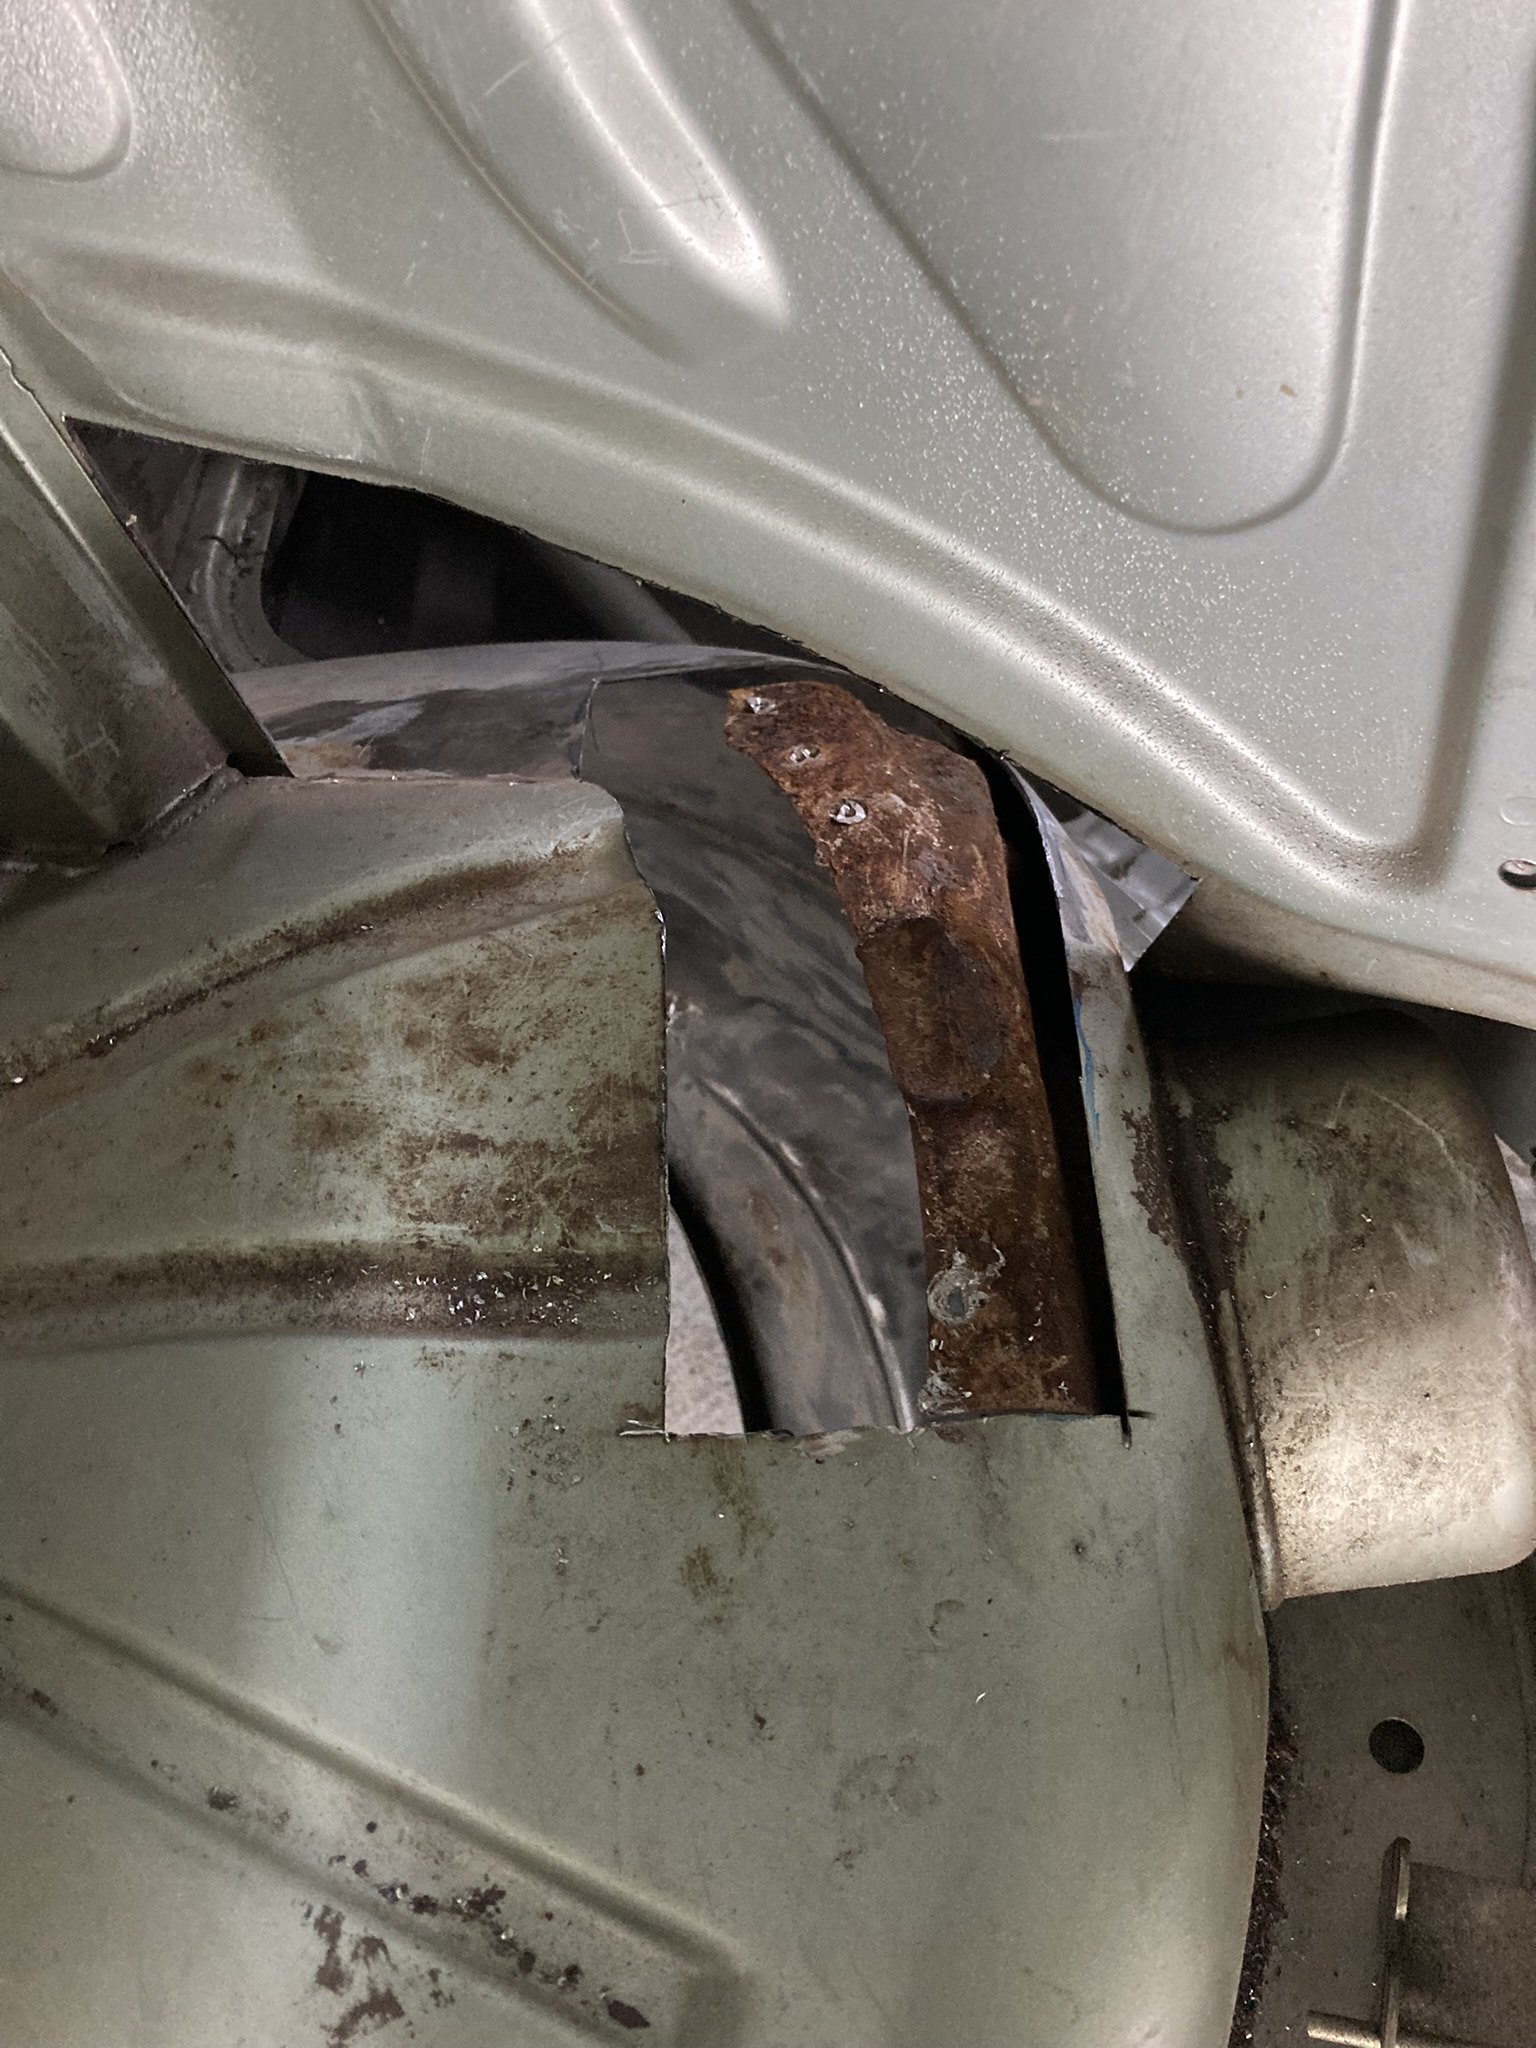
also found another hole where the arch meets the rear quater, this was very tight and awkard to get to
I used a combination of the donor arches and new metal to do the repairs and also cut out the fuel filler mount and replaced that section with a donor piece


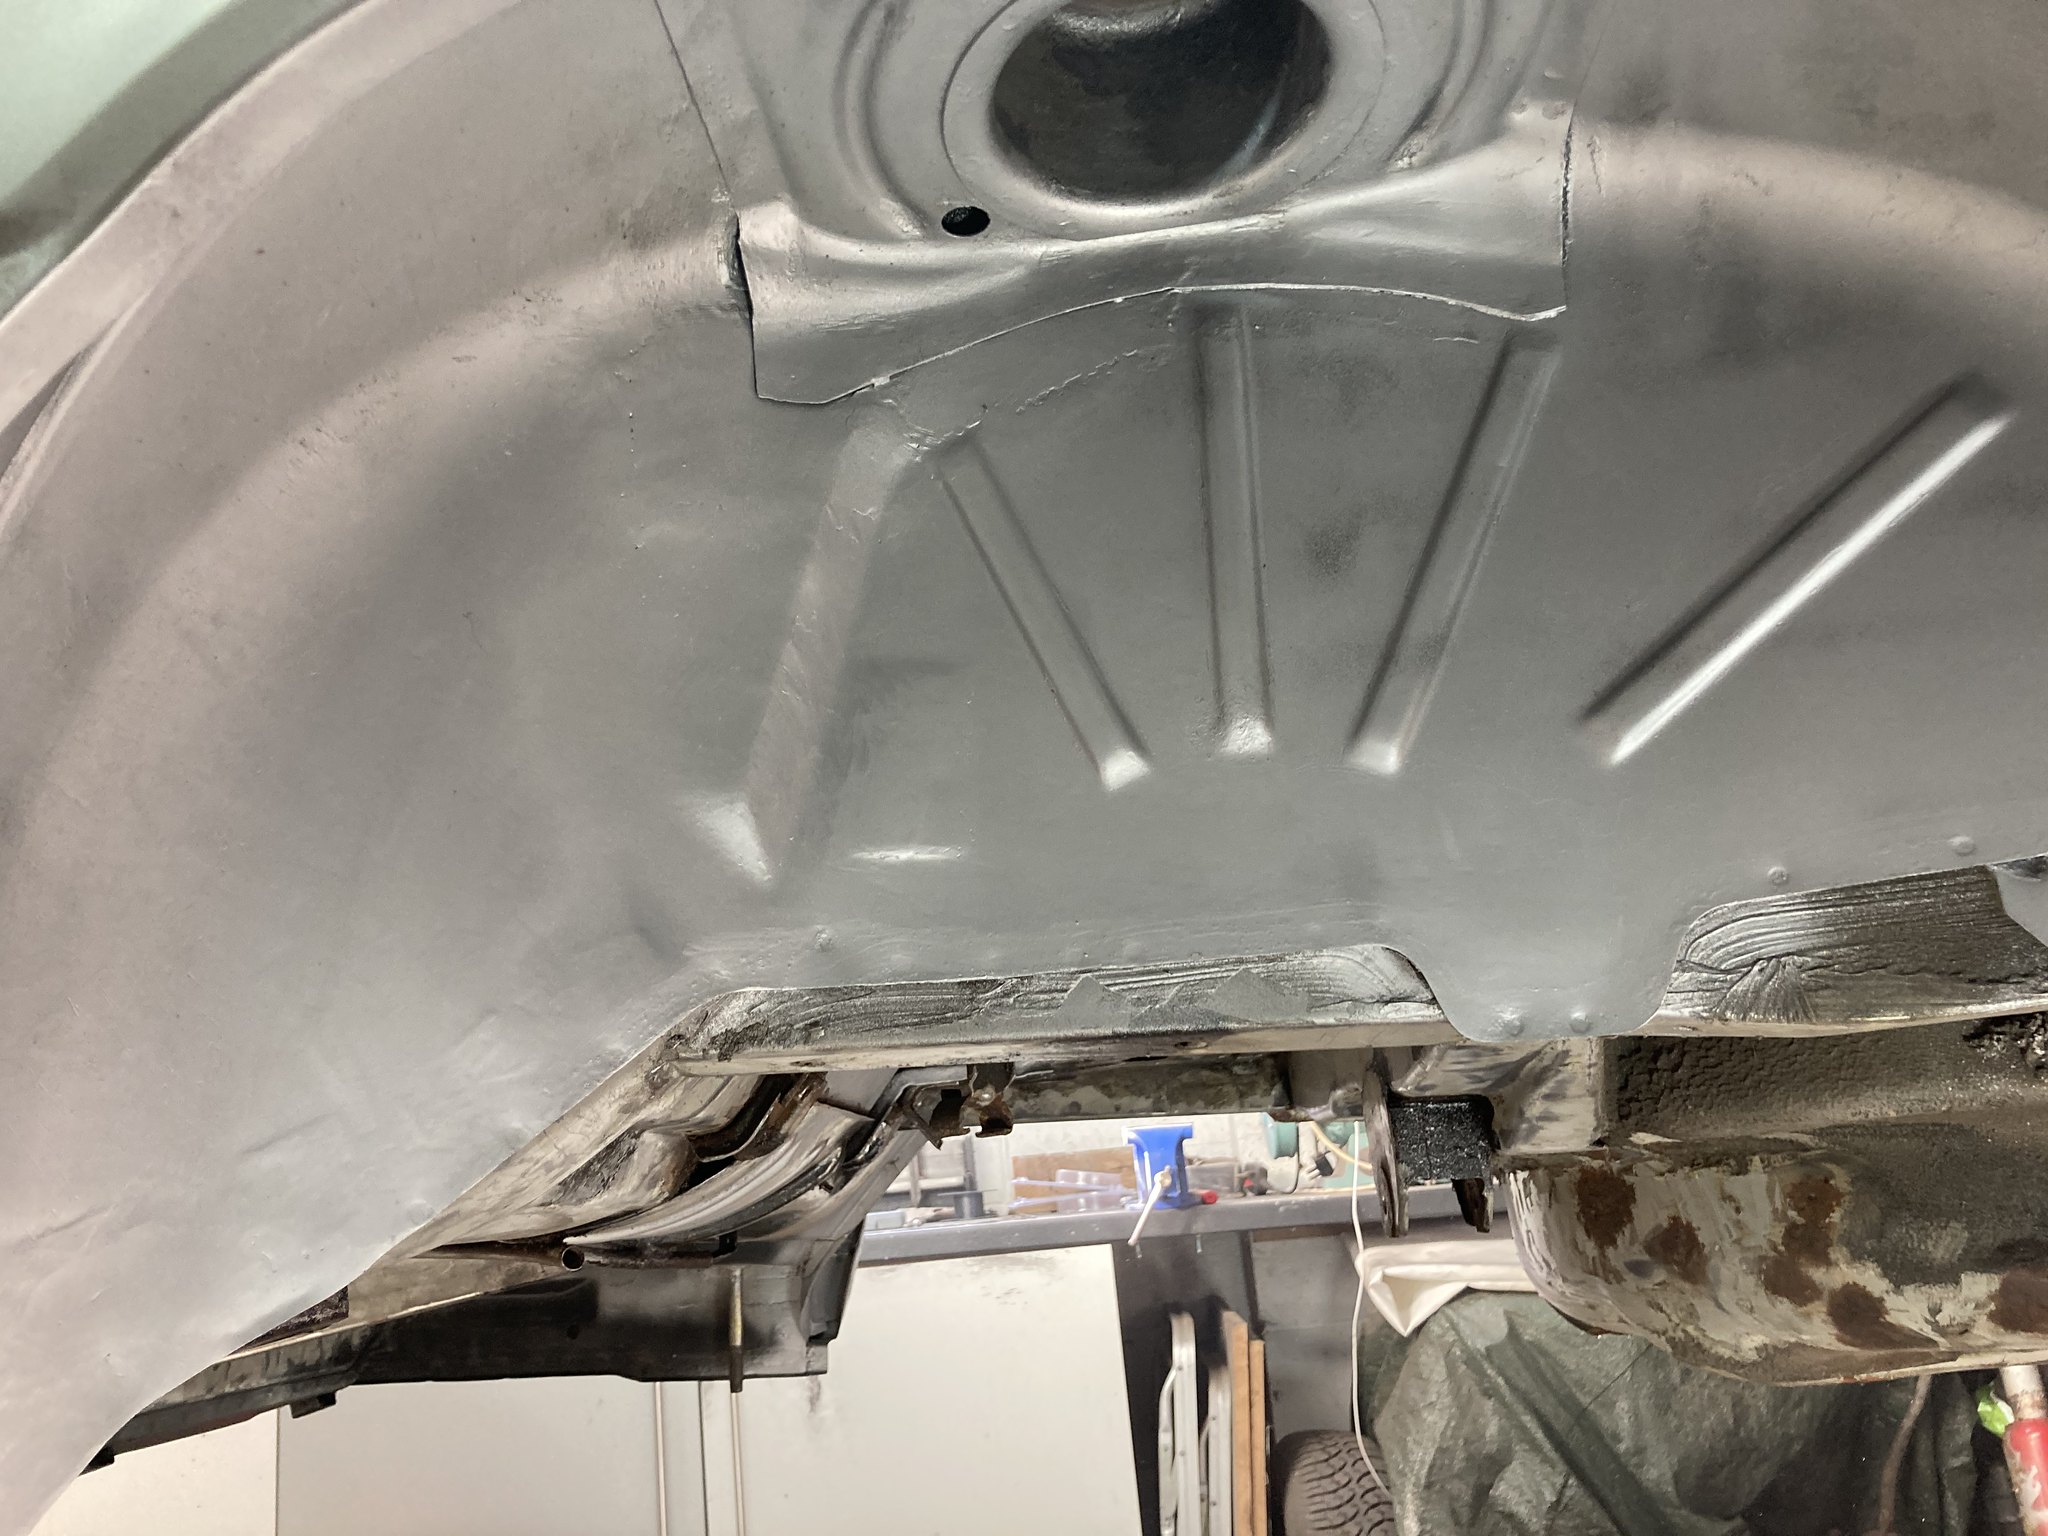
boom!! they were done

not perfect but definatley acceptable
onto the hole where the fuel filler passes through and the lower edge. these were very rotten to had to be re done.
when I cut them out I realised I needed the lower edge repaired first so I had a datum point to work to. So a bit of thinkig and out came the grider!
Upon doing this I found...... can you guess?.... yes more rot!! The lower quater had lots of pin hole so that bastard got cut out as well!!
Re: Bealo's 320/6
Posted: Sun Sep 18, 2022 5:26 pm
by bealo
Re: Bealo's 320/6
Posted: Sun Sep 18, 2022 5:42 pm
by bealo
Re: Bealo's 320/6
Posted: Sun Sep 18, 2022 7:39 pm
by bealo
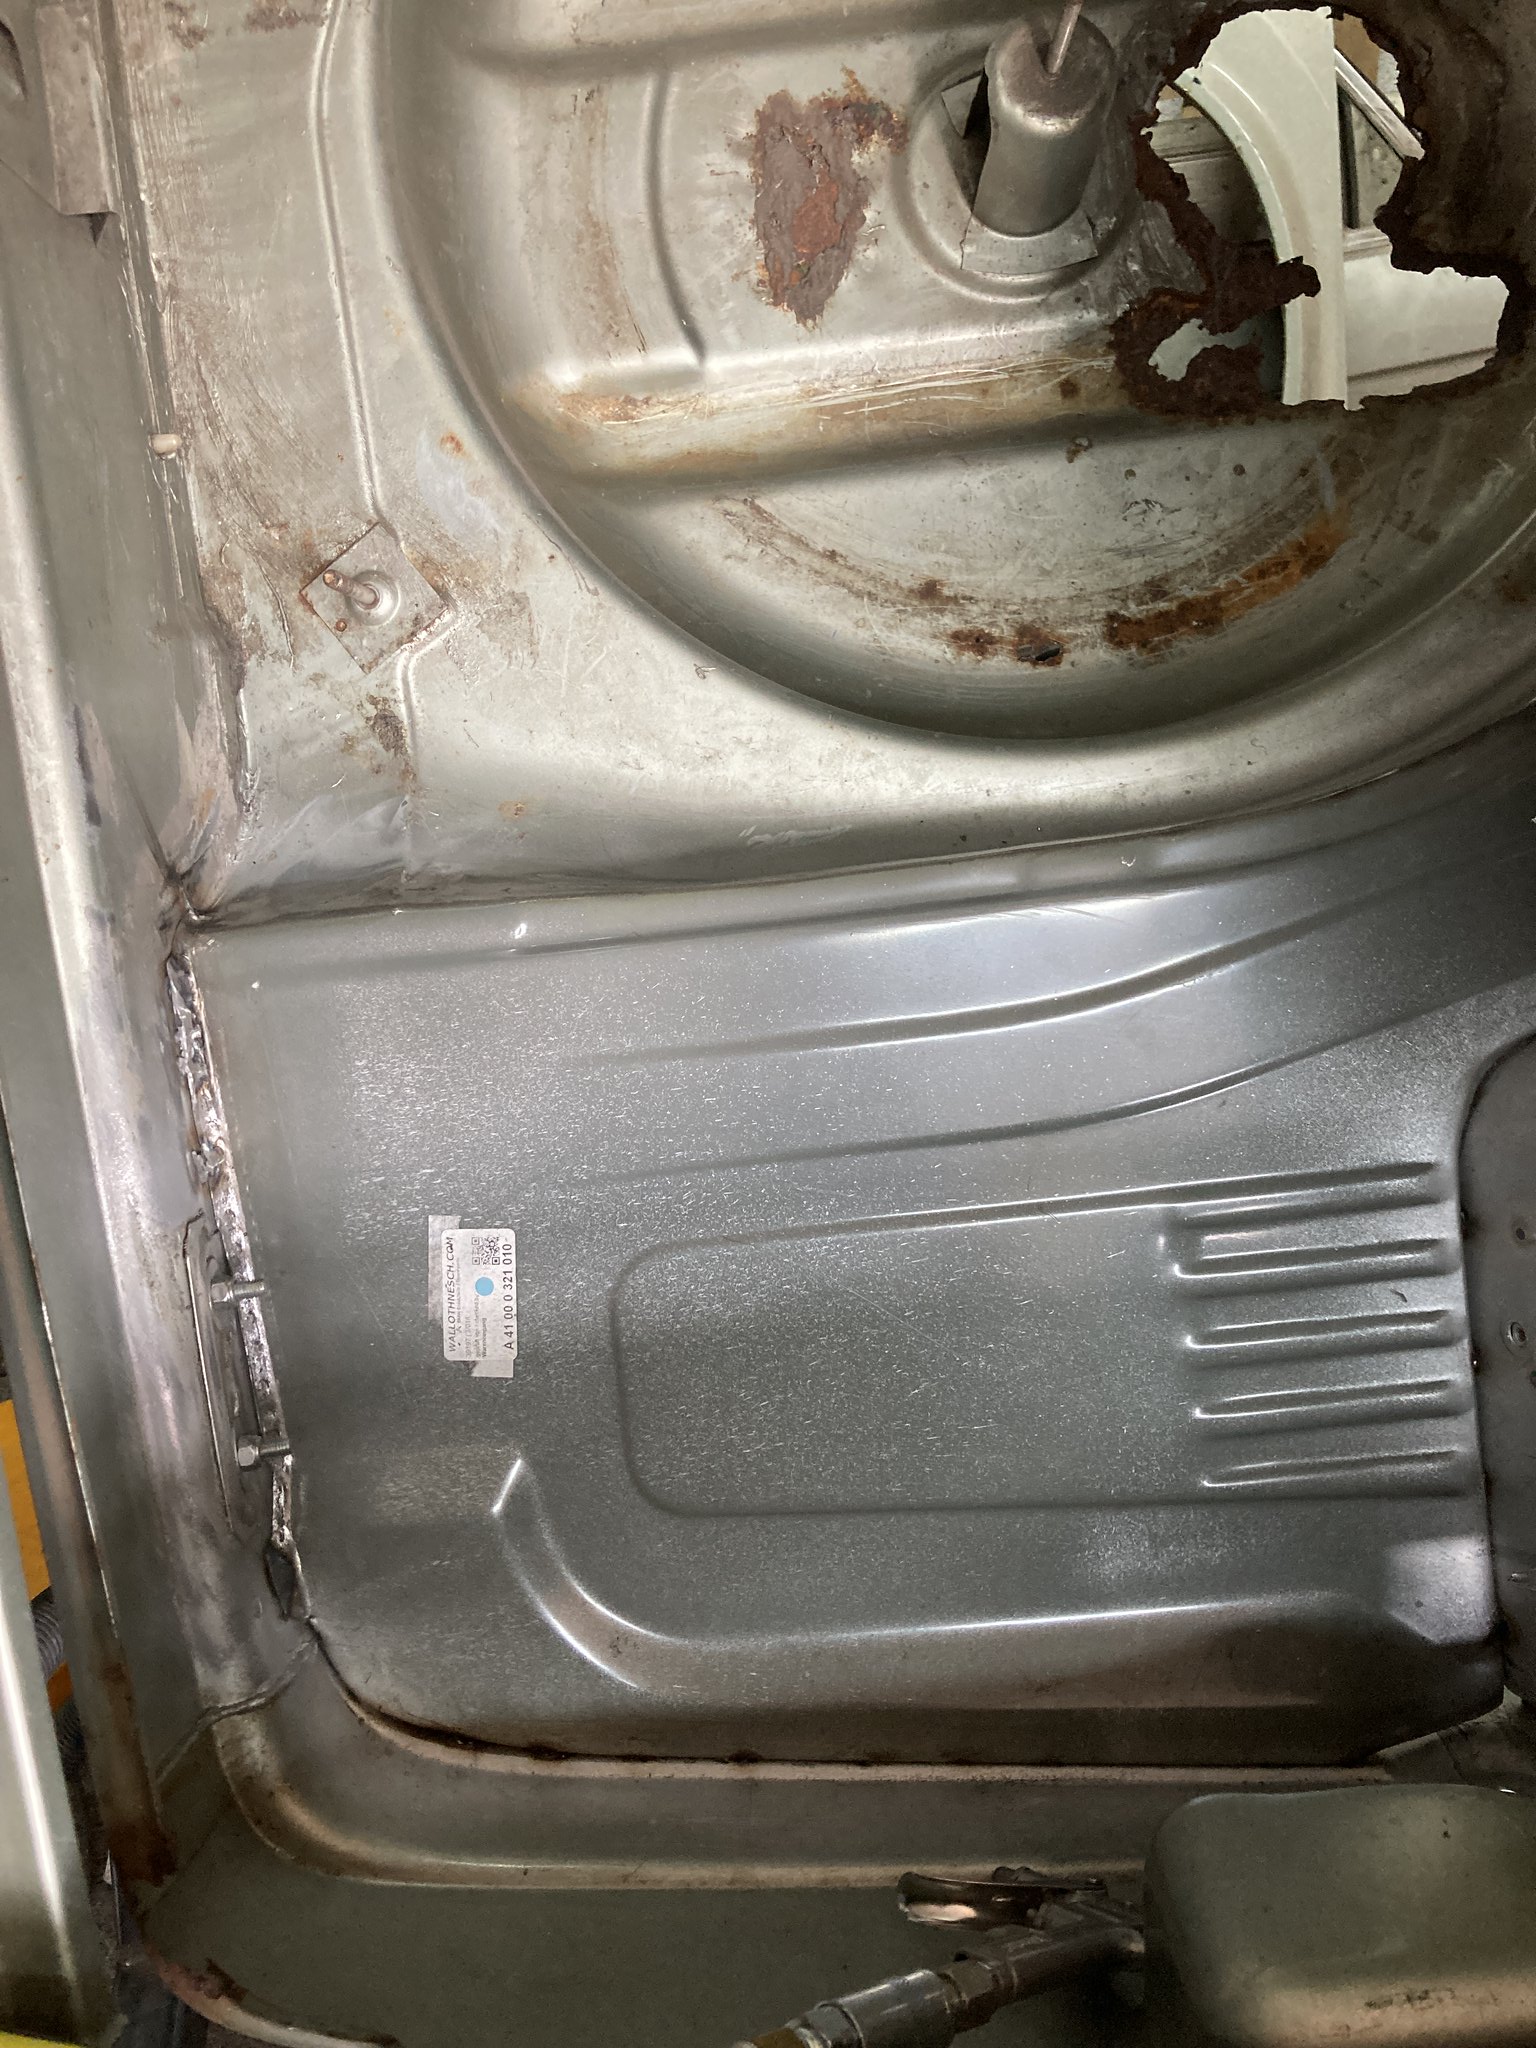
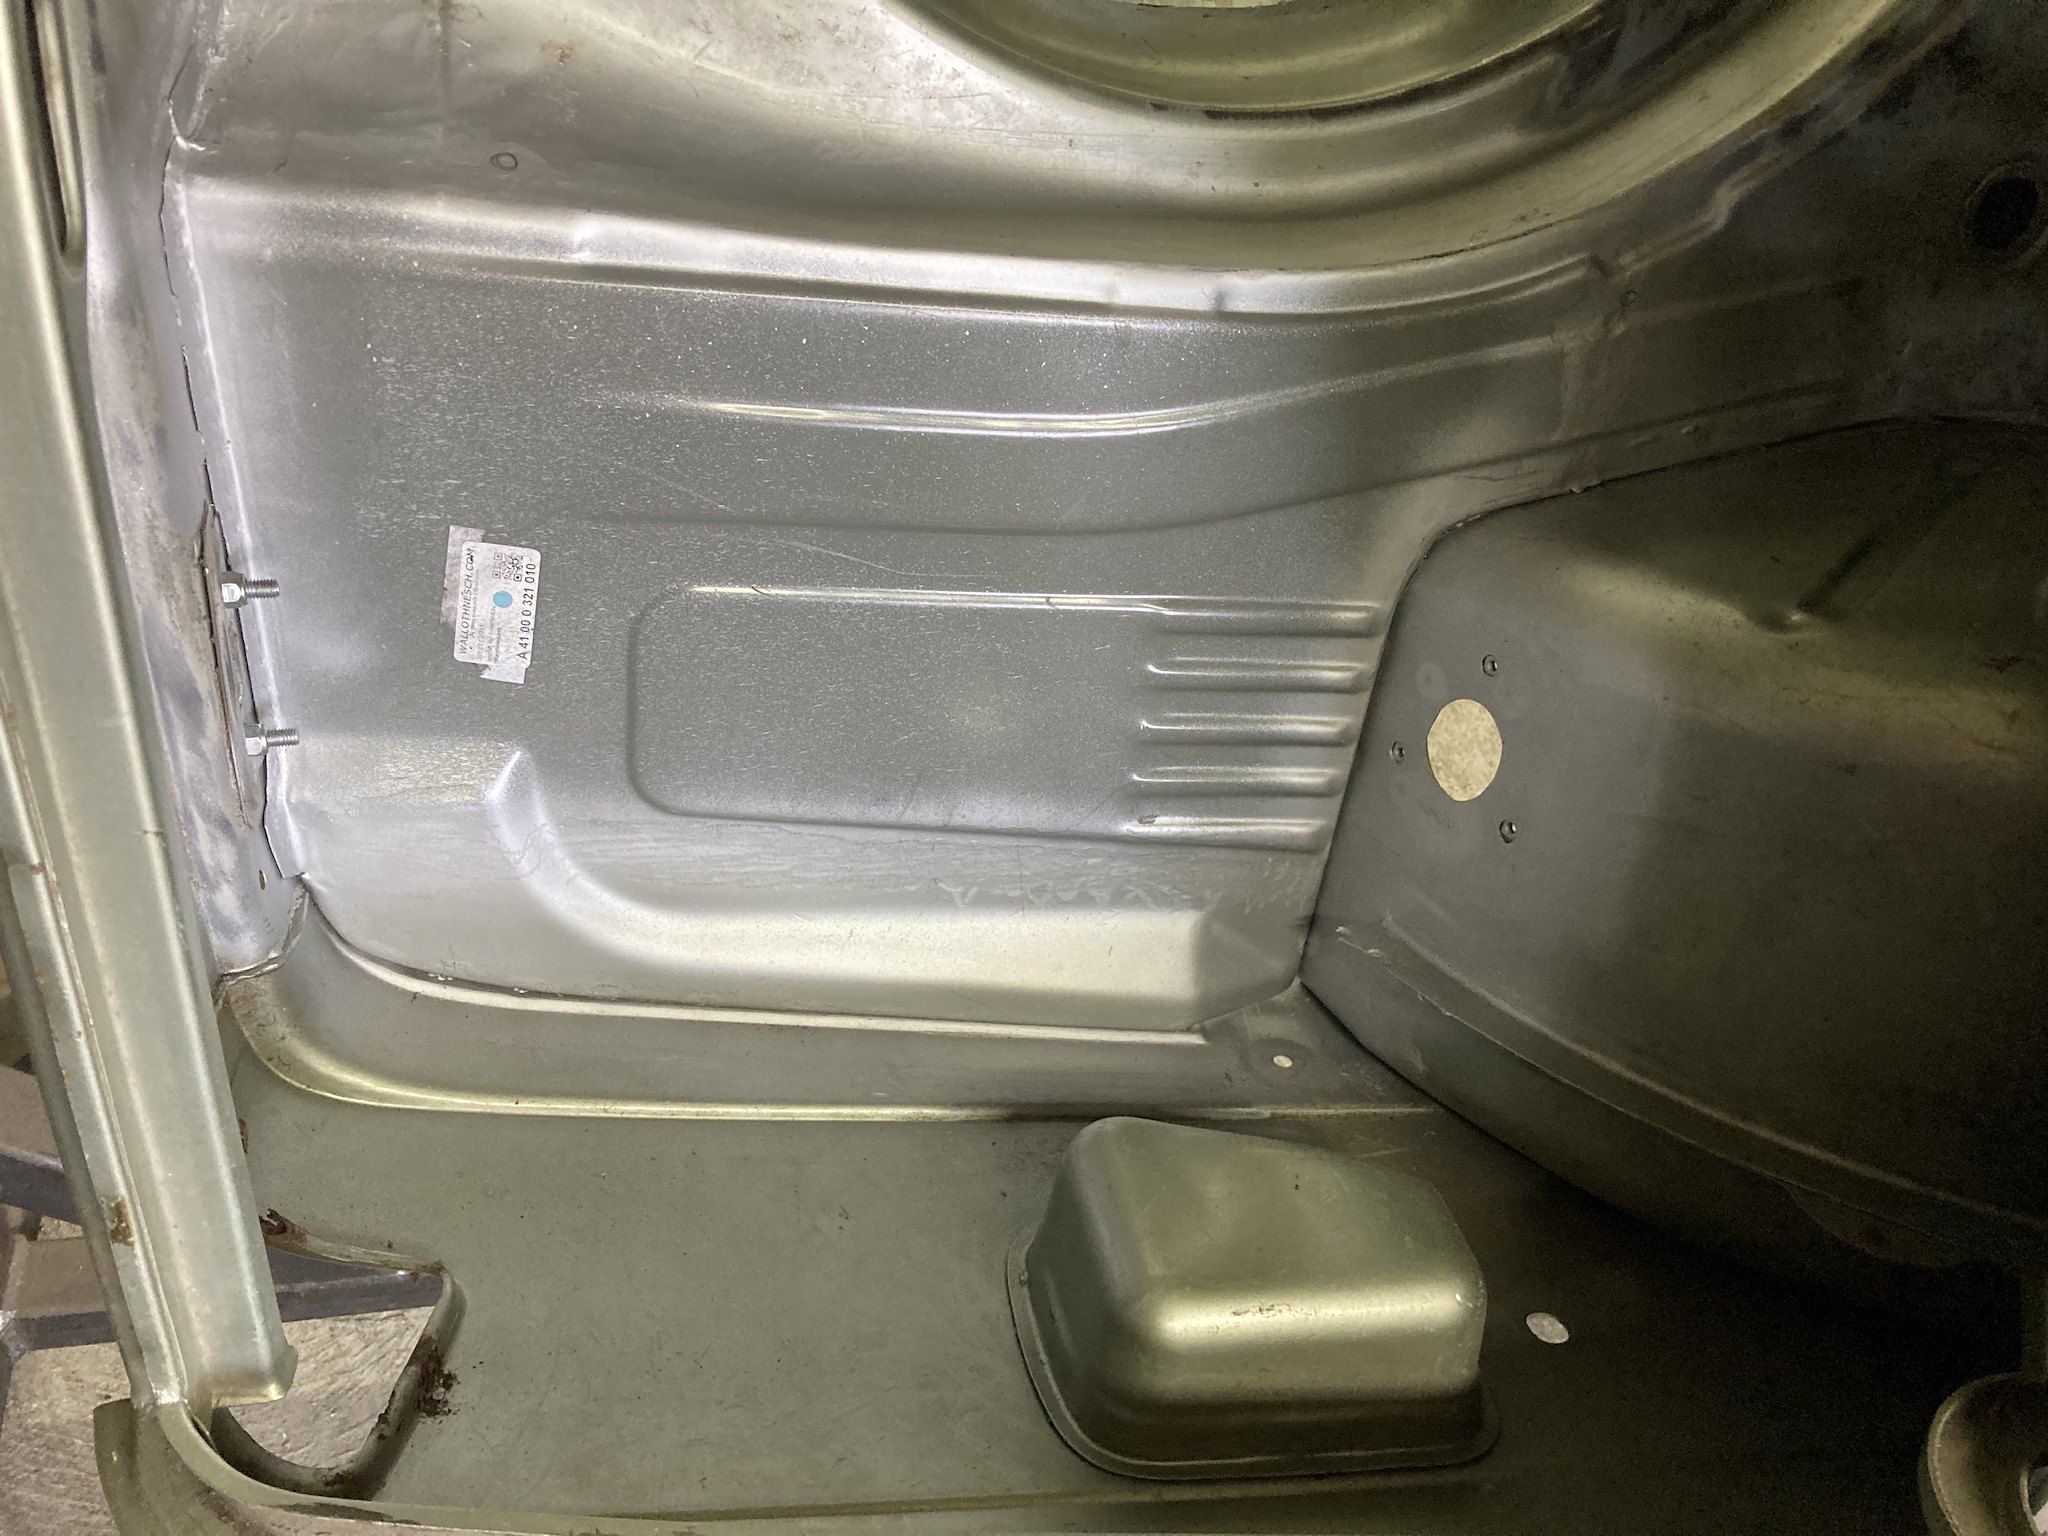
Late March and the first panel in the boot was welded in. Again there is a lack of photos! Pleased with how the panels from WallothNesch fitted, minimal work needed just a bit of hammer and dolly and they were ready to weld
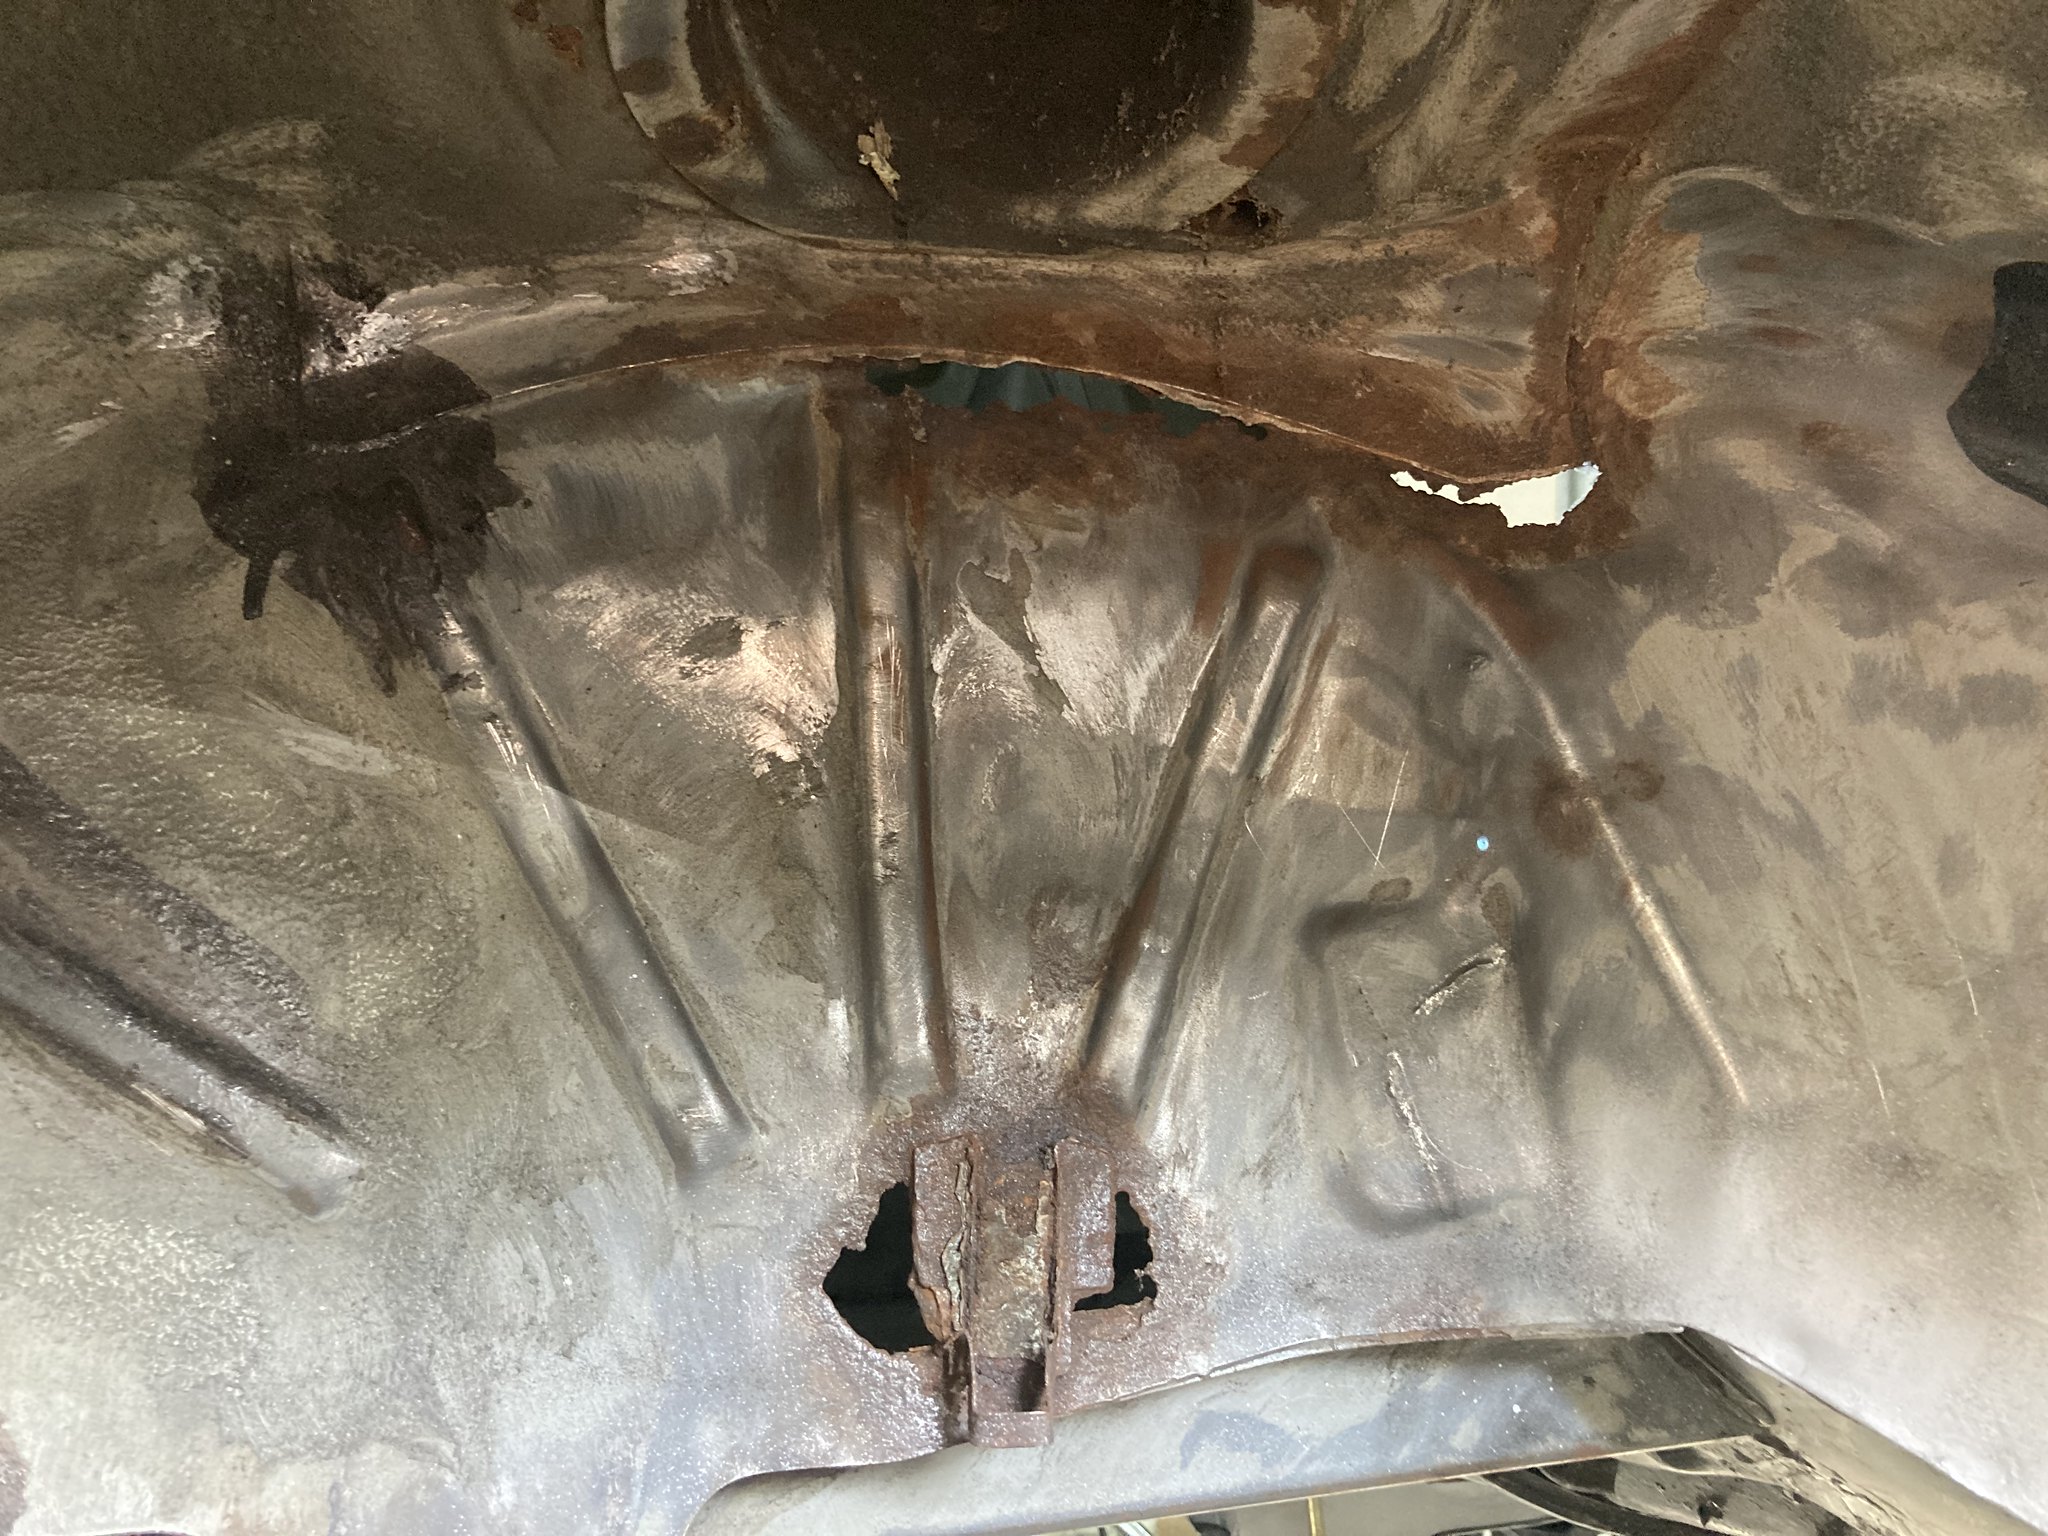
Look at that nasty spare wheel well

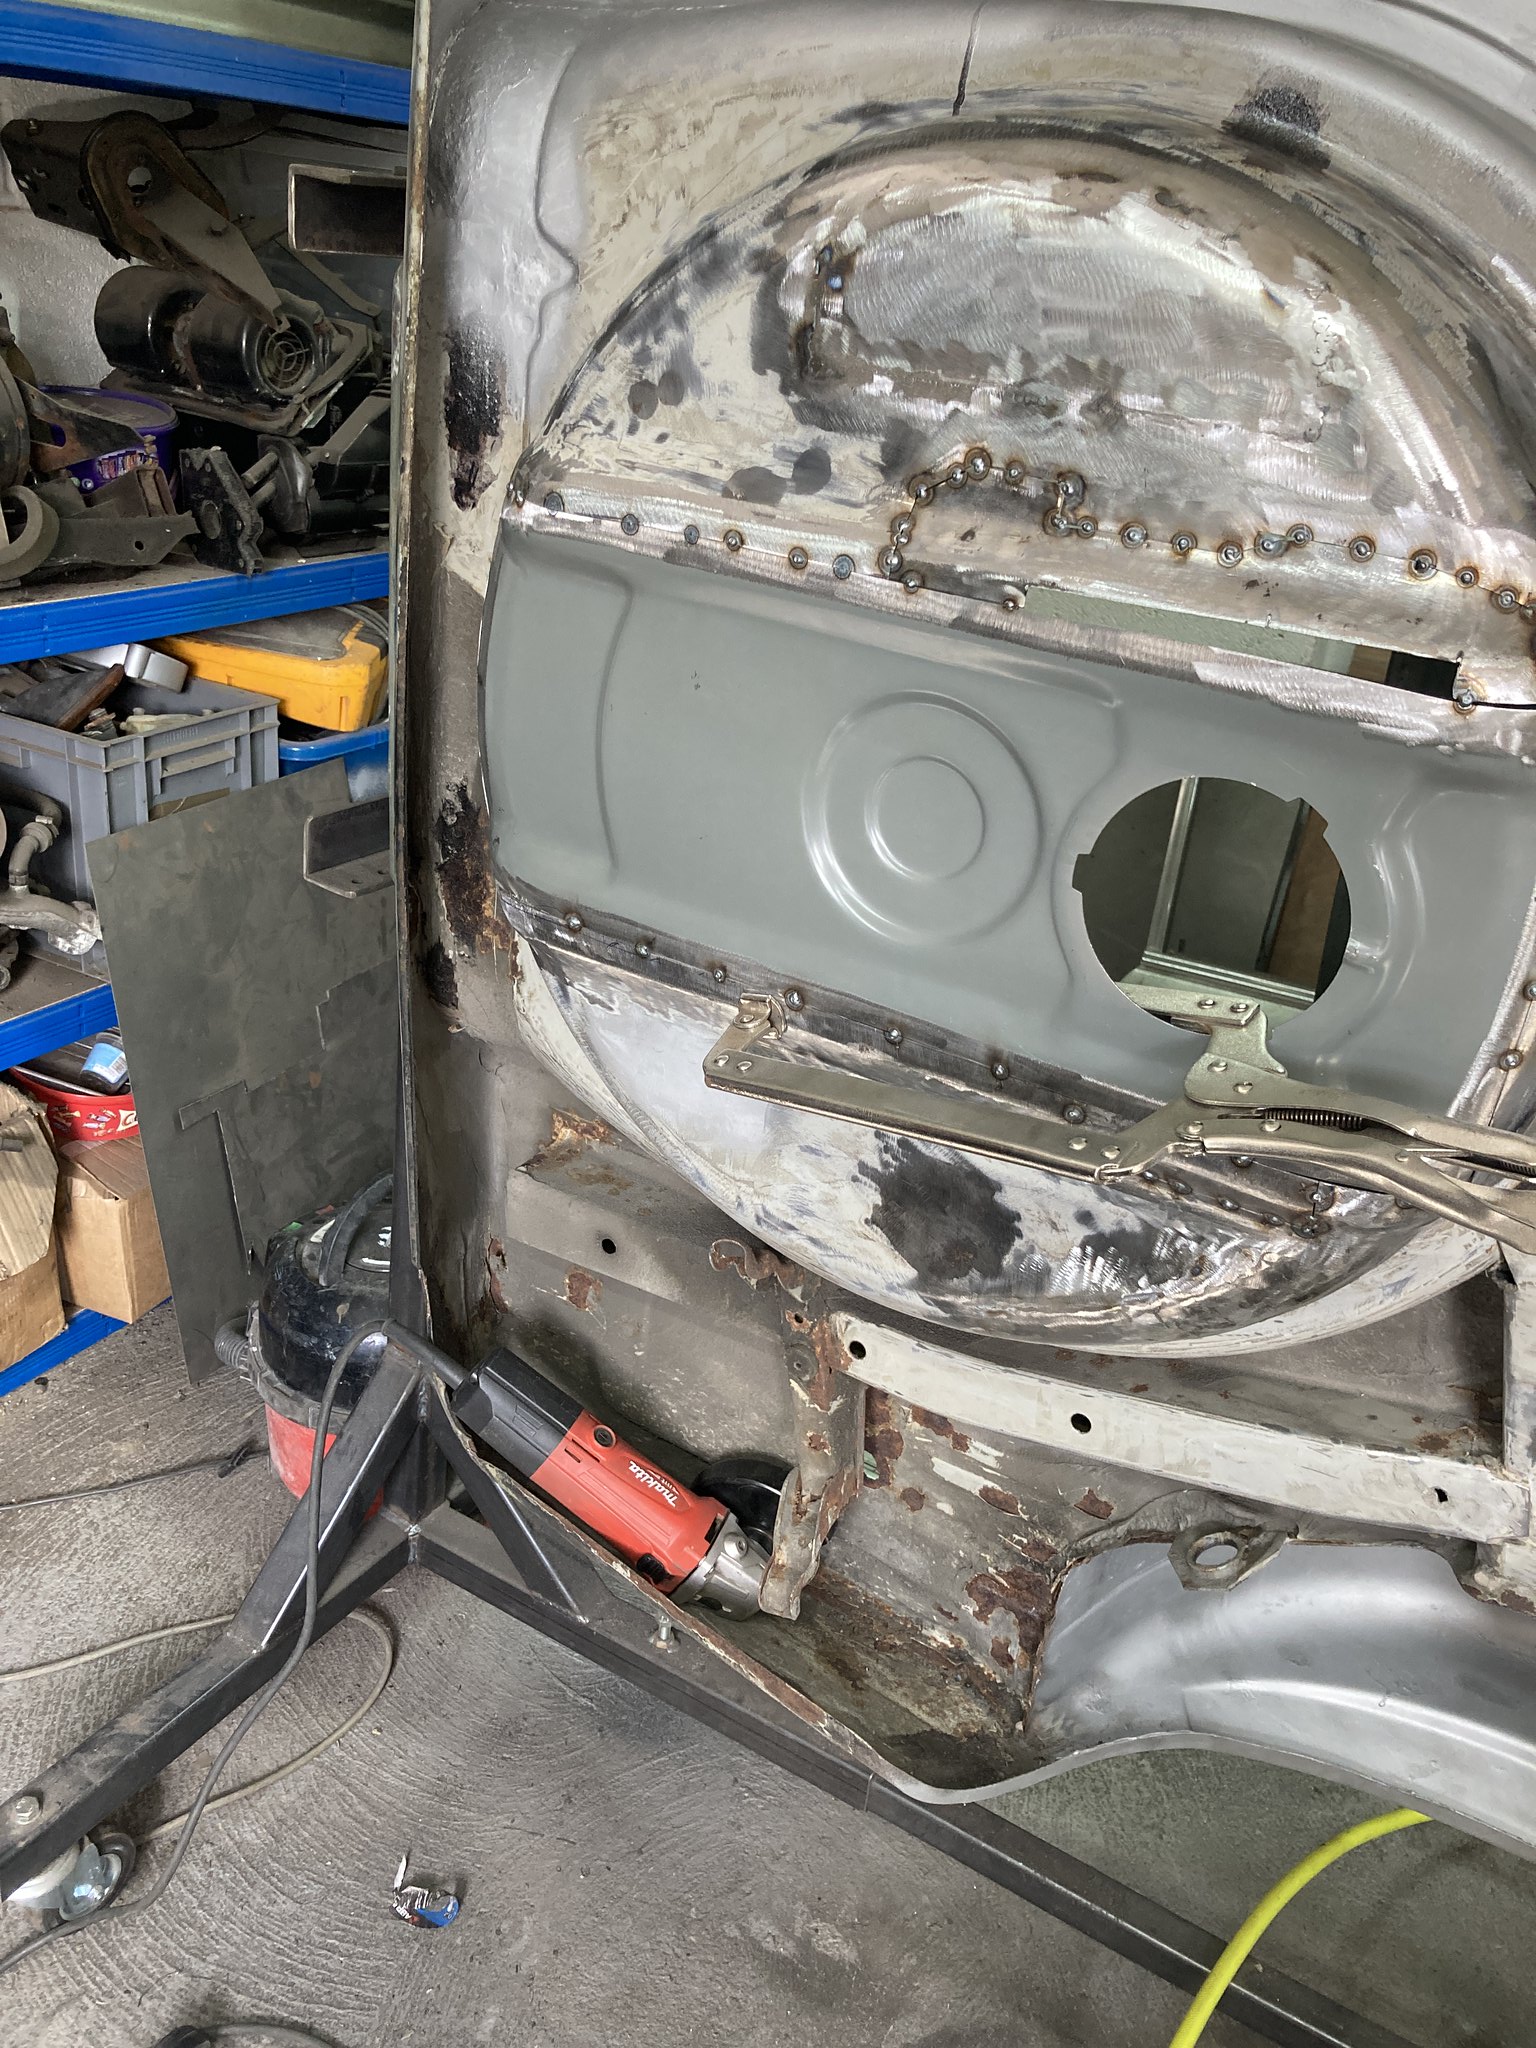
Next I was onto the spare wheel well, it was April by this point.
I was dreading this as I couldnt get the full well only the strip through the center. The more i looked and removed paint the more holes I found.
Ihad a donor well which I had originally planned to weld but this was also full of holes but it came in handy for getting the correct curves on the patches I made
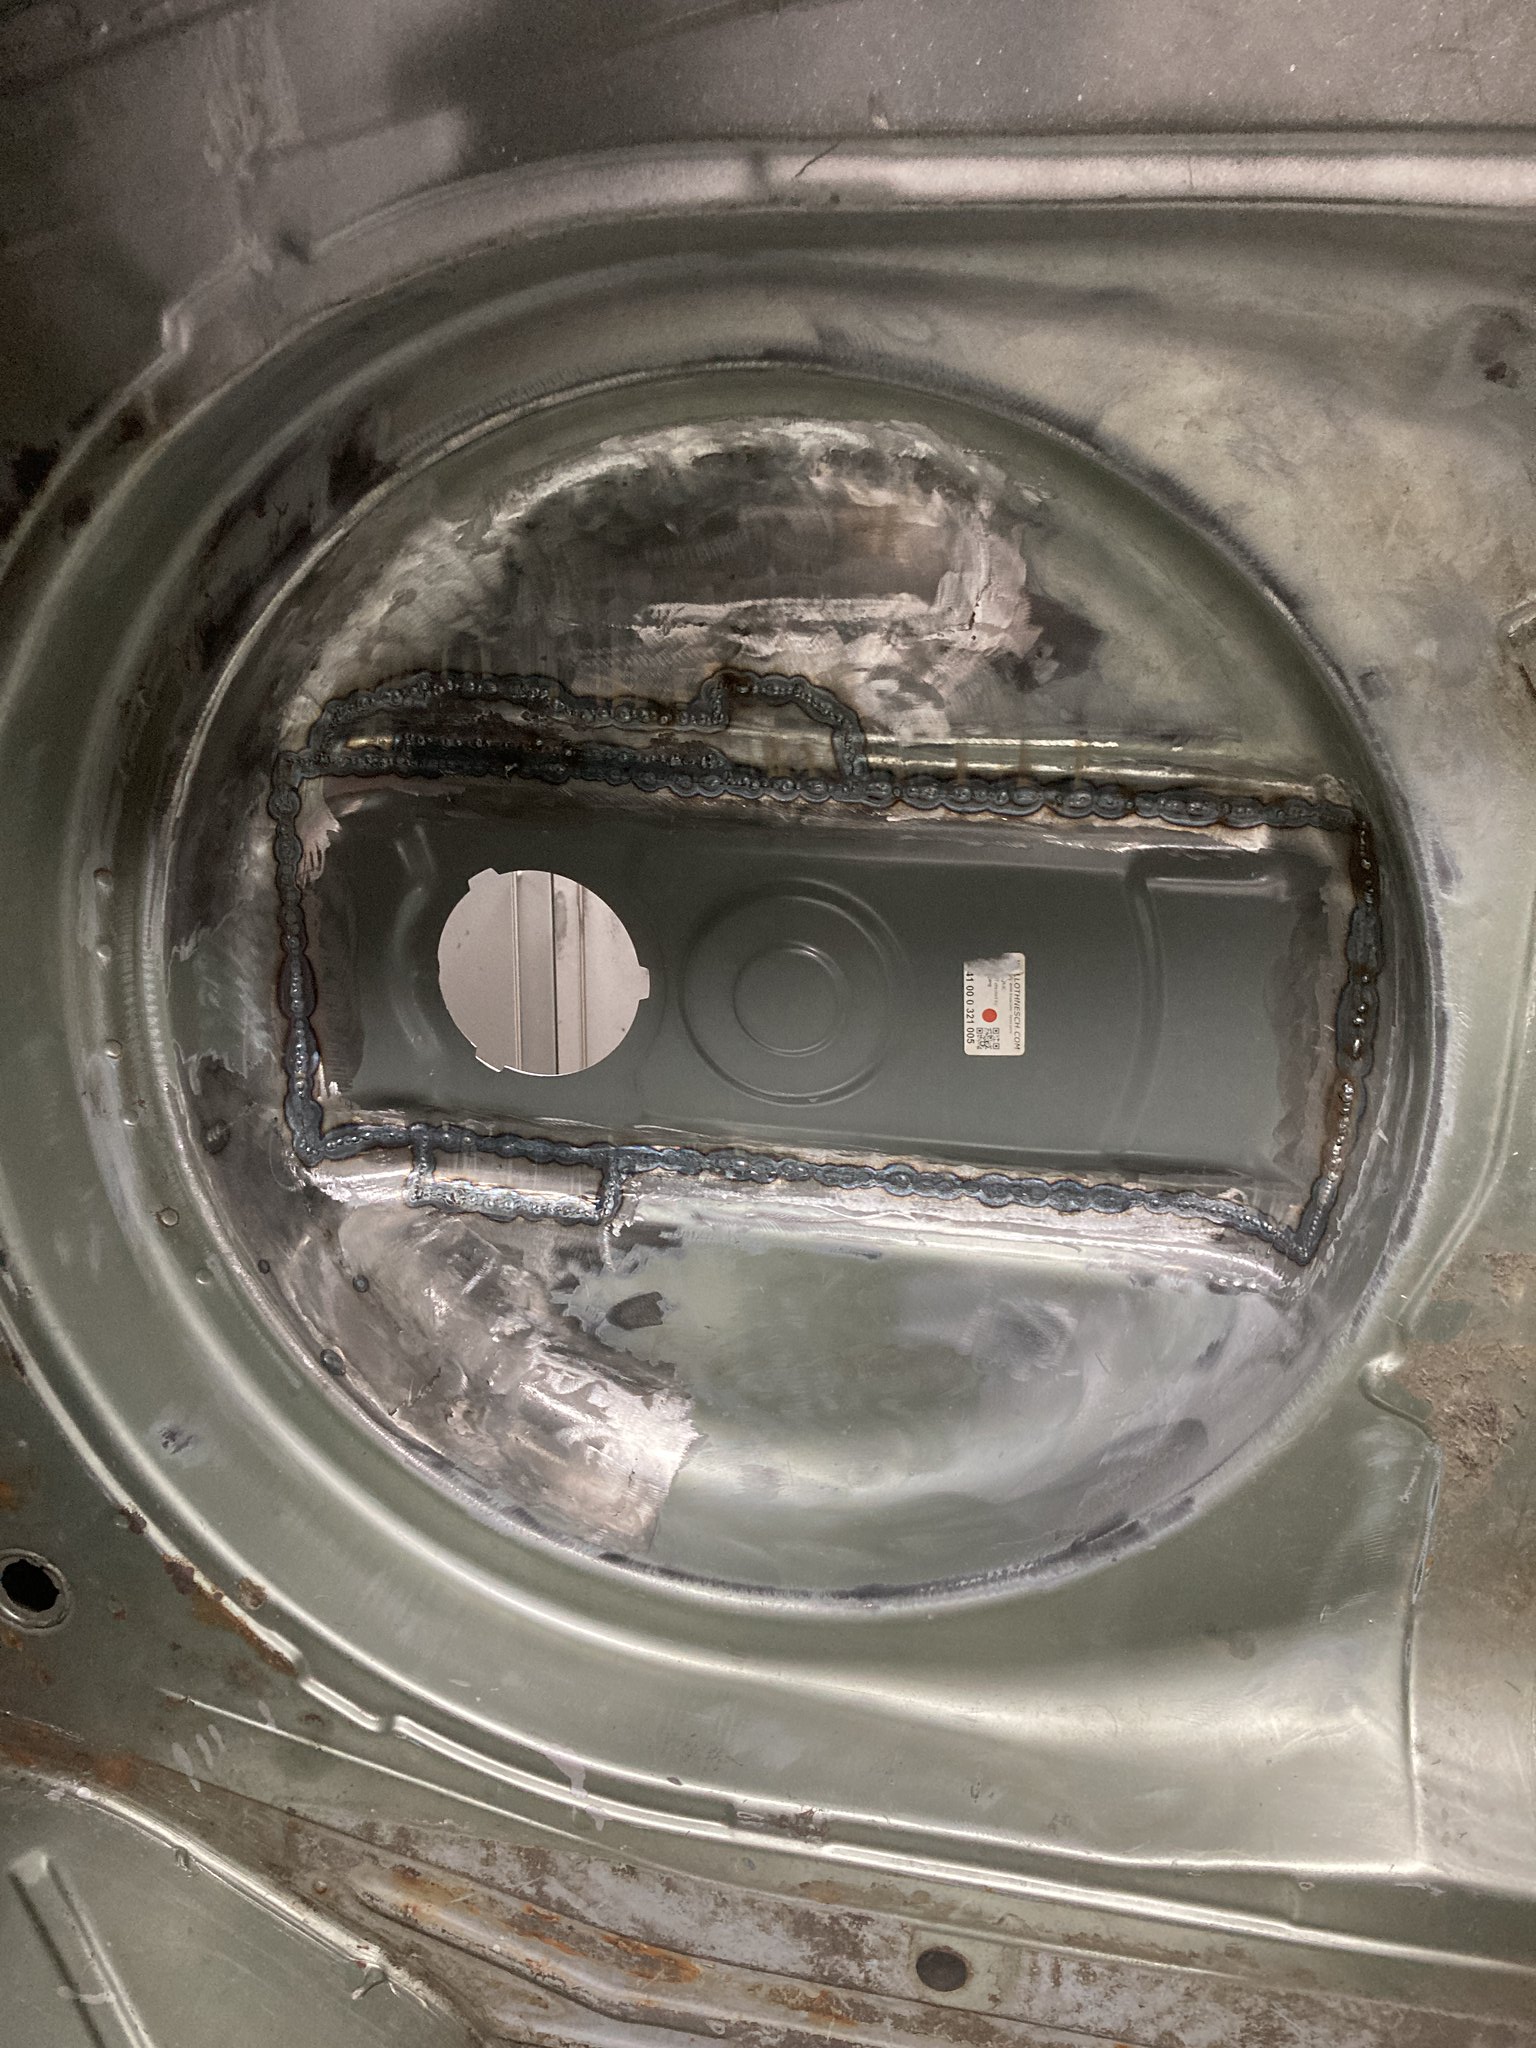
welding has begun!!

more welding!!

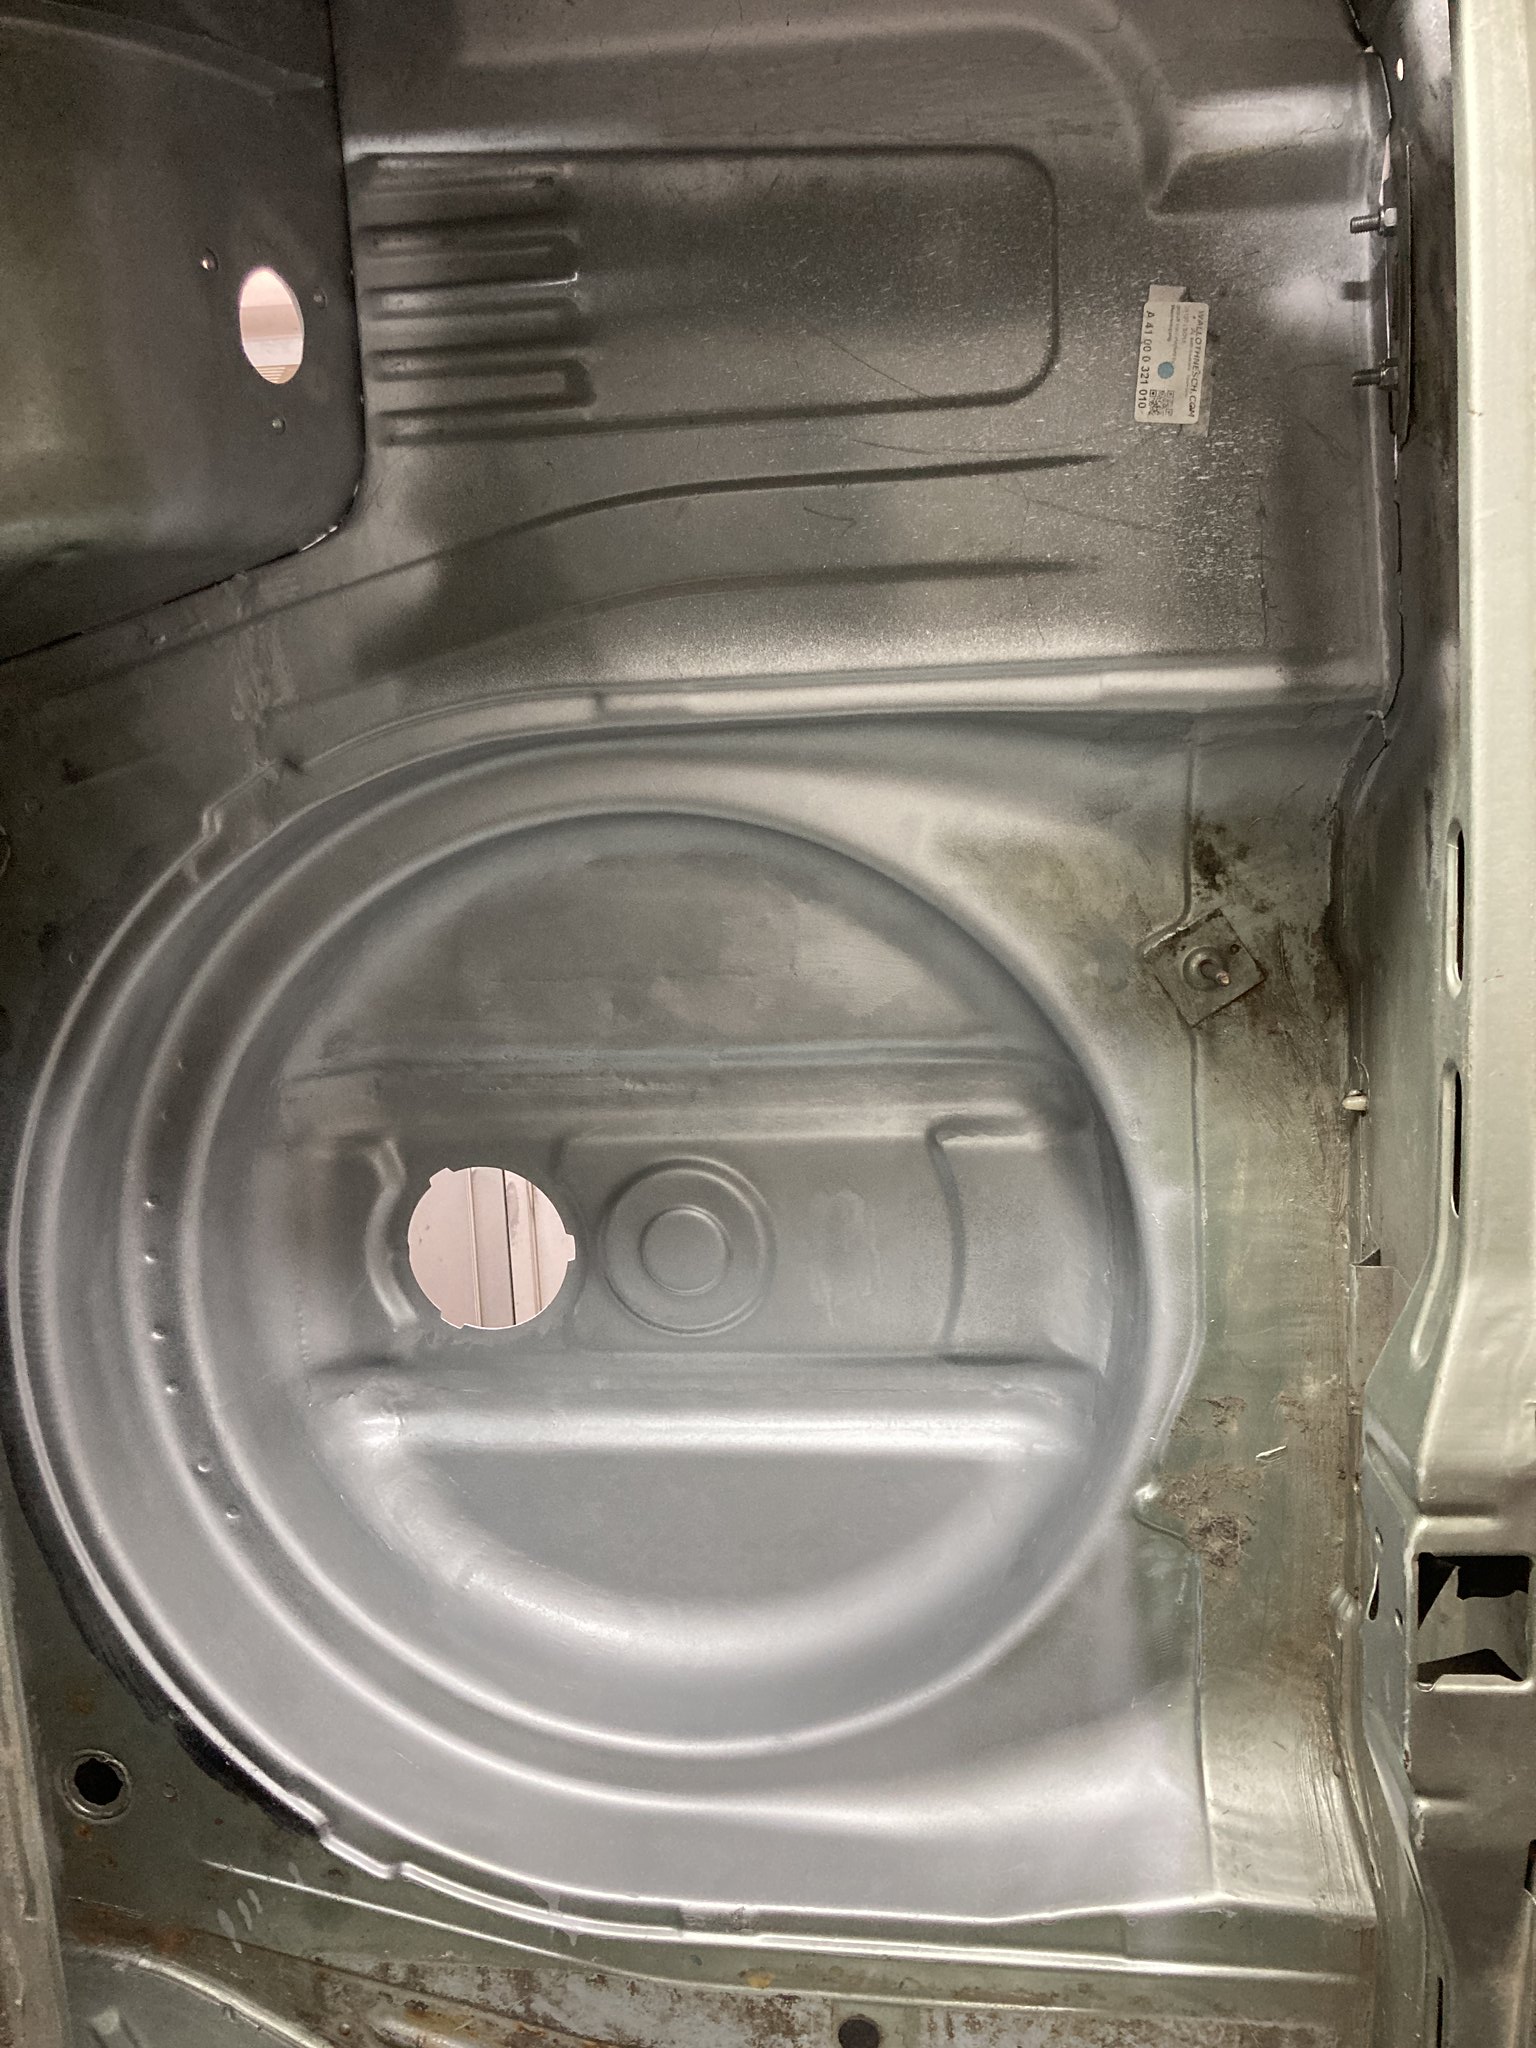
Due to the amount of welding I did get a lot of heat distortion, I shouldve used the airline more to cool it but my paint man came to have a look and said he can sort it
And hey presto!! After a lot of welding and grinding its all cleaned up and primed
Re: Bealo's 320/6
Posted: Sun Sep 18, 2022 7:42 pm
by bealo