Page 1 of 6
E9 3.0csi Restoration - Duracel79
Posted: Mon Feb 13, 2017 8:28 pm
by Duracel79
Hi all,
I've been a bit quiet on here recently, with lots of time being spent on this car.
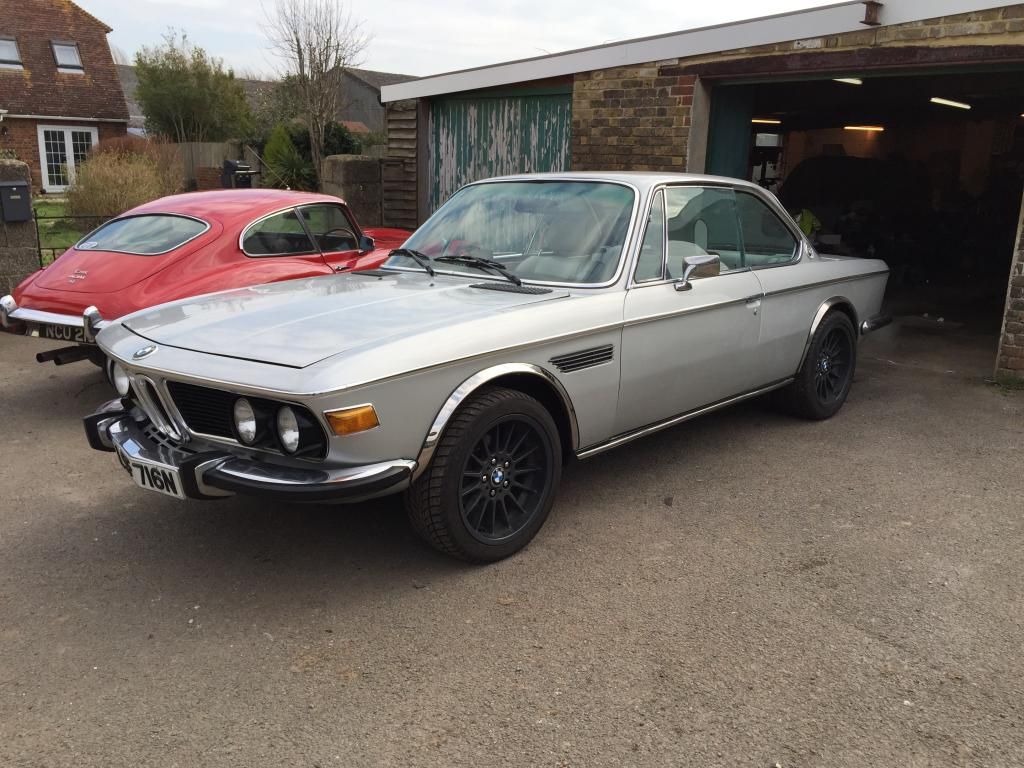
My Father bought this fine example in February 2014:
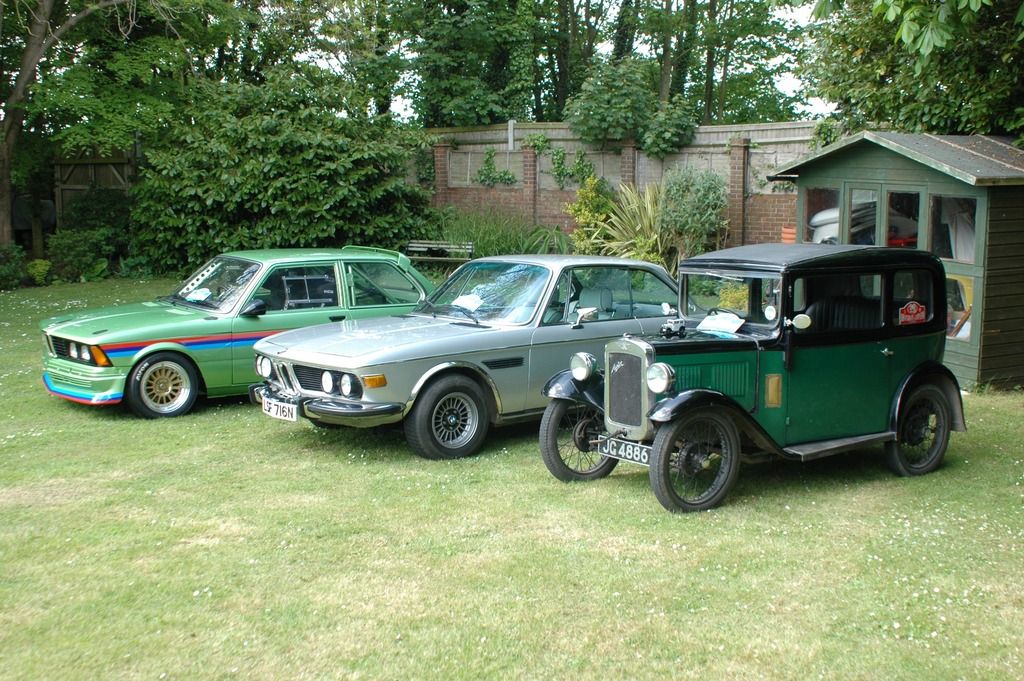
At a local pub meet in July 2014:
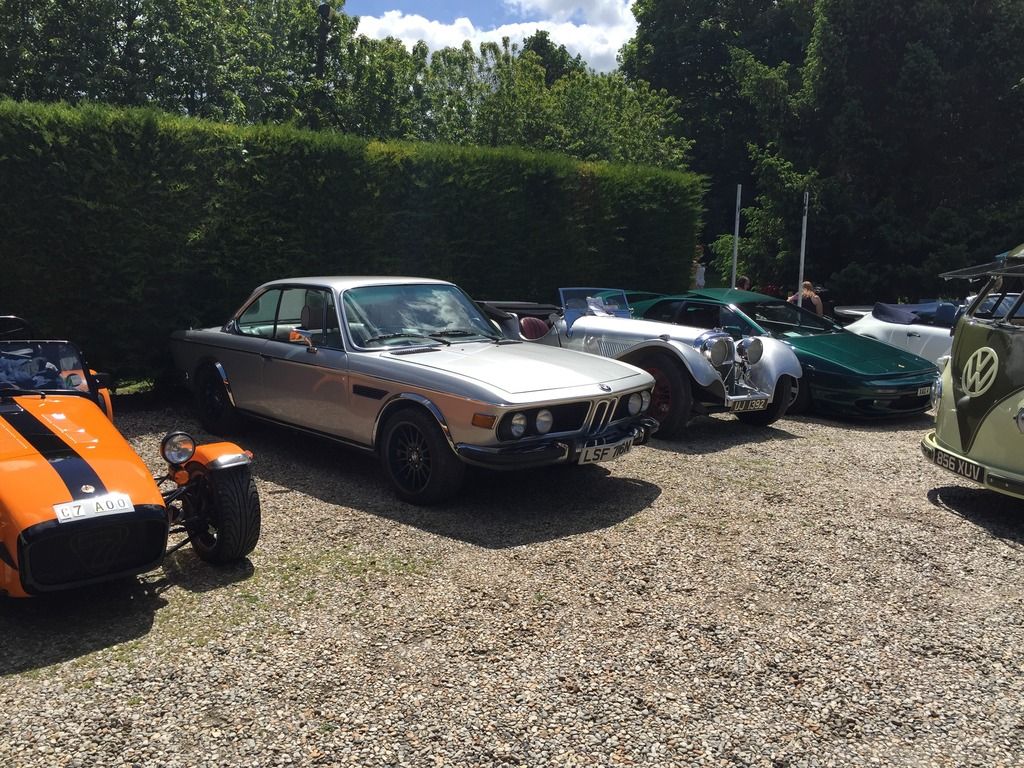
Got the 7" Alpina style wheels on for the period look:

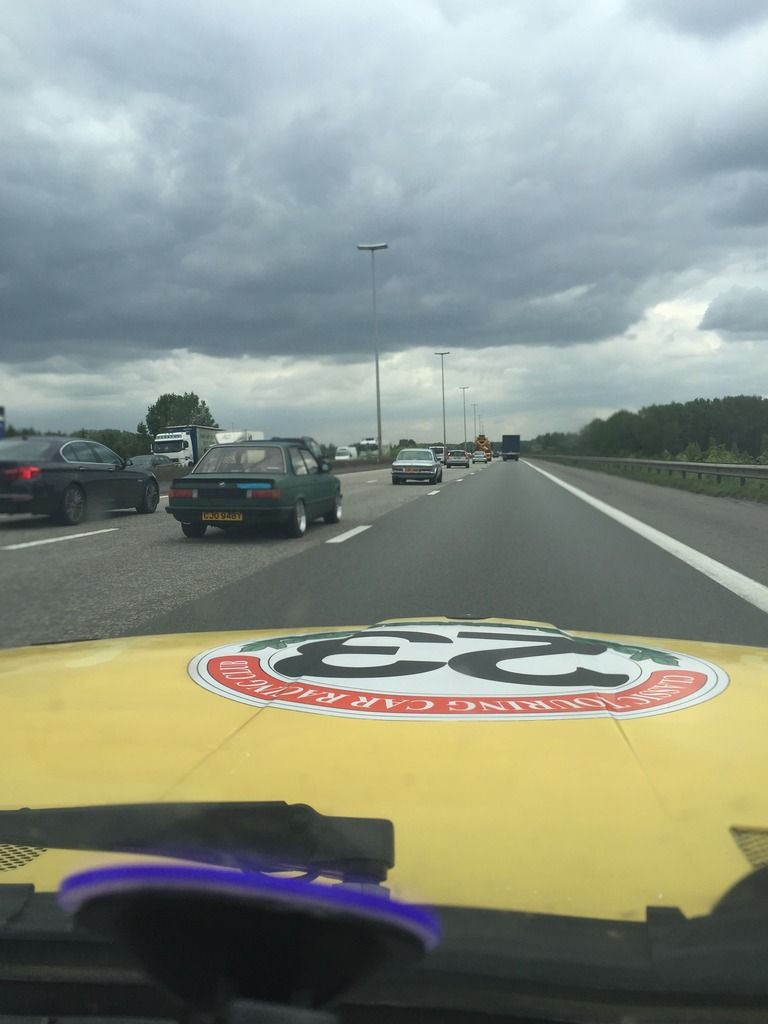
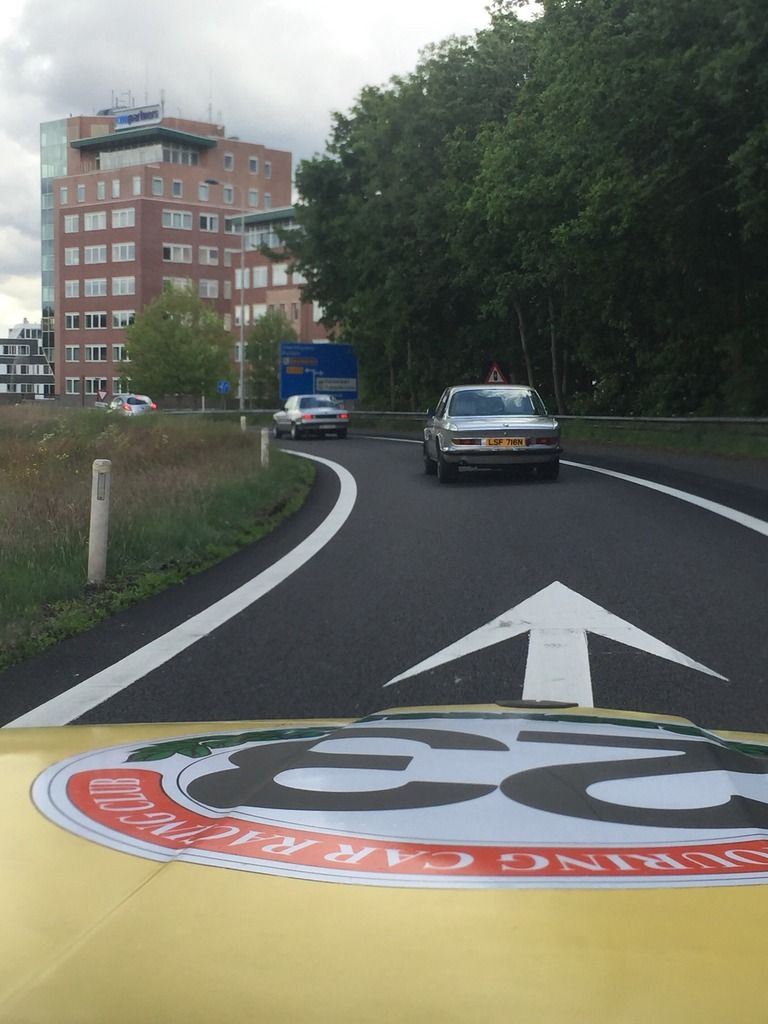
Then he made the trip with me to Sharknose 2015 at Barnevald:
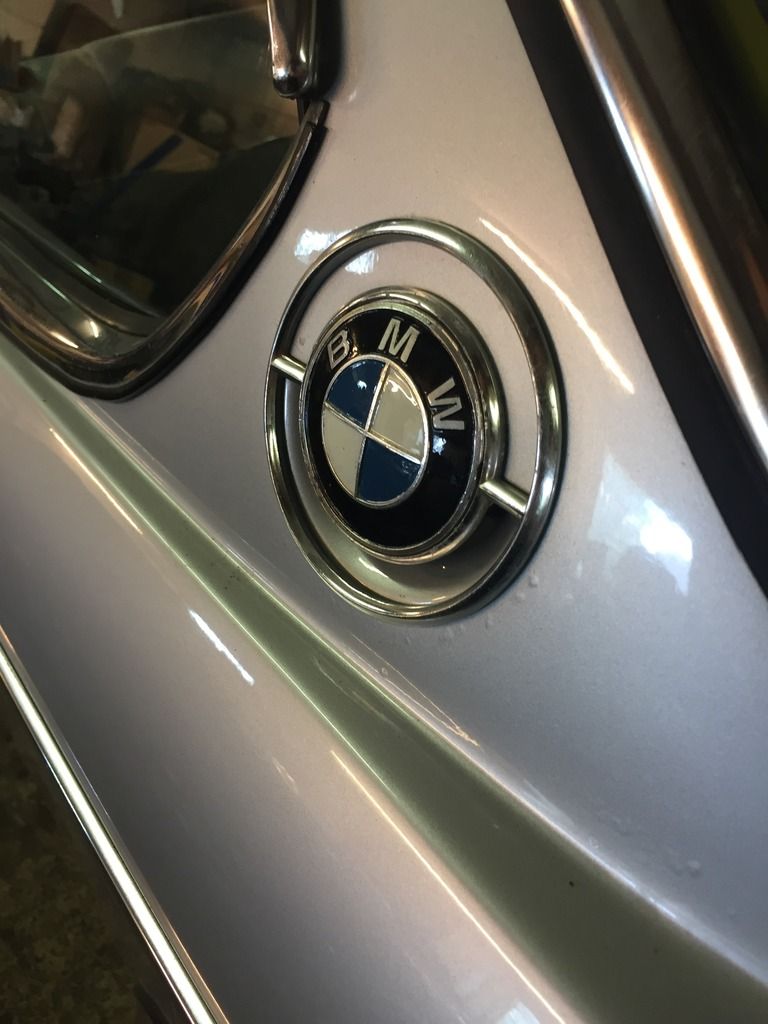
My favourite detail on this shark:
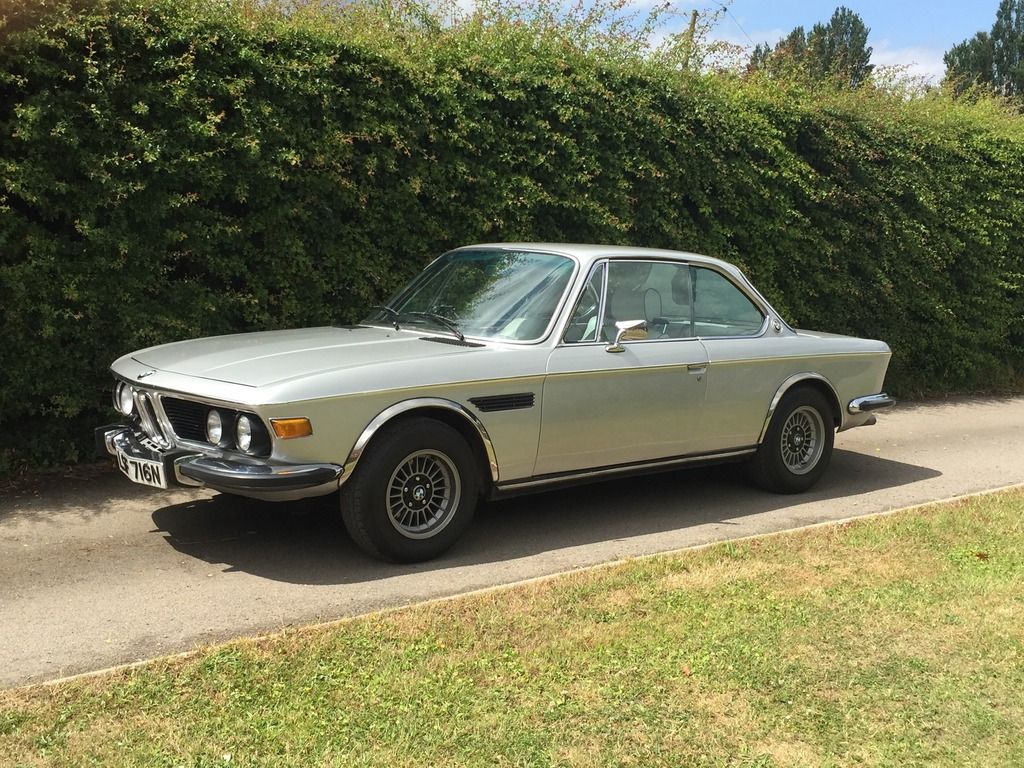
Picture taken just before Sharknose 2016 May:
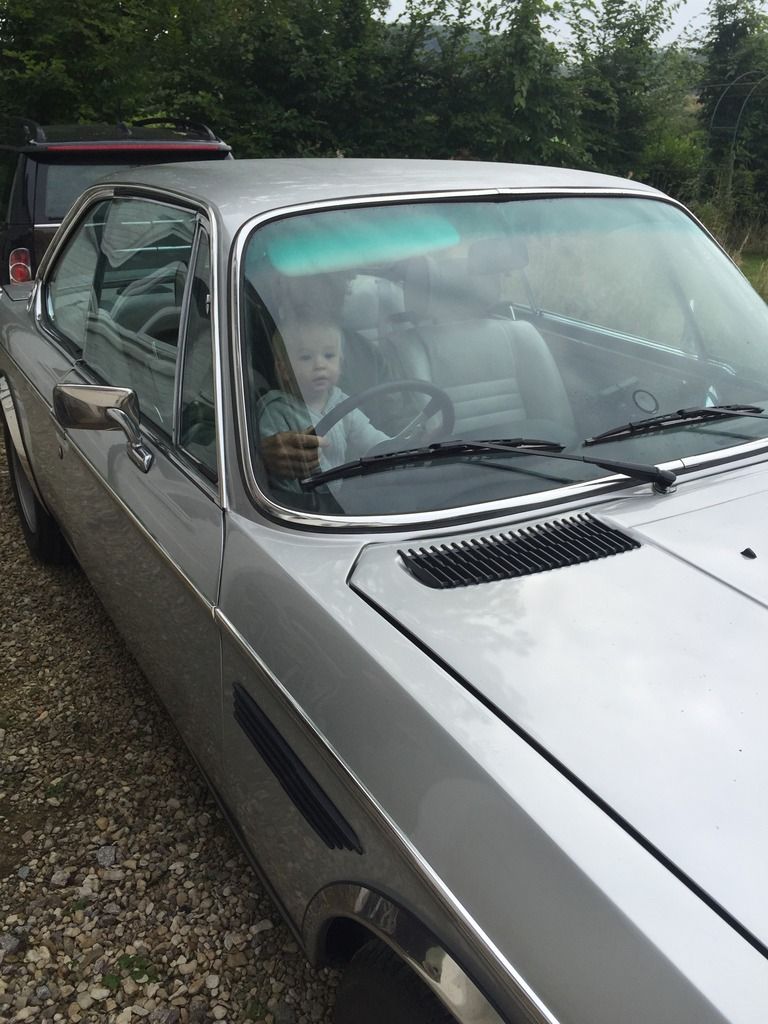
And during its last venture with my Nephew at the wheel in October 2016:
Hope you like it so far, however the horror pictures will be along soon

Cheers
Ben
Re: E9 3.0csi Restoration - Duracel79
Posted: Mon Feb 13, 2017 8:54 pm
by Peter V.
Nice start Ben!
Re: E9 3.0csi Restoration - Duracel79
Posted: Mon Feb 13, 2017 11:18 pm
by uwbuurman
Oh no, is it wrecked? How's the old man doing?
Re: E9 3.0csi Restoration - Duracel79
Posted: Tue Feb 14, 2017 8:11 am
by Peter V.
uwbuurman wrote:Oh no, is it wrecked? How's the old man doing?
I hope not but I think the restoration is starting and the famous E9 rustdevil is showing of.
Re: E9 3.0csi Restoration - Duracel79
Posted: Tue Feb 14, 2017 9:25 am
by uwbuurman
Yeah, that must be it, Peter. The best of two options...
Re: E9 3.0csi Restoration - Duracel79
Posted: Tue Feb 14, 2017 1:11 pm
by Duracel79
There was no accident or wreck. But the hunt for rust revealed some scary areas.
Who ever did the work on the car previously was very talented with filler/fibreglass/painting to make it look as good as it did.
My father stripped the car down to a bare shell during October 2016 and sent it to be acid dipped and it was returned in November 2016, pics to follow.
The original plan was to have the car finished for Sharknose 2017, but there is a lot more work than we expected to see.
Regards
Ben
Re: E9 3.0csi Restoration - Duracel79
Posted: Tue Feb 14, 2017 1:17 pm
by Peter V.
Duracel79 wrote:There was no accident or wreck. But the hunt for rust revealed some scary areas.
Who ever did the work on the car previously was very talented with filler/fibreglass/painting to make it look as good as it did.
My father stripped the car down to a bare shell during October 2016 and sent it to be acid dipped and it was returned in November 2016, pics to follow.
The original plan was to have the car finished for Sharknose 2017, but there is a lot more work than we expected to see.
Regards
Ben
Looks like this could be a twin of Buurman's car. There was a talented person also during the previous "restoration".
Re: E9 3.0csi Restoration - Duracel79
Posted: Tue Feb 14, 2017 1:21 pm
by uwbuurman
Oh no, that is the same shit I got into... the dude that screwed my e21 up, is "famous" for doing some terrible restaurations on e9's. In the Netherlands there are still a few men who"ll run him over when the get that chance. And trust me, the will backup and hit him again.
To bad that it happened to your dad aswell. But it you set the standard for the family, this will be a stunner sometime in the near future.
Re: E9 3.0csi Restoration - Duracel79
Posted: Tue Feb 14, 2017 6:49 pm
by Duracel79
Thanks guys,
Its not so bad, we paid a good low price for the car knowing there would be some rust issues.
But as I've read before "They are always rustier than you think!".
Anyway, it had a lot of money and receipts for work done over the years, sills patched over patches and more patches.
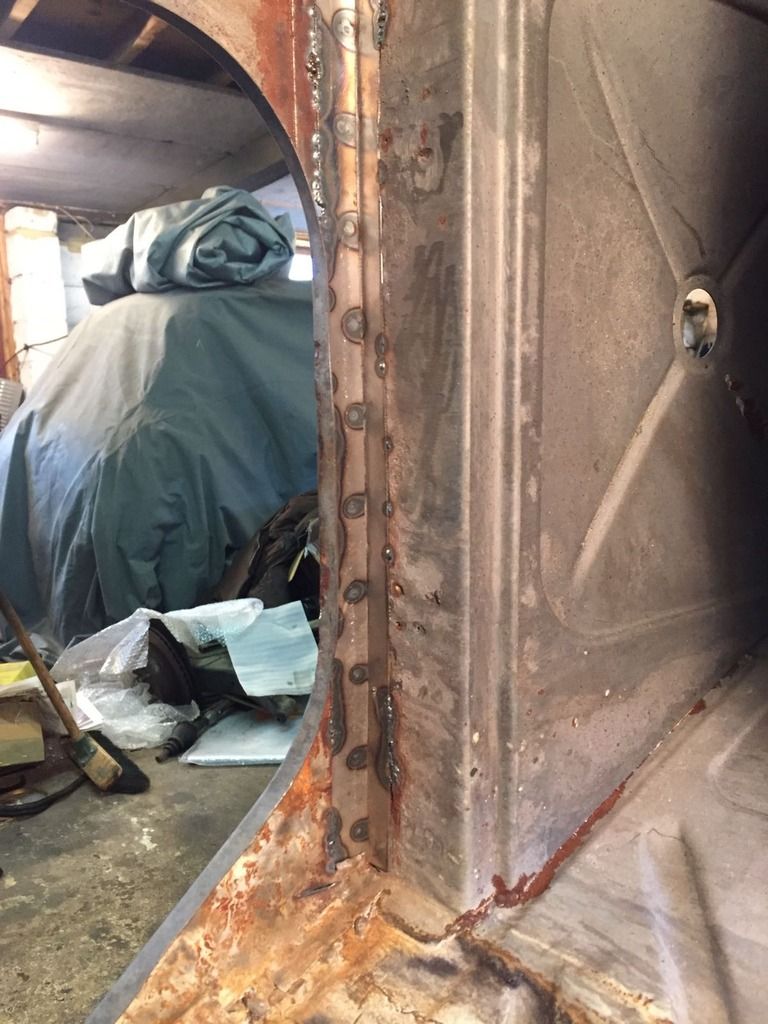
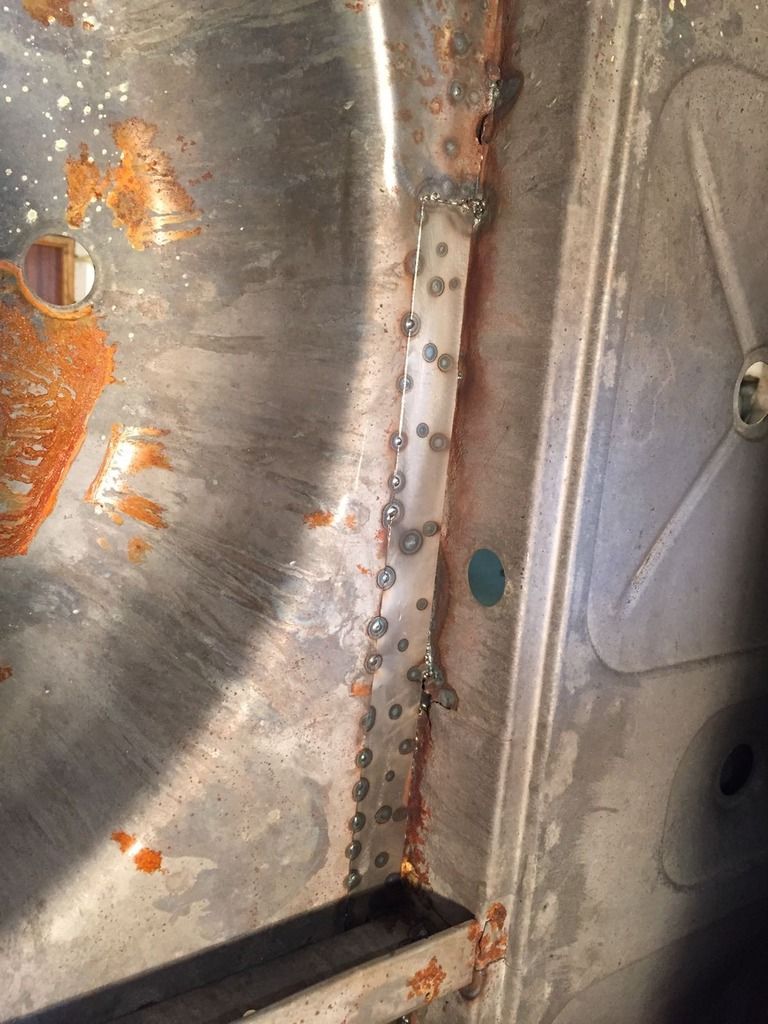
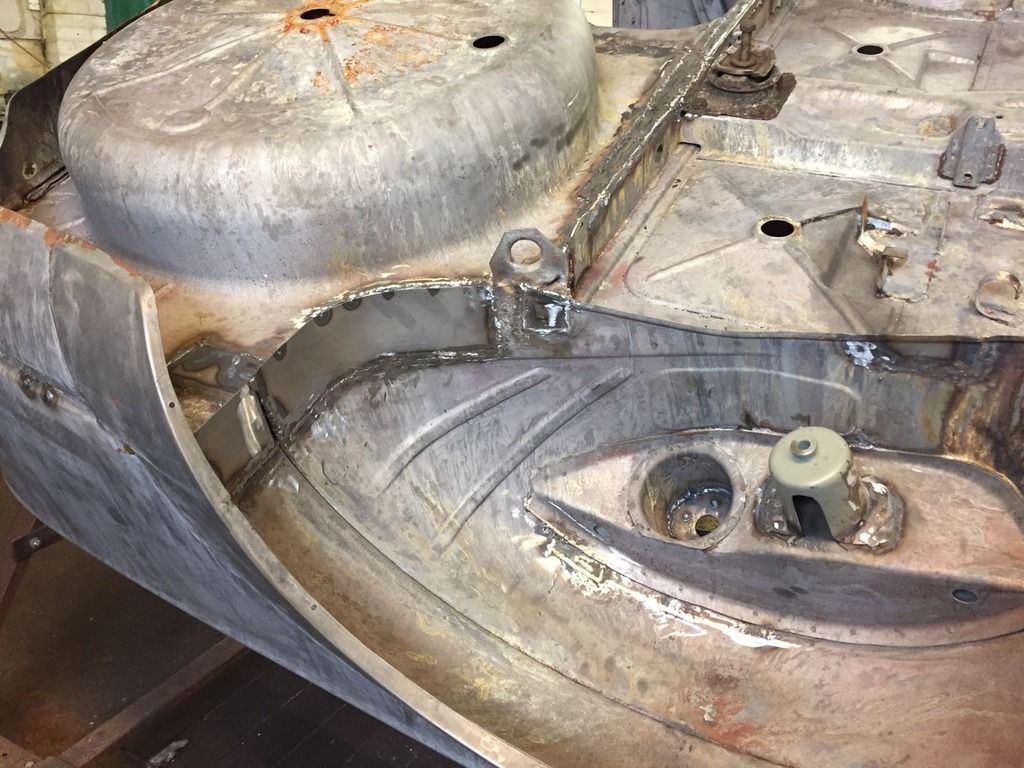
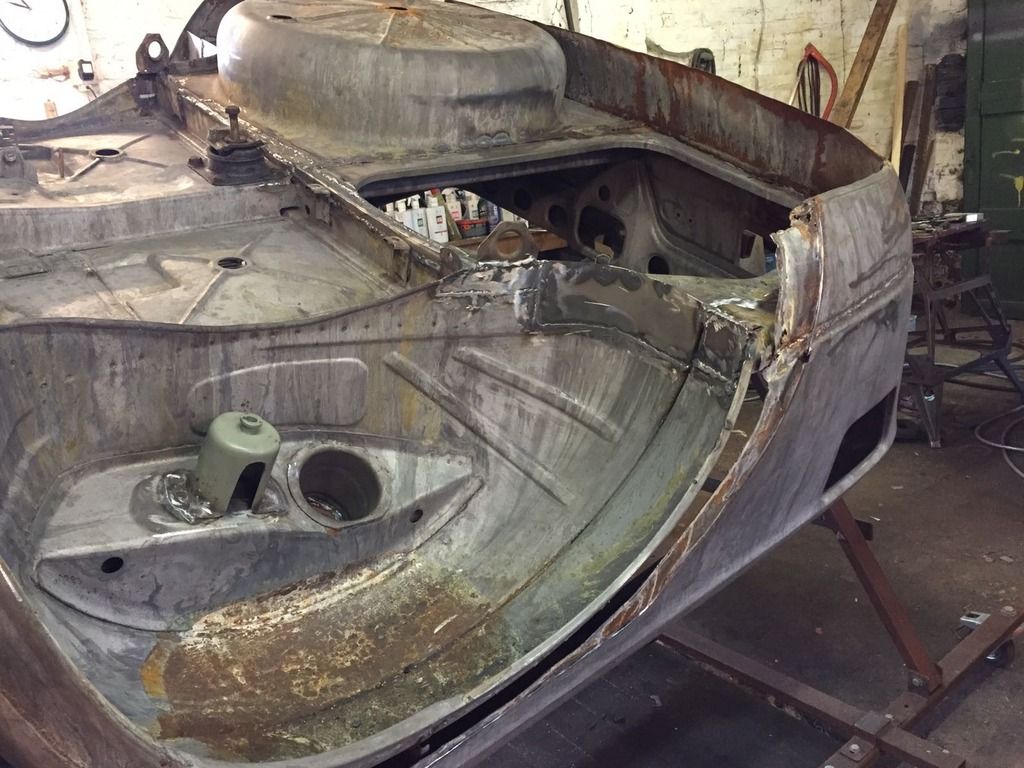
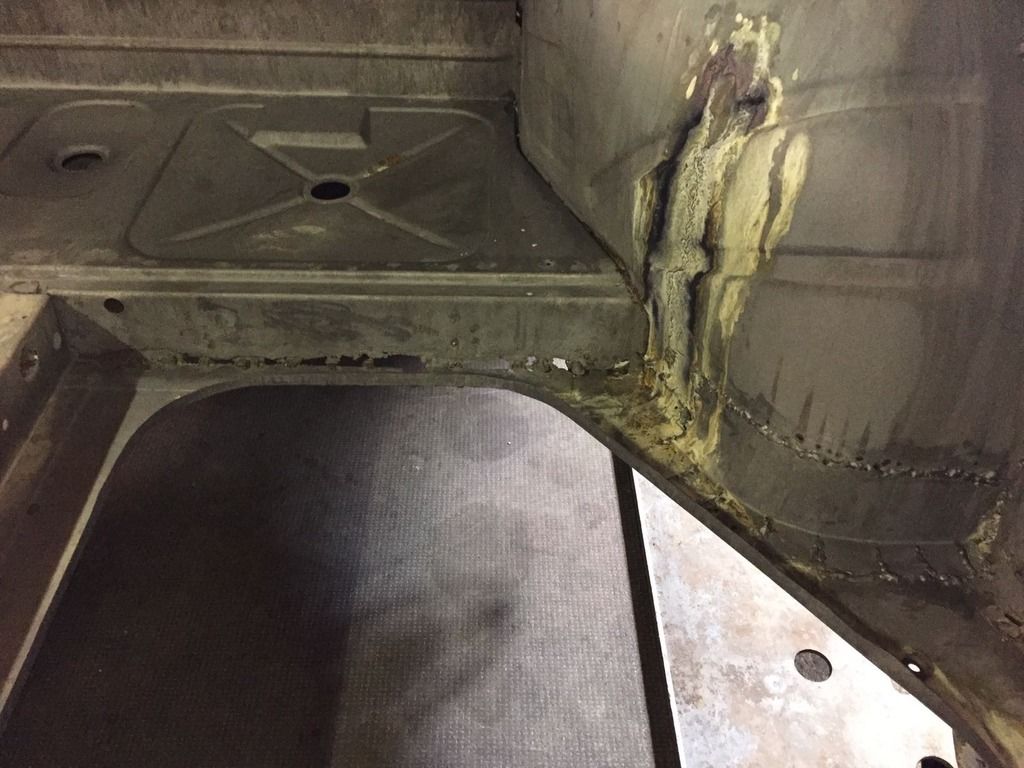
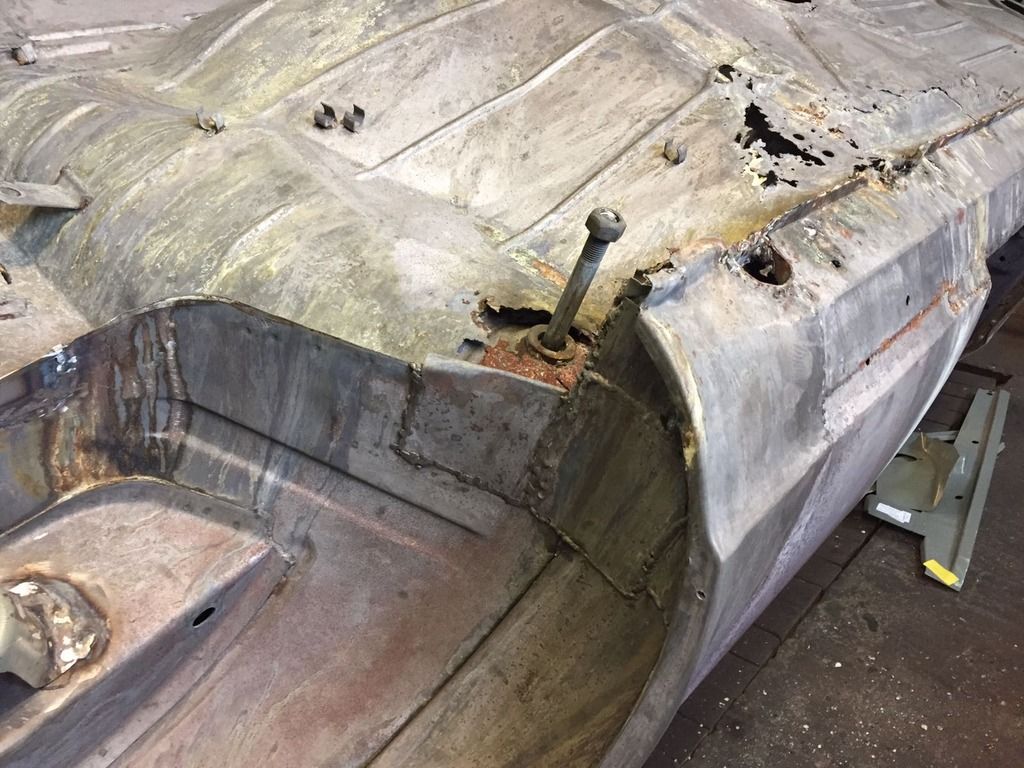
See below less than 10 years ago new boot floors were put in and obviously only tacked and not treated to prevent rusting

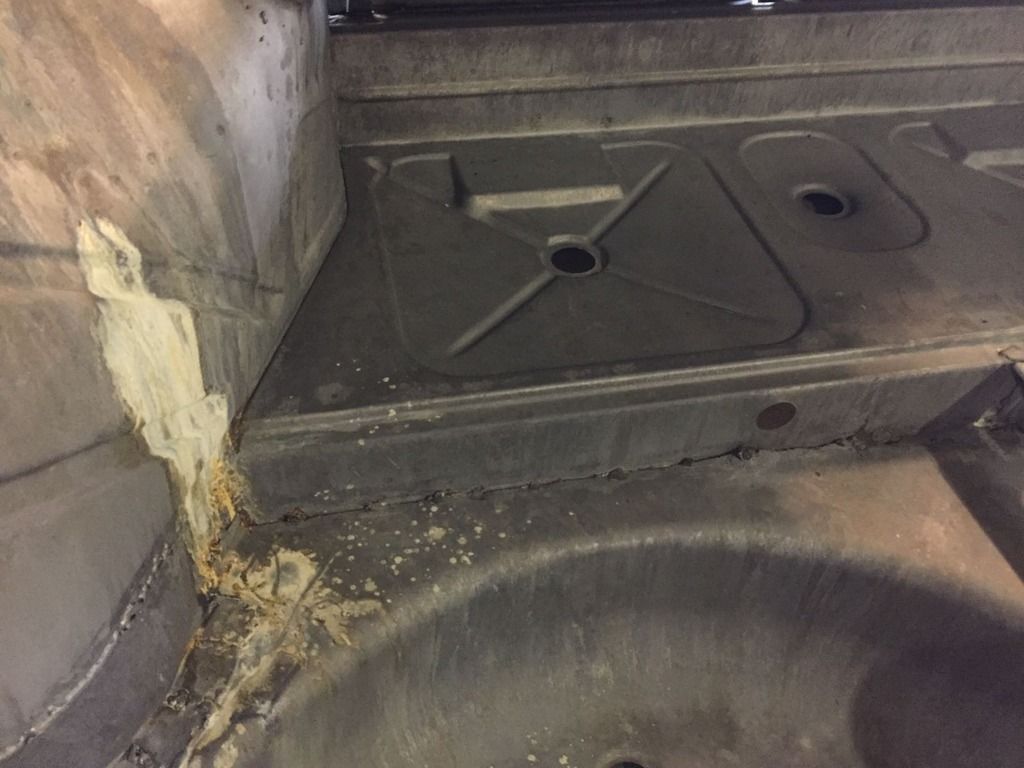
No sure what was holding the throttle pedal up, maybe just the carpet and lots of fibreglass:
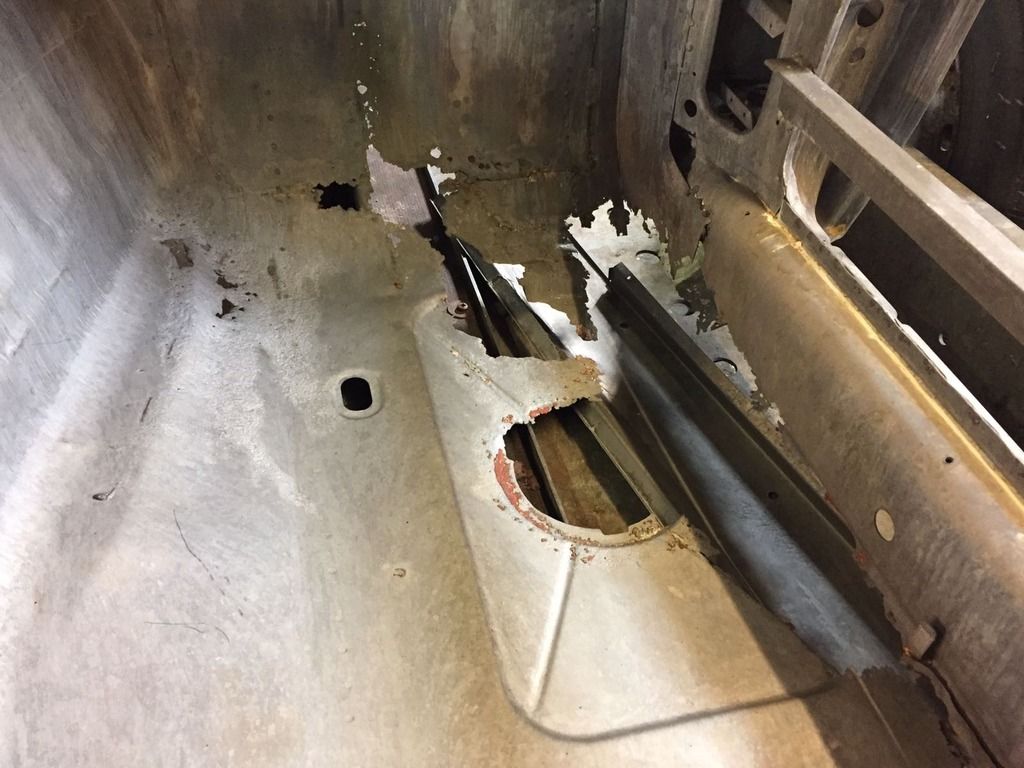
Passenger side not quite so bad lol:
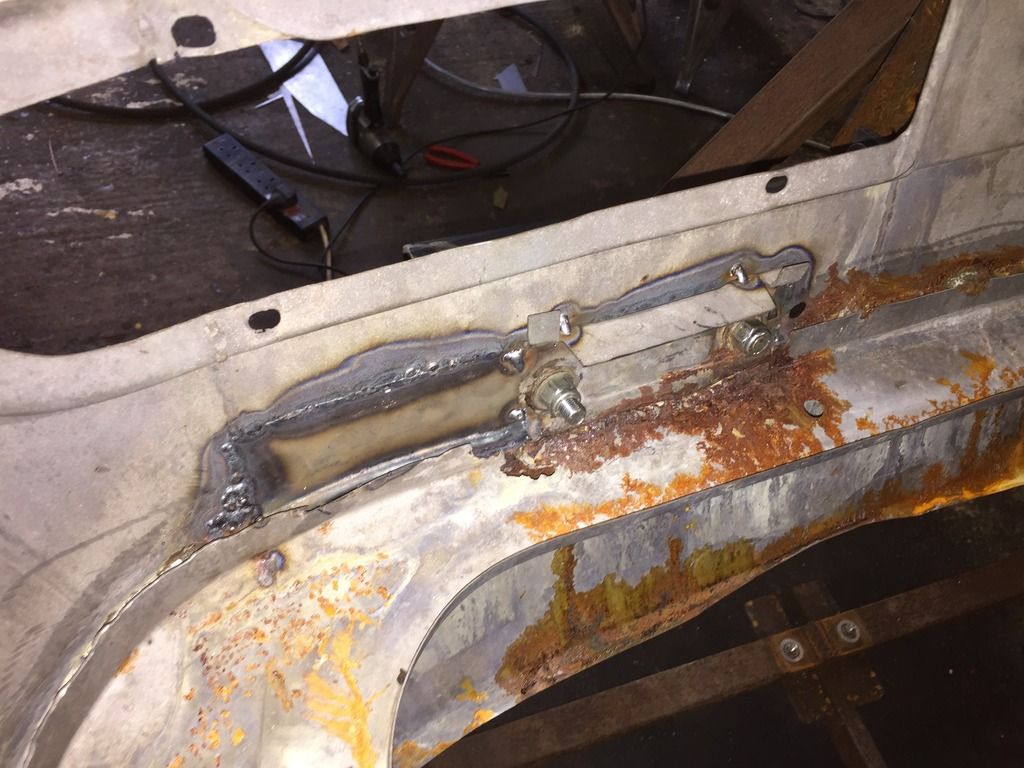
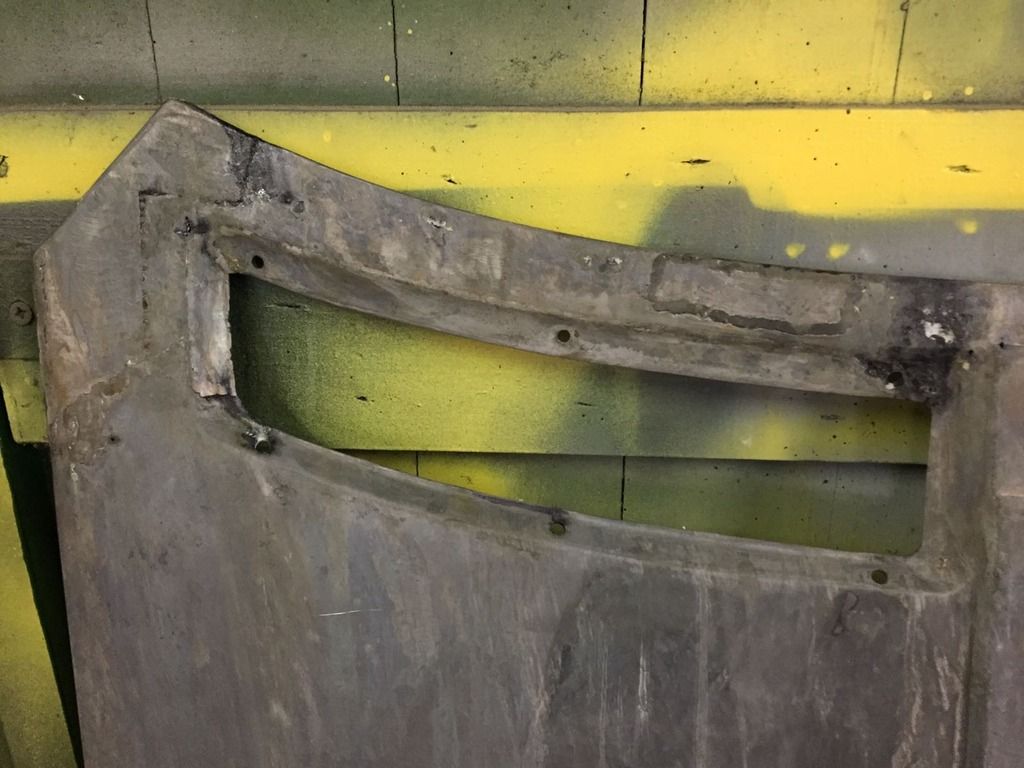
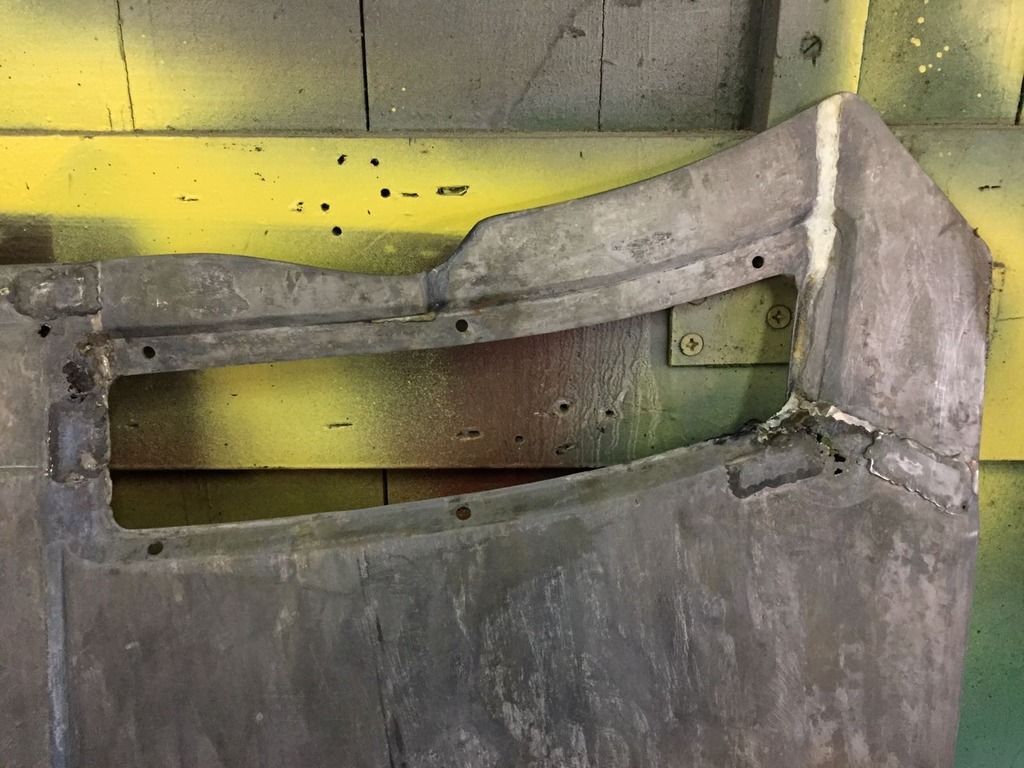
Patches in the boot skin:
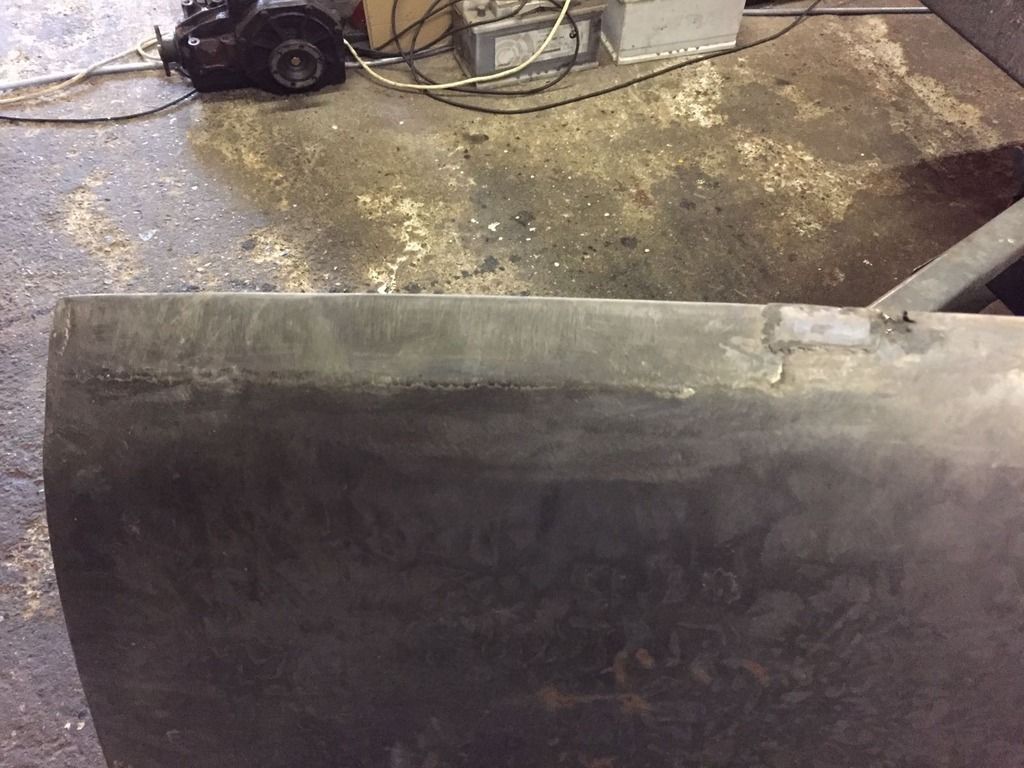
And the reason for the bonnet corners being flimsy:
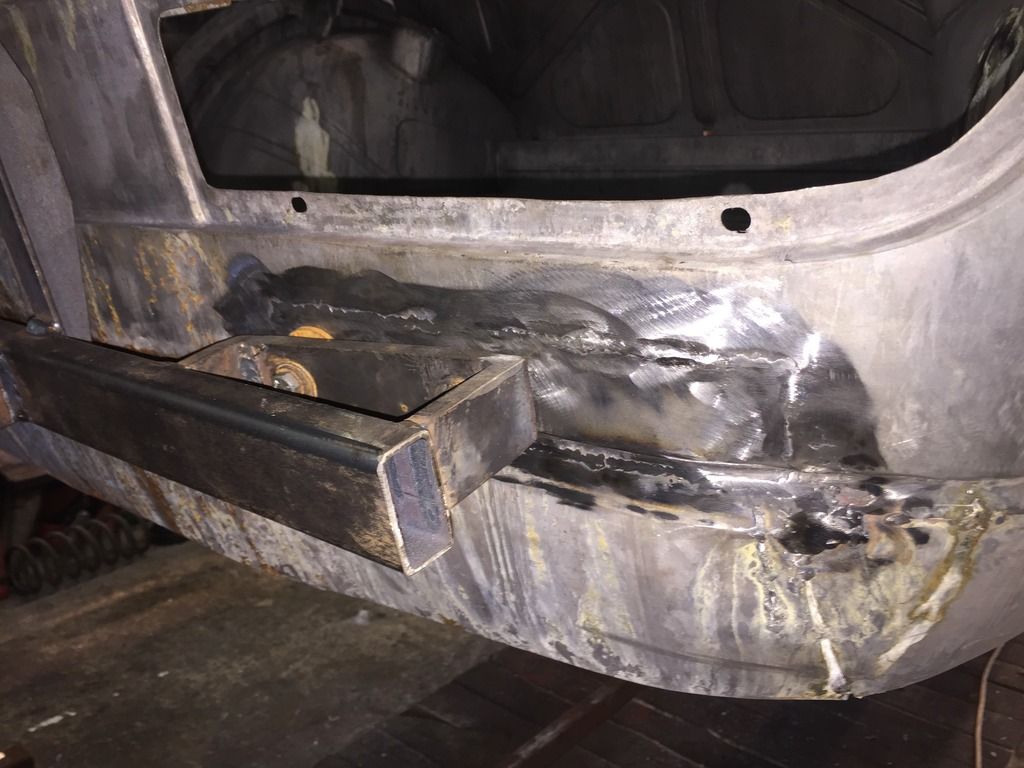
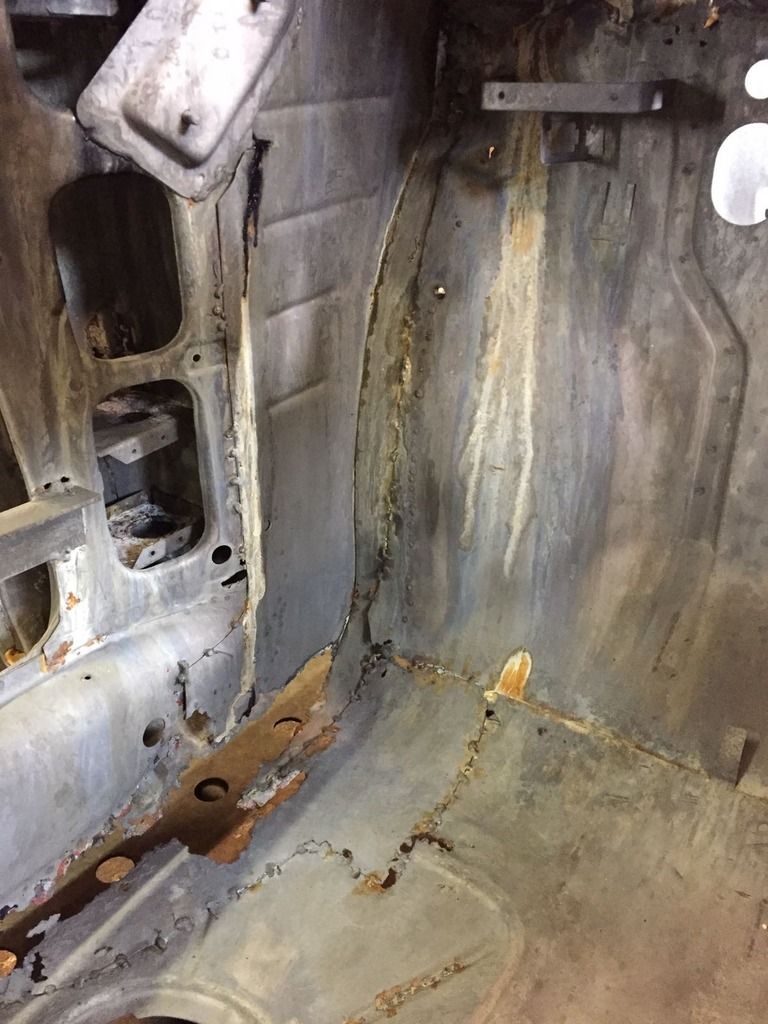
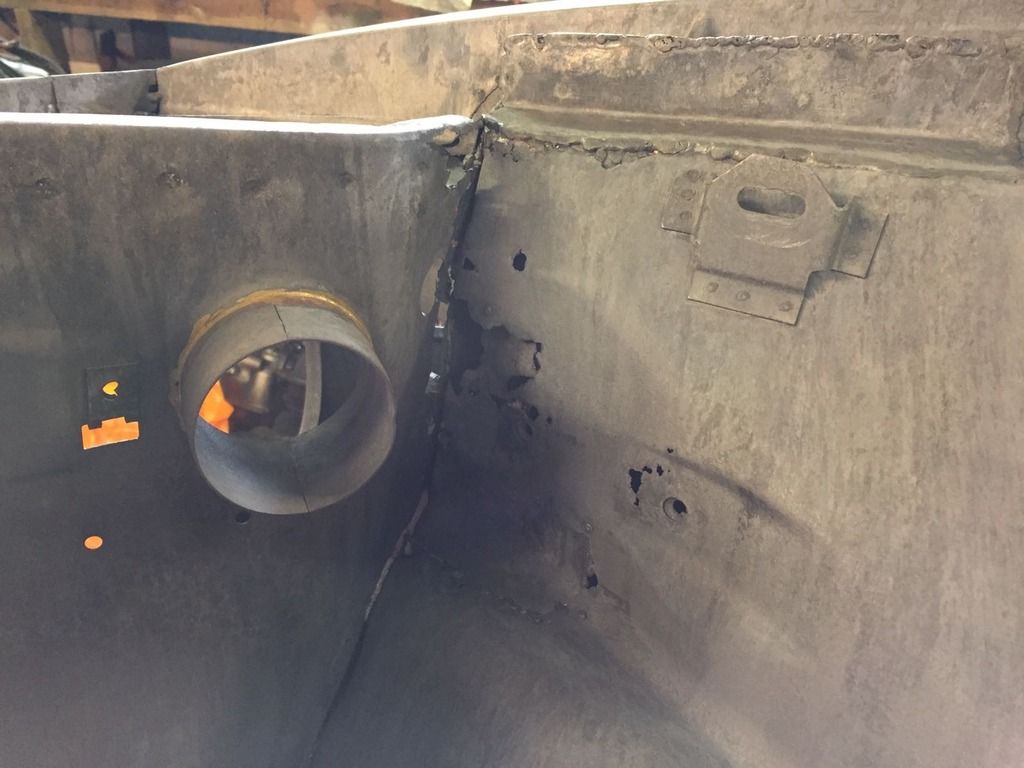
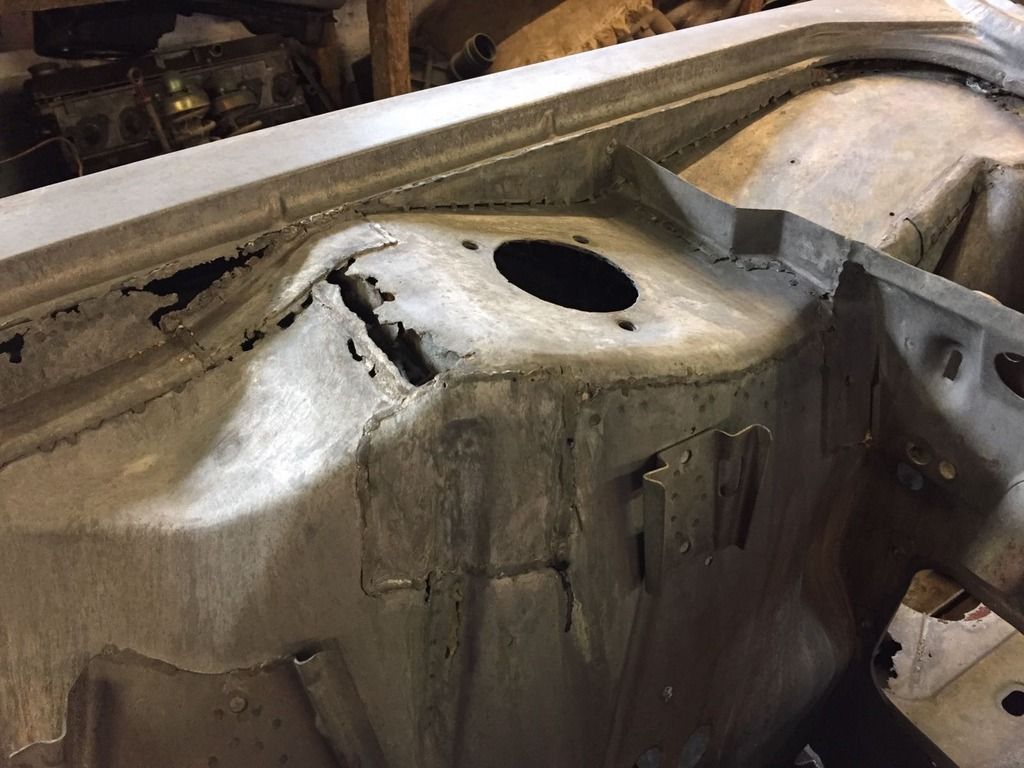
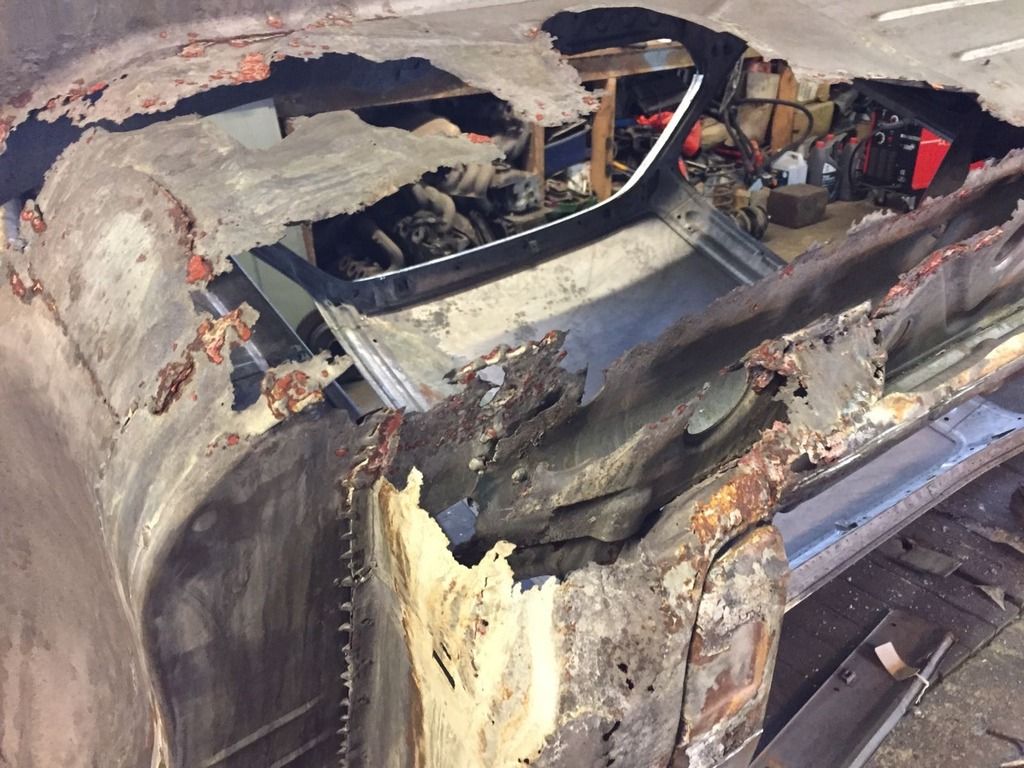
Inner front wing and strut top passenger side:
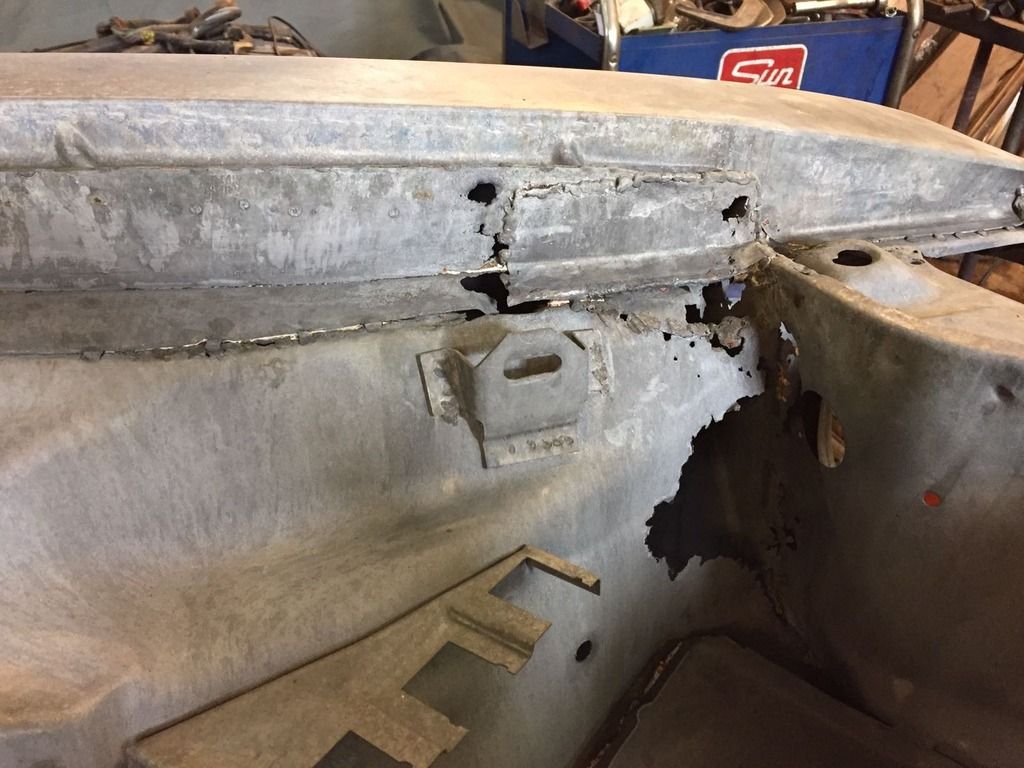
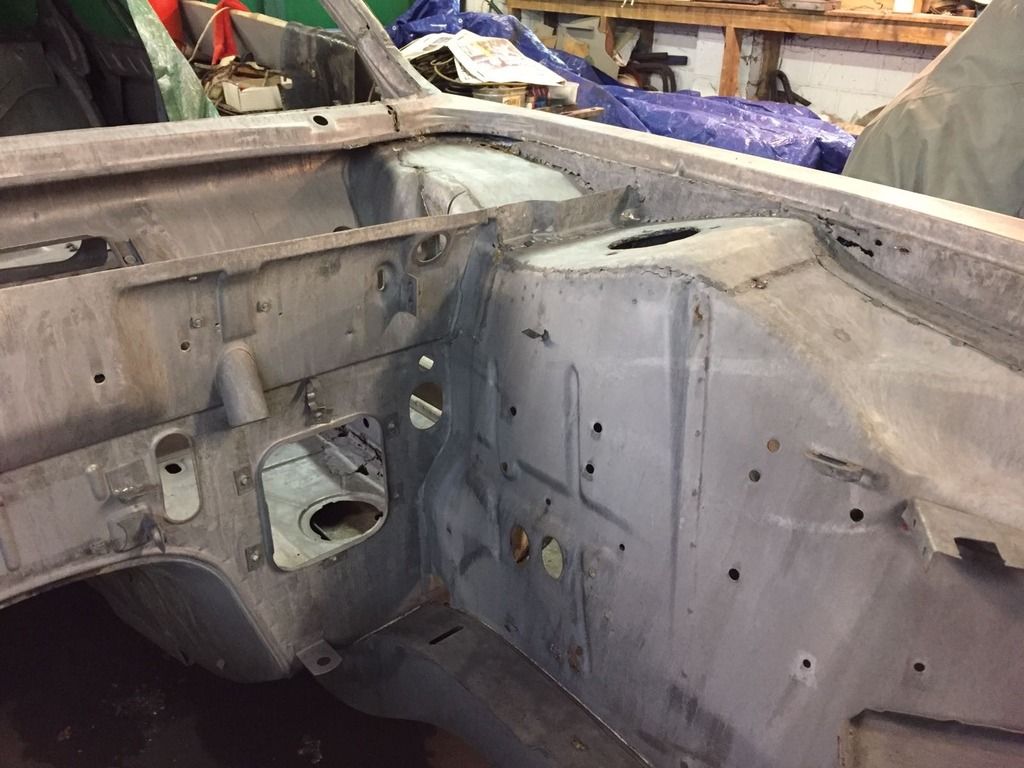
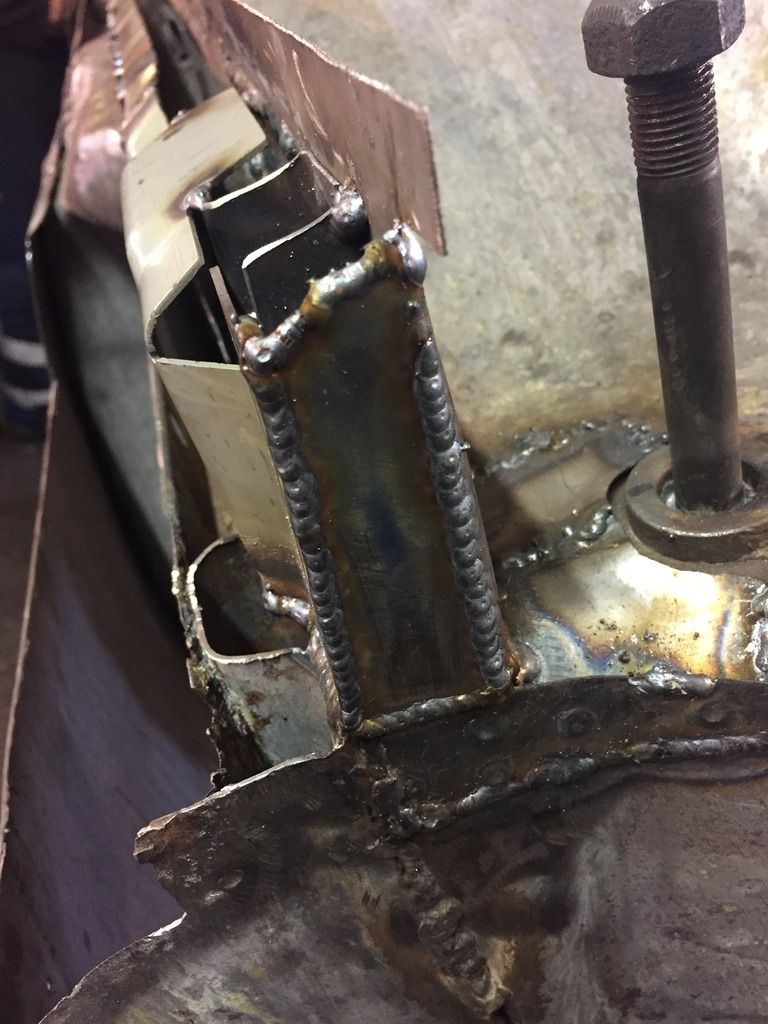
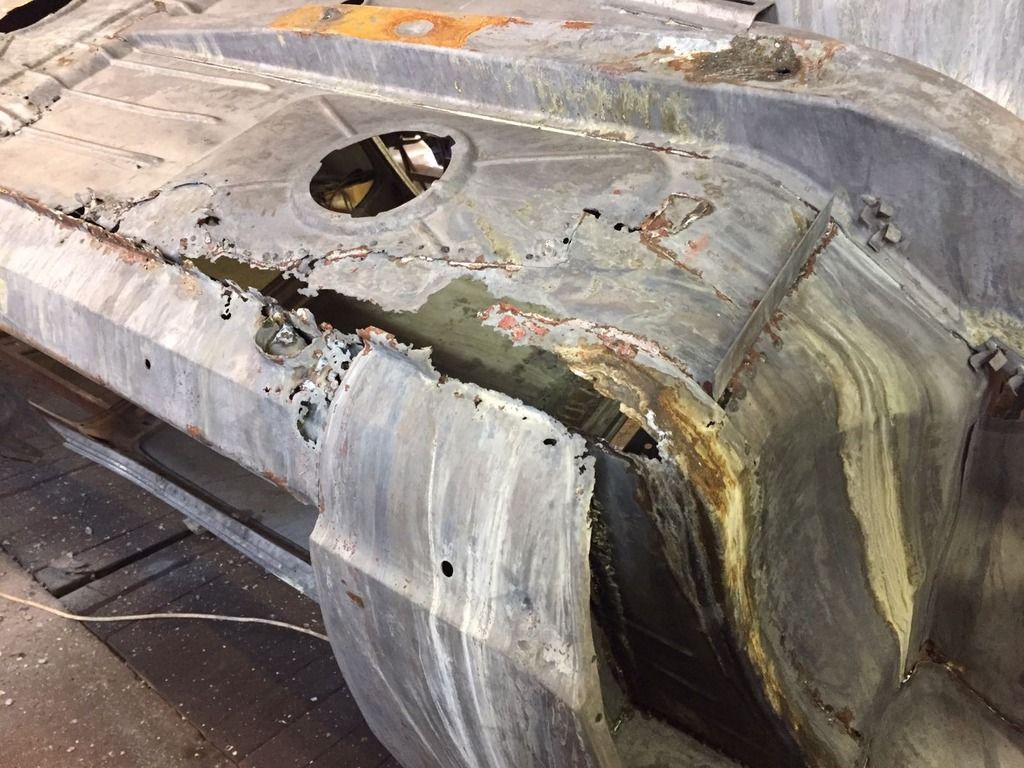
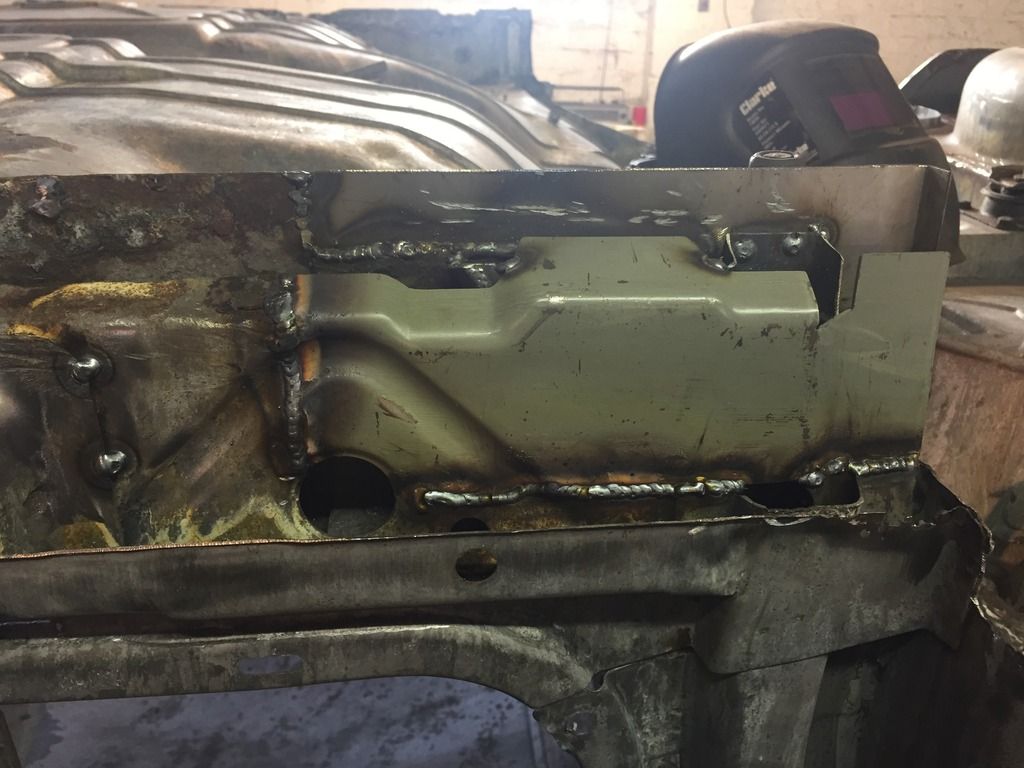
And this major structural issue were she has rusted very badly at the weld of the previous repair on the drivers side:

Any way thats enough for now, more pics with progress in a few days. Oh and maybe some of the non existing sill bottoms lol.
Cheers
Ben
Re: E9 3.0csi Restoration - Duracel79
Posted: Tue Feb 14, 2017 9:41 pm
by uwbuurman
Well, if this is not to bad, you are an optimist haha.
Somebody has had a fieldday with fibreglass. What some people do to make some money or to save it by not spending it on the car....
Re: E9 3.0csi Restoration - Duracel79
Posted: Tue Feb 14, 2017 9:56 pm
by Peter V.
That is the reason why I did not buy an E9.
Almost everyone has that major amount of rust because of a lot of hidden unprotected places in the structure.
I cannot wait to see it taken care of.
Re: E9 3.0csi Restoration - Duracel79
Posted: Thu Feb 16, 2017 7:07 pm
by Duracel79
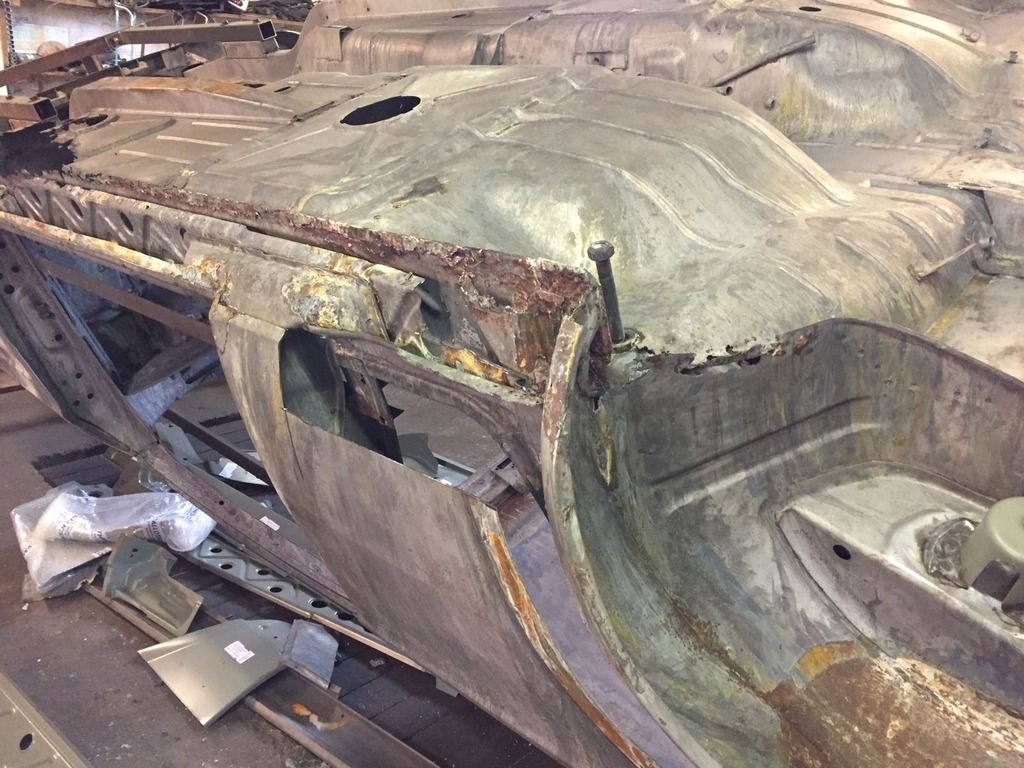
Passenger front sill:
And the rear with a patch over an older patch:
Drivers side front after we had taken off the front wing:
Might show some of the progress in the next post

Re: E9 3.0csi Restoration - Duracel79
Posted: Thu Feb 16, 2017 7:28 pm
by Duracel79
Re: E9 3.0csi Restoration - Duracel79
Posted: Thu Feb 16, 2017 7:33 pm
by Duracel79
Nearly forgot to post a nice pic of new parts:
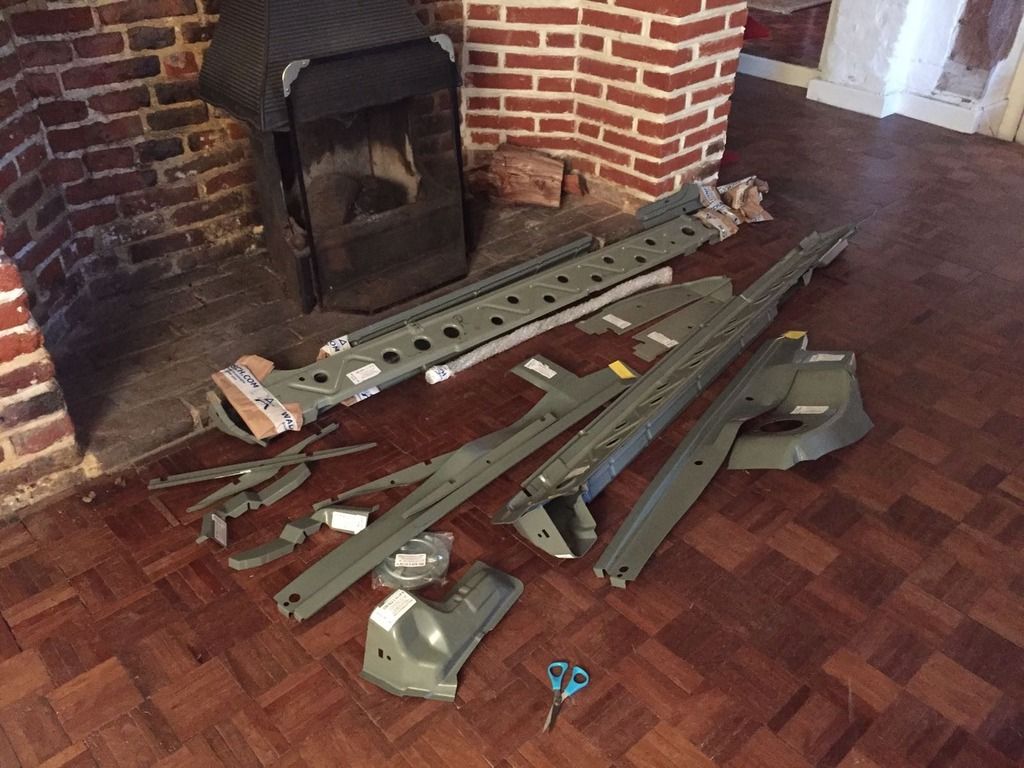
cheers
Ben
Re: E9 3.0csi Restoration - Duracel79
Posted: Thu Feb 16, 2017 7:51 pm
by Duracel79
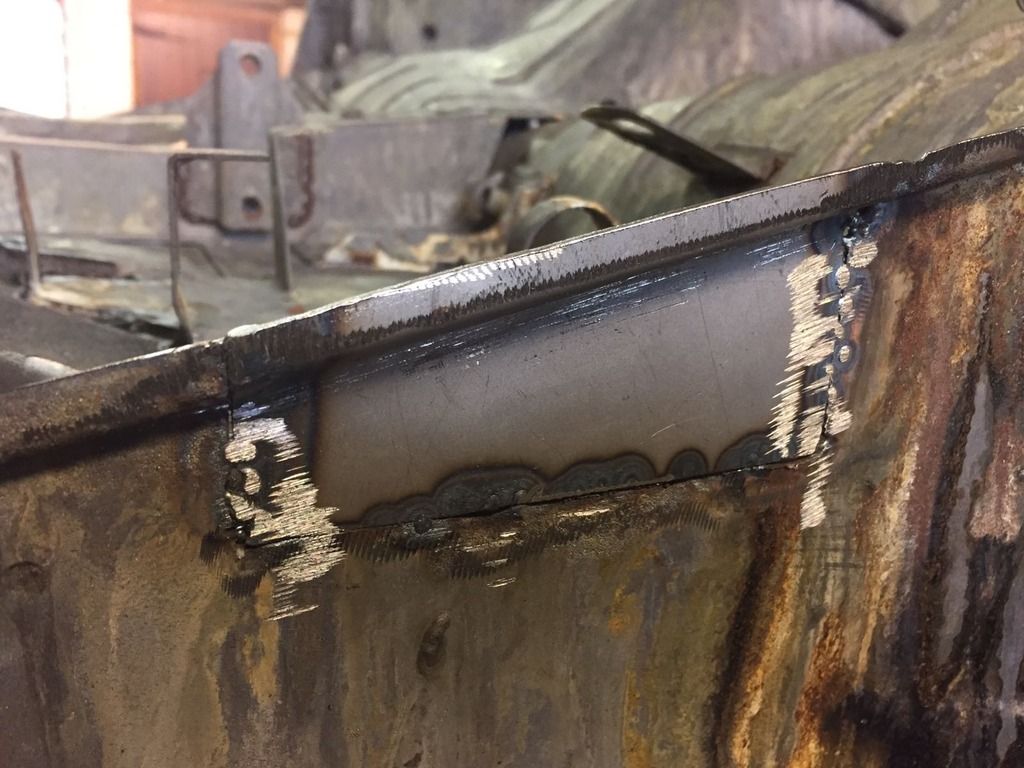
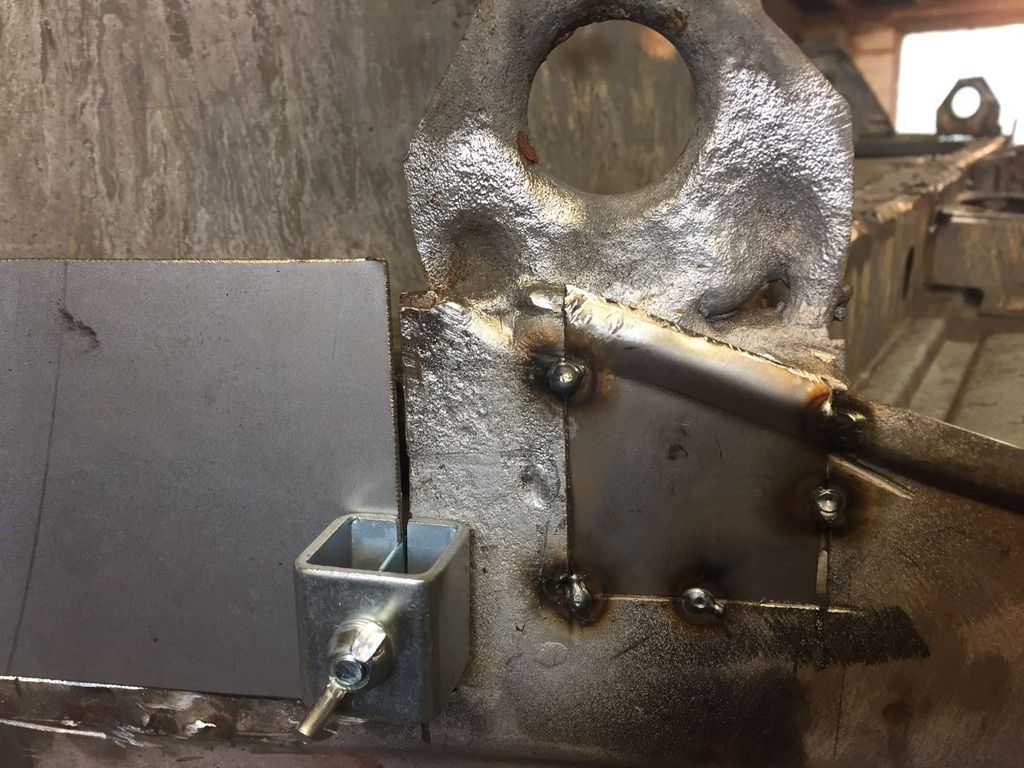
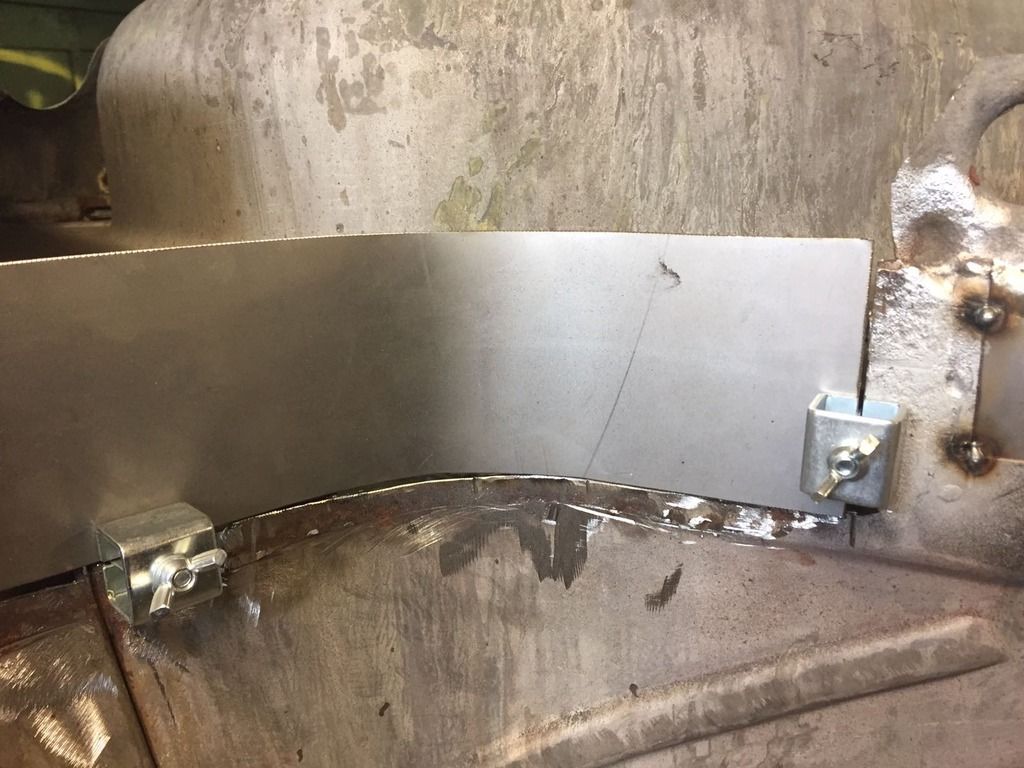
Then we started to attack the passenger sill.
Outer off:
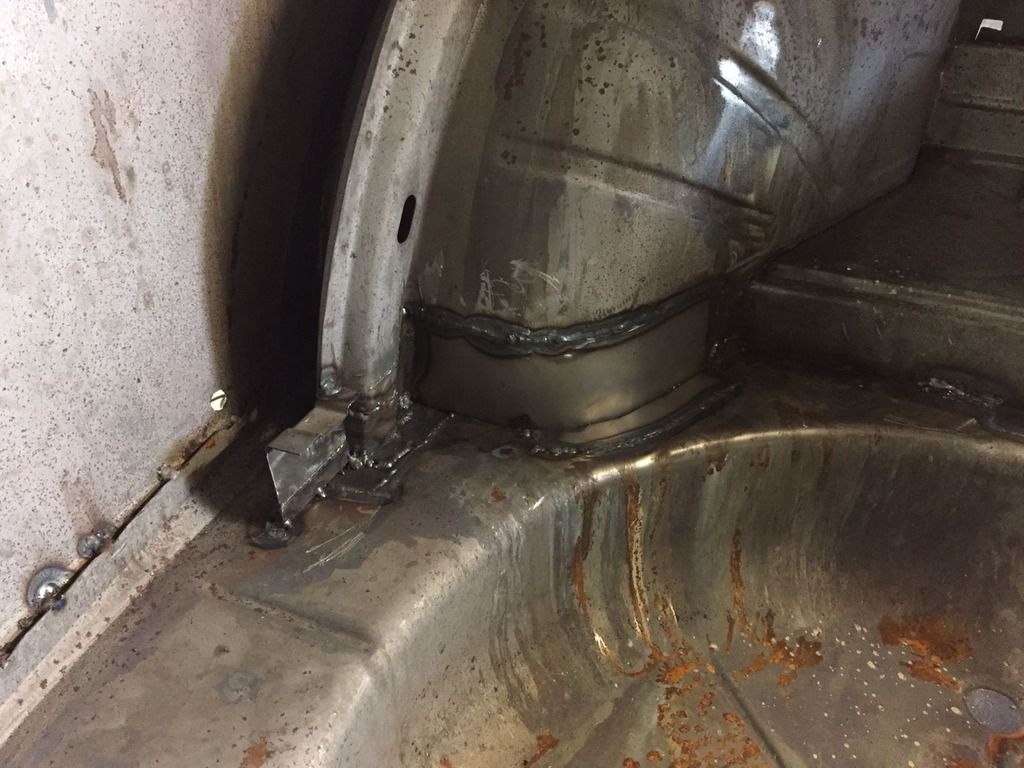
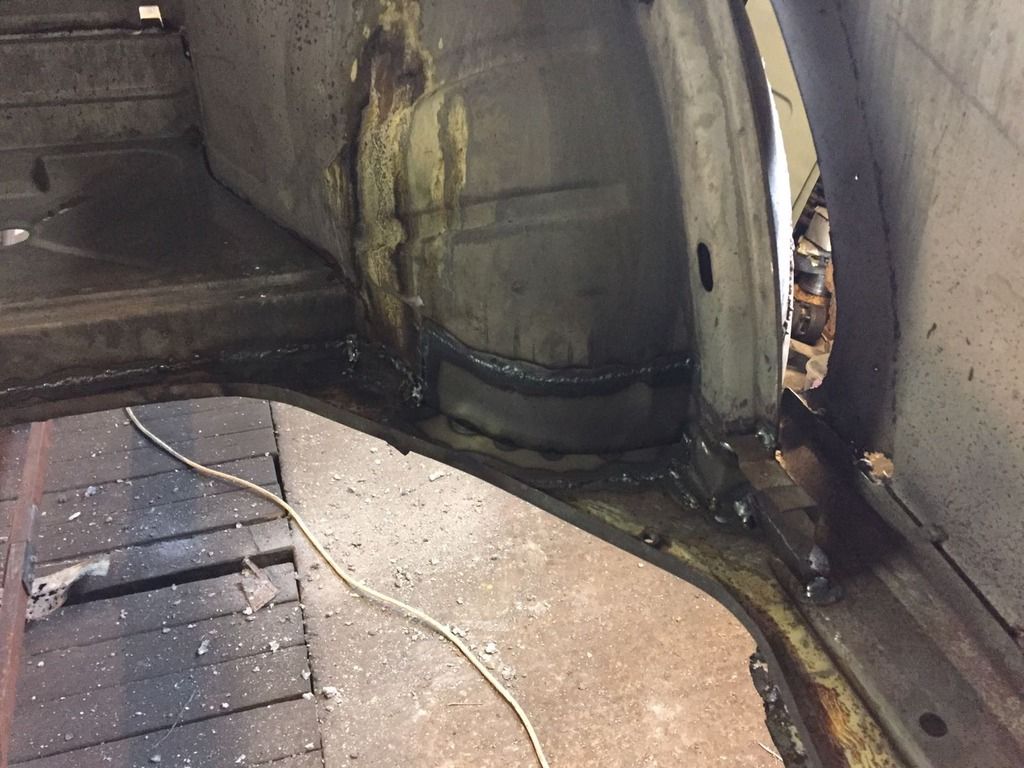
Repaired inner sill then rebuilt the jacking support, and then section of intermediate sill replaced;

Maybe starting to get the hang of this welding lark: