Baur top renewal

Re: Baur top renewal
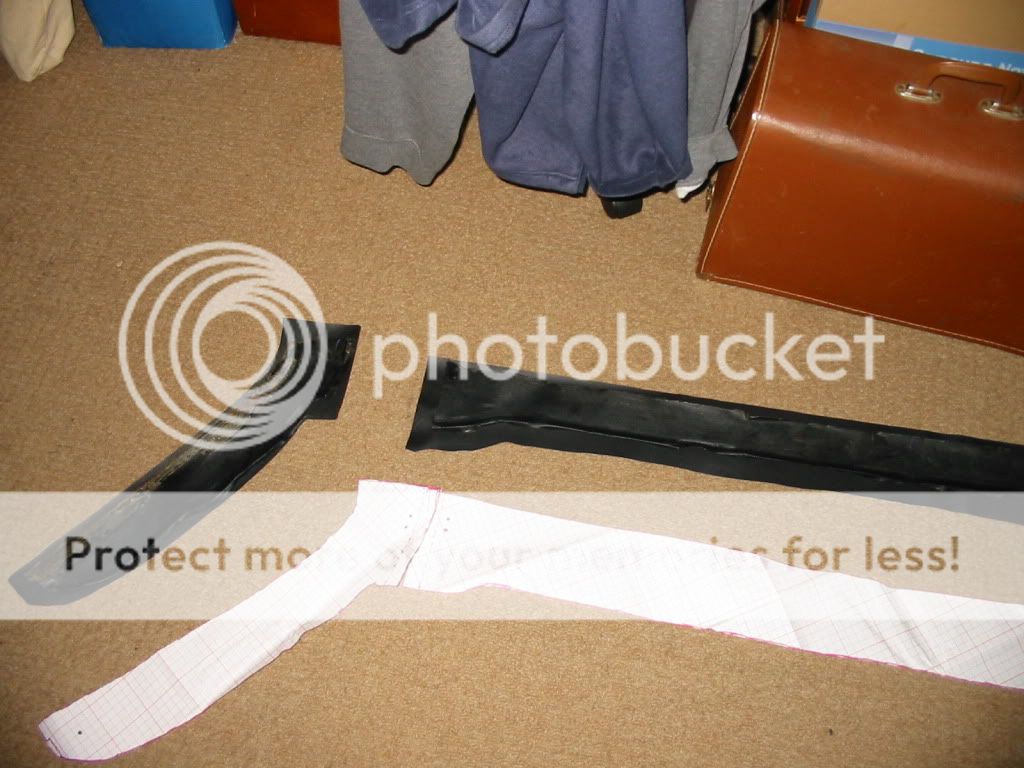
right, after the frame was done I did the vinyl.
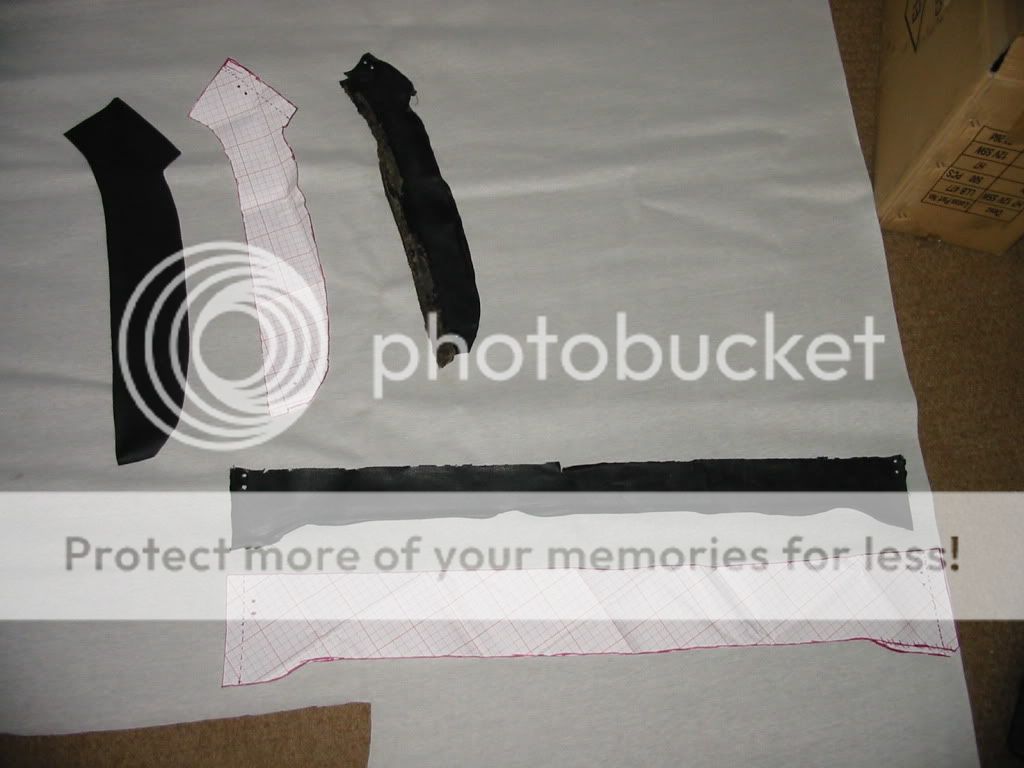
I took the old stuff apart and made copies on pattern paper, then made new panels.
http://i701.photobucket.com/albums/ww15 ... _IMG_2.jpg
http://i701.photobucket.com/albums/ww15 ... _IMG_2.jpg
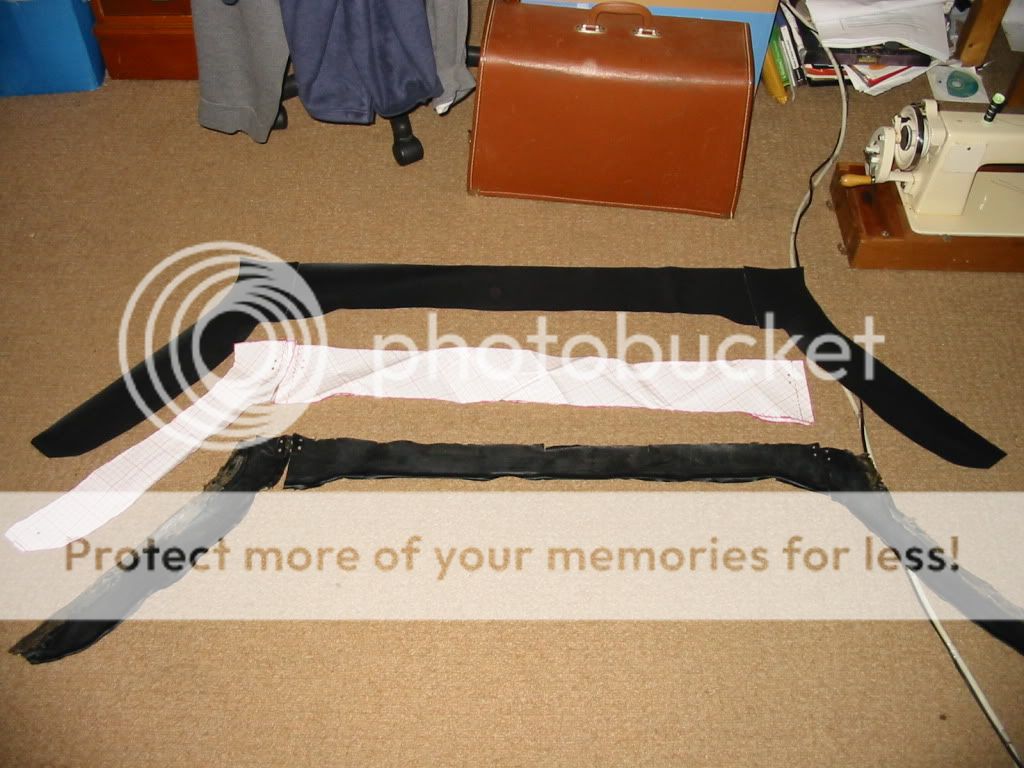
after that I borrowed a friends sewing machine and made new vinyl, notice its slightly bigger than the original to make up for rot in the original and make sure fitting it went smoothly.
http://i701.photobucket.com/albums/ww15 ... _IMG_2.jpg
http://i701.photobucket.com/albums/ww15 ... _IMG_2.jpg
http://i701.photobucket.com/albums/ww15 ... _IMG_2.jpg
all the foam was replaced as well and glued in as the factory did it. sorry but I was too wrapped up in doing it to photo these steps.
I took the old stuff apart and made copies on pattern paper, then made new panels.
http://i701.photobucket.com/albums/ww15 ... _IMG_2.jpg
http://i701.photobucket.com/albums/ww15 ... _IMG_2.jpg
after that I borrowed a friends sewing machine and made new vinyl, notice its slightly bigger than the original to make up for rot in the original and make sure fitting it went smoothly.
http://i701.photobucket.com/albums/ww15 ... _IMG_2.jpg
http://i701.photobucket.com/albums/ww15 ... _IMG_2.jpg
http://i701.photobucket.com/albums/ww15 ... _IMG_2.jpg
all the foam was replaced as well and glued in as the factory did it. sorry but I was too wrapped up in doing it to photo these steps.
Re: Baur top renewal
I,ll take another pic of it in the car the pic doesnt do it justice. the white specs every where are dust, my camera is realy old (2meg pix lol) so quality isnt good.
Re: Baur top renewal
Right...so next step was the top itself. again , was too busy to take pics of everything.(I intended to but as I was teaching myself how to do this I was a bit distracted) First step was to clean the aluminum shapers for the sides and below the rear window. Again I found petrol my friend and that with a metal scouring pad made quick work of the old glue and keyed the surface well for the new stuff. The new top I bought from BMW came with chalk marks where the top should fit ontop of the frame work. I wasn't sure and thought it would be wise to fit it to the car dry so to speak before glueing anything. Good thing I did because when fitted to the frame on the marks, the top was too tight and wouldnt shut. This may not be the case for all. This was 1 of 4 remaining original tops from BMW so it may have shrunk. At a cost of £700 for the top and more for the sealsd and glue I was taking my time and fitted it several times through the process.
Re: Baur top renewal
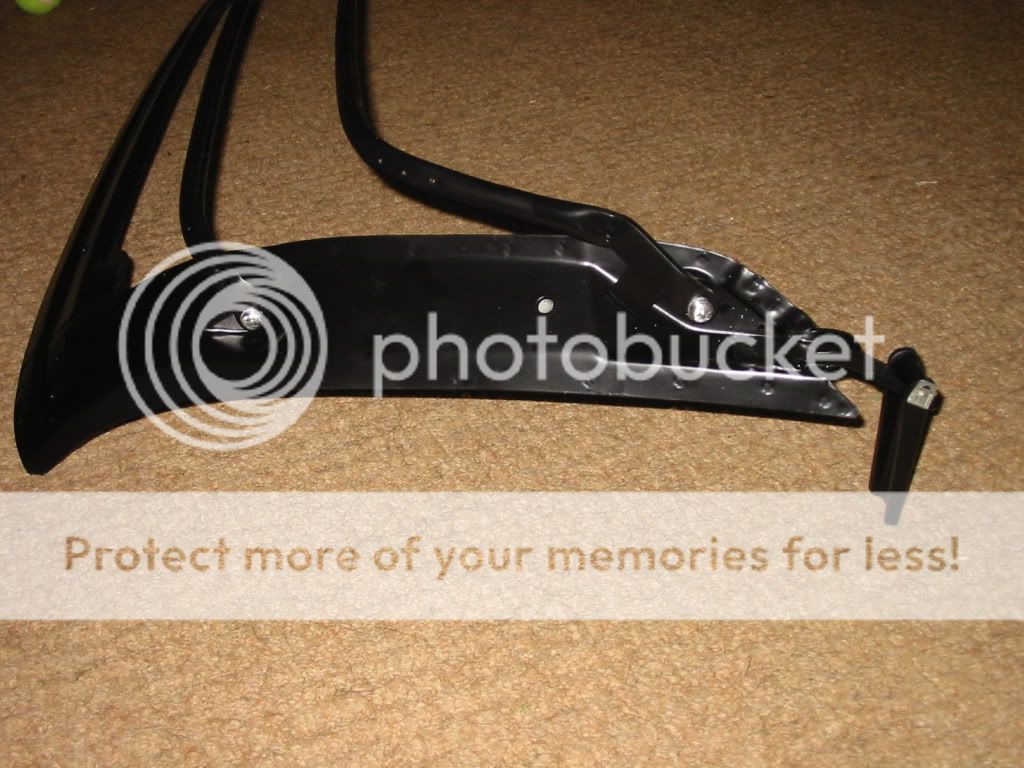
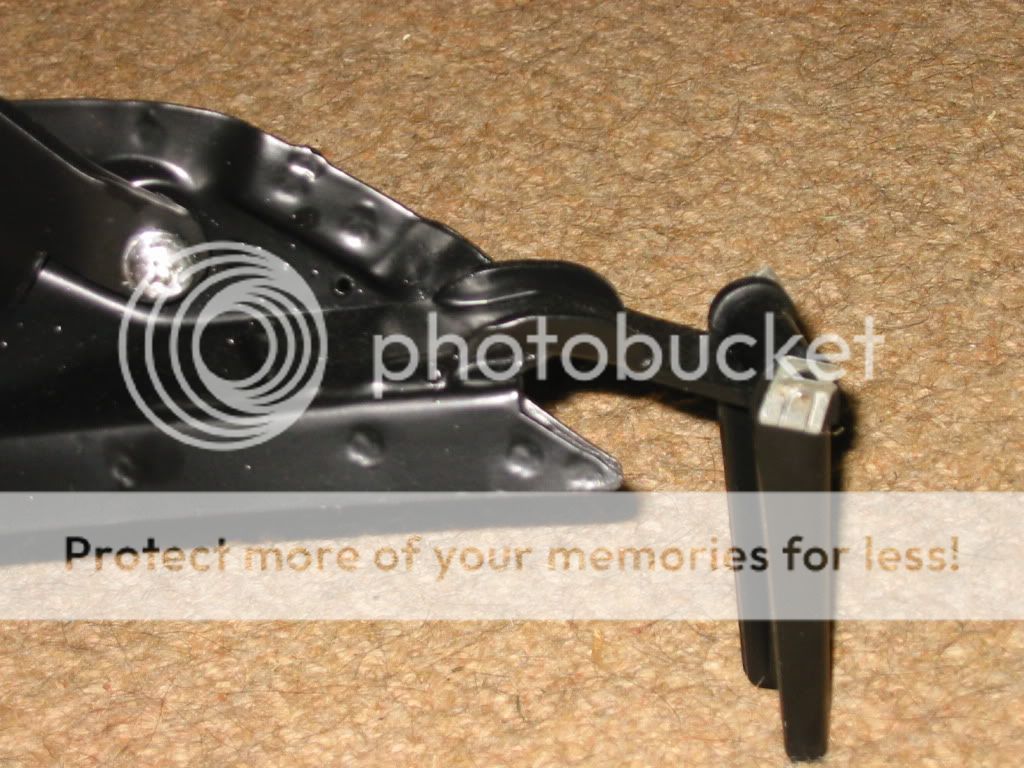
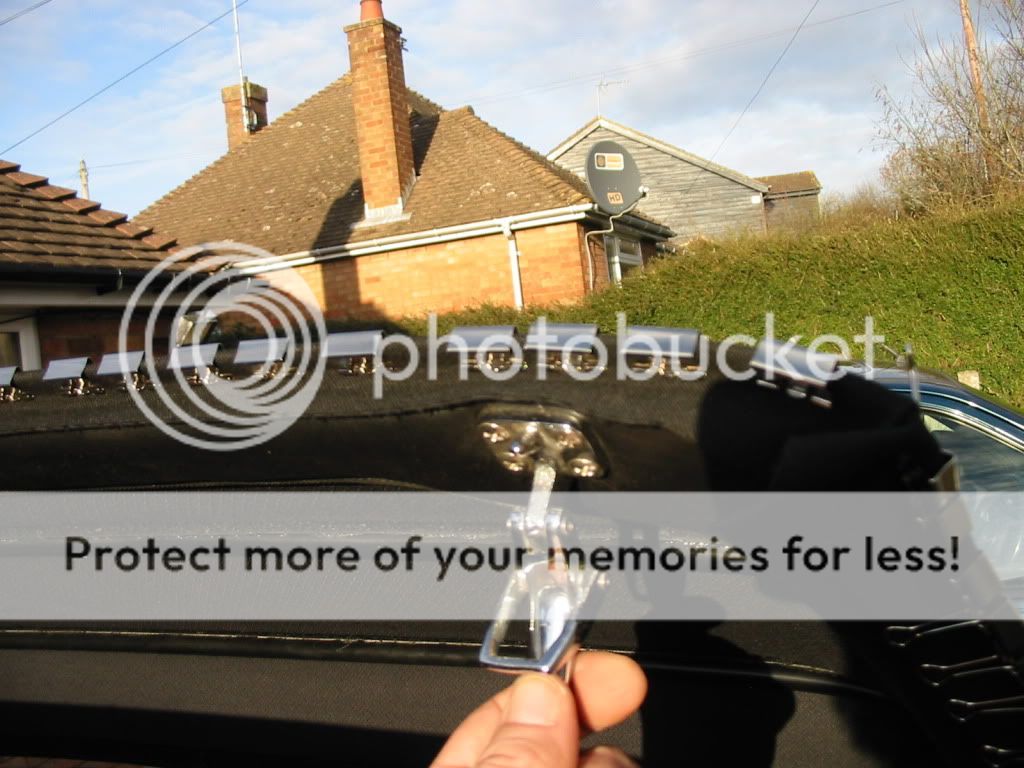
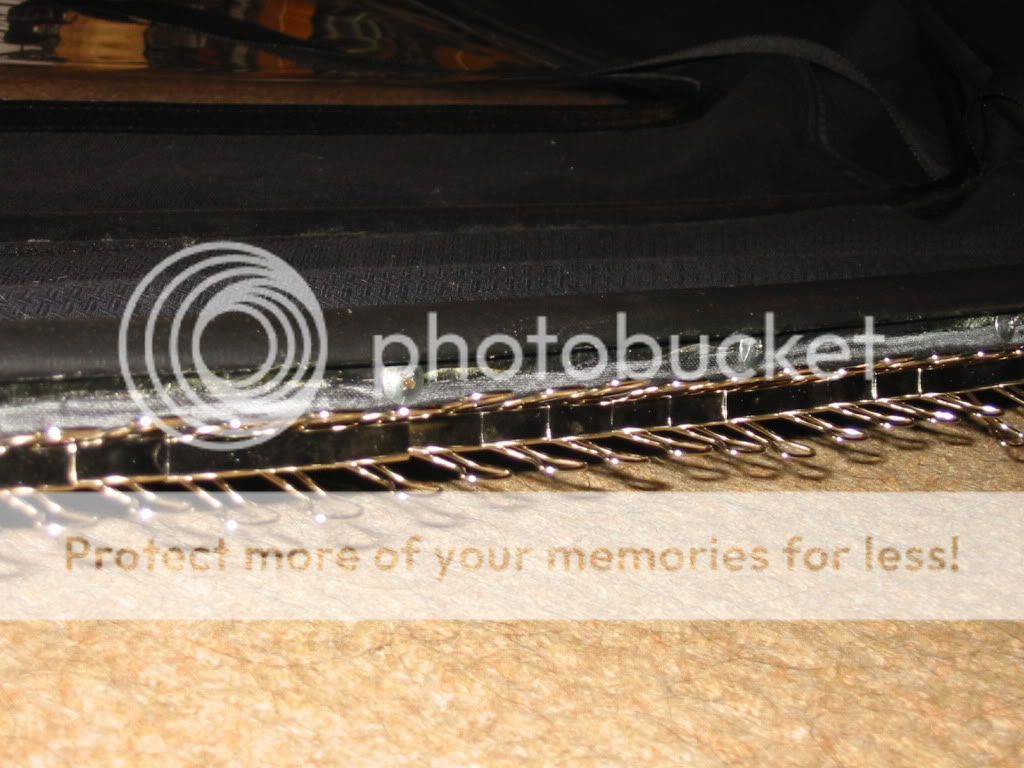
ahhh...rereading that I missed a step. The original screws that hold the frame together and the straps in place were rusty. I inquired about new ones but came up dry so....a dremel and lots of patients later...I refinished all the screws@ 30 in all. After the dremel, the screws and washers were soaked in a bath of mineral oil for 48 hours. I used 3-in-1 oil whitch worked perfectly. these are the best pics I could take with my camera but I think you can get the idea.
http://i701.photobucket.com/albums/ww15 ... _IMG_2.jpg
http://i701.photobucket.com/albums/ww15 ... _IMG_3.jpg
http://i701.photobucket.com/albums/ww15 ... _IMG_3.jpg
http://i701.photobucket.com/albums/ww15 ... _IMG_2.jpg
http://i701.photobucket.com/albums/ww15 ... _IMG_3.jpg
http://i701.photobucket.com/albums/ww15 ... _IMG_3.jpg
Re: Baur top renewal
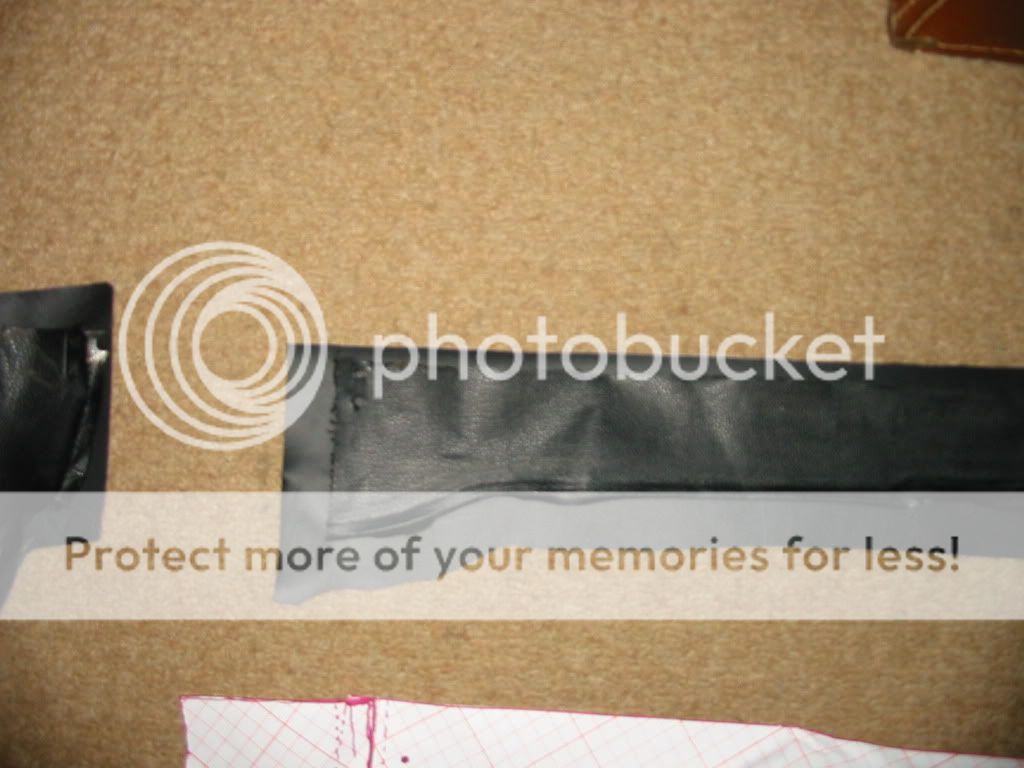
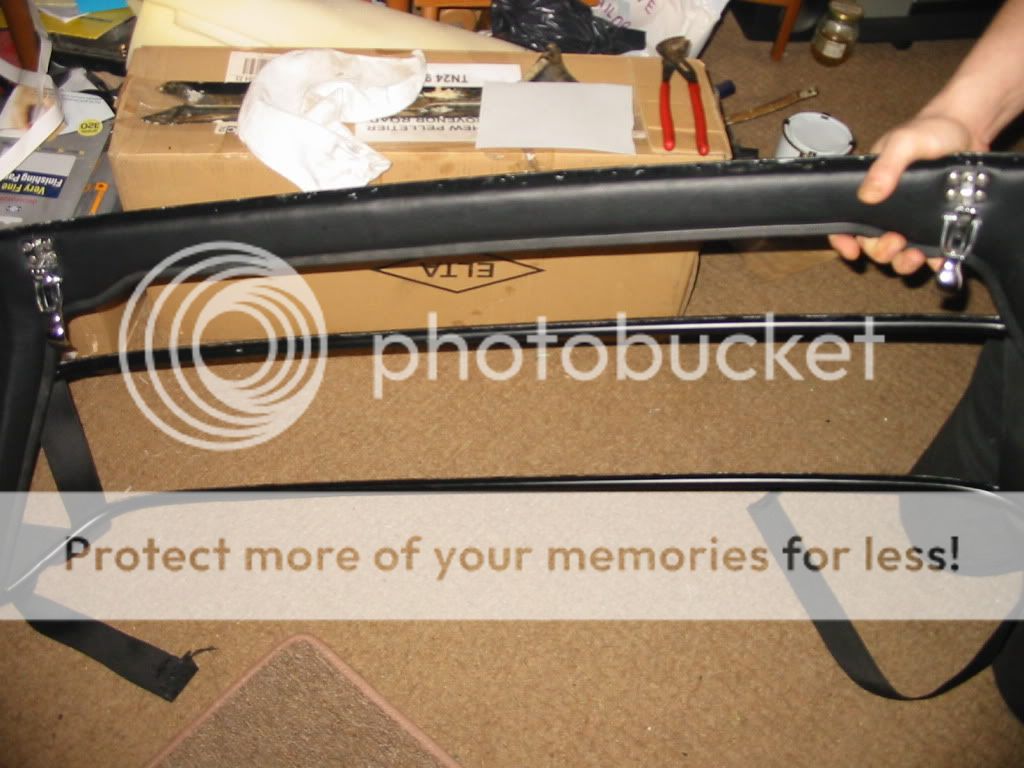
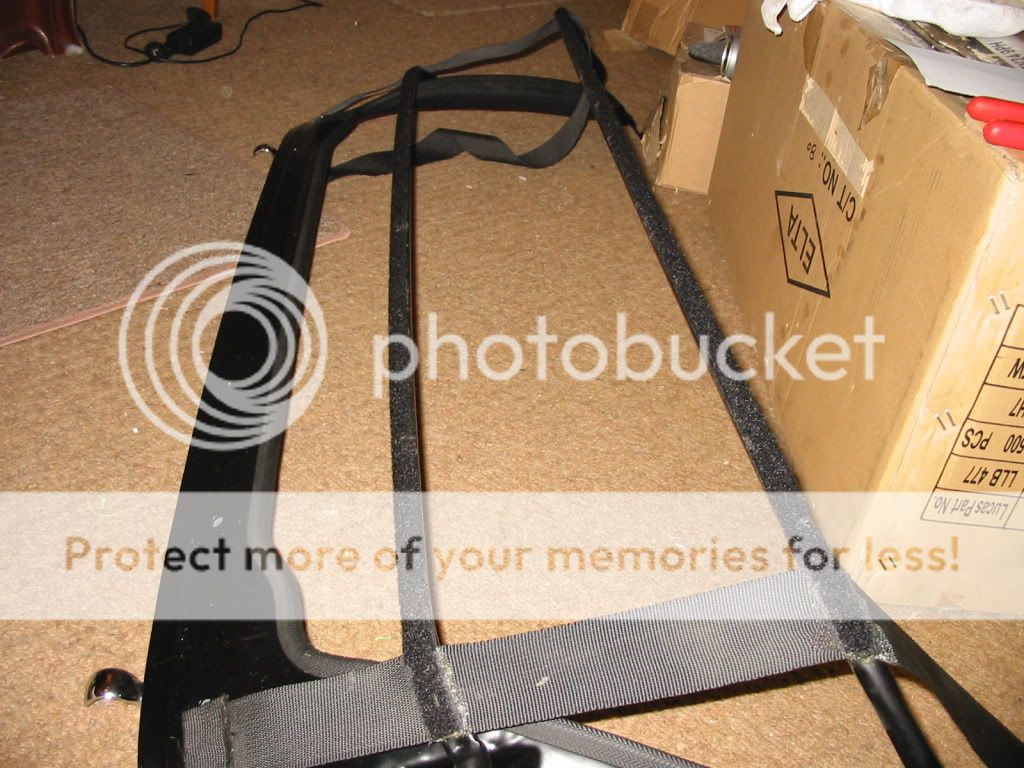
also worth noting, the second bar (if you take the top one as the first bar) has a bump stop that hits the frame. I glued a bit of the wear strip under it to stop it from chipping the paint over time. I dont have a pic that shows this very well so use your imagination. The wear strip material is very similar to the loop side of a hook and loop fastener such as velcro. Again, I couldn't find this so I went to a sewing shop and found black loop material that matches the original very well and used that. This material is glued to the top of the bars between the roof and the bar so that the repeated opening of the top doesnt wear a hole in the roof. It also helps prevent vibration from the wind while driving doing the same thing.
Re: Baur top renewal
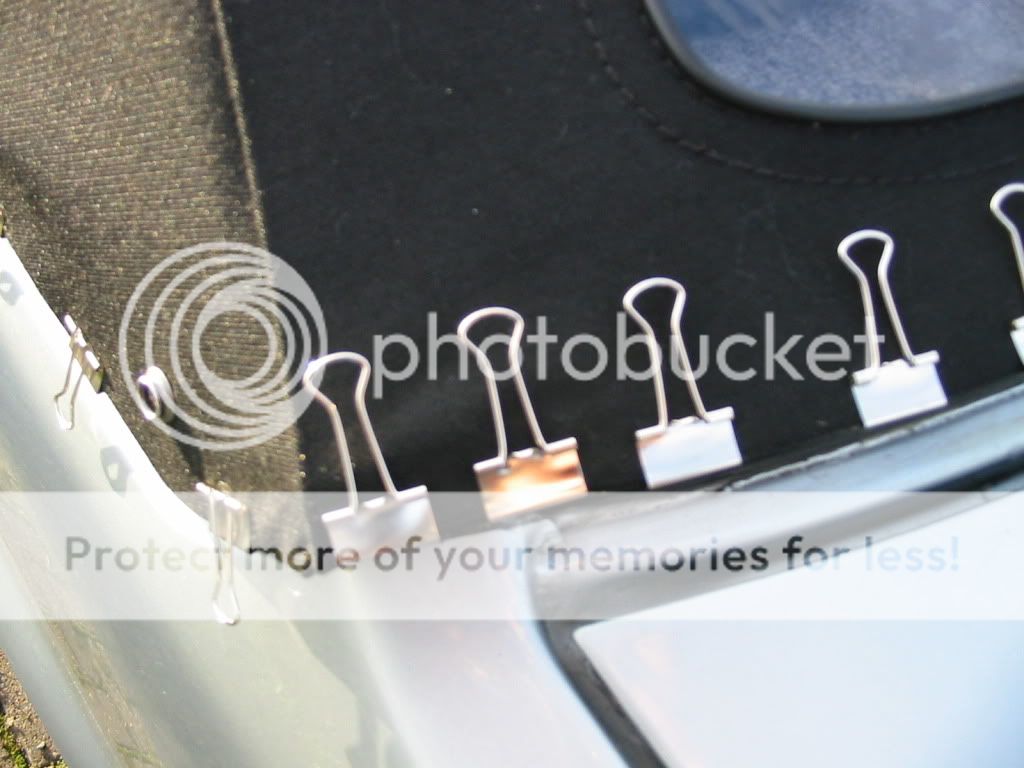
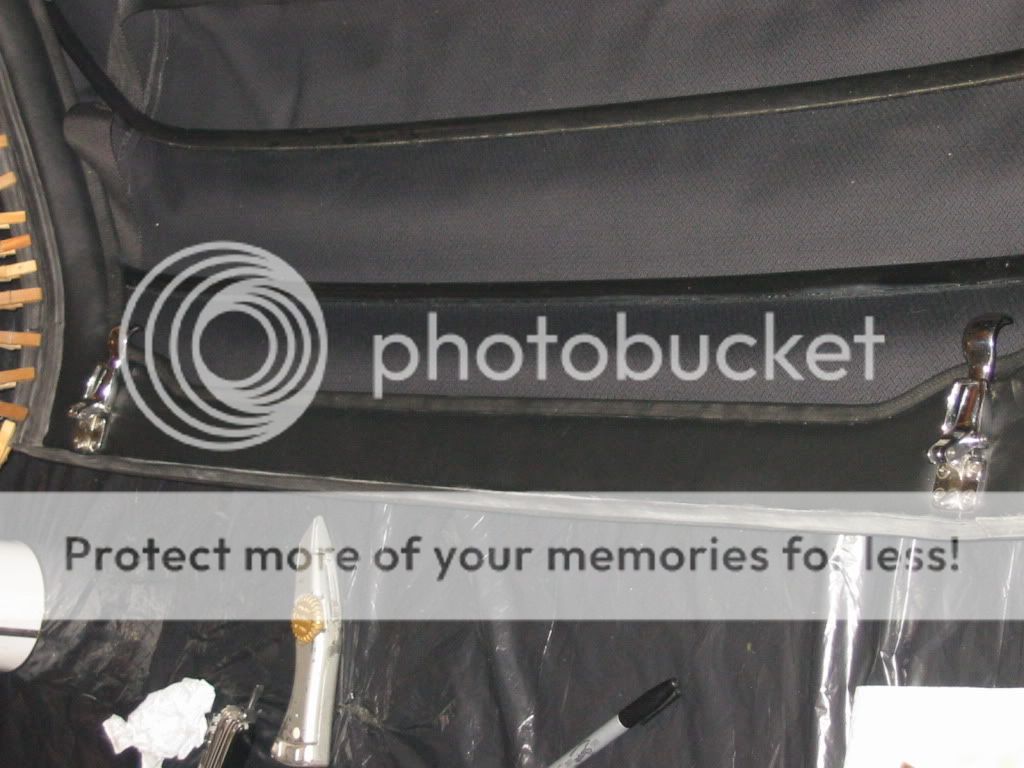
here is a pic of the wear strip fitted.
http://i701.photobucket.com/albums/ww15 ... _IMG_2.jpg
note that the wear strip covers the screw heads so they dont cut the top and that the straps are folded over the screw heads at the top for the same reason.
http://i701.photobucket.com/albums/ww15 ... _IMG_2.jpg
note that the wear strip covers the screw heads so they dont cut the top and that the straps are folded over the screw heads at the top for the same reason.
Re: Baur top renewal
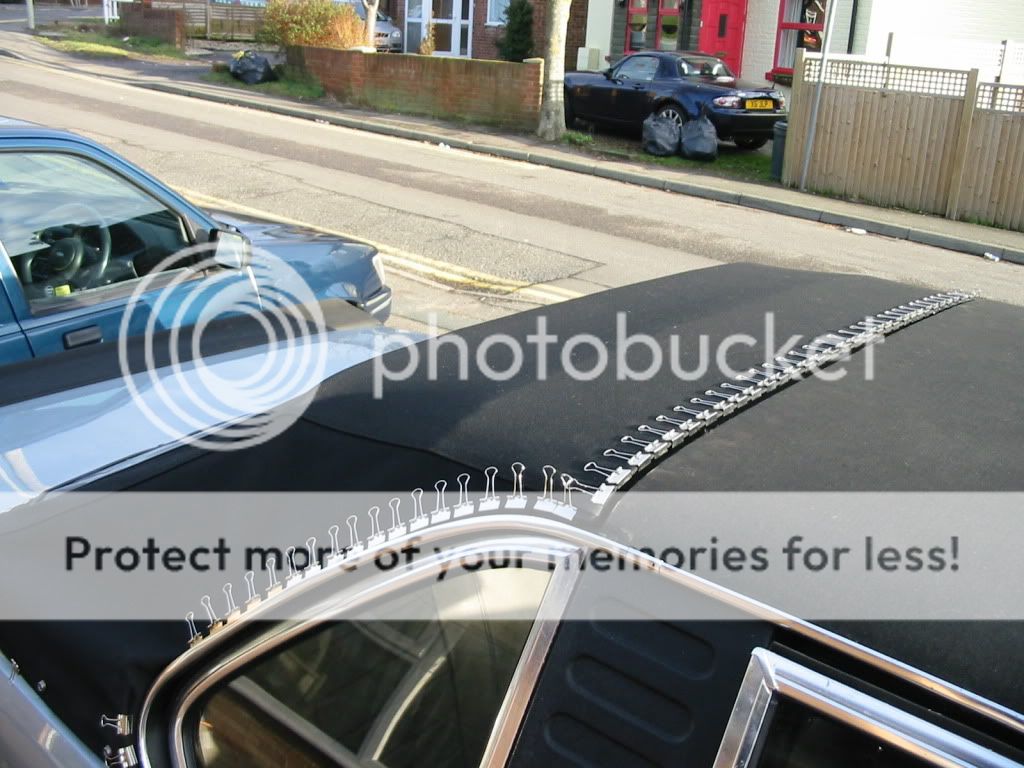
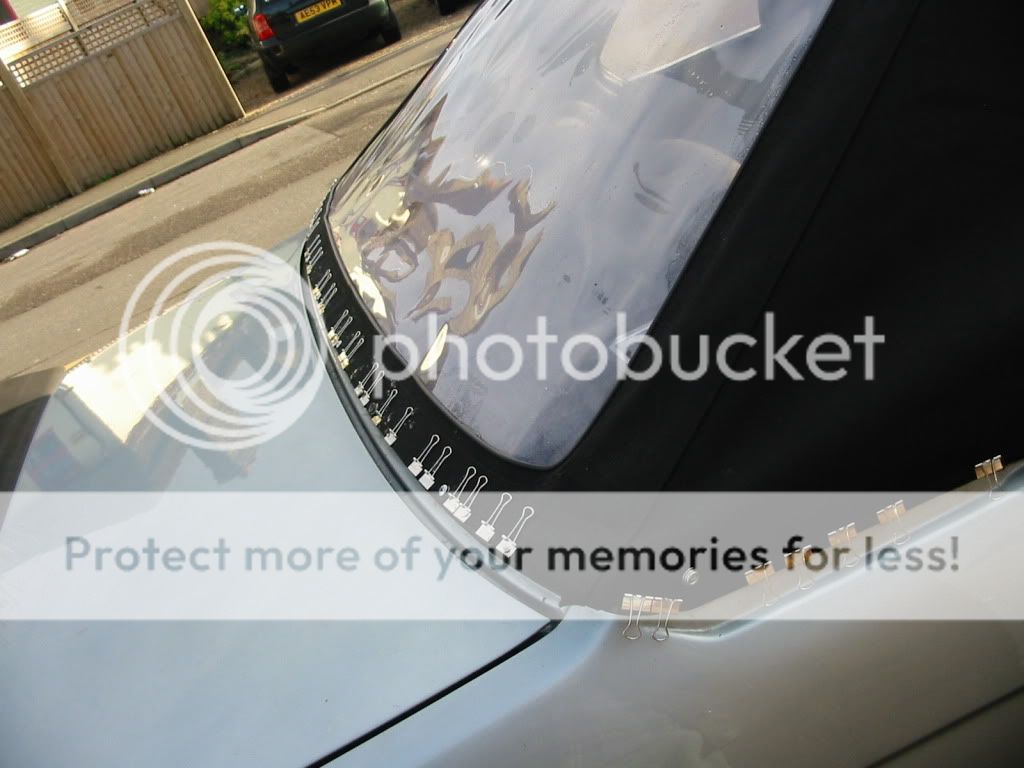
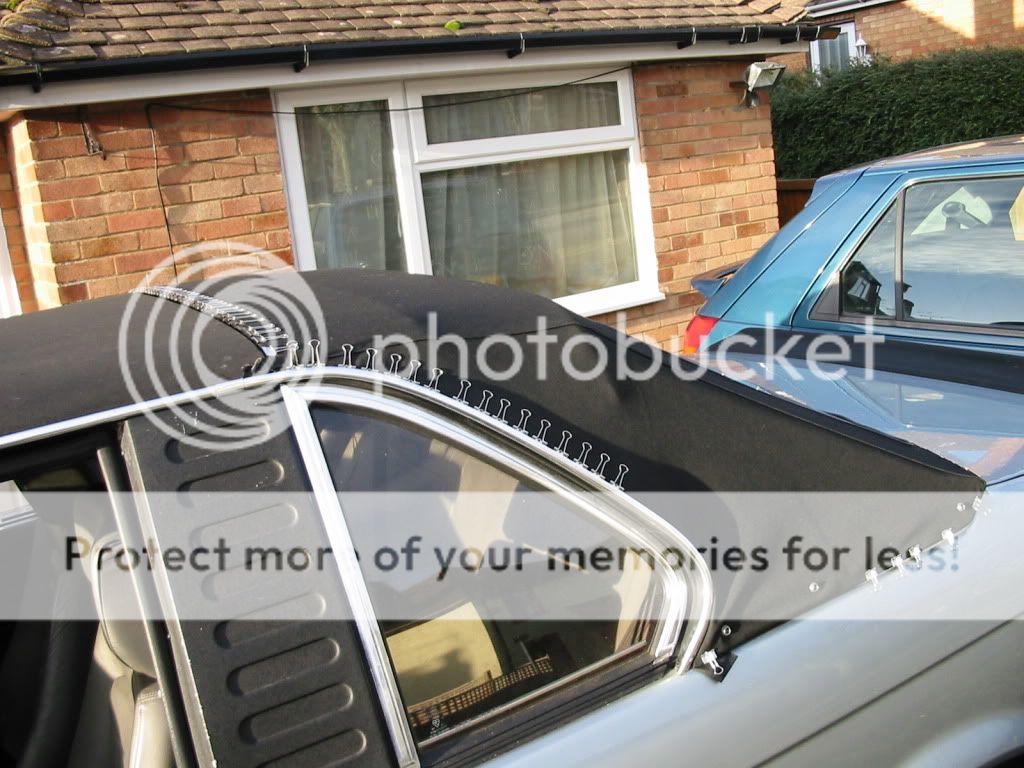
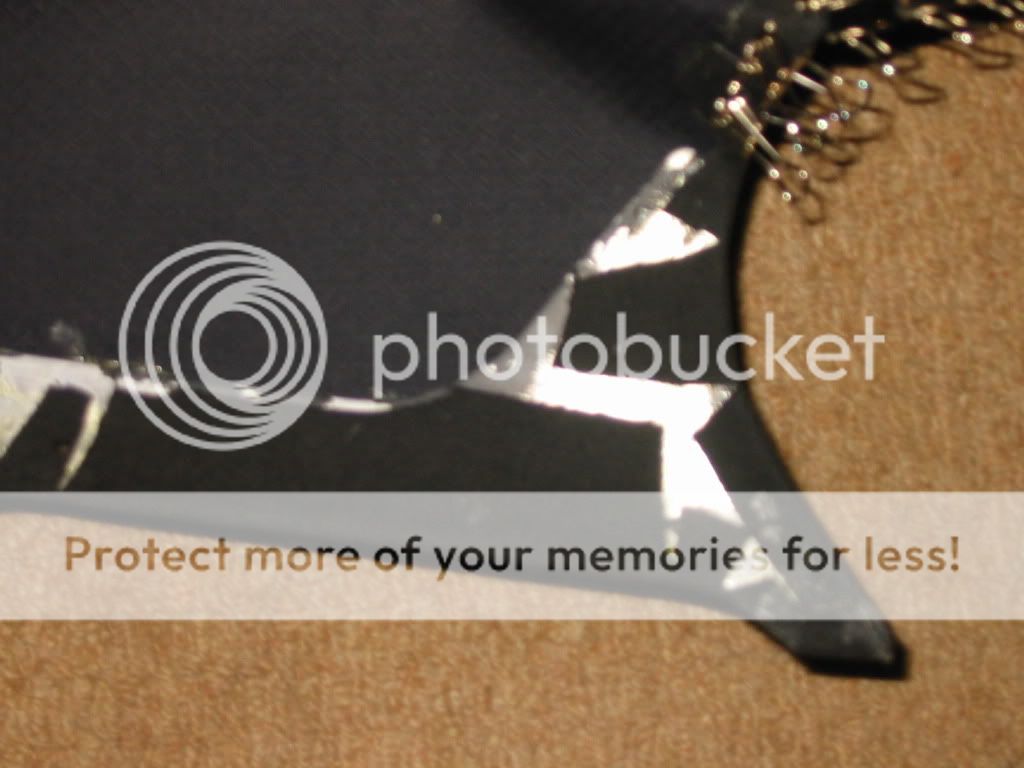
now back to fitting the top....So I said I was dry fitting the top. This took some thinking. I wanted to fit the top to the frame and the car so it would sit as if glued without glueing it, so I could make sure where to cut and glue. The misses came up with a good idea. Fold Back Clips. worked like a charm! it took 150 clips the way I did it. Bought them from stapples, hehe, bet you never thought of them as an automotive shop  These clips are great for the job as you can remove the handles and get them out of the way. then the clips work like mini clamps and fit in the gaps between seals without damage. (I knew I married her for a good reason)
http://i701.photobucket.com/albums/ww15 ... _IMG_2.jpg
http://i701.photobucket.com/albums/ww15 ... _IMG_2.jpg
http://i701.photobucket.com/albums/ww15 ... _IMG_2.jpg
http://i701.photobucket.com/albums/ww15 ... _IMG_2.jpg
http://i701.photobucket.com/albums/ww15 ... _IMG_2.jpg
http://i701.photobucket.com/albums/ww15 ... _IMG_2.jpg
notice the wrinkles in the top on the last pic. this is because it hasn't been cut to shape it around the curves. This stage is just close fit but not finished.I had to repeat this step a few times while glueing it to the frame to get those wrinkles out and fit it tightly.
http://i701.photobucket.com/albums/ww15 ... _IMG_2.jpg
http://i701.photobucket.com/albums/ww15 ... _IMG_2.jpg
http://i701.photobucket.com/albums/ww15 ... _IMG_2.jpg
http://i701.photobucket.com/albums/ww15 ... _IMG_2.jpg
http://i701.photobucket.com/albums/ww15 ... _IMG_2.jpg
http://i701.photobucket.com/albums/ww15 ... _IMG_2.jpg
notice the wrinkles in the top on the last pic. this is because it hasn't been cut to shape it around the curves. This stage is just close fit but not finished.I had to repeat this step a few times while glueing it to the frame to get those wrinkles out and fit it tightly.
Re: Baur top renewal
thats enough for tonight. more to come.
Re: Baur top renewal
right, now that I had it roughly fitted to the frame, I marked the edges with a white sewing pencil to mark the position. I started with the bottom rail first as this was the easiest to position and it would let me stretch it over the frame with the bottom fixed to the car and the rest free. The top has small circles drawn on it where the screws should go. I used these marks, the line I drew during the dry fit and the seems of the top to line it up on the bar.the stiched seems of the top should line up with the ends of the bar. With the original top as a guide, I made small cuts in the top to enable it to be fitted tightly to the bar. Then by glueing one section, securing it with the clips, and then fitting and glueing the next I proceded across the bottom of the top. The glue is a 2pac type adhesive called 1358 and it is very easy to use. It needs to be applied to bothe surfaces and then let to go off for a few minutes before fixing. Basicaly, spreed the glue with a sutable instrument, in this case I used the brush from the wonder wheels kit I had lying around, watch the glue till it starts to become dull looking (not shiny as opposed to boring watching glue dry lol) and press the two sides together and clamp in place.
Re: Baur top renewal
once that was done , I refitted the top to the car and double checked its fit and continued with the two side peices.
http://i701.photobucket.com/albums/ww15 ... _IMG_2.jpg
http://i701.photobucket.com/albums/ww15 ... 09_IMG.jpg
http://i701.photobucket.com/albums/ww15 ... 10_IMG.jpg
http://i701.photobucket.com/albums/ww15 ... _IMG_2.jpg
http://i701.photobucket.com/albums/ww15 ... 09_IMG.jpg
http://i701.photobucket.com/albums/ww15 ... 10_IMG.jpg
Re: Baur top renewal
Next it was glueing the top half of the top to the frame.I have to admit this bit was scary. By this time, all the original bmw markings were gone frome repeated refitting and as you can see in the pics my hinges needed to be resprayed. I highly recomend letting the paint cure for a month before doing this just to avoid the inevitable scratches and above all, RETRACE the bmw lines so you dont loose them! That said, my step by step aproach got me through but I could have done without the worry. Again, I used the original top as a guide for the cuts you need to make the curves and the time spent double checking paid off as it started to come together nicely. I found it best to work the sides first and then the very top along the seal last.
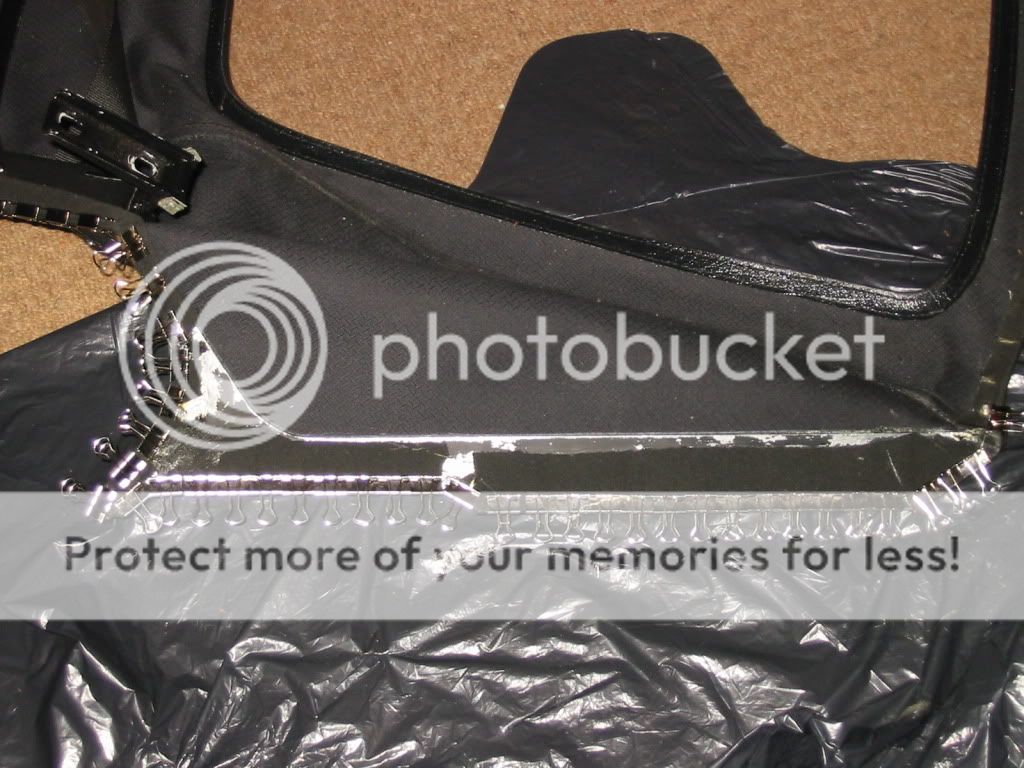
Pay close attention to the cuts and folds around the edges as this needs to be folded a certain way to prevent water getting in. Dont sweat it, just copy the old top.
http://i701.photobucket.com/albums/ww15 ... 02_IMG.jpg
http://i701.photobucket.com/albums/ww15 ... 01_IMG.jpg
http://i701.photobucket.com/albums/ww15 ... 06_IMG.jpg
http://i701.photobucket.com/albums/ww15 ... 06_IMG.jpg
Re: Baur top renewal
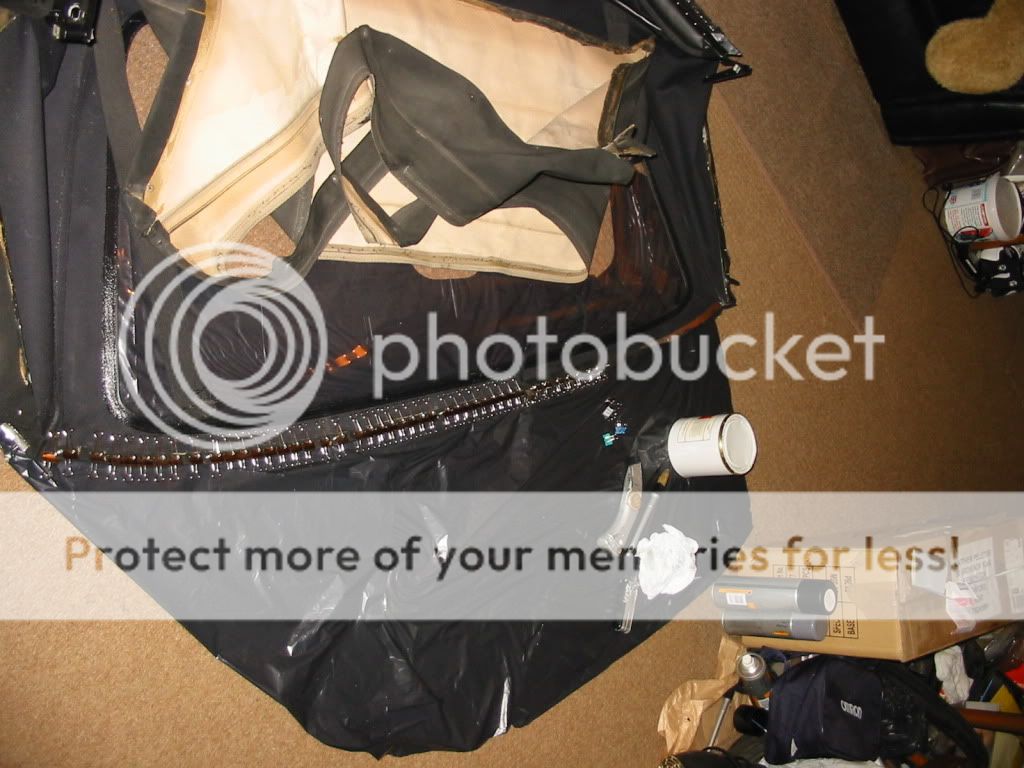
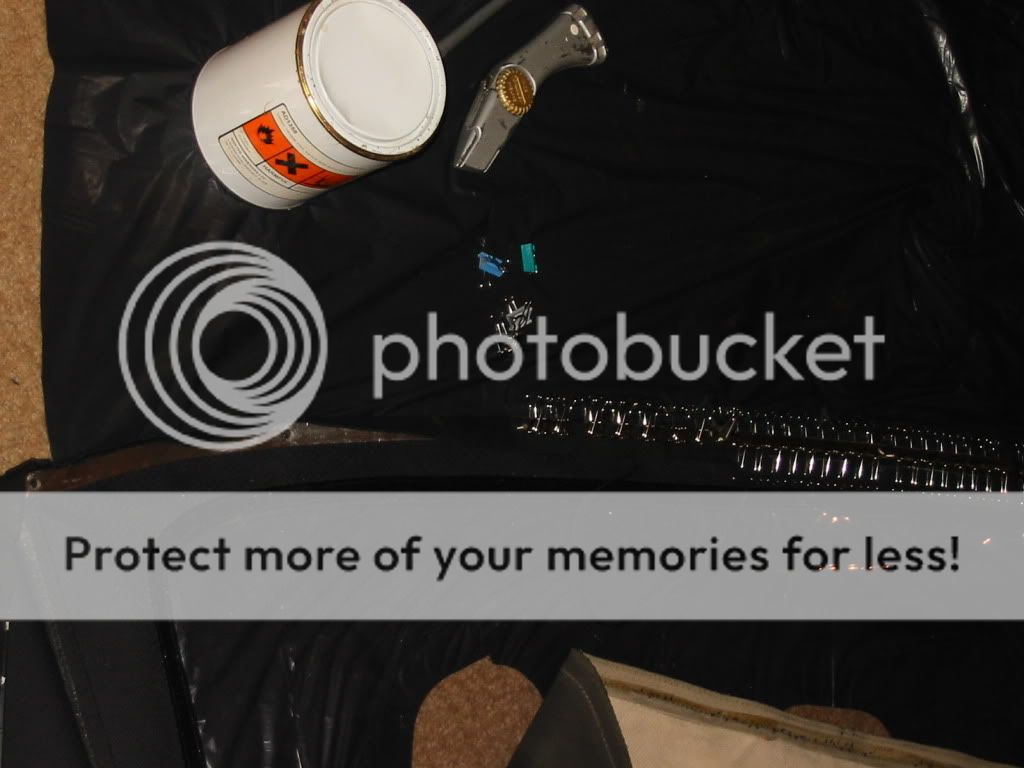
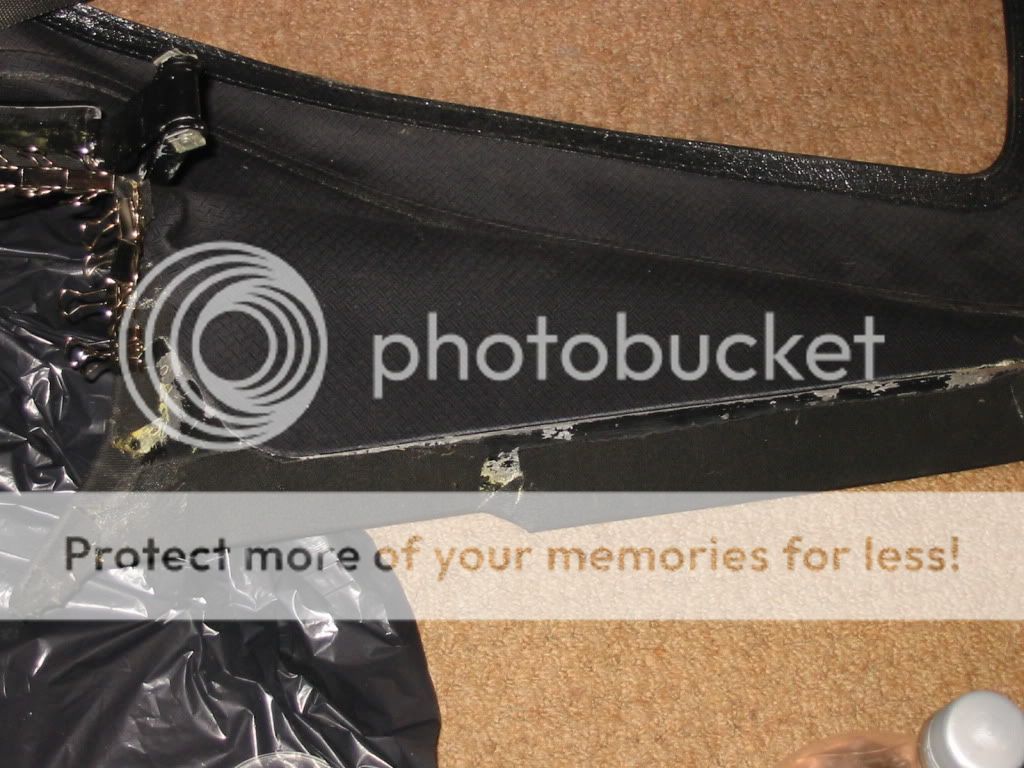
Last but not least, the seal. This will be easy or hard depending on whether or not you are using the original vinyl or the premium vinyl I used. This is because the original vinyl is backless and very thin(crap in other words) the new stuff I used gives a very soft and almost leather like feel but takes up extra room in the seals slot. It took some careful proding with a screw driver to coax the seal in but I used the glue as a lubricant so it wasnt too bad. Just dont give the glue time to go off place the seal wet. Also, I let the glue dry 24 hours between each step to make sure it had a good grip. You will see some marks from the clips after that length of time but not to worry they soon fade when the clips have been removed for a while.
http://i701.photobucket.com/albums/ww15 ... 22_IMG.jpg
http://i701.photobucket.com/albums/ww15 ... 21_IMG.jpg
http://i701.photobucket.com/albums/ww15 ... 19_IMG.jpg
http://i701.photobucket.com/albums/ww15 ... 22_IMG.jpg
http://i701.photobucket.com/albums/ww15 ... 21_IMG.jpg
http://i701.photobucket.com/albums/ww15 ... 19_IMG.jpg
Re: Baur top renewal
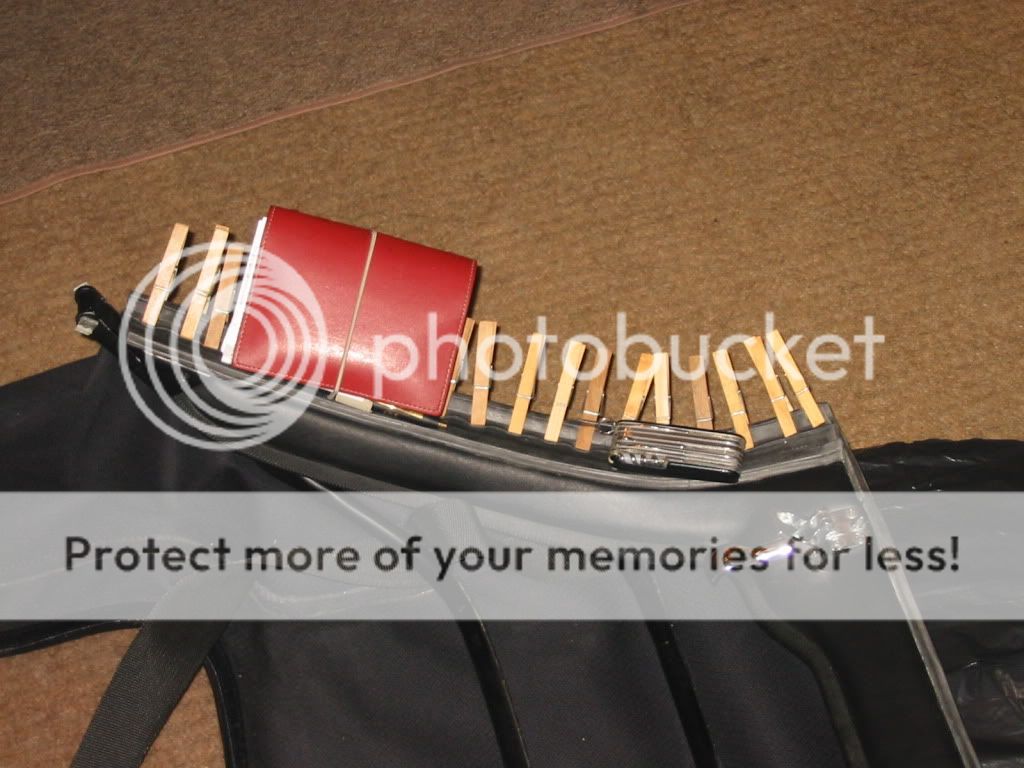
Two things I forgot,
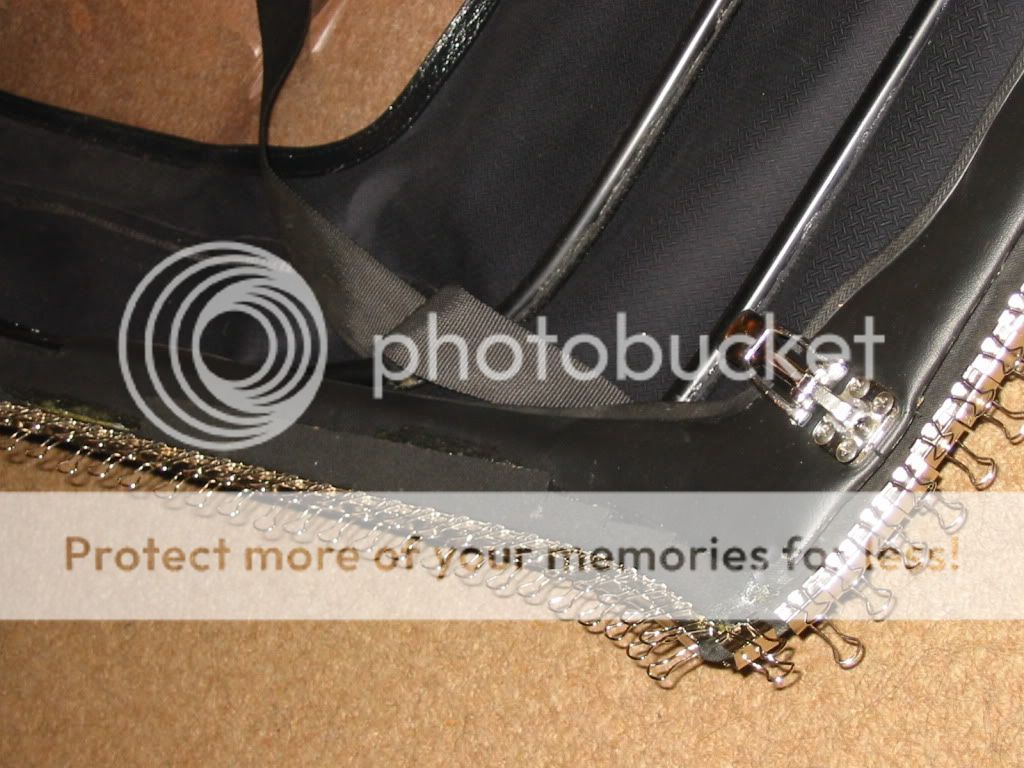
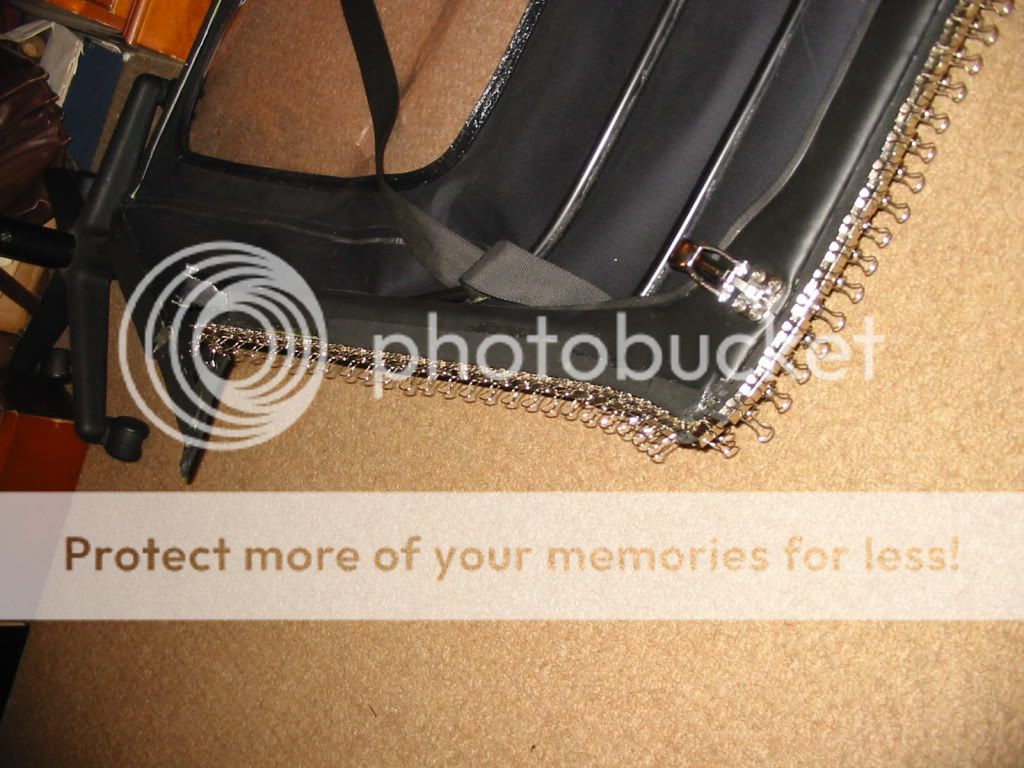
1) make sure you line up the seal properly with the latch fixings before glueing it in as the seal is shaped to fit those spots specialy
2)I glued the top (latch side)first to get proper placement then glued the sides
for this second bit I found some clothes pins very handy for clamping the seal in place while it dried and the od item was useful to aply presure to the inner bits that couldn't be clamped.
http://i701.photobucket.com/albums/ww15 ... 17_IMG.jpg