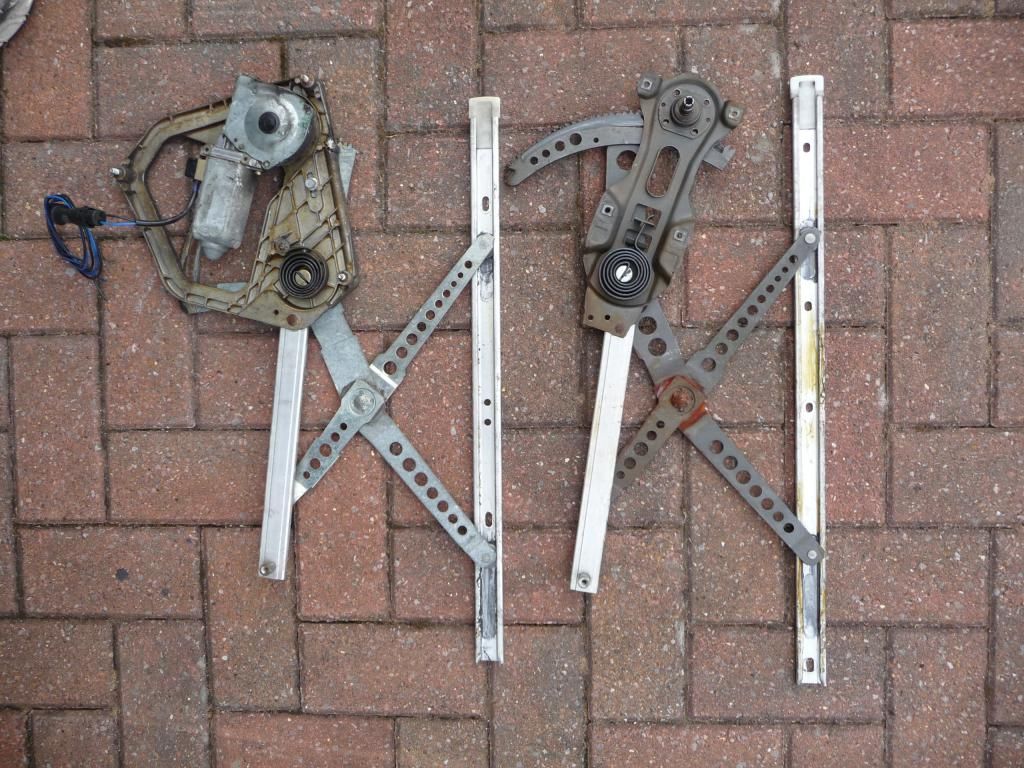
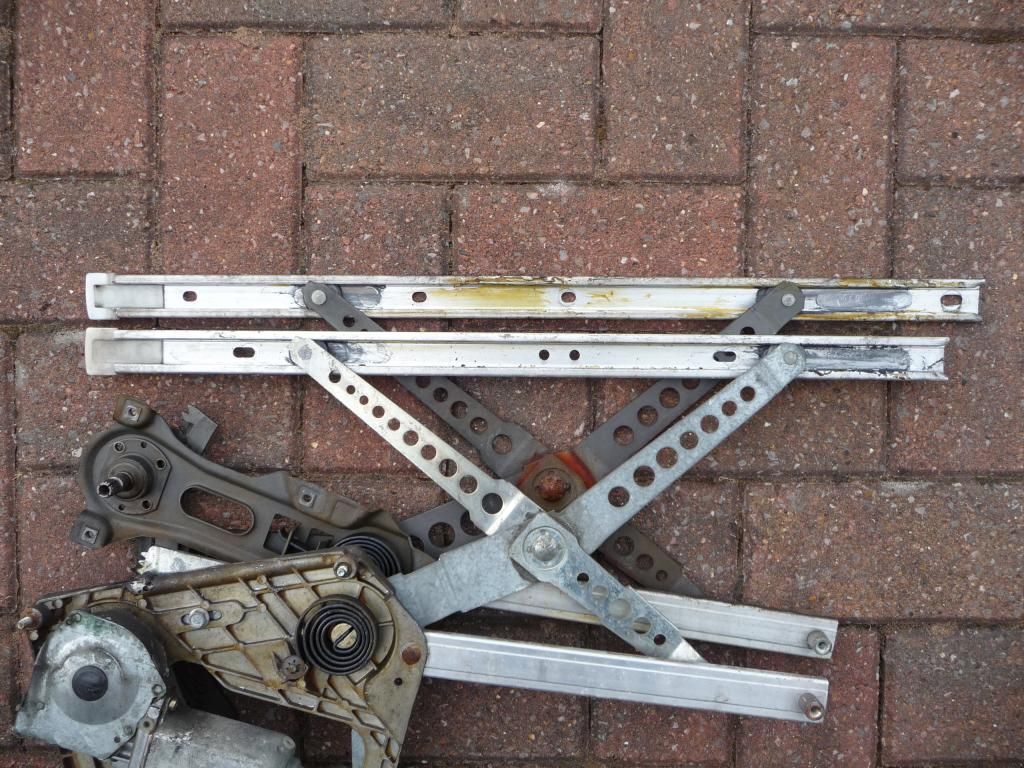
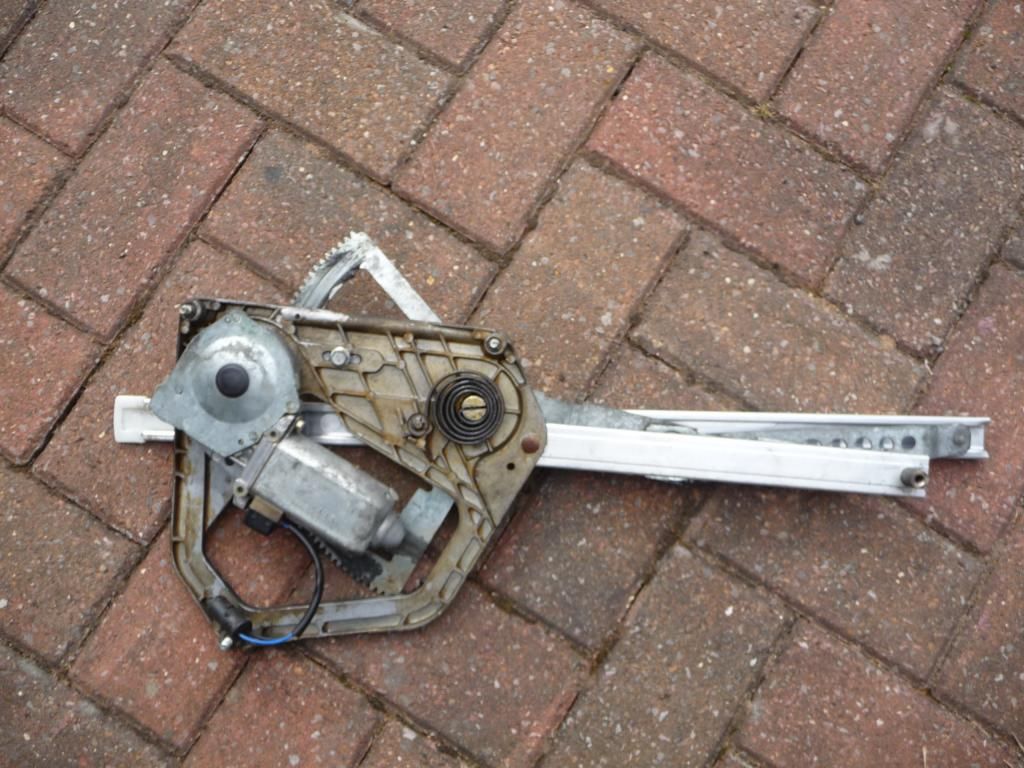
This is one mech on top of the other

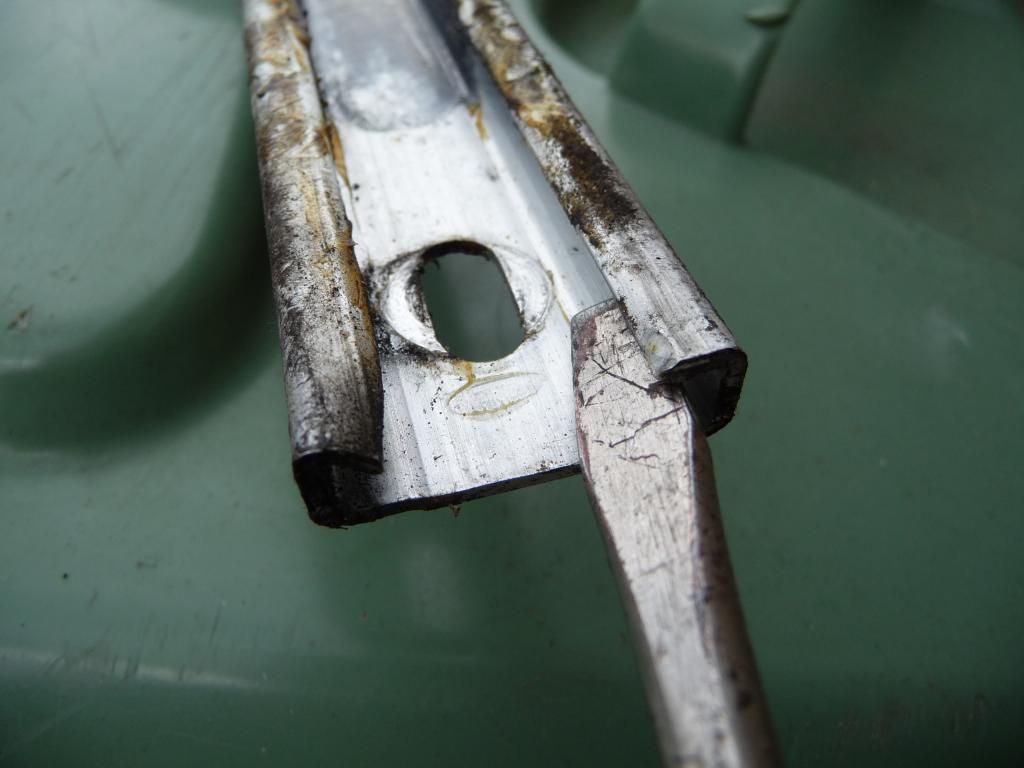
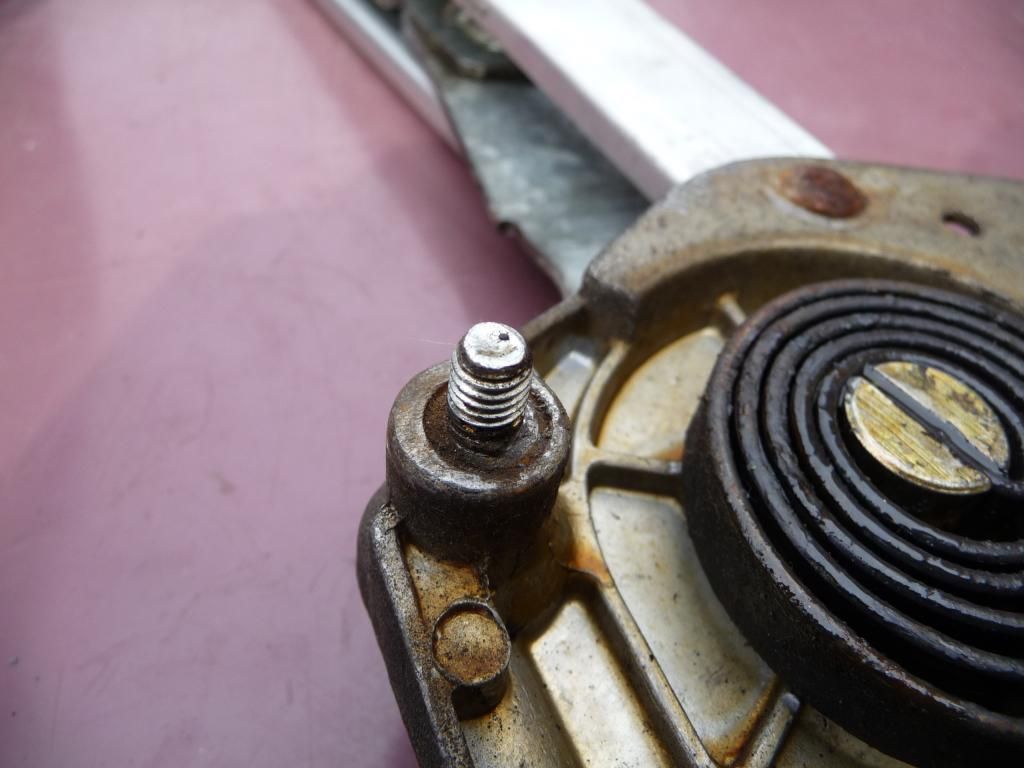
So, first things first, I swapped the top rail over, which involved bending out the tabs at the back end of the rail pulling it off the scissor rollers, and putting the replacement on, and re bending the tabs
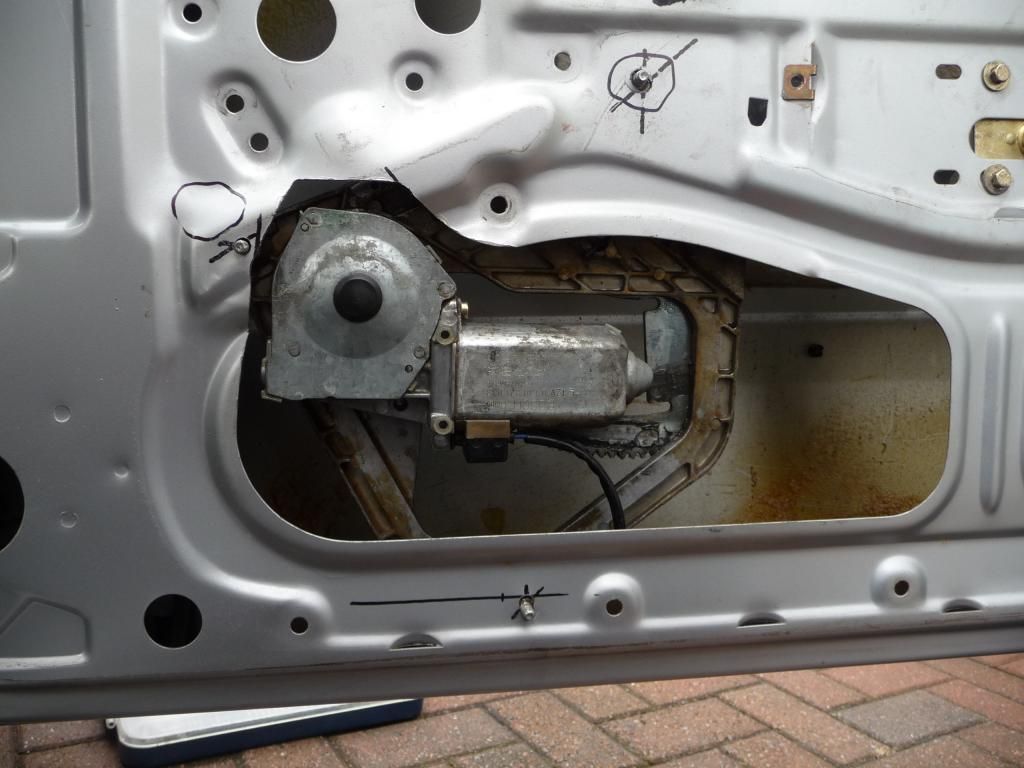
Next I used my jump starter pack to power the mechanism into it's most compact shape in order to fit into the door easily
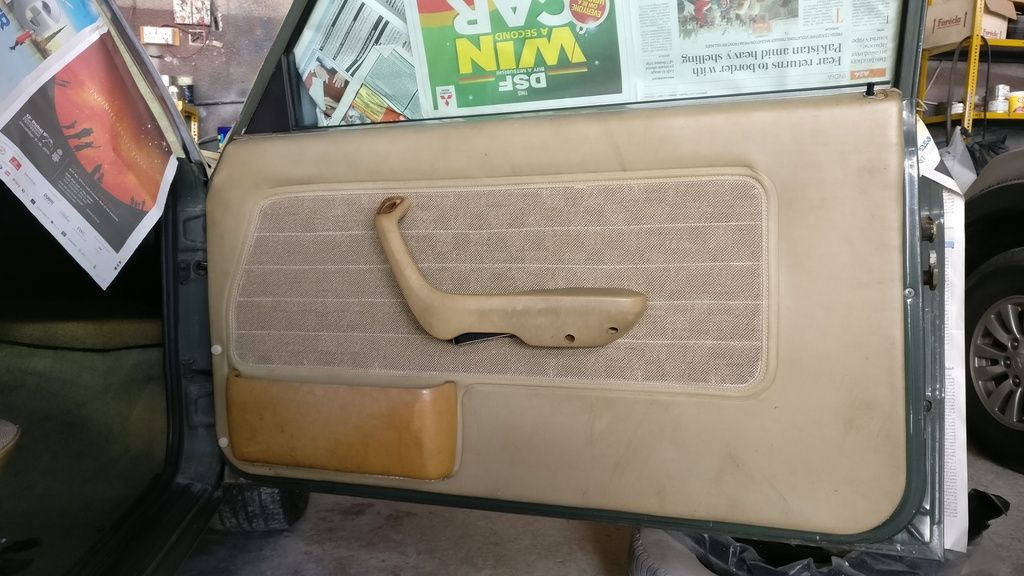
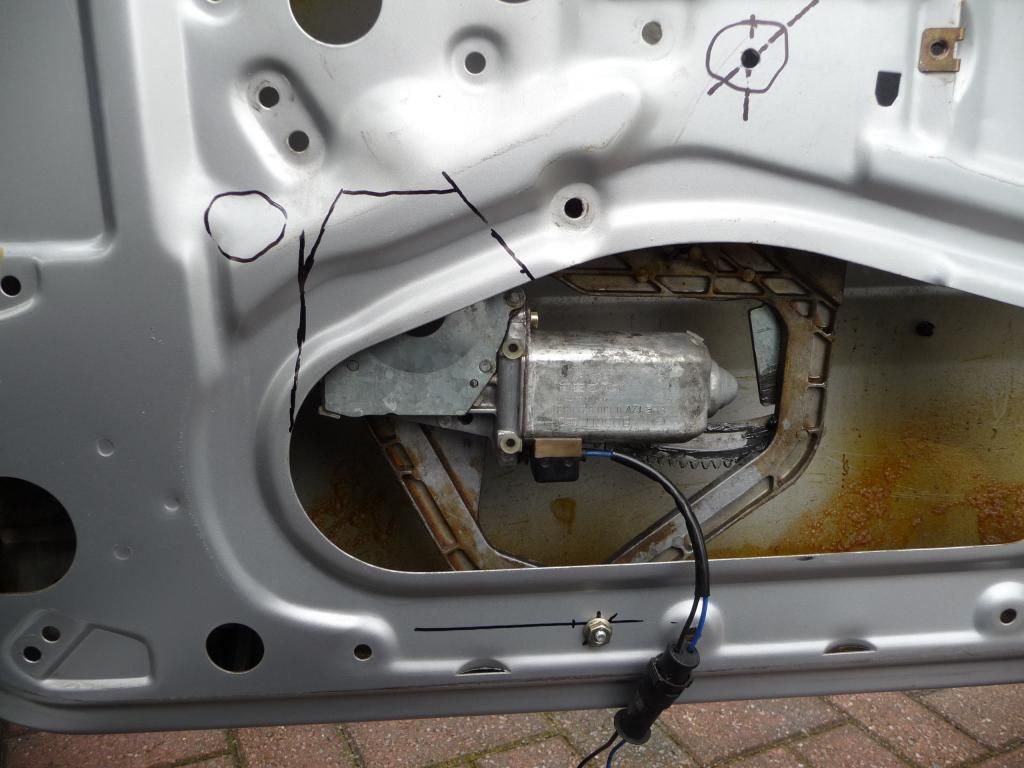
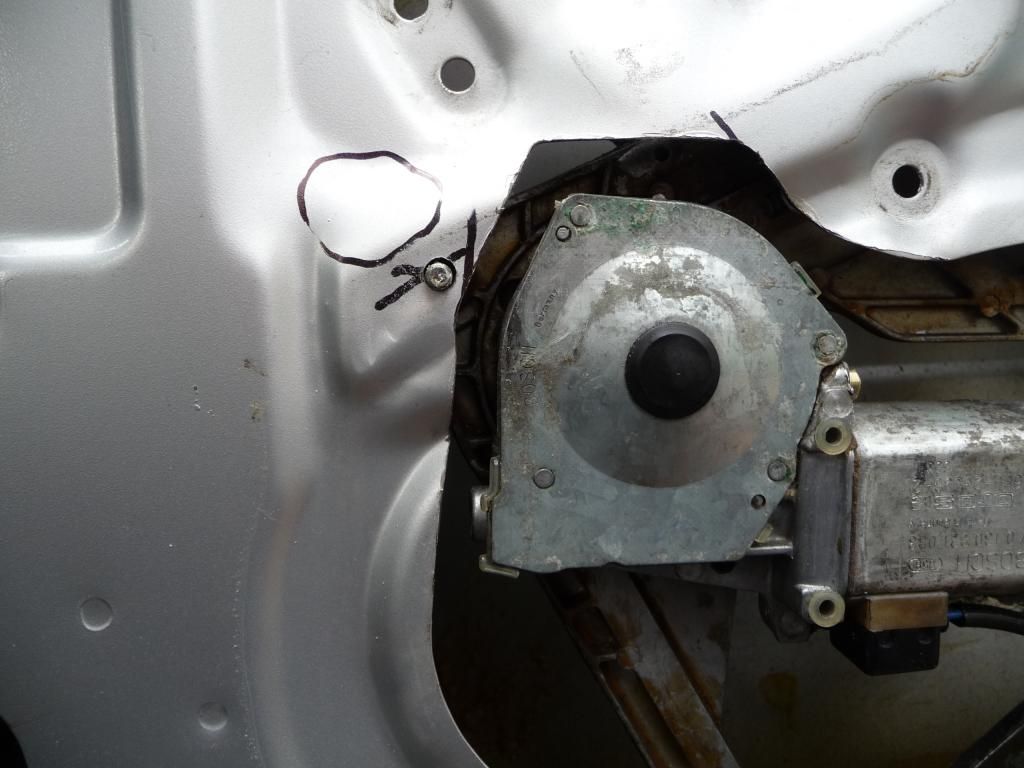
With it in the door I powered it out again, bolted the rail to the glass, and put the bolt in at the back end of the lower rail, which lined up perfectly. at this stage I powered the window to it's highest position and began marking the door for the three mounting holes needed for the motor mounting frame. I also decided that the mechanism would be under less stress and there'd be more glass clearance if the motor sat further out, which meant trimming the inner door panel. I'll admit I didn't want to do this at first, but on further inspection, nothing would be affected, and the original mechanism could be put back without detriment, so I marked carefuly, and cut out a section.
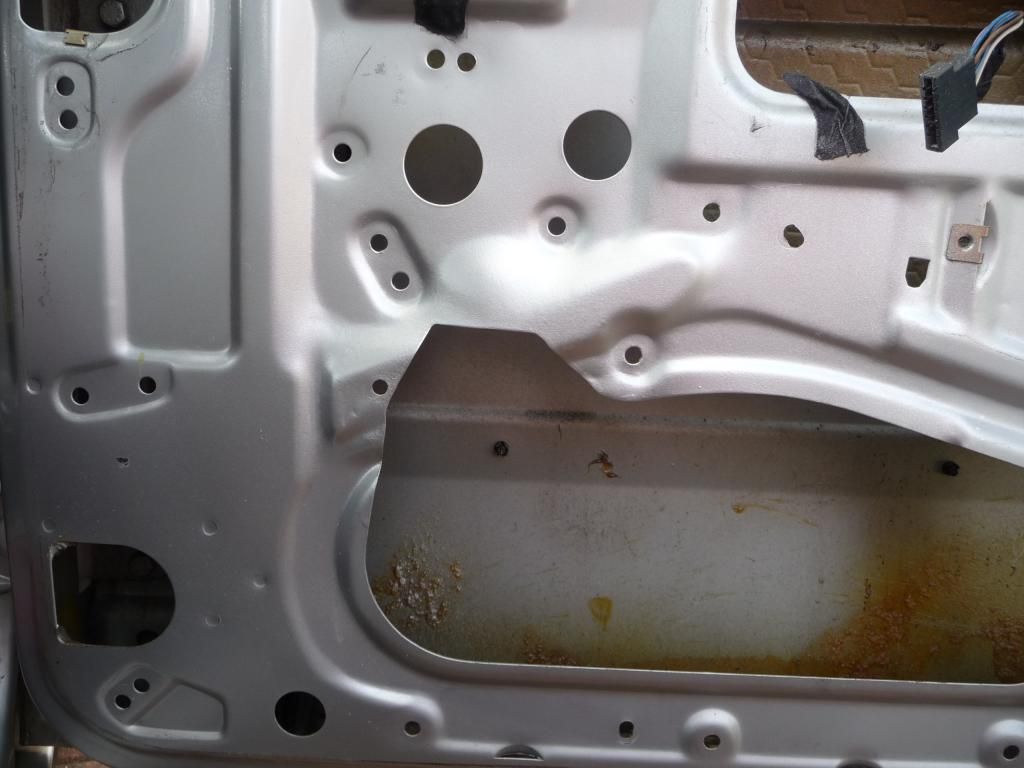
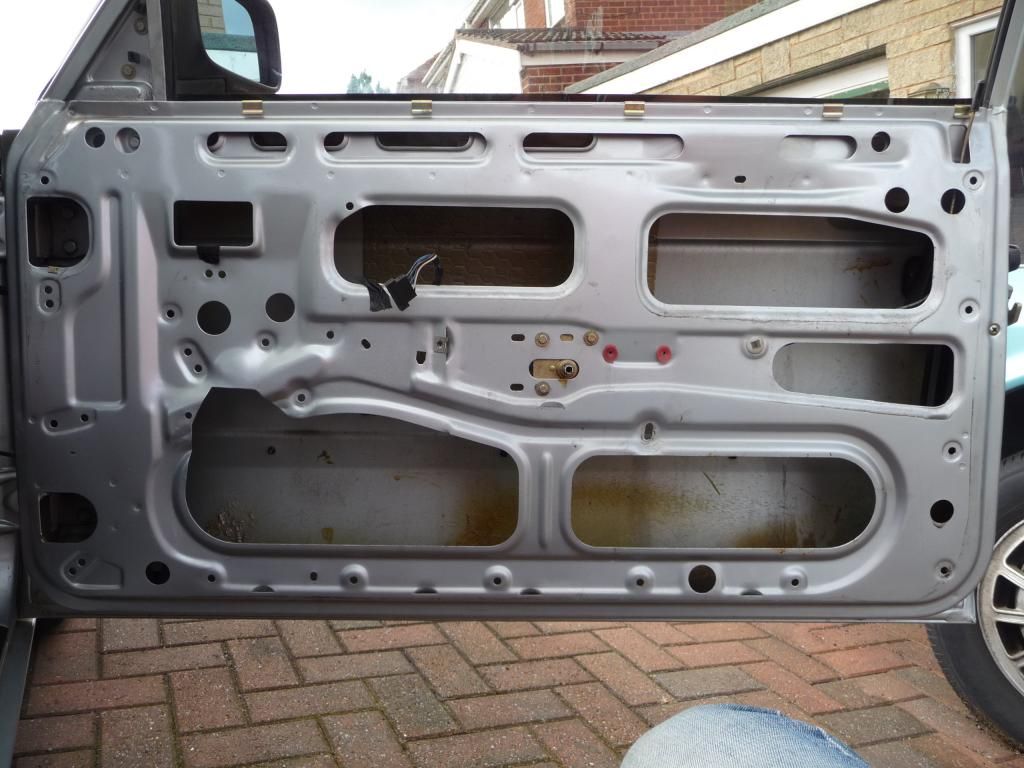
You can also see in those pics the holes for the other three mounting bolts. These were bolts pressed into the alloy mounting frame from behind, but I decided they stuck out a little too far and would distort the door card, so knocked them out and put nuts in their place, so I could use the bolts to go through the other way into them. It's worth leaving them as studs initially, as it helps the marking out for the holes. The holes in the door ended up getting slotted slightly, but not beyond the edge of the washers, so are still plenty strong.
I cleaned up all the holes, and the cut edges, and gave it all a paint job.
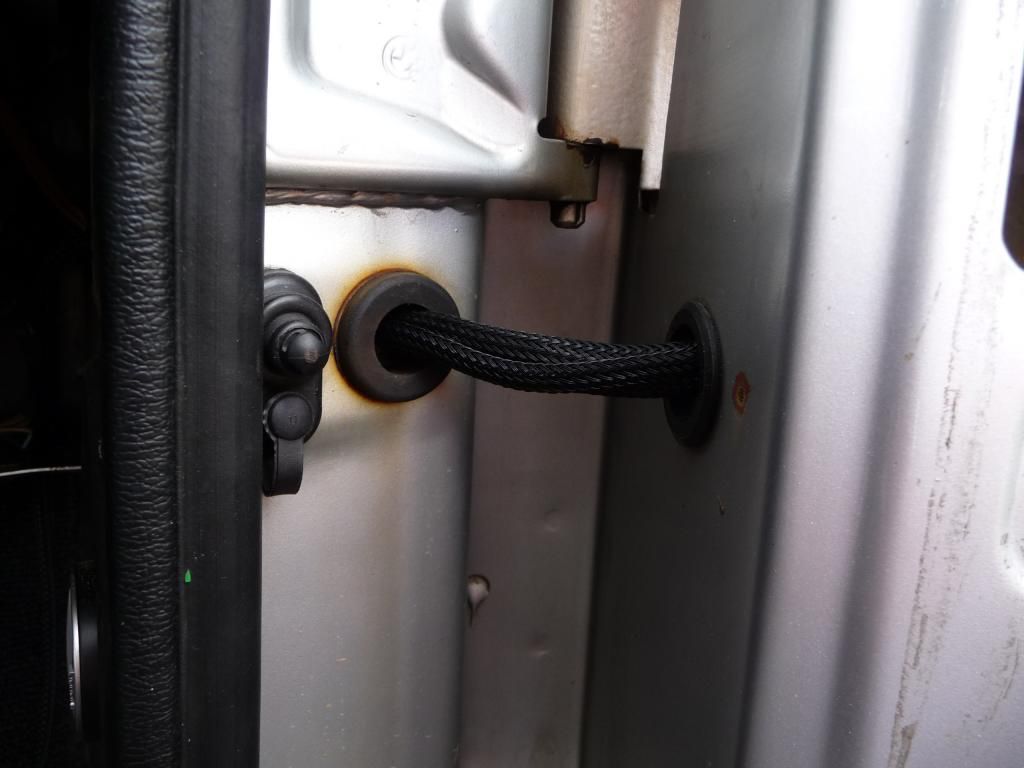
Whilst that dried, I took the time to strip the mechanism down a little, and clean off all the old grease, and apply some fresh stuff. I also sprayed some Bilt Hamber Dynax S50 cavity wax on various things inside the door. Once all dried, greased and waxed the whole thing went in the door, and was bolted up. I saved the plug clips from the inside of the E28 doors so it all looks as it should in there.

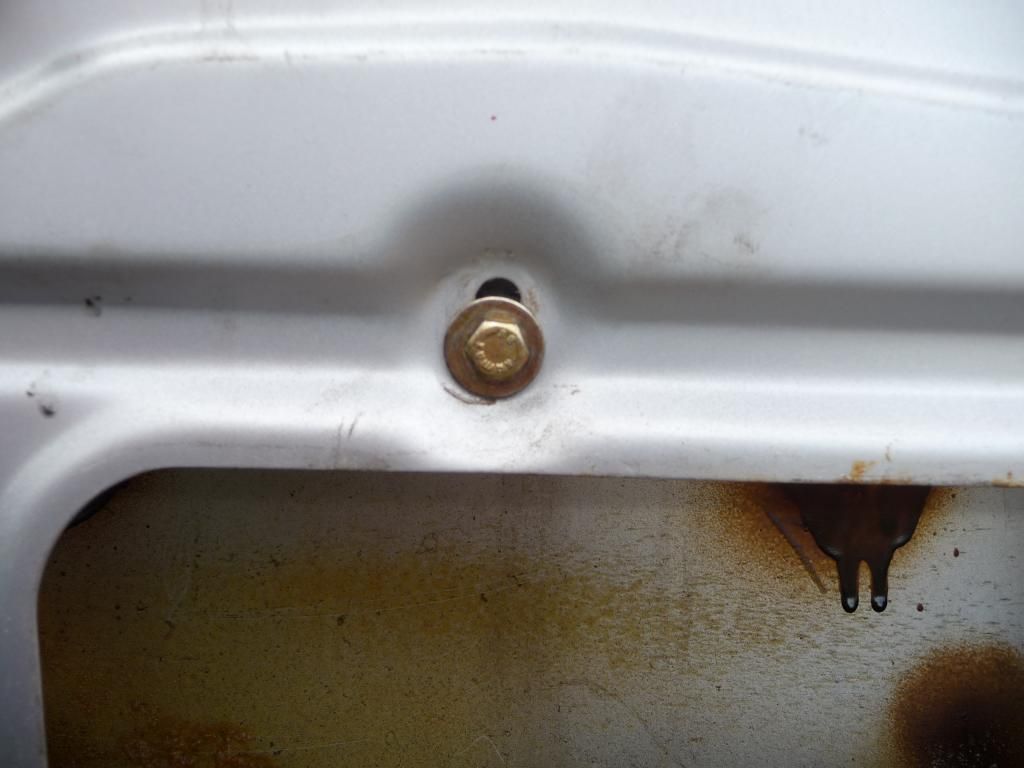
The bottom rail bolt goes into a slotted hole on the door (the original hole hole from the old mechanism) and this is where the angle of the glass can be adjusted.
So, everything set, I hooked it up to my jump starter pack to see if it all still works ok...... Click for vids!
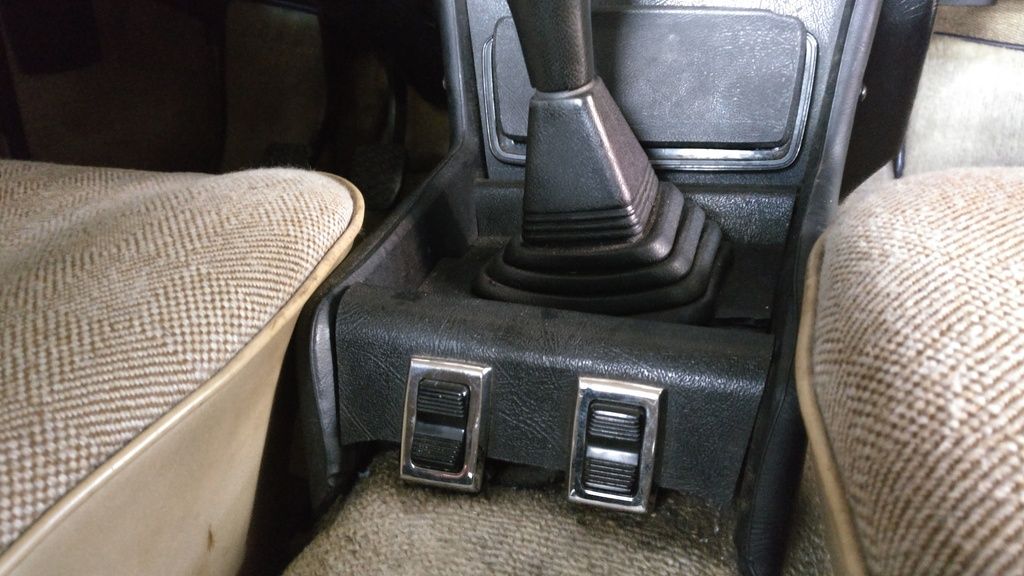
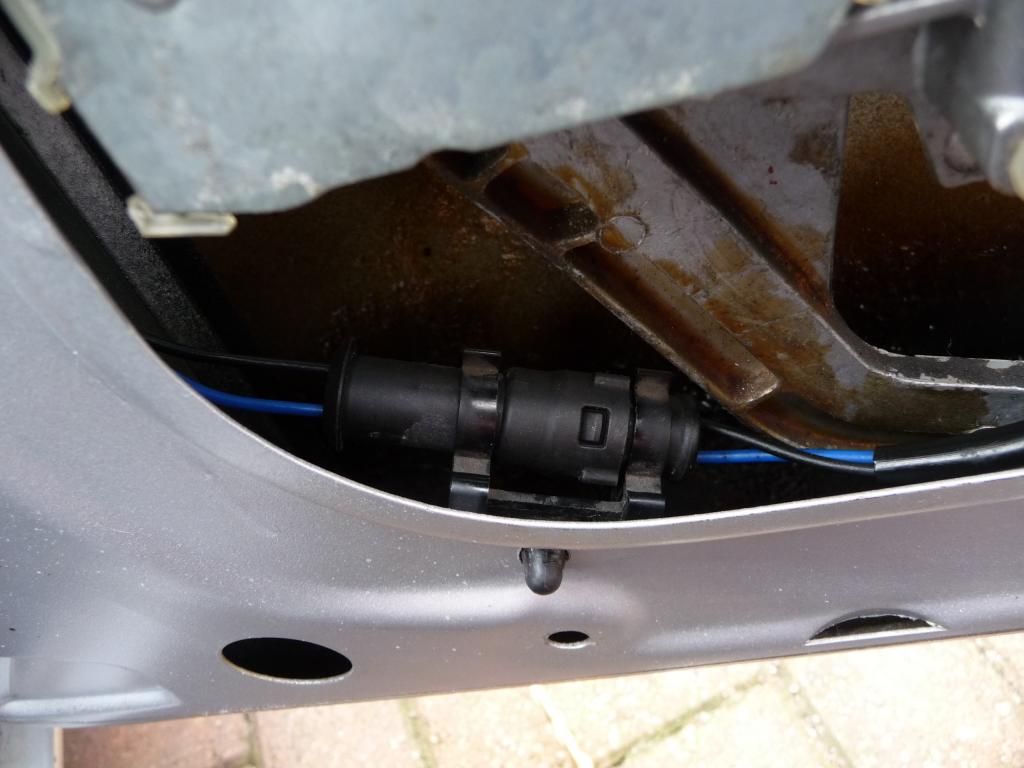
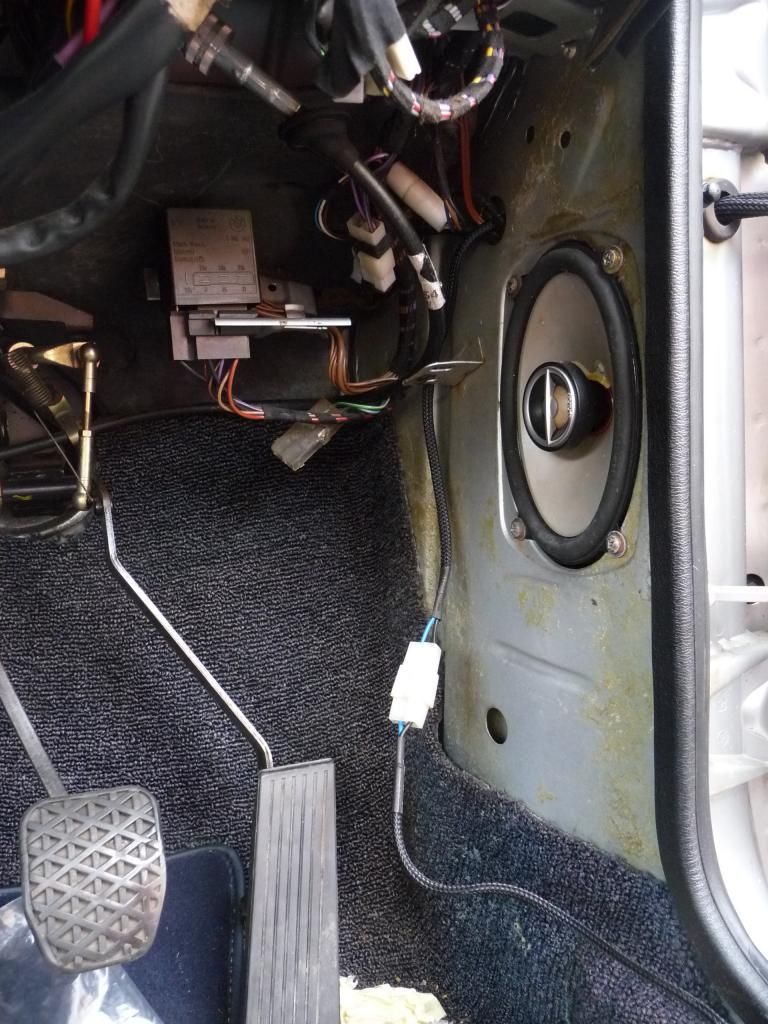
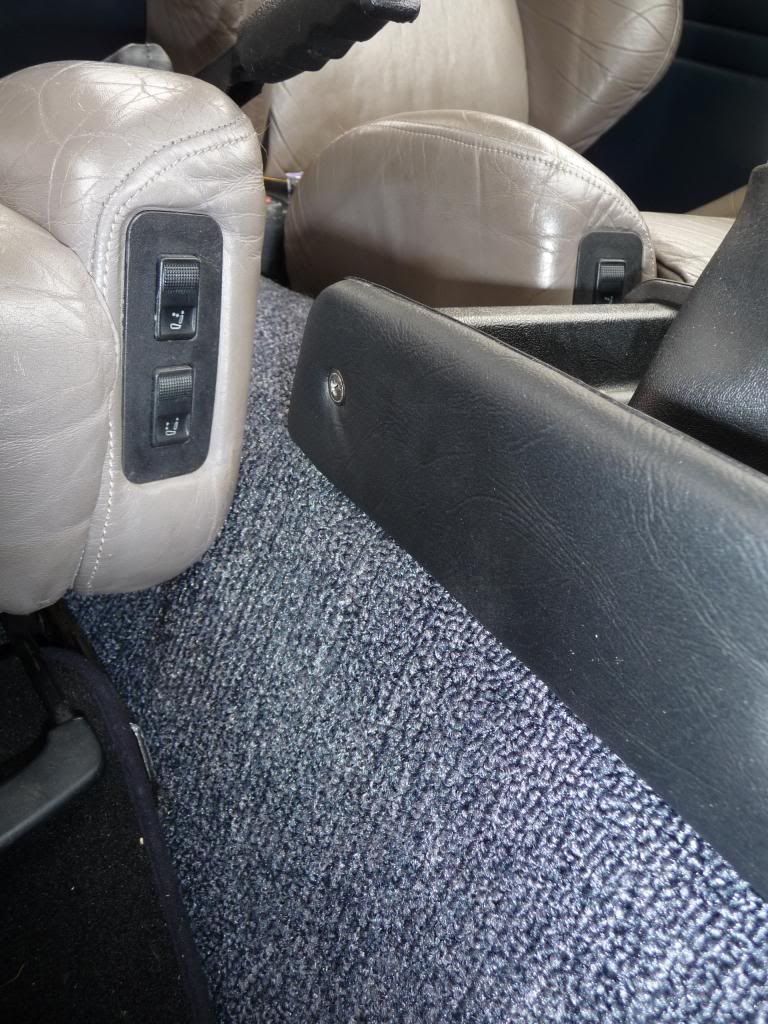
My electric seats had a well placed surplus switch, so seeing as the plug was doing nothing under the seat, they're all fused already, and whilst I salvaged the E28 switches, I couldn't find a place for them (yet) so figured I'd make up looms for each side to just connect to them. It sounds an odd place, but it's easy to reach. The conector represents the limit of the E28 door loom wiring I salvaged, but also is where i might hook in a one touch module so I just have to hit the button for them to either open all the way or close.
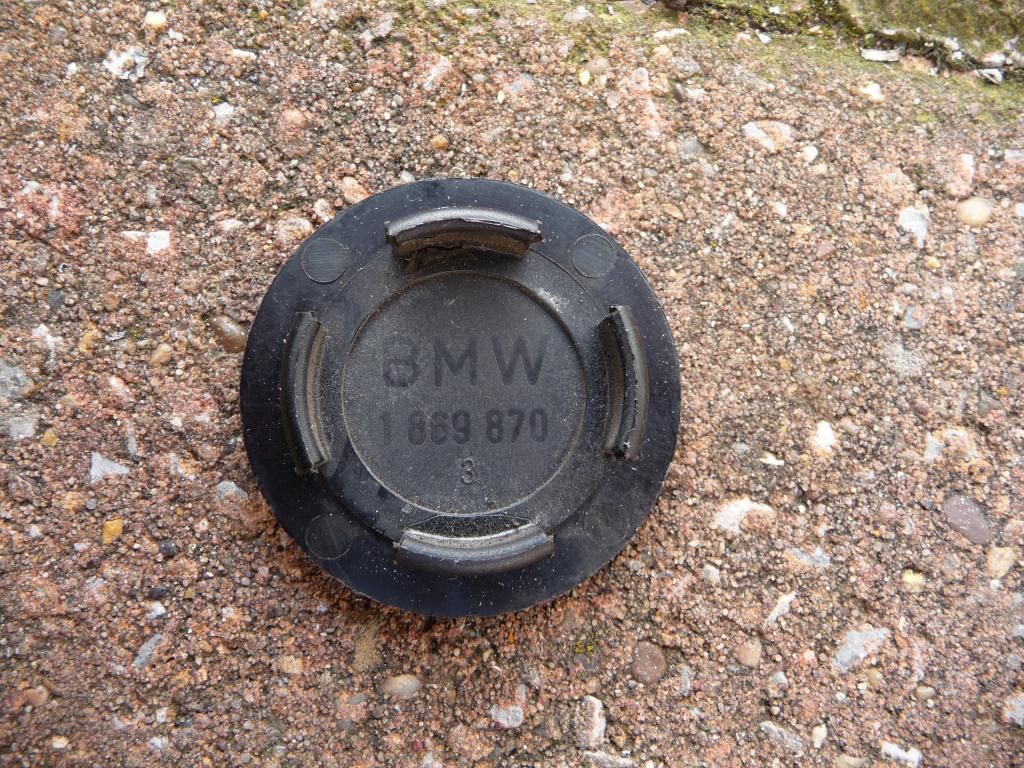
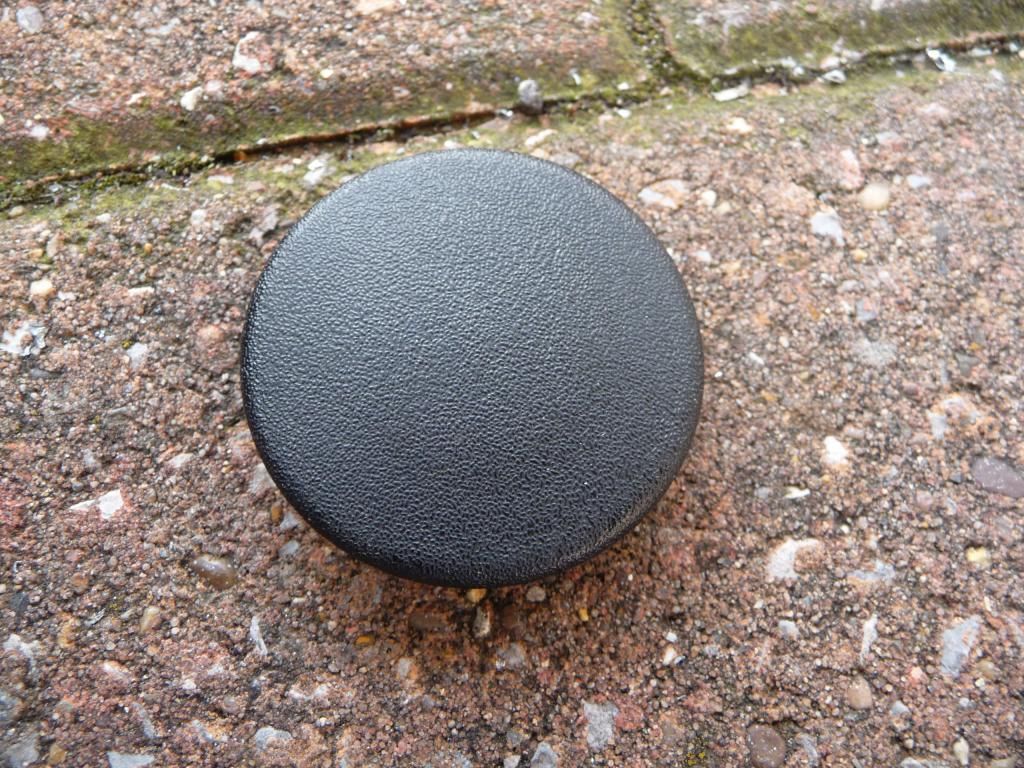
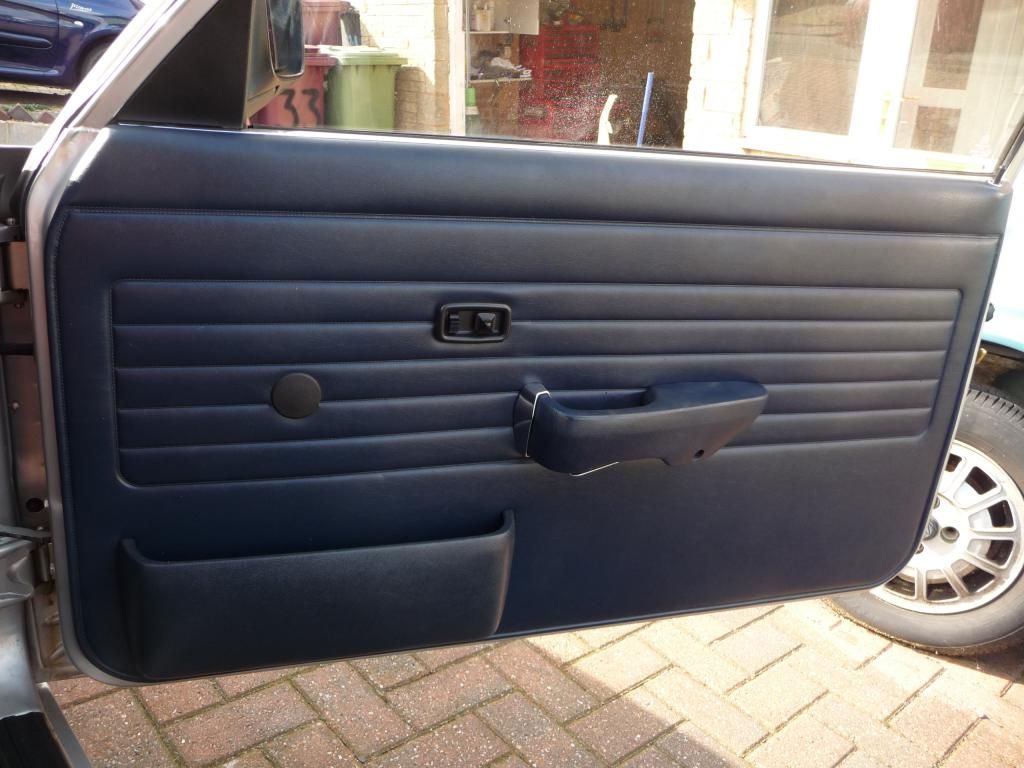
As for the hole in the door card, I saved the E28 door blanks, so fitted those, and then it was all done!