Thanks to E21noob post I finally recovered my lost story about this 315. You are welcome to enjoy story from beginning and I will put some update on this car.
So let’s start from beginning!
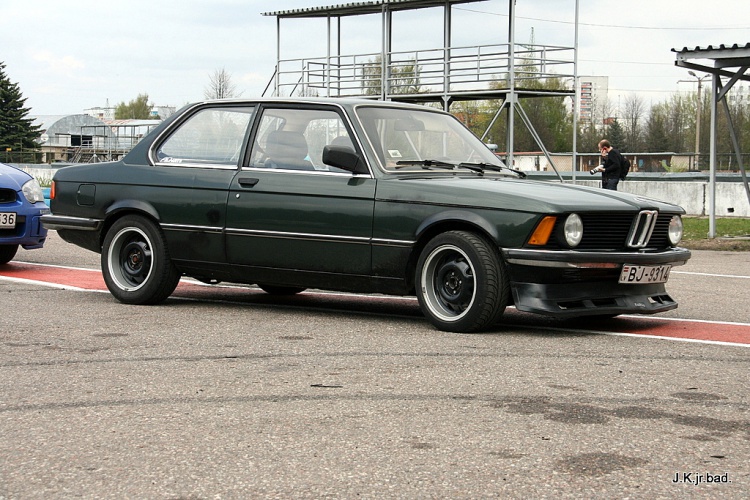
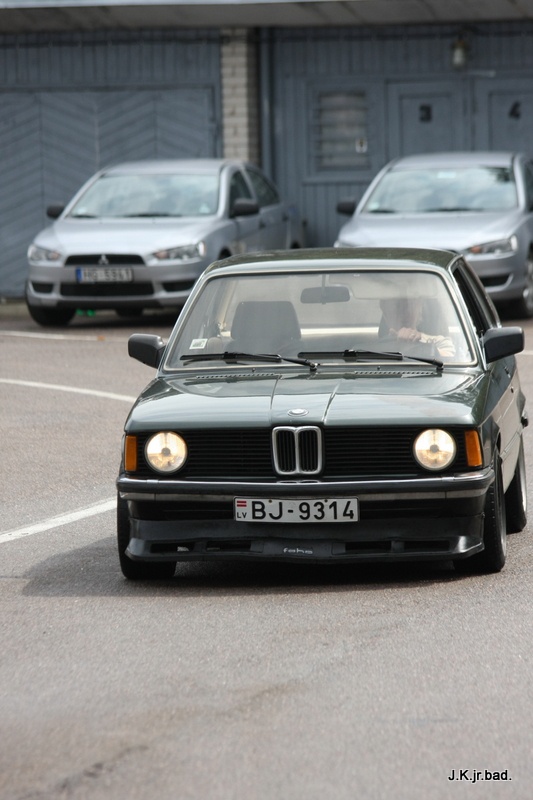
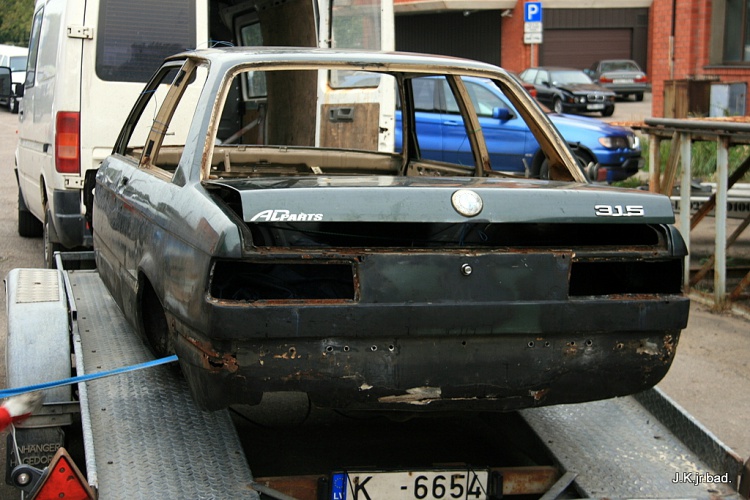
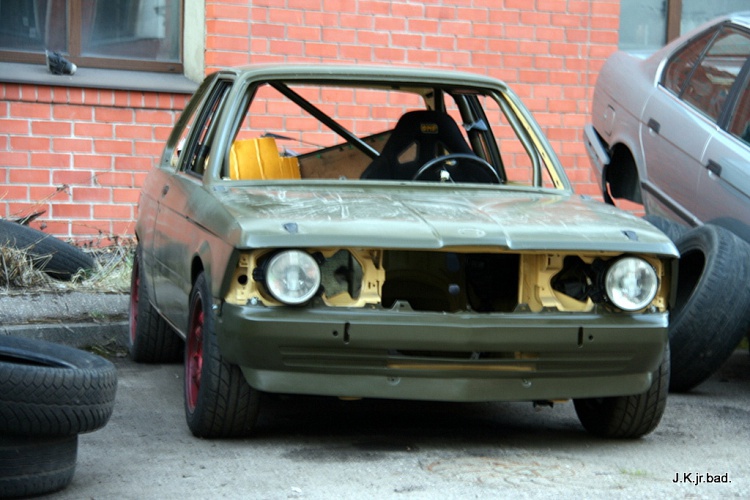
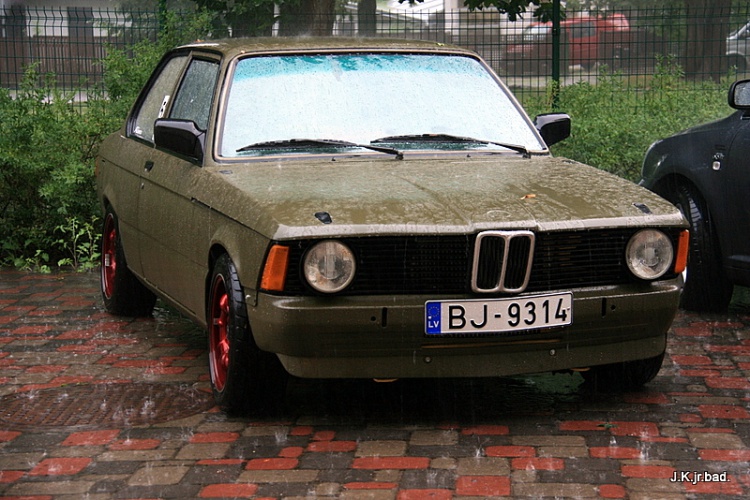
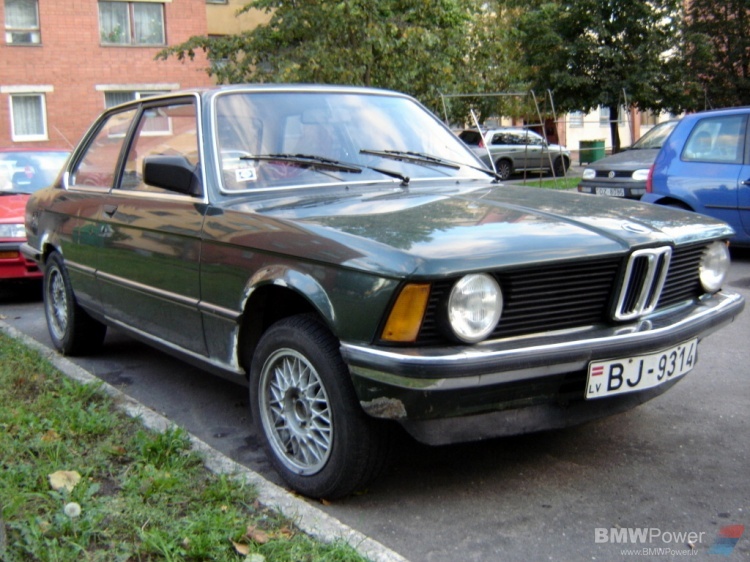
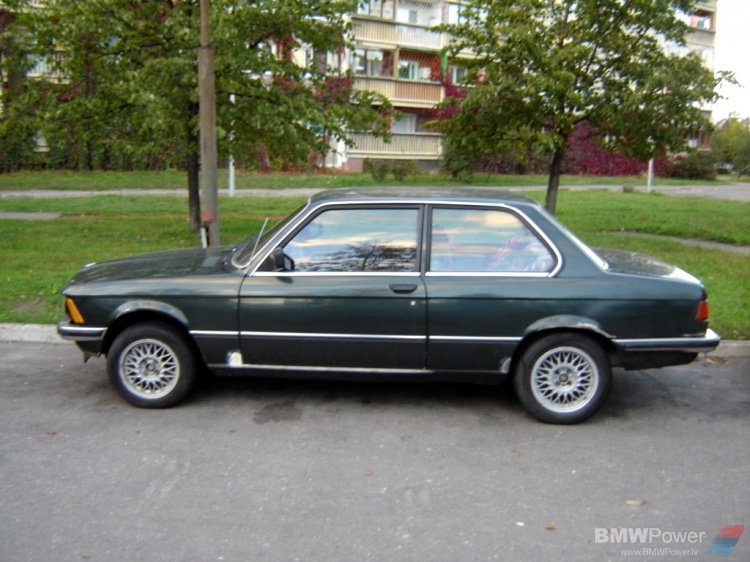
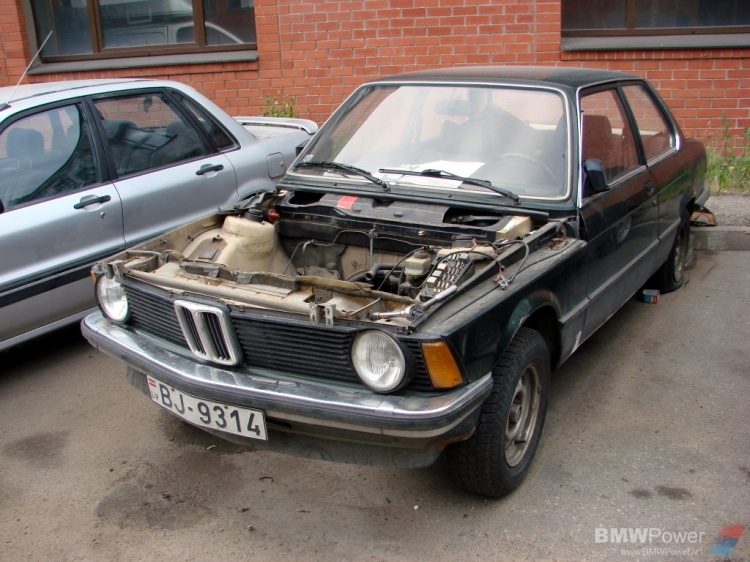
This car was bought in 2006 when I got tired of waiting for my 323 get back from repair shop. My hands wanted to do something and they helped me to search on local advertisement web site to find this British green recolored 315.
First intentions were to “build” something that could be used for trackdays. But to keep it handle good I would be sticking to 4 cylinders.
In my original post this all was called: “Several year sex with 315”. Perhaps in English it sounds impolite but in Latvian which is my language it would mean that there was no easy day with this car.
So my hands helped me to find 315 in pretty good condition + it had fresh MOT sticker!
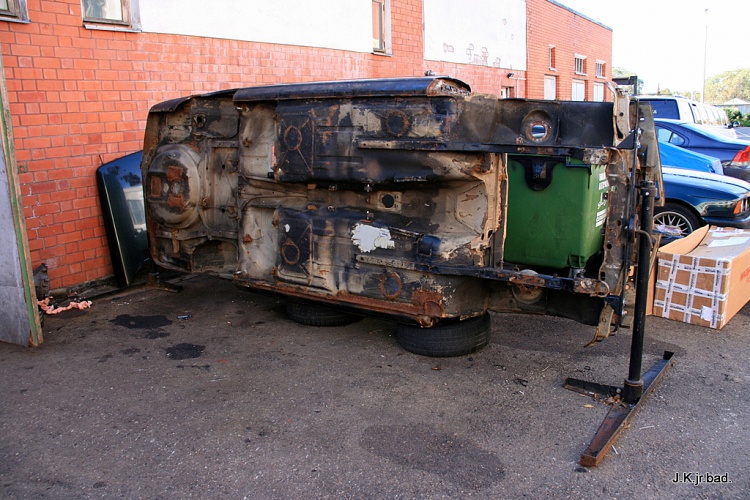
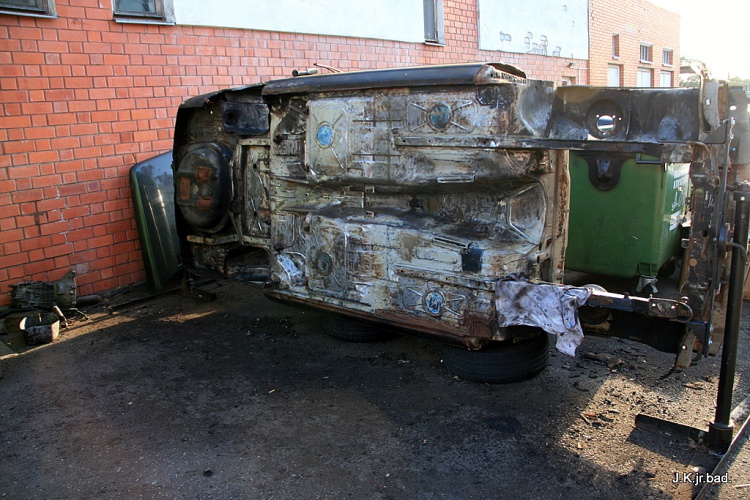
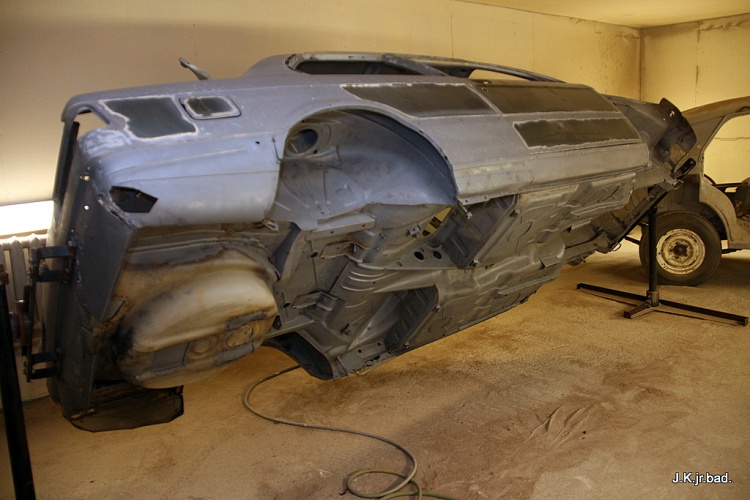
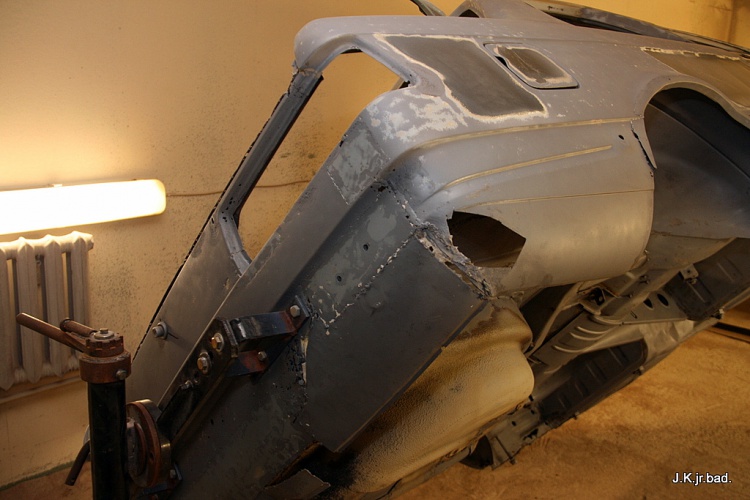
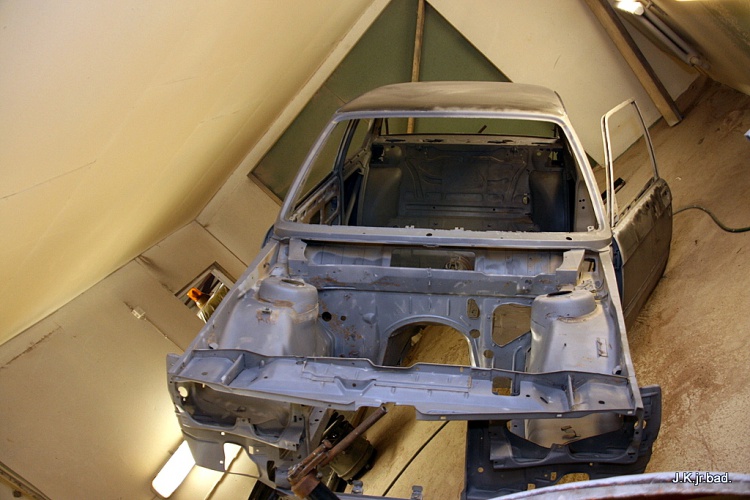
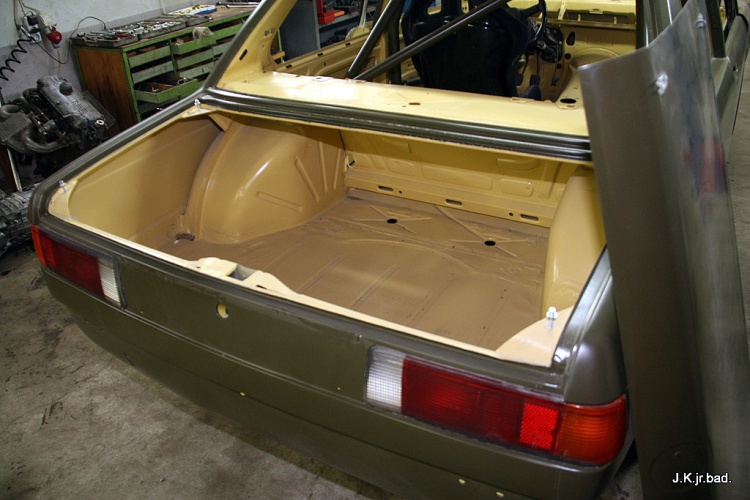
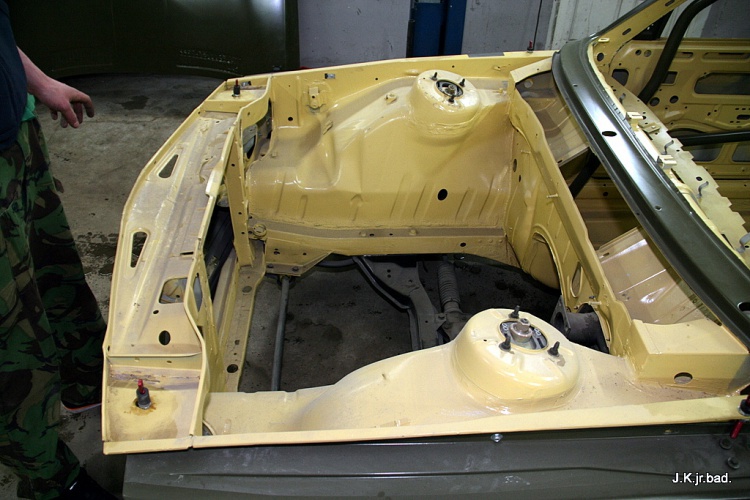
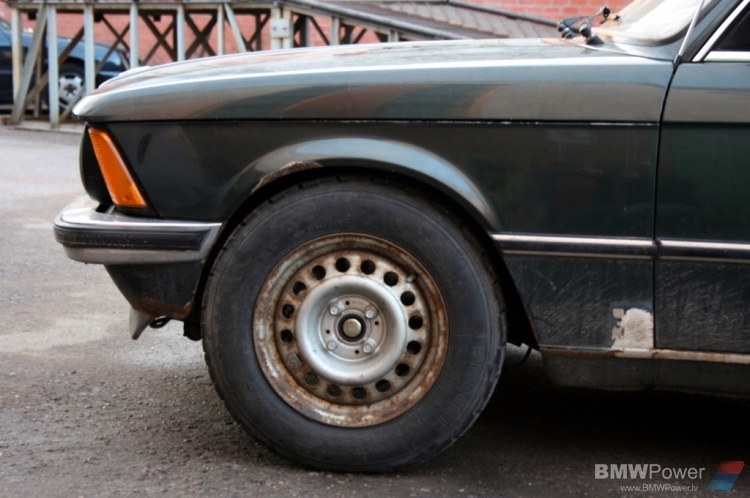
At first look car was pretty good.
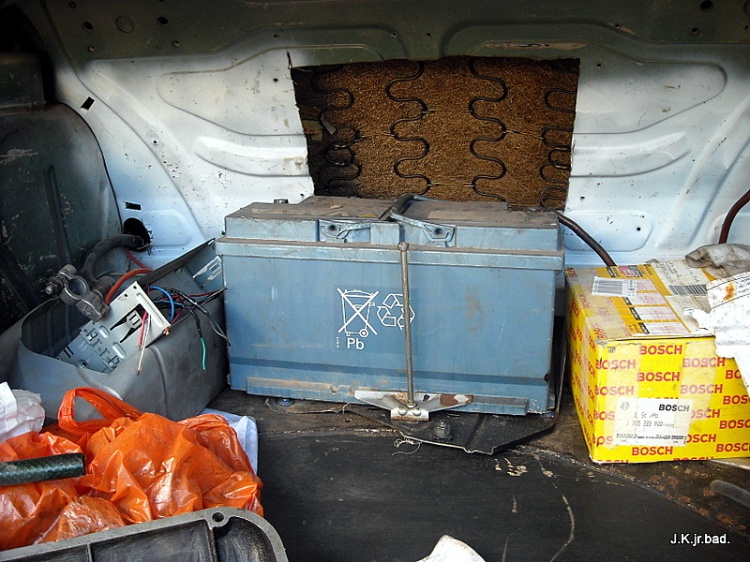
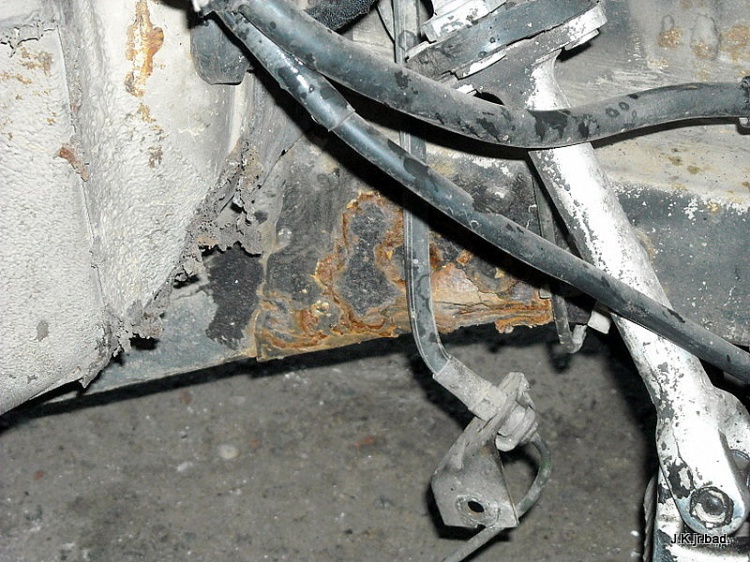
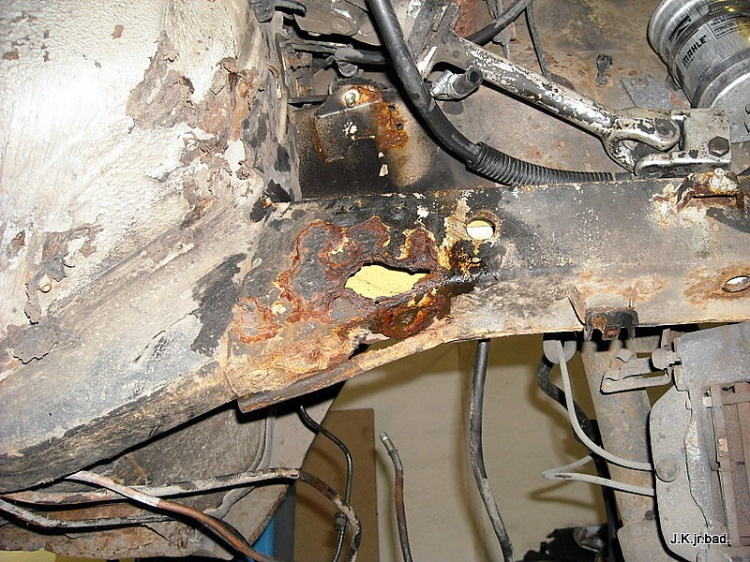
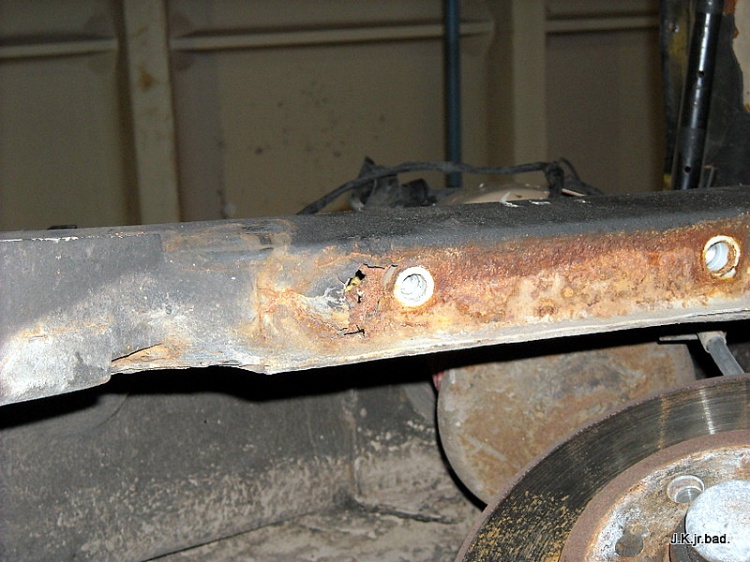
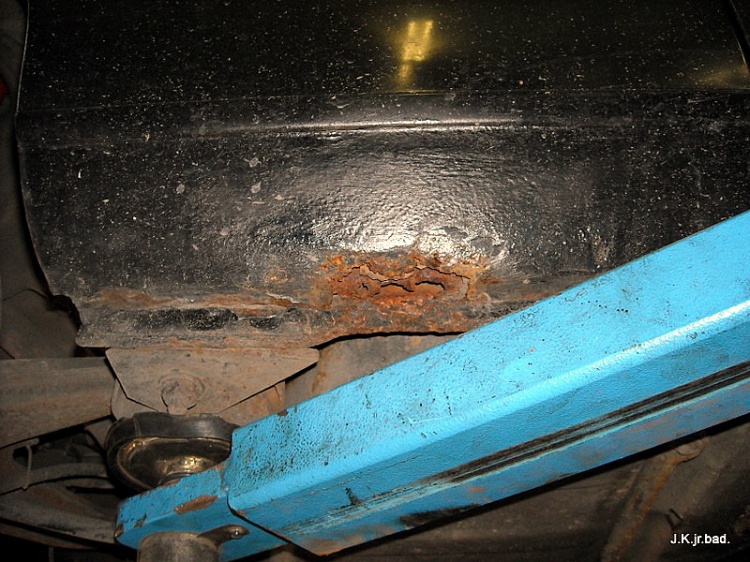
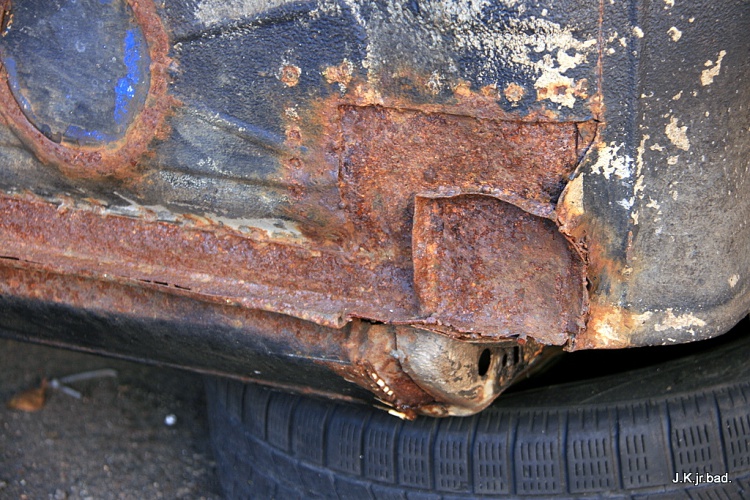
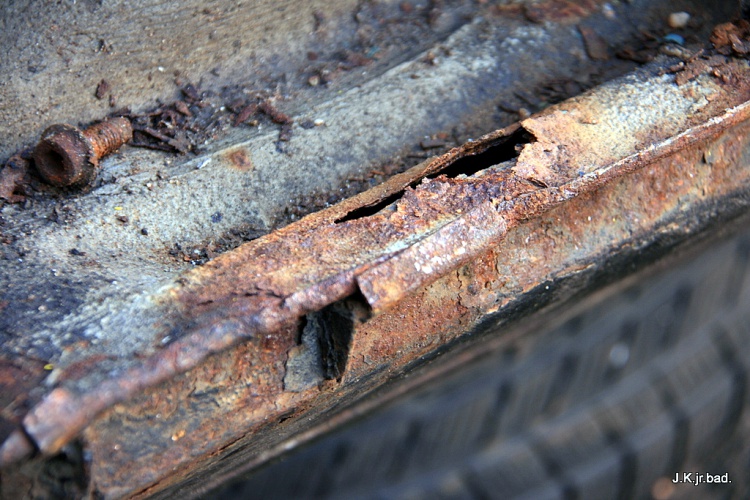
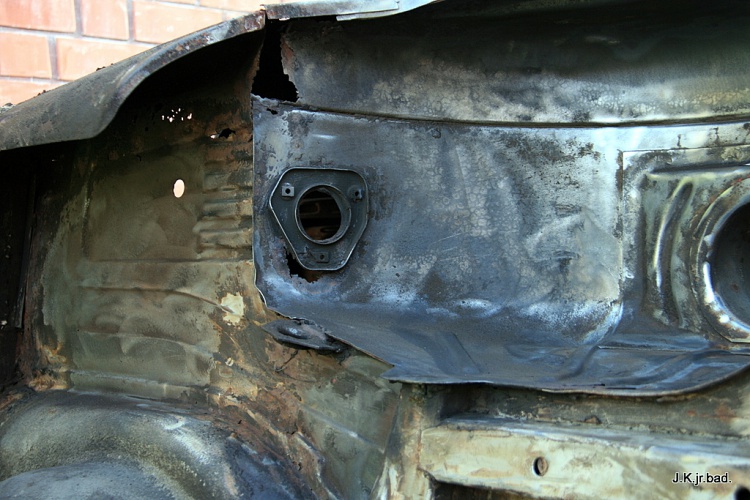
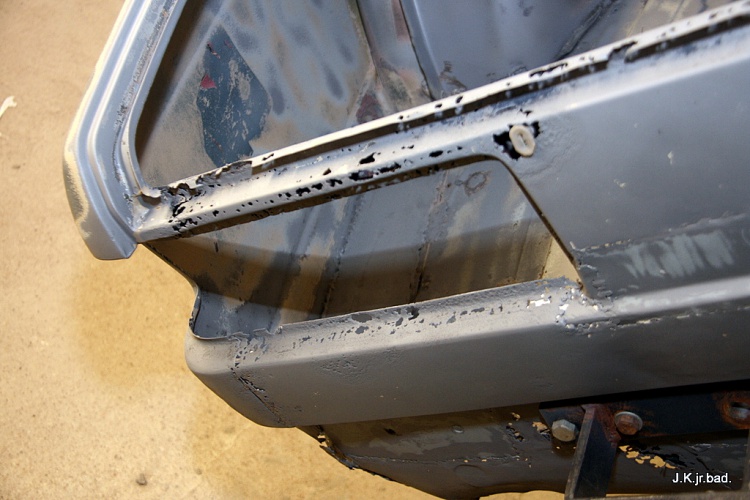
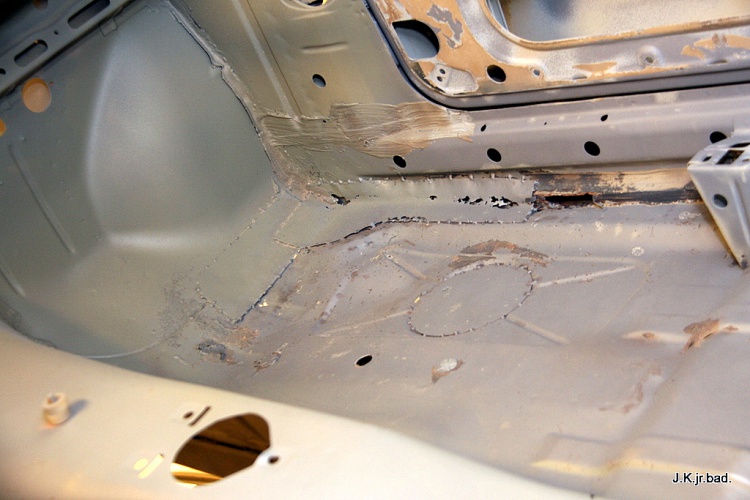
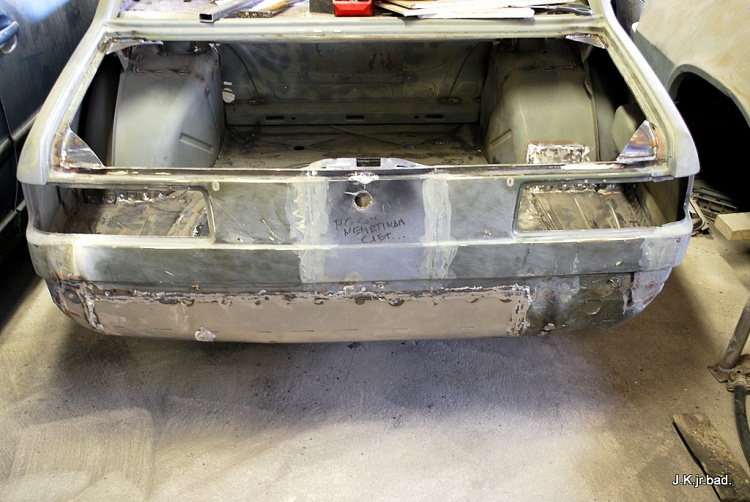
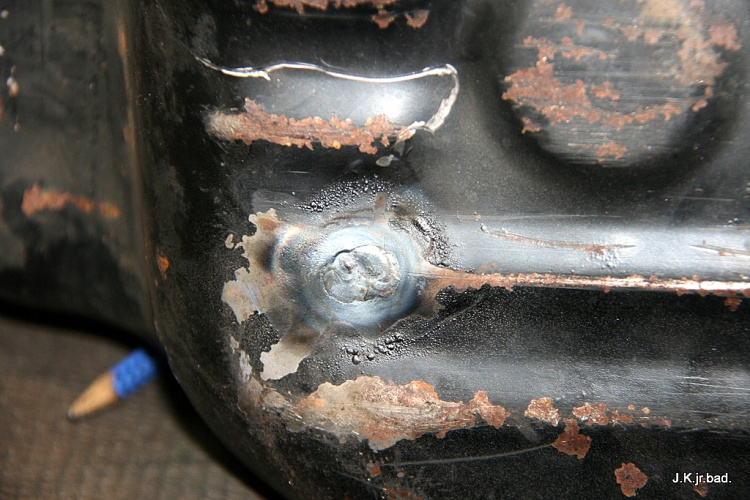
No signs of major rust.
Previous owner was already doing something with car.
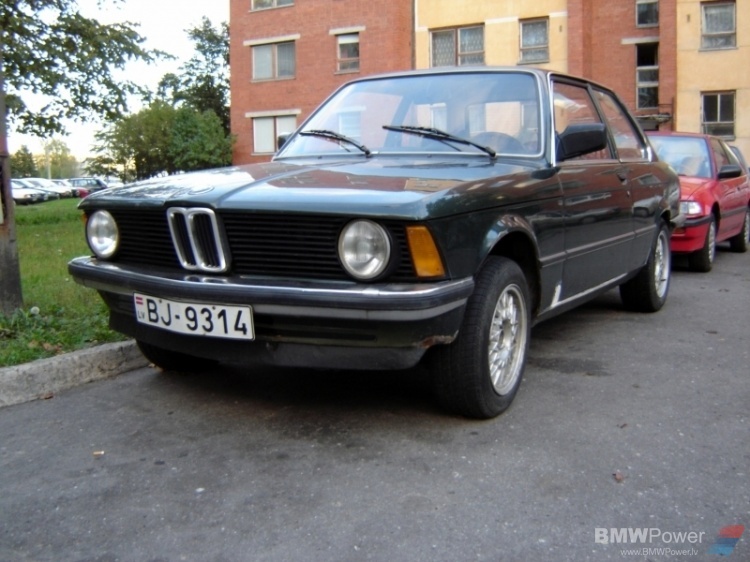
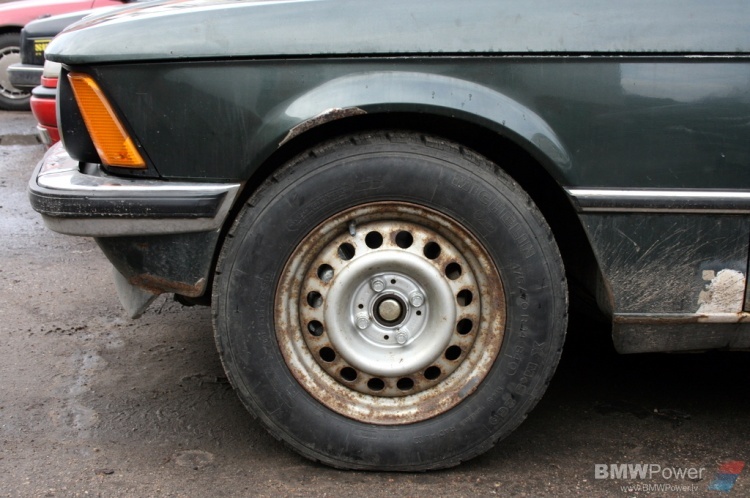
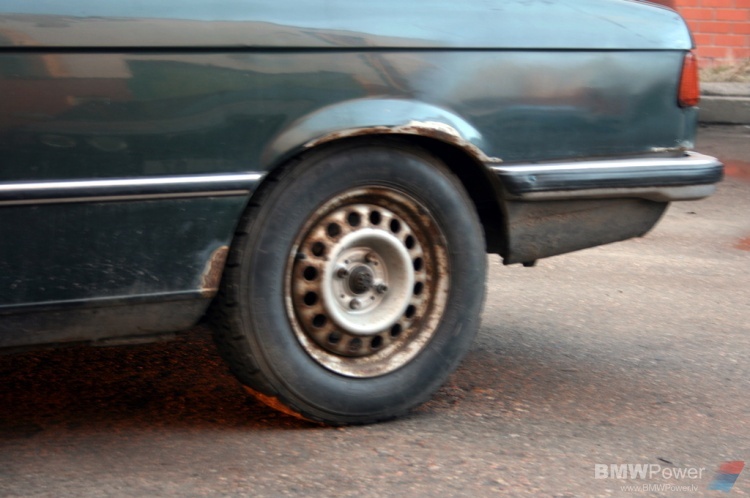
When I bought car was equipped with BBS’s. After sometime they were traded for original e21 Alpina’ s. And when we made a deal I found out that actually this car had R14 rims at the front and R15 at the back.
Helo! I’m’ m10B16 carbu!
Looks like previous owner liked window sill and floor paint.
After looking at rear struts I knew that this will be my new car. Paid ~500Eur and now I had a 315!
Both sides perfect, I would say!
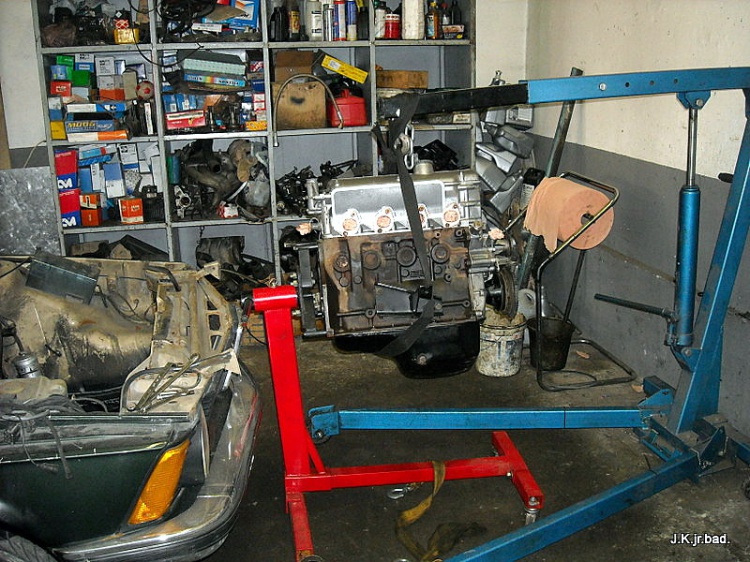
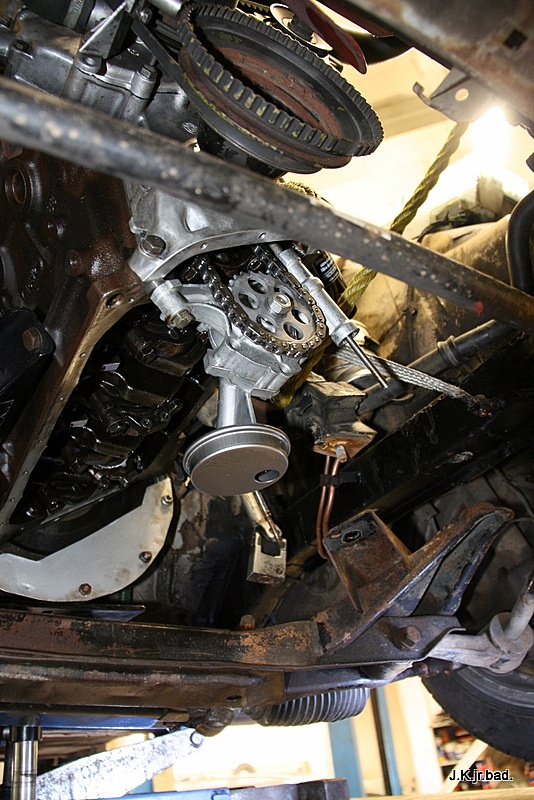
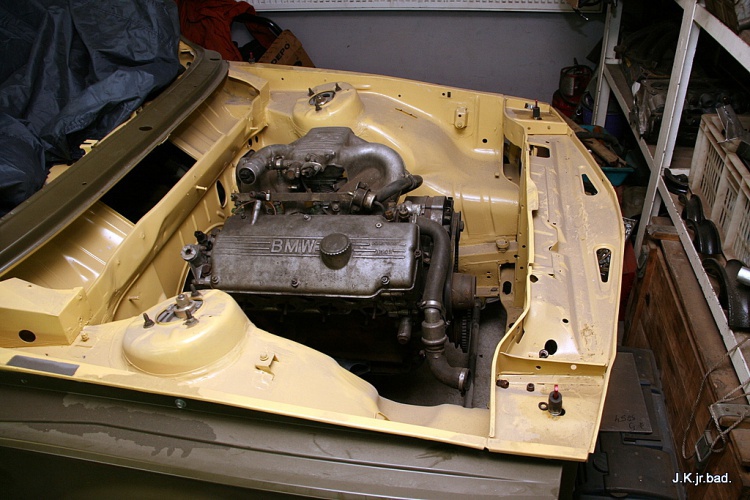
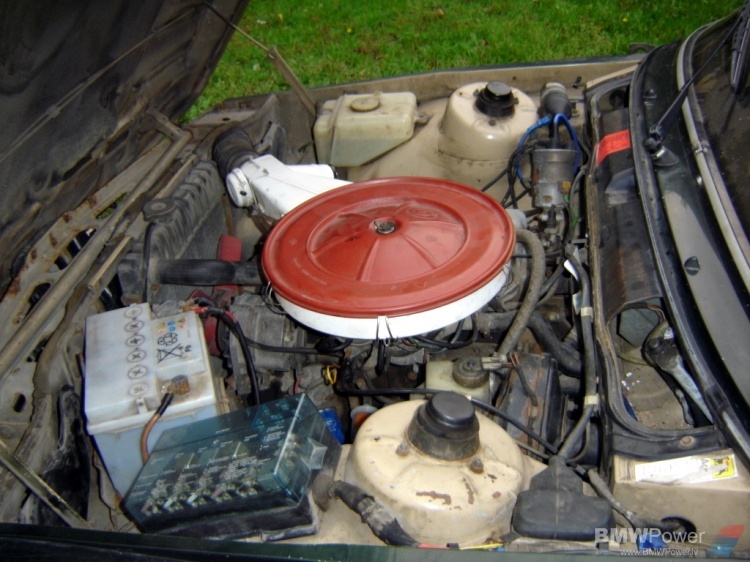
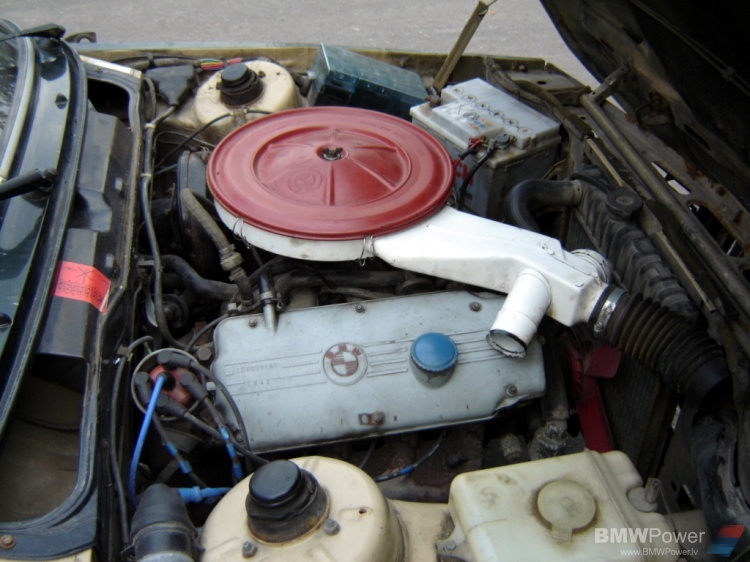
Engine
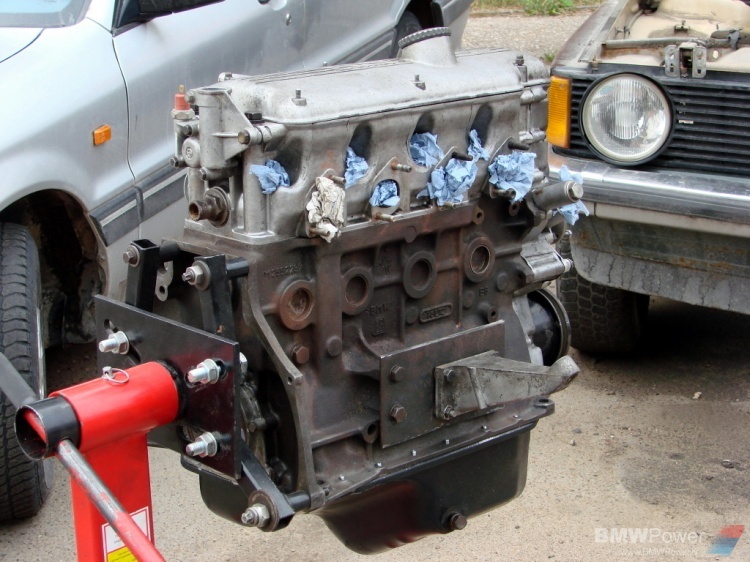
As 1.6L engine with no horsepower was not a good choice for trackday I with help of my hands went for a new search and tried to find impossible – m10b20. And after some moths I found one from 1976 e12 automatic fed through carburetor.
[
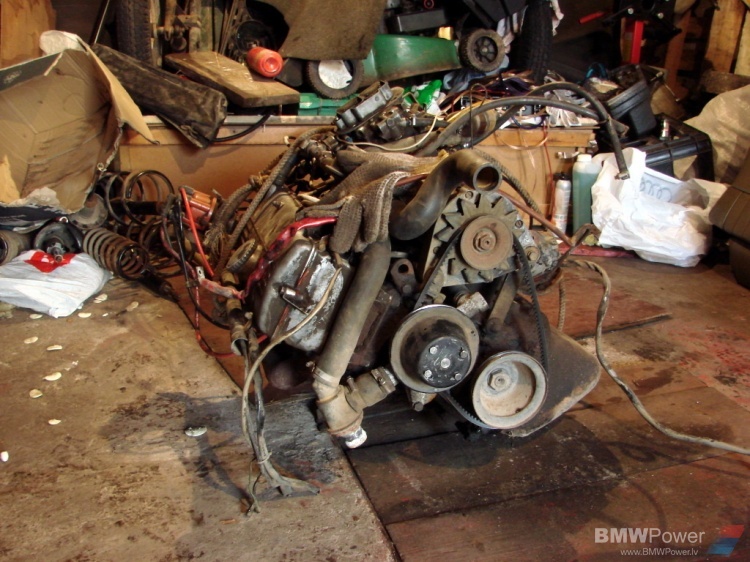
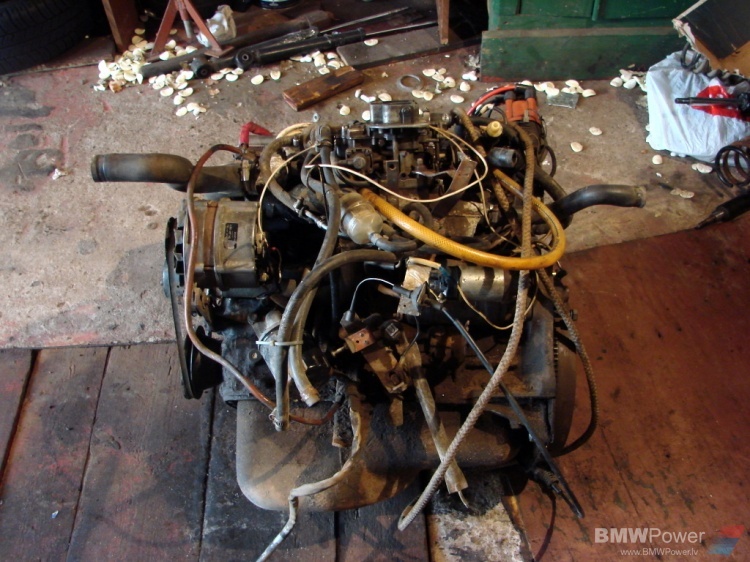
So let’ s take a look how this “cat in bag” looks
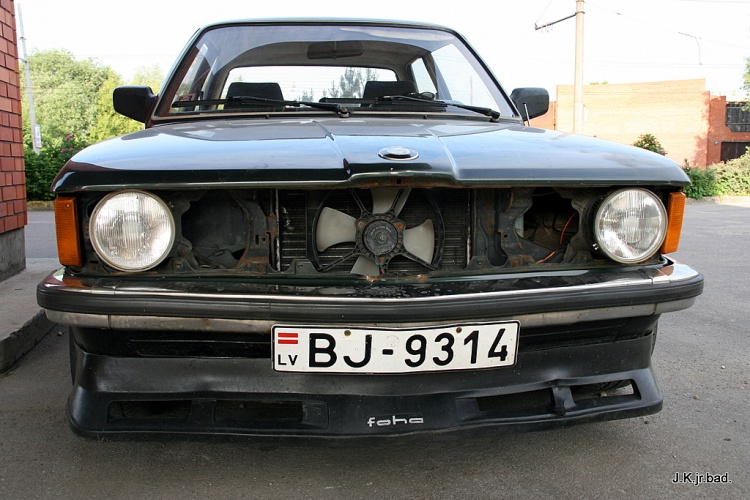
First impression was not so good…
Scratched all over…
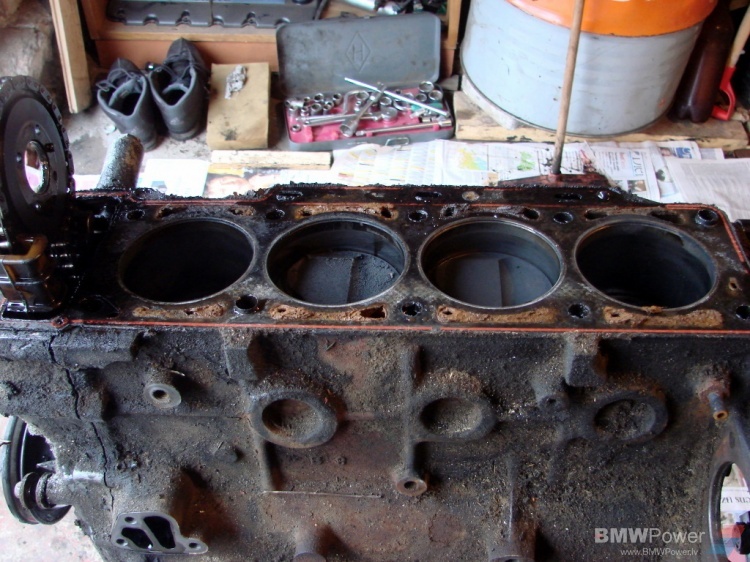
Looks like something is missing…
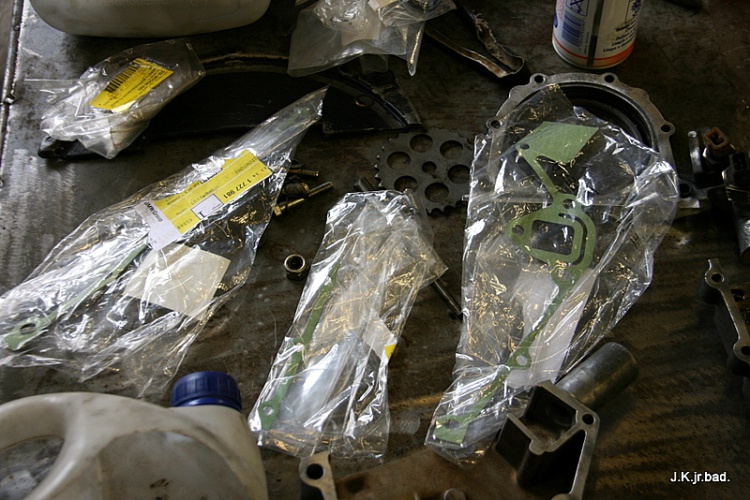
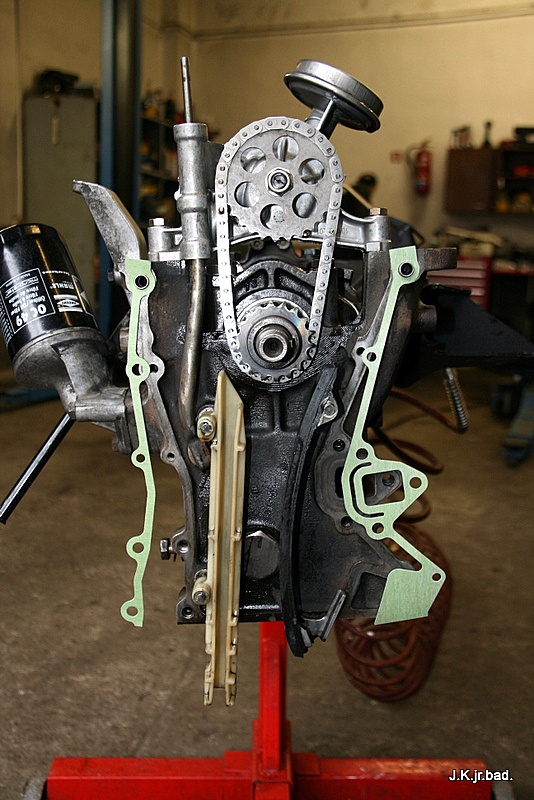
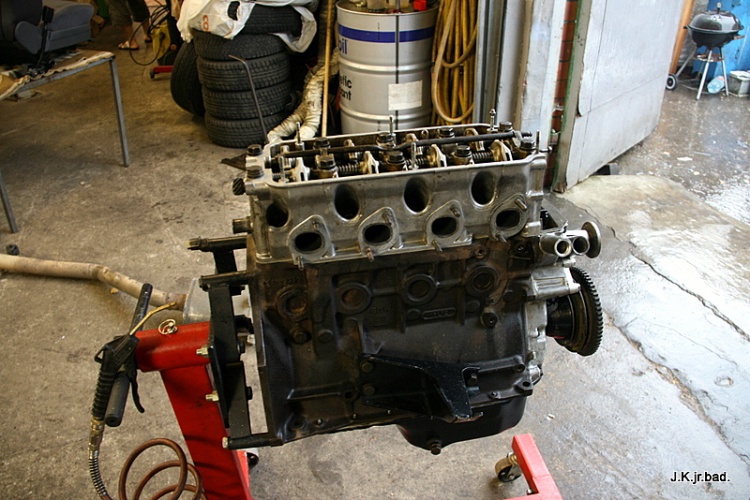
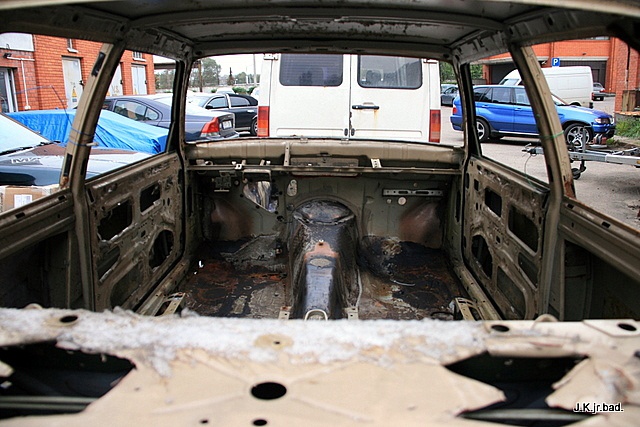
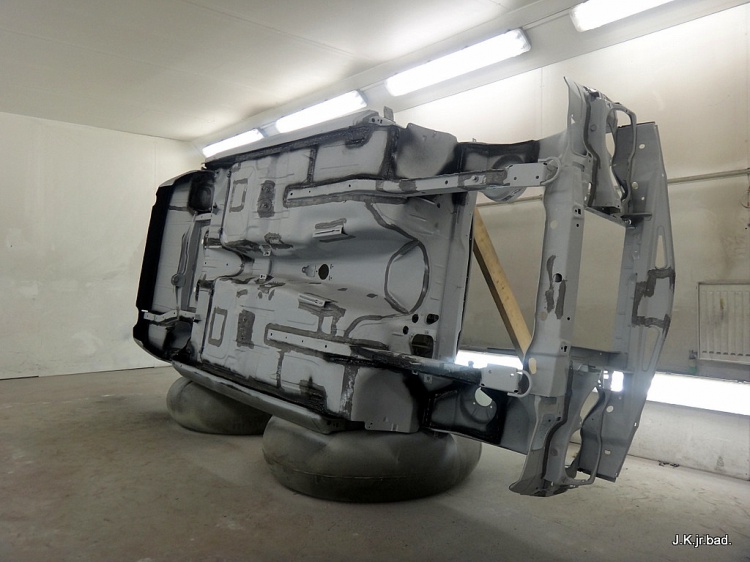
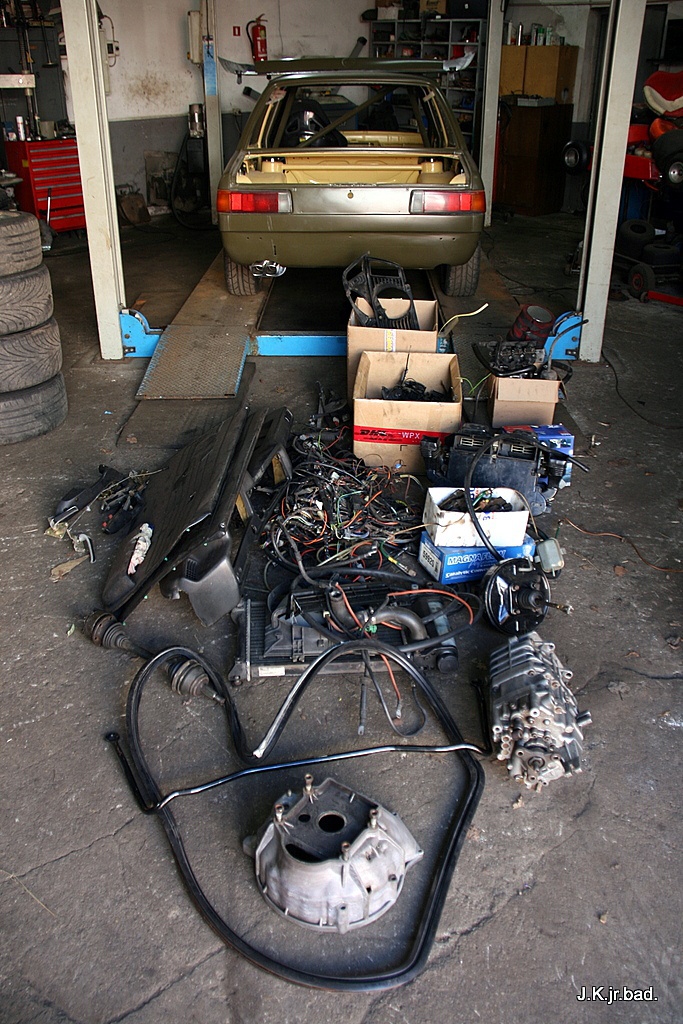
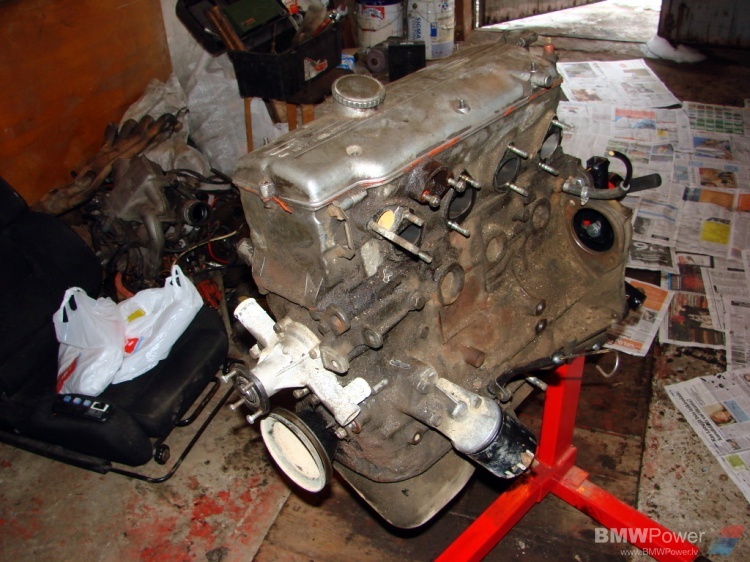
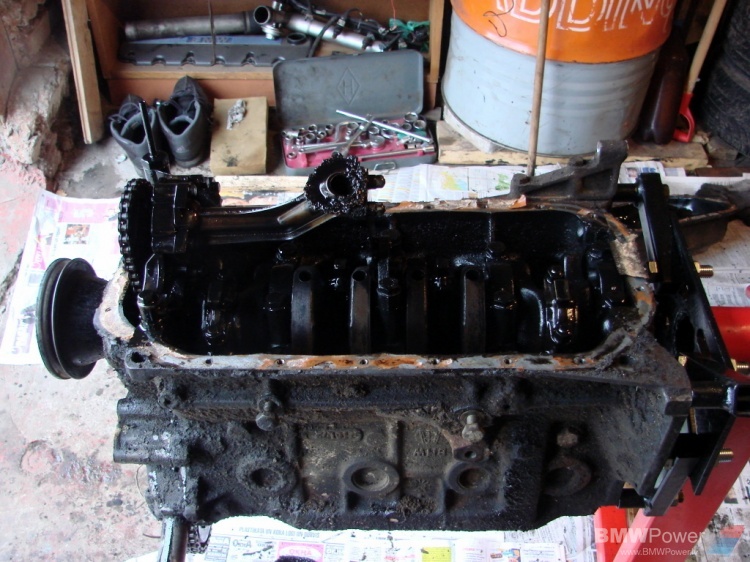
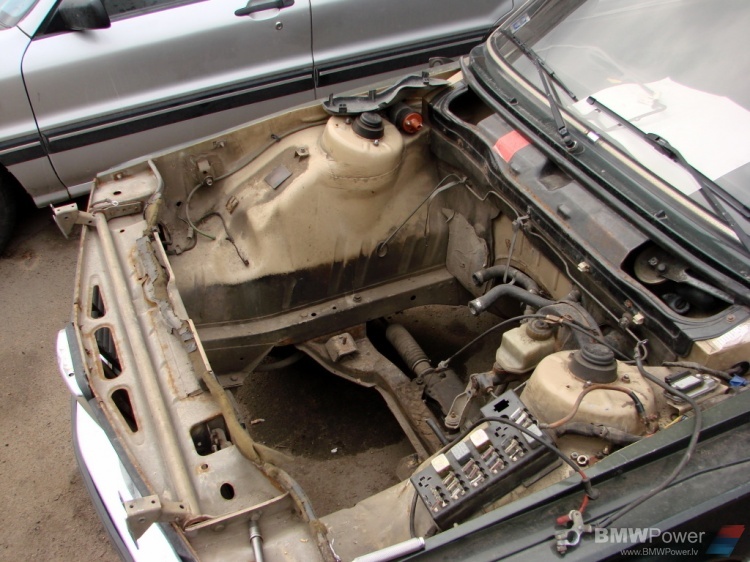
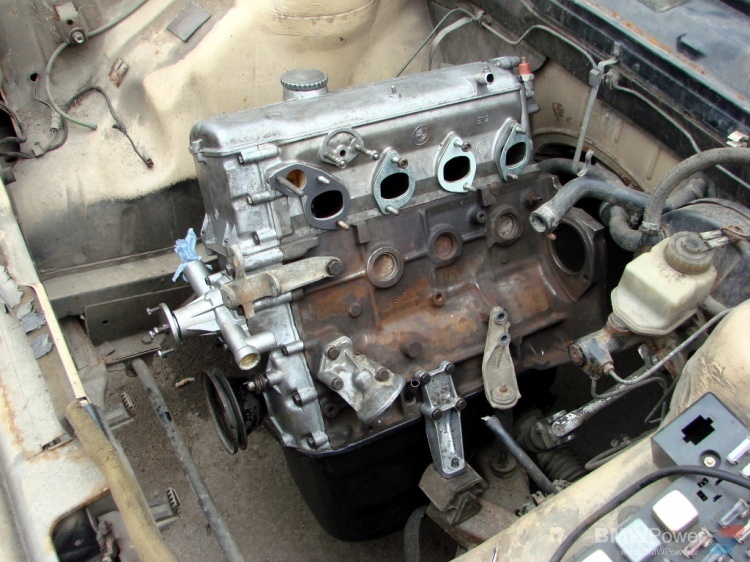
So everything was taken apart and washed through out
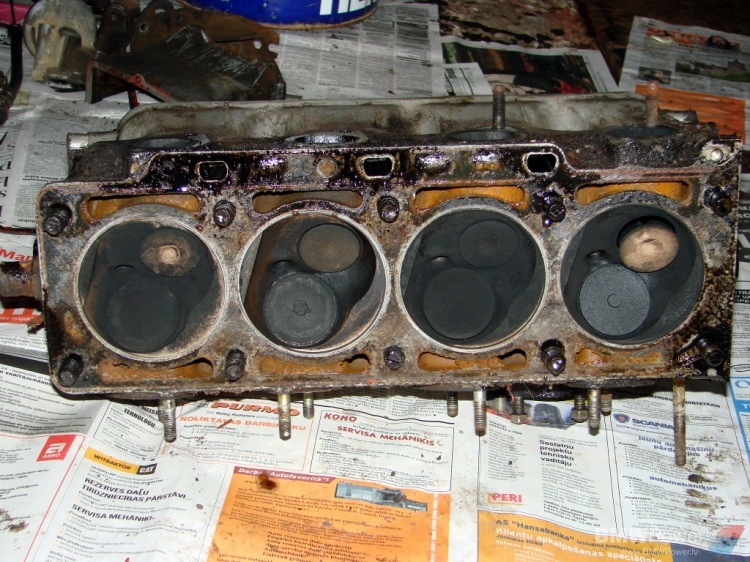
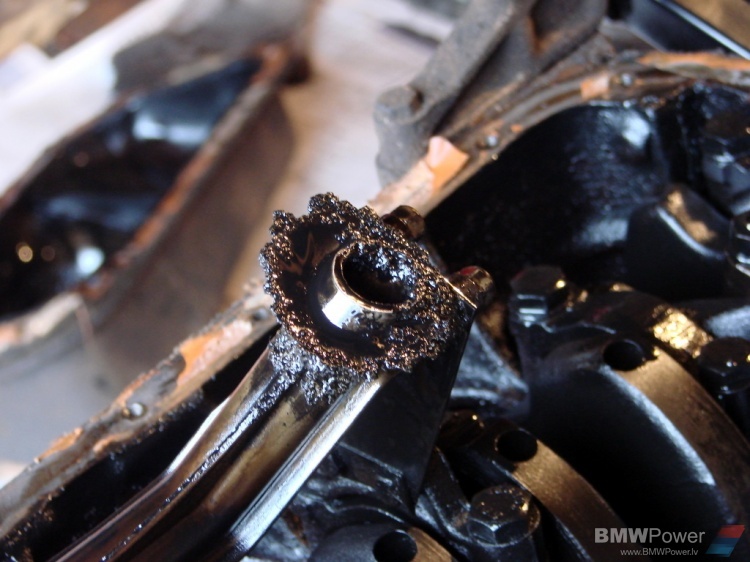
“Murshrooms”
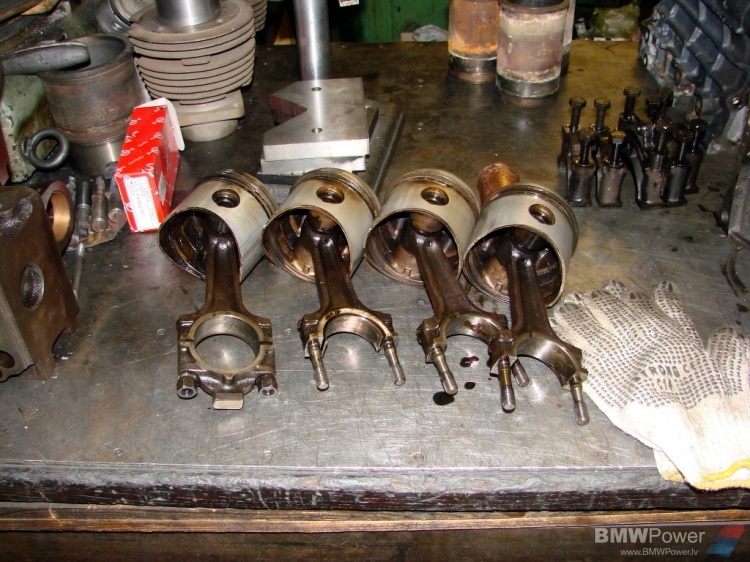
And also crankshaft looked fine
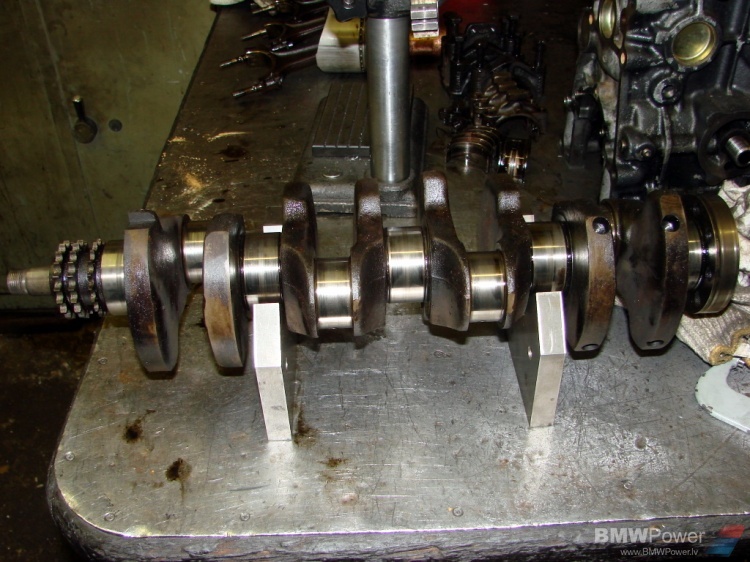
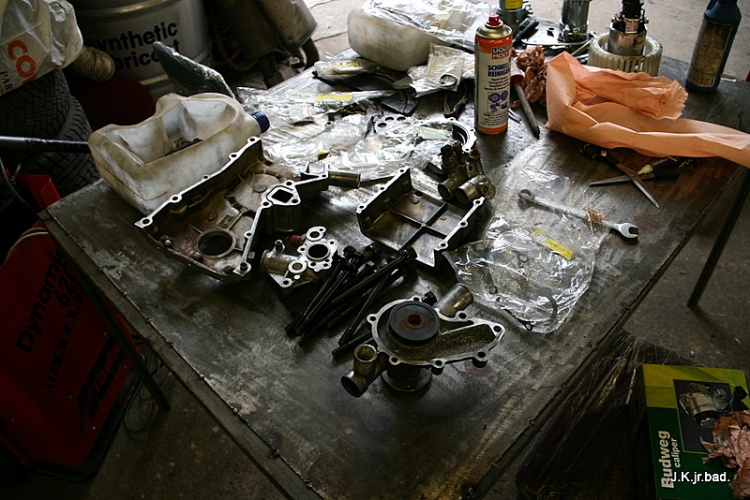
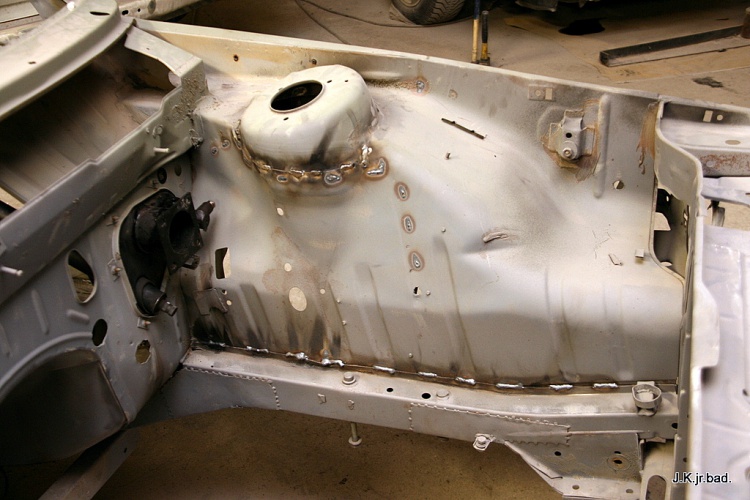
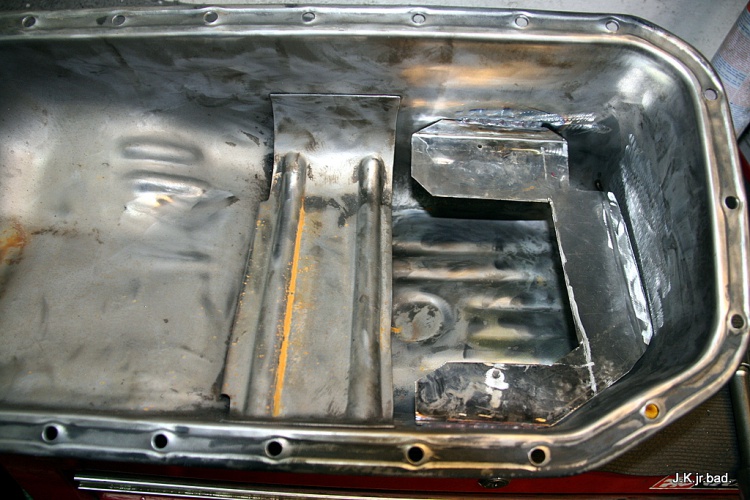
All kind of repairs were done to the engine but nothing serious
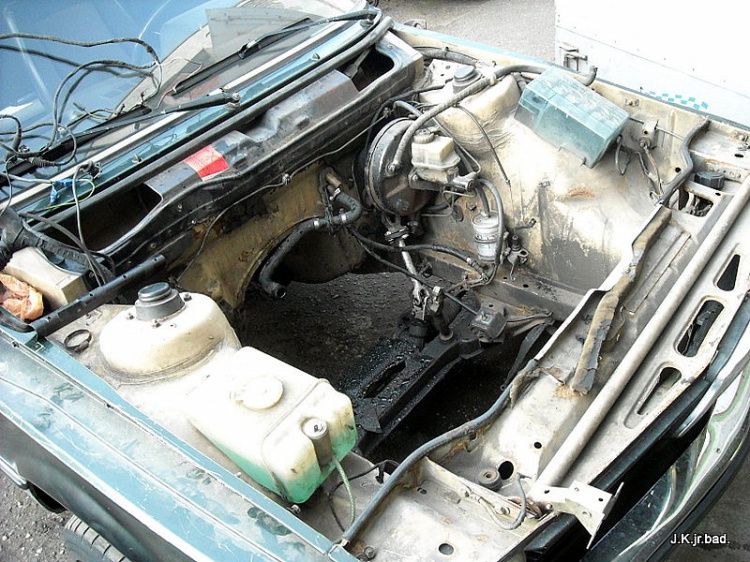
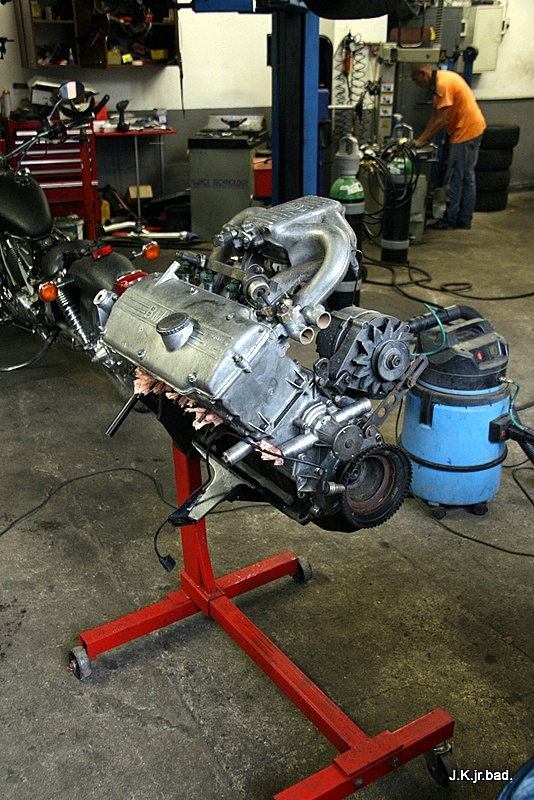
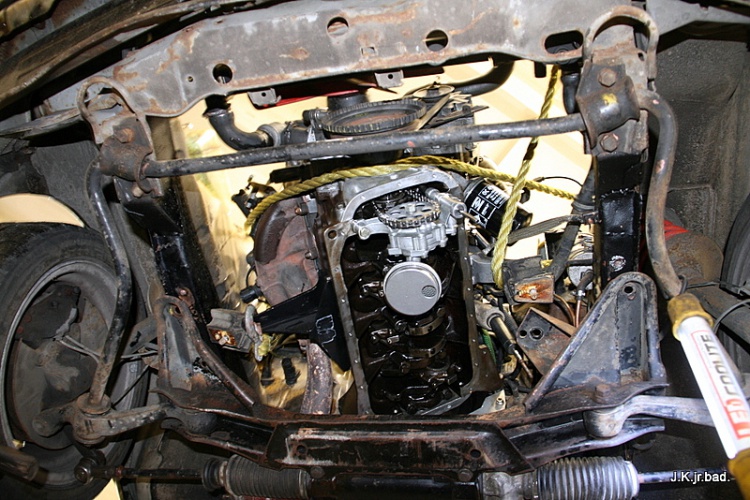
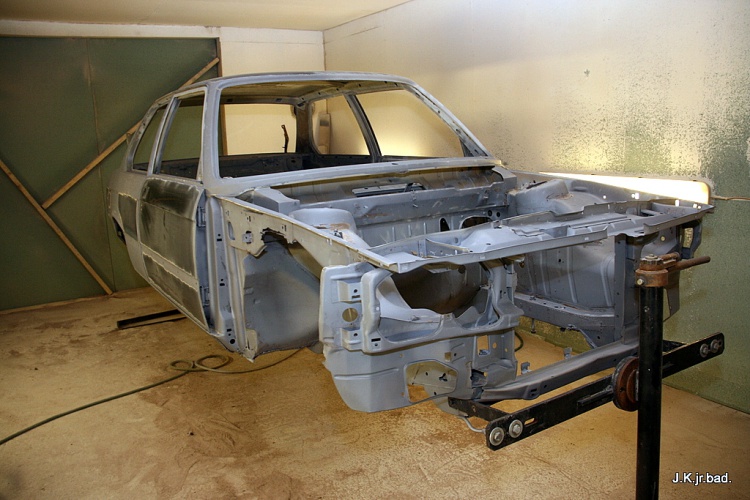
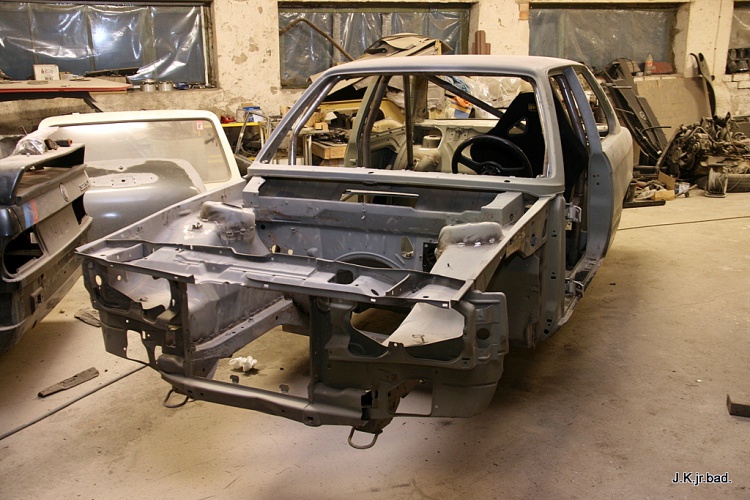
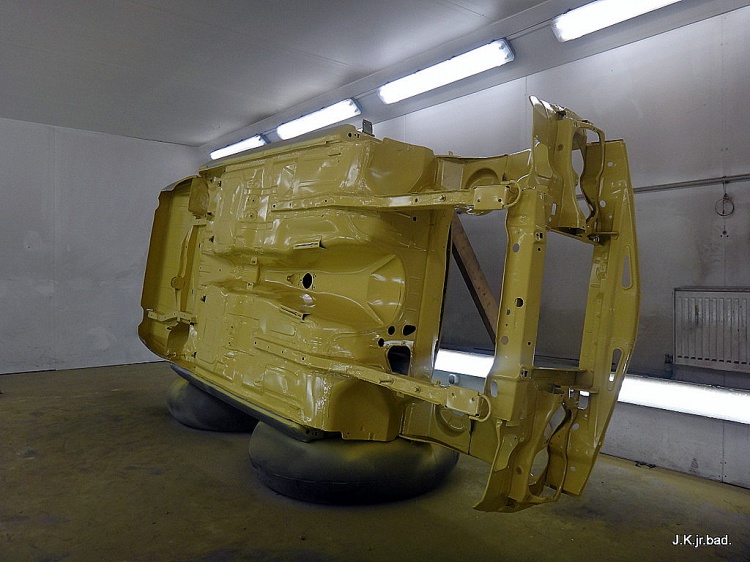
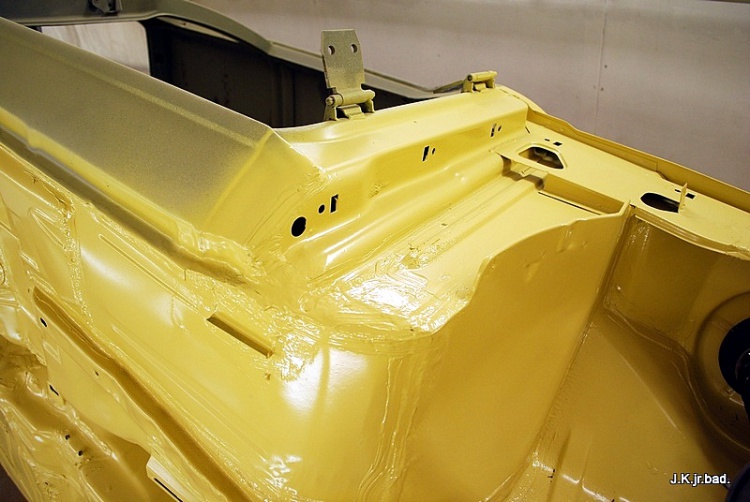
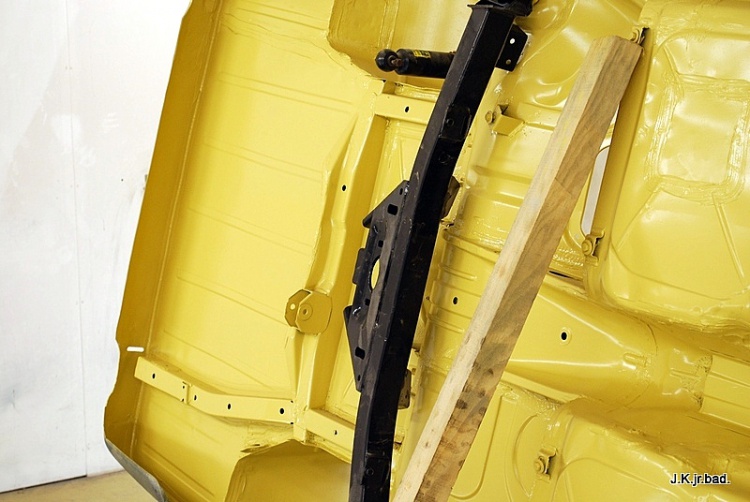
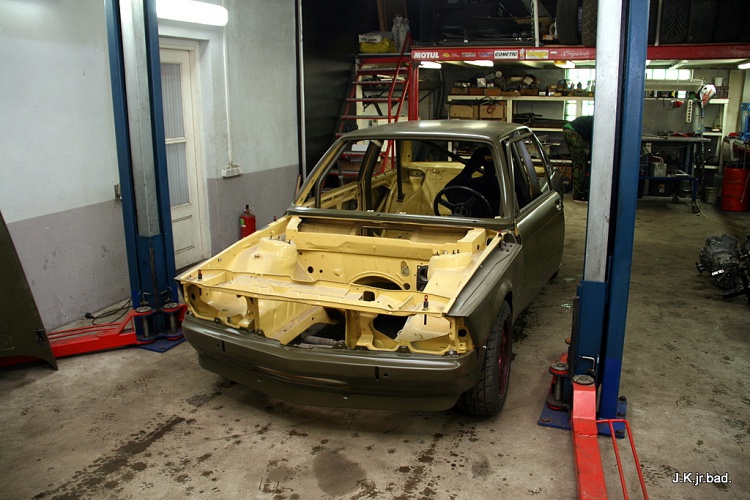
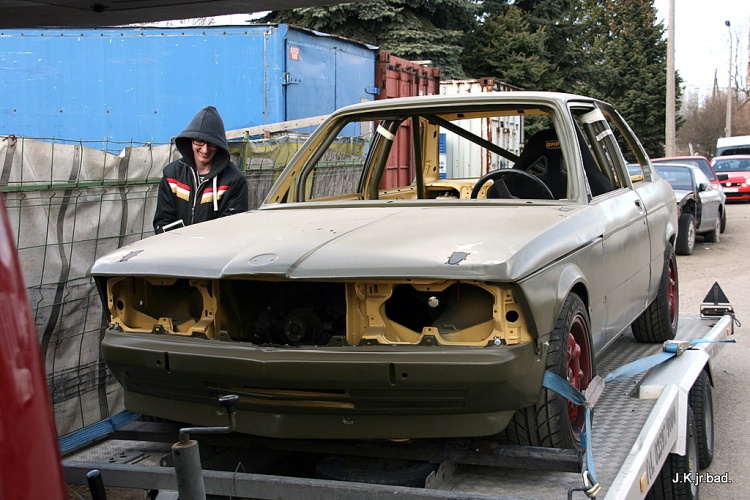
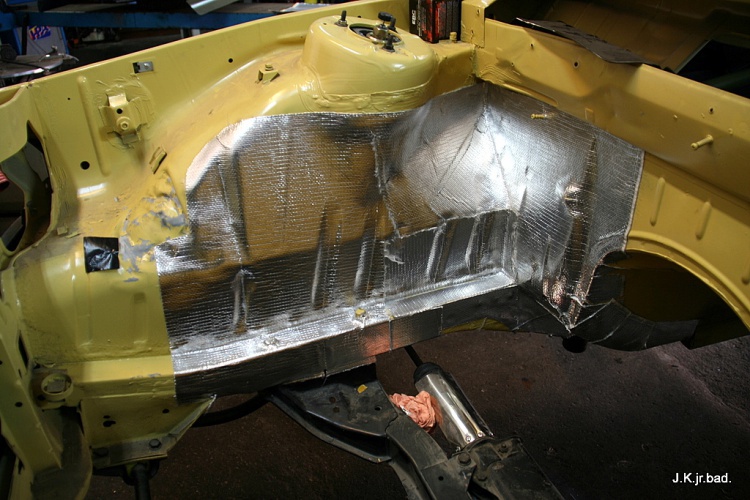
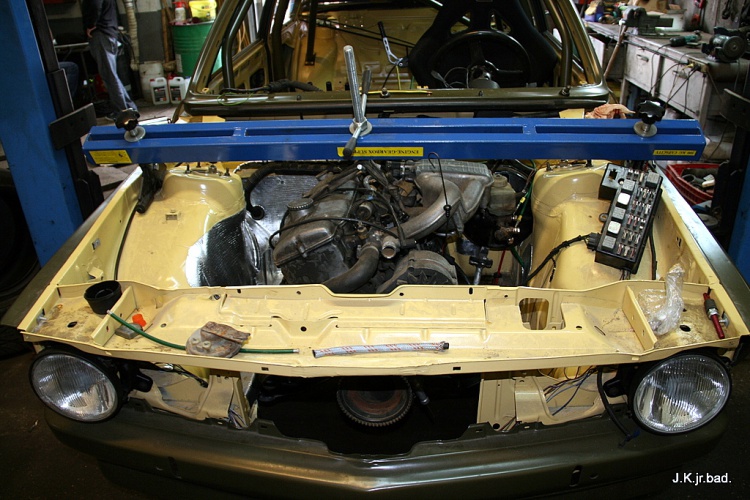
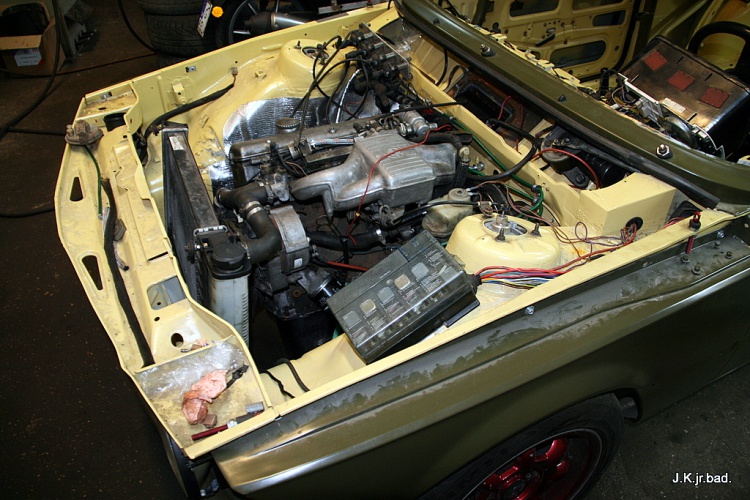
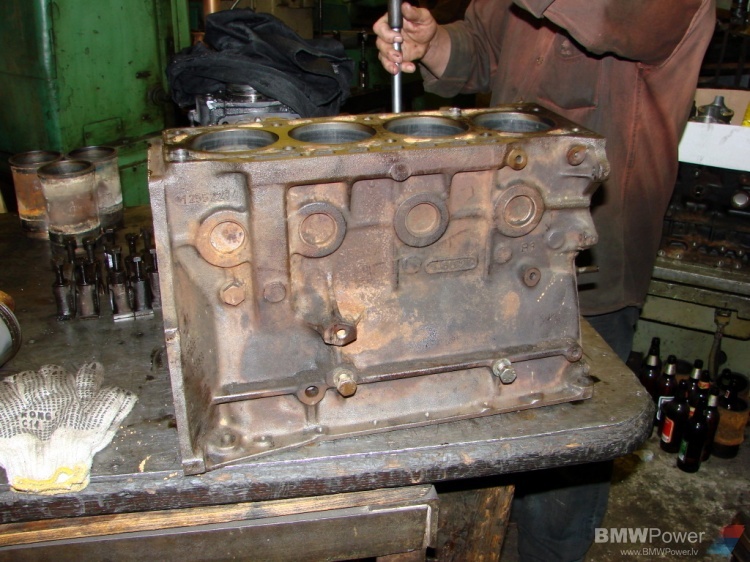
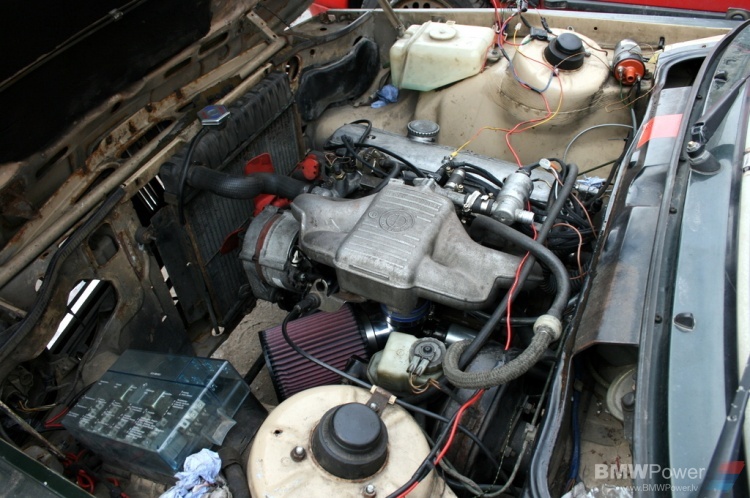
Enginge bay is ready something to swallow
Kind of ready to go in
Welcome to your new home!

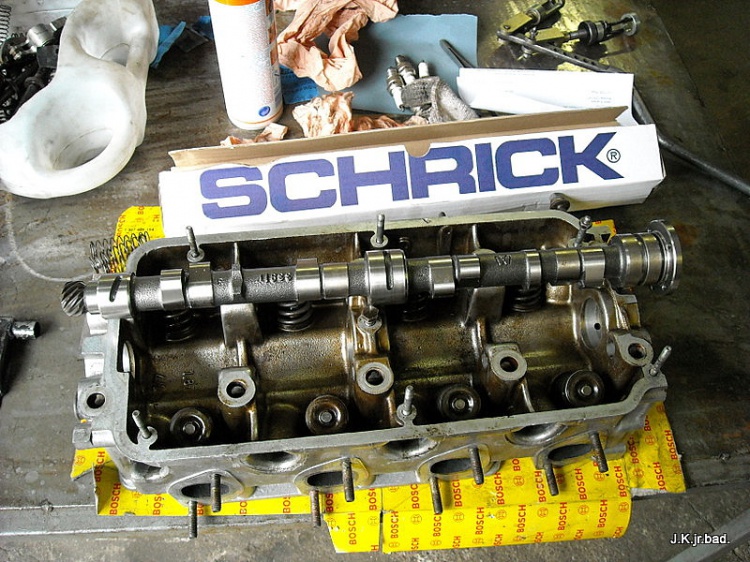
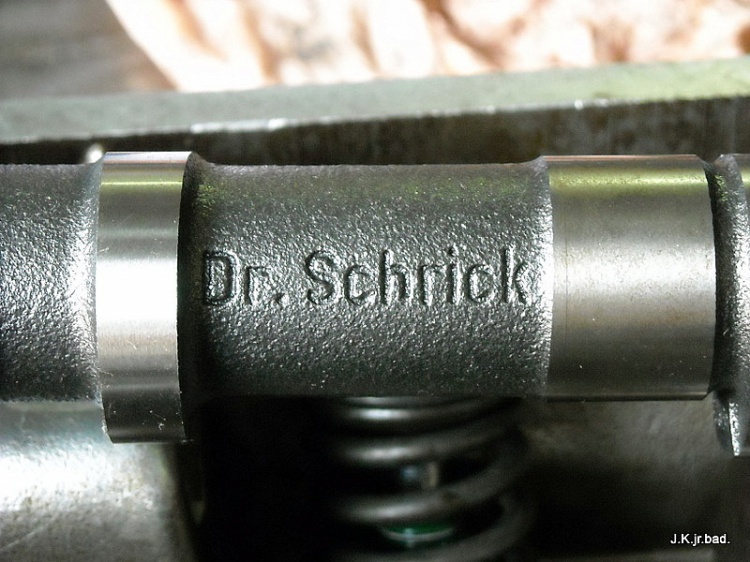
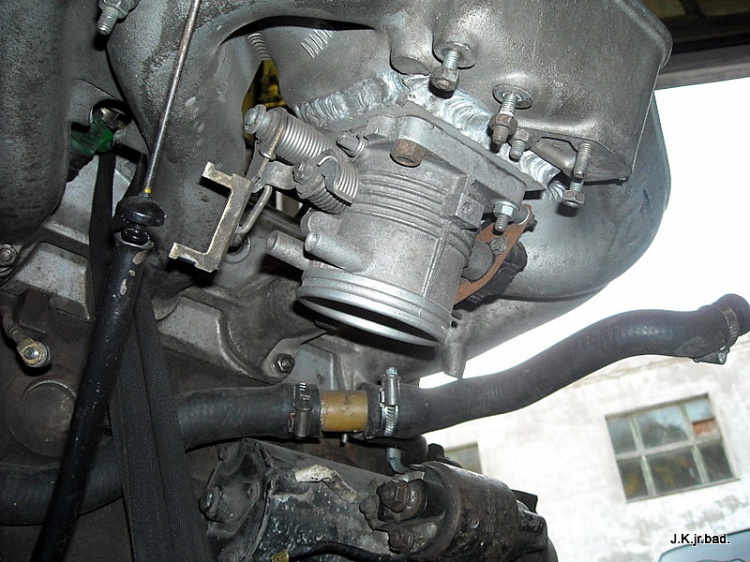
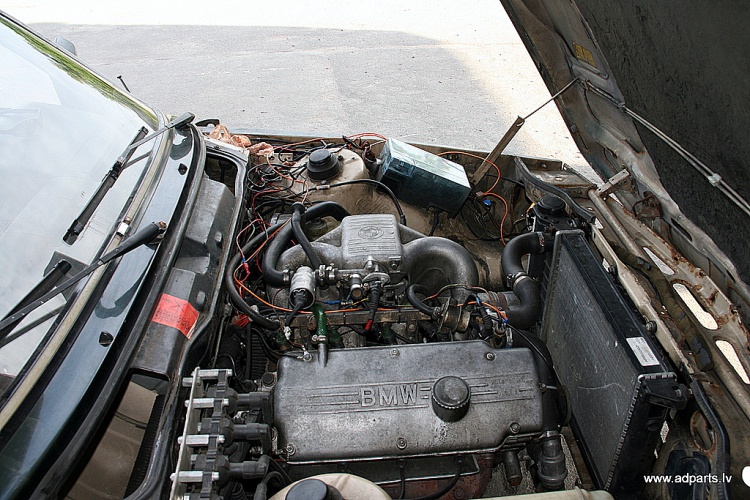
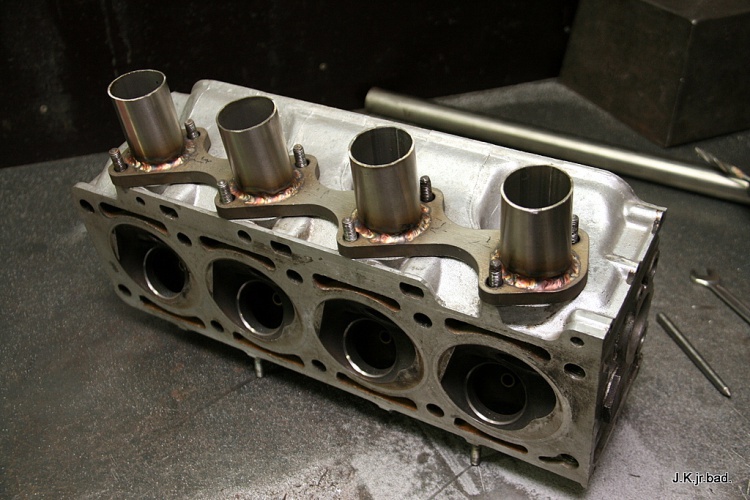
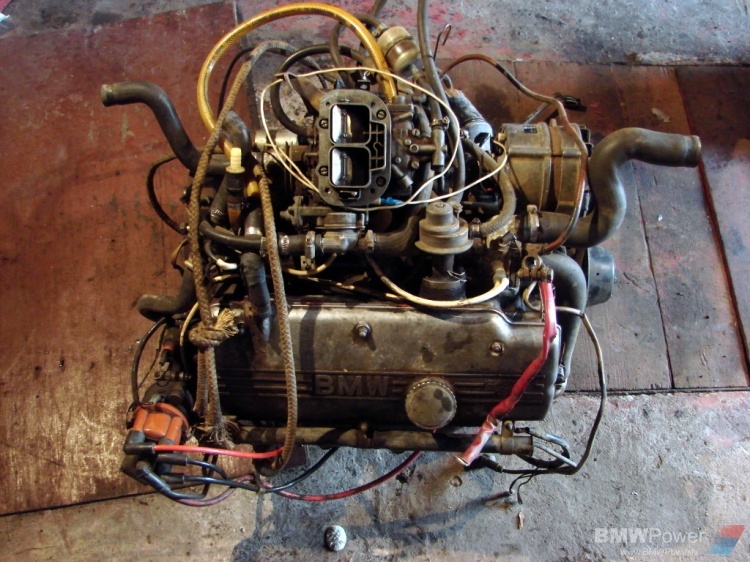
Converted to electronic injections managed with MegaSquirt. Big throttle (76mm) conversion.
All set up and already running.
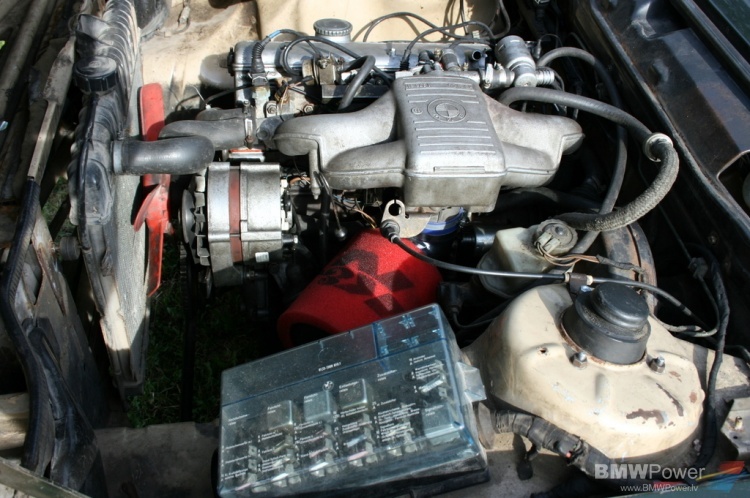
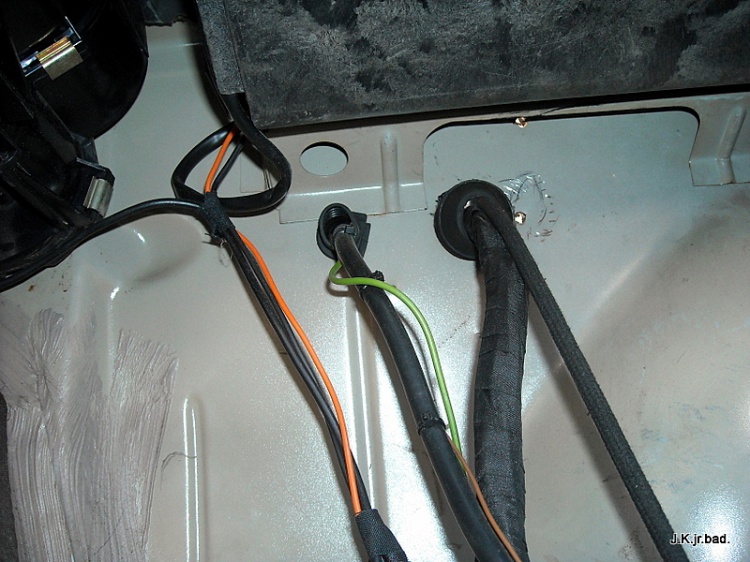
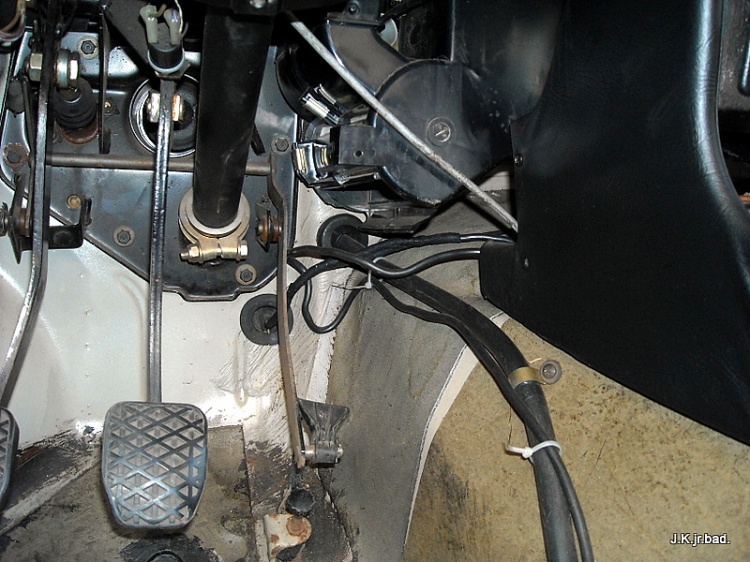
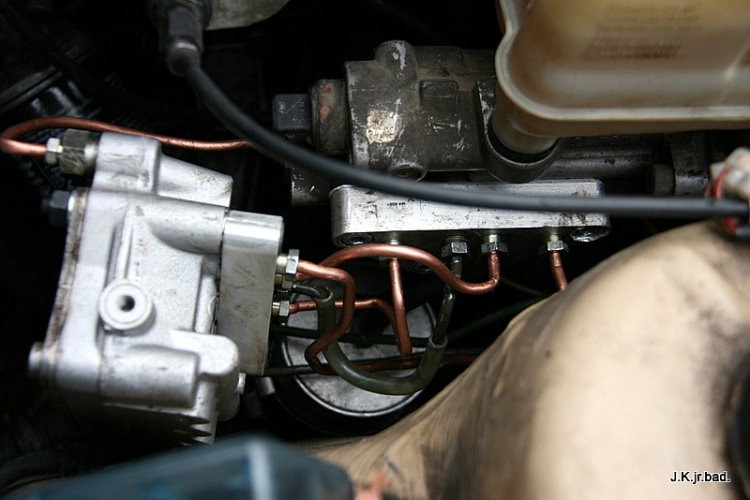
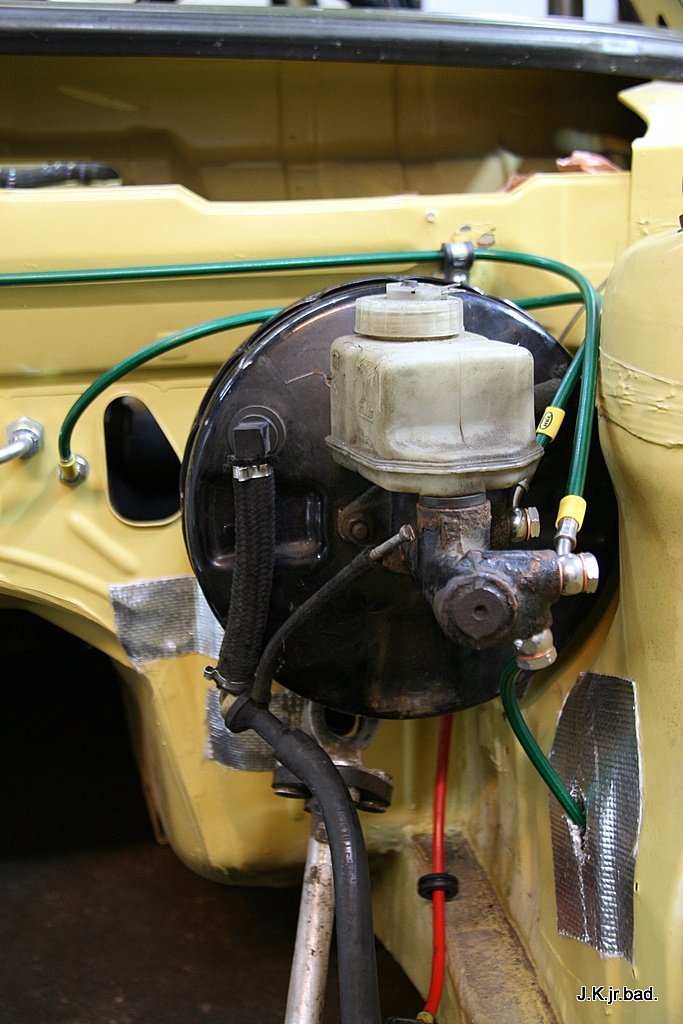
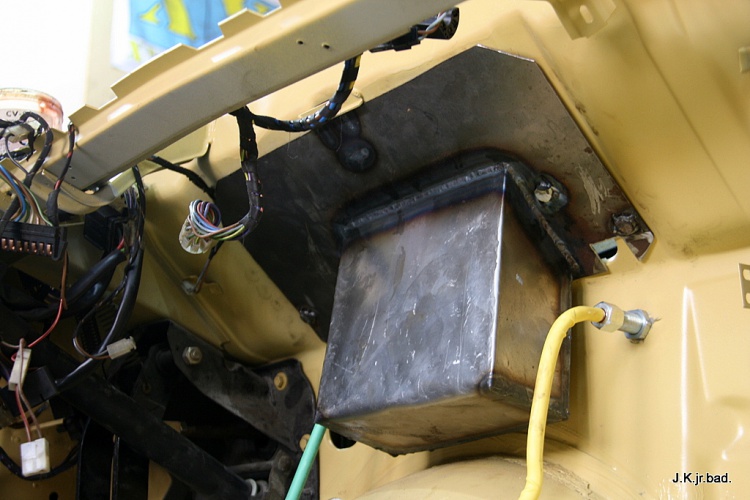
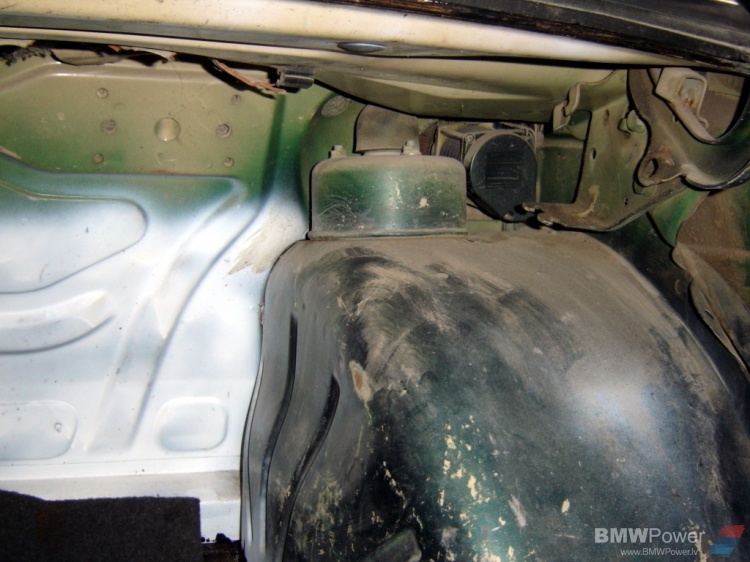
Engine management
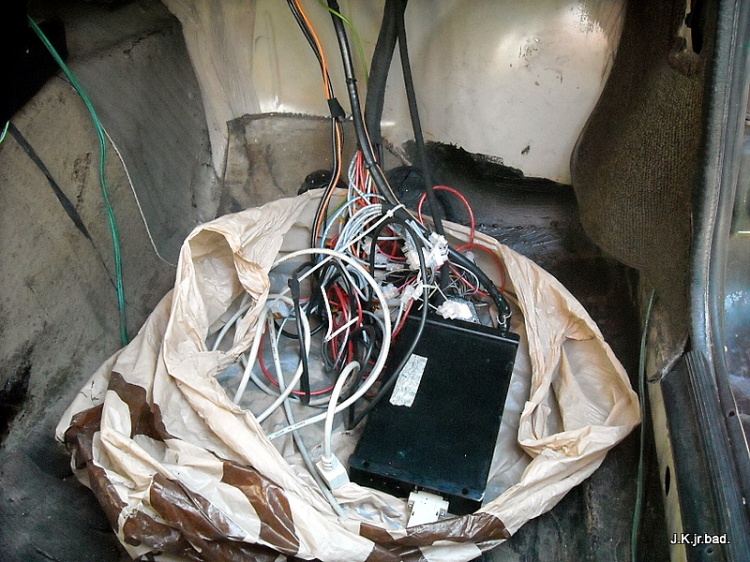
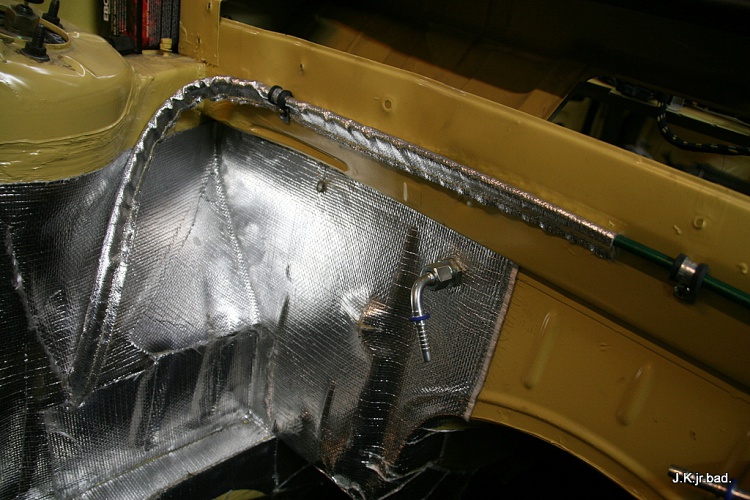
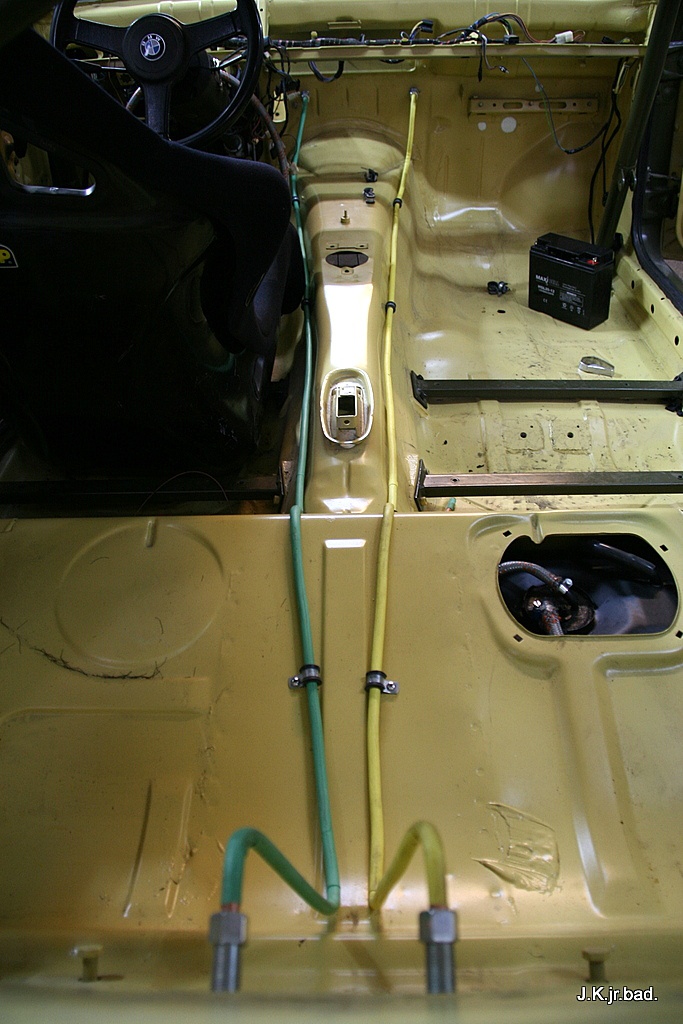
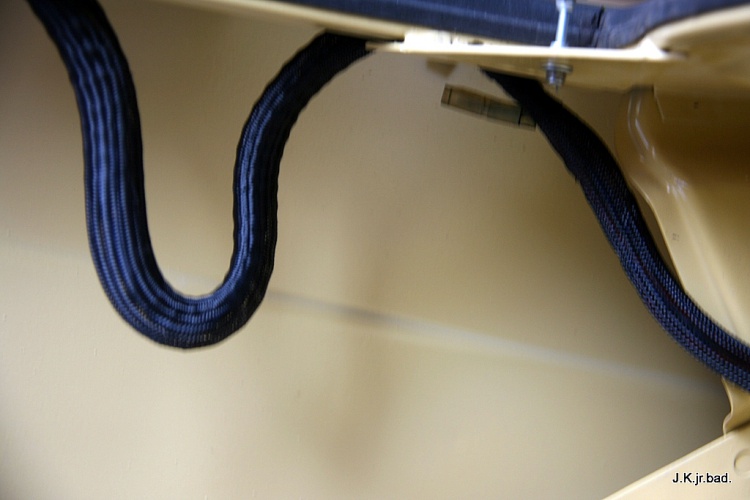
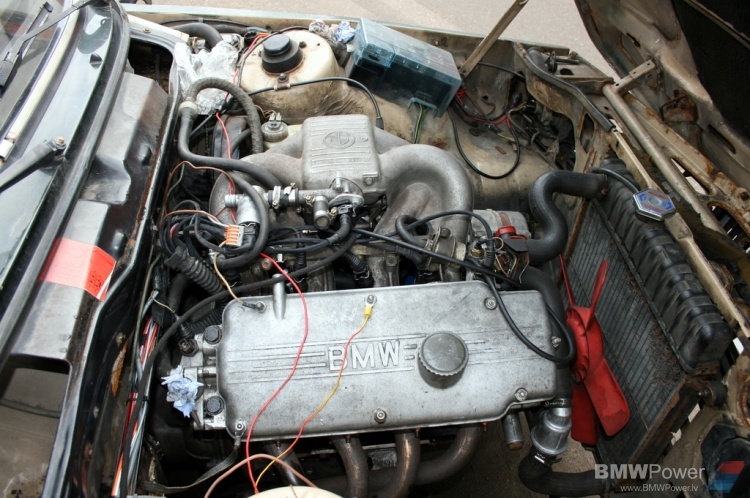
As I already mentioned cars fuel/spark management was converted to MegaSquirt. As this was my first ever attempt to do the wiring for a car it took a while to do it. Actually the hardest thing was to start doing it. As all this was new and unknown and this unknown always scares a bit. But after couple of wires it all turned just a matter of routing wire from point A to B. And hardest thing was to figure out what would be best way to route and connect similar wires (like pluses and negatives etc.). For this car I did some 3 wiring setups. Each time improving setup. Soldering is still a issue for me but somehow car worked.
At first wiring setup I used old wires, just to be sure that I’m doing everything correct.
At second time I uses new wires new conectors etc.
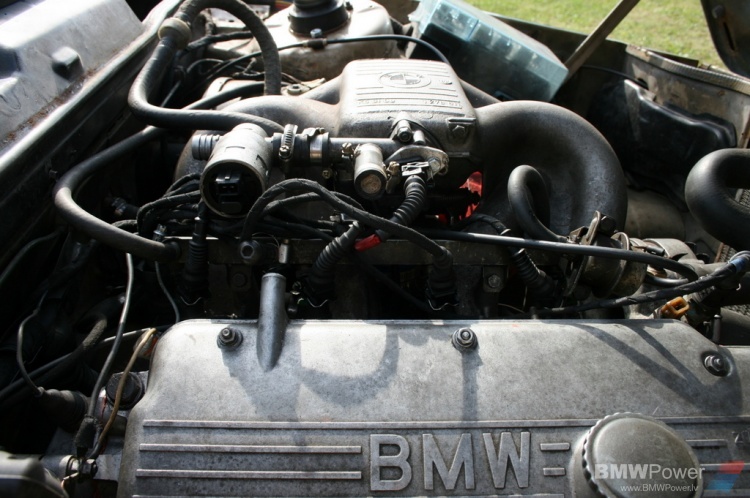
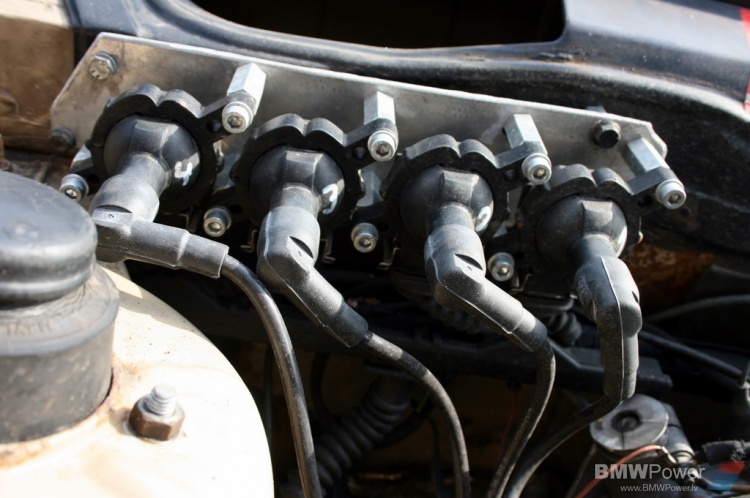
Individual coils were used on second wiring. They came out from some m50 engine. New Bosch spark wires.
Crankshaft sensor from m20.
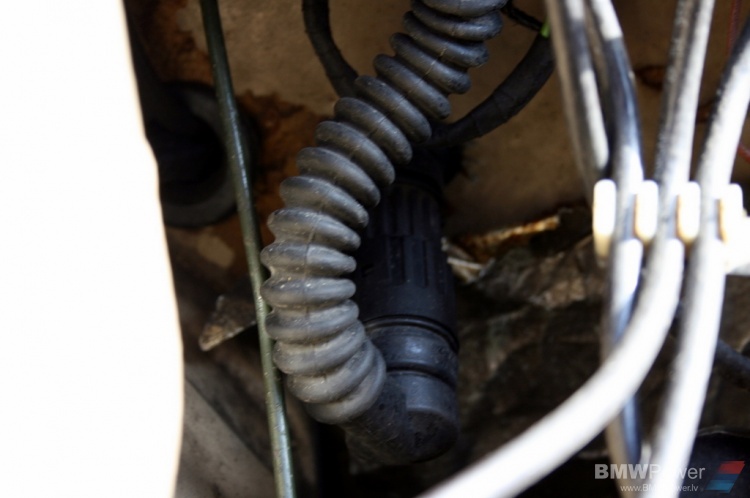
As much as I could I used original conectors. This is from coils.
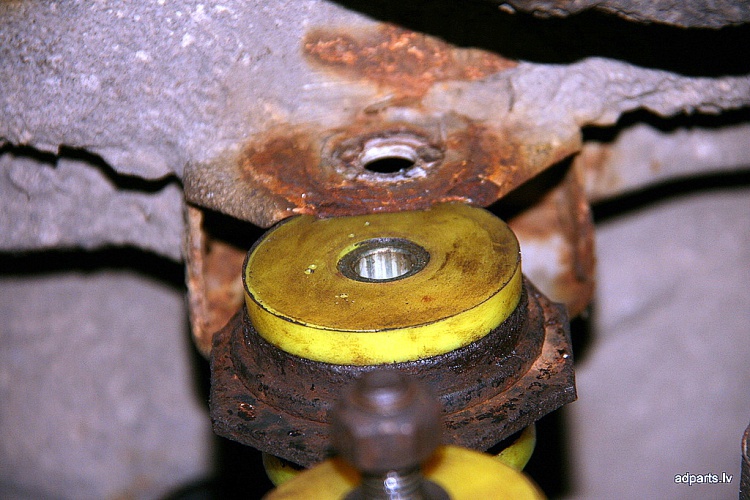
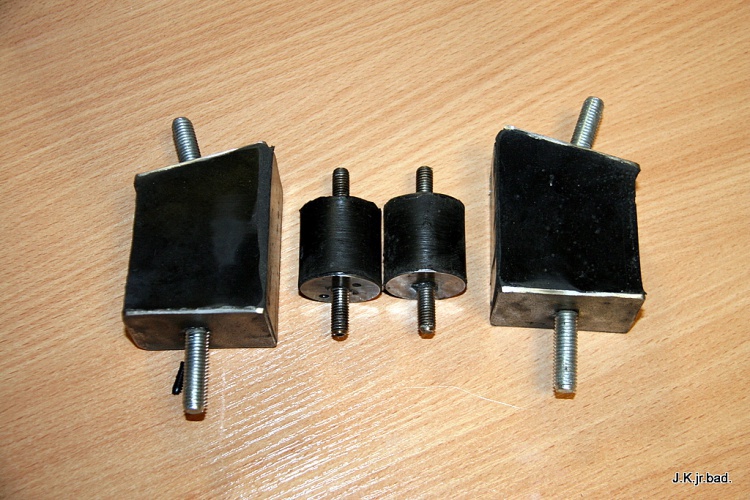
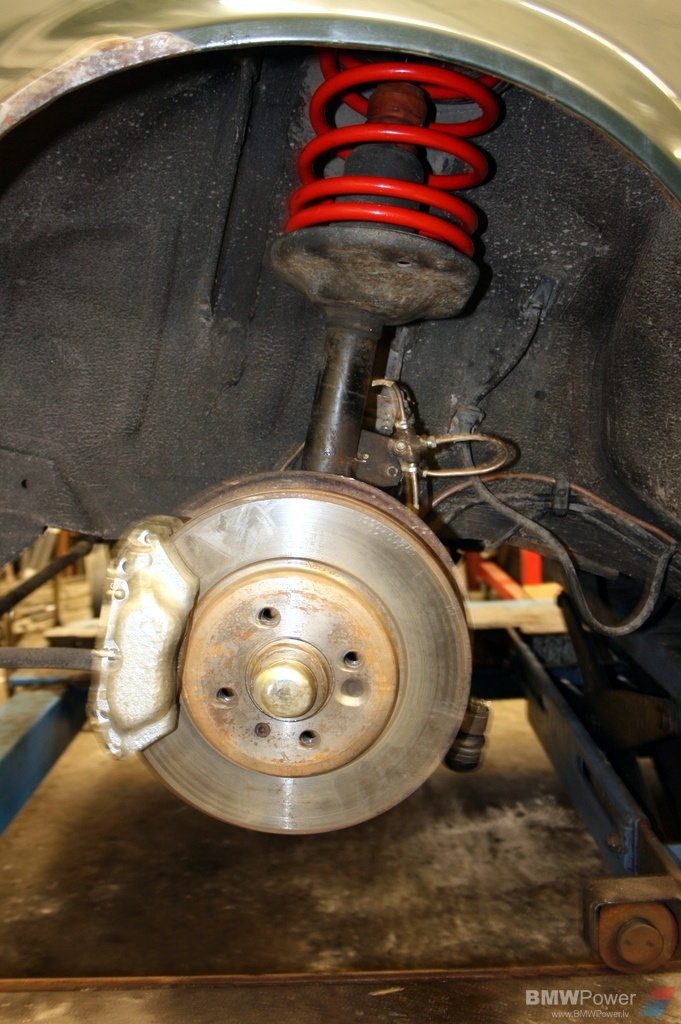
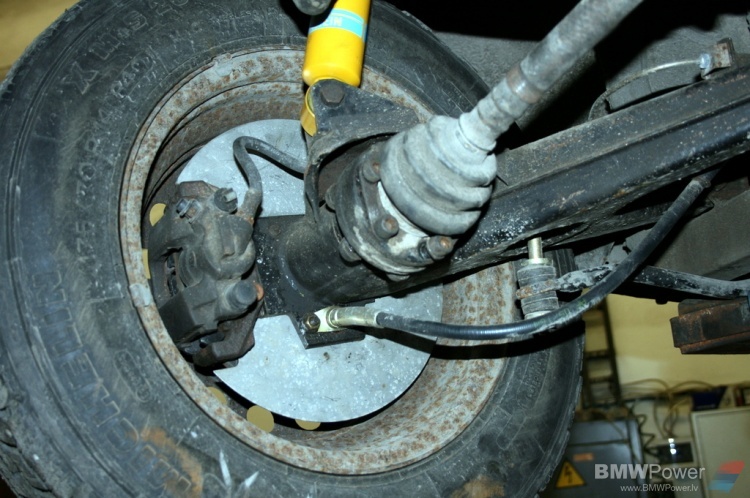
Suspension
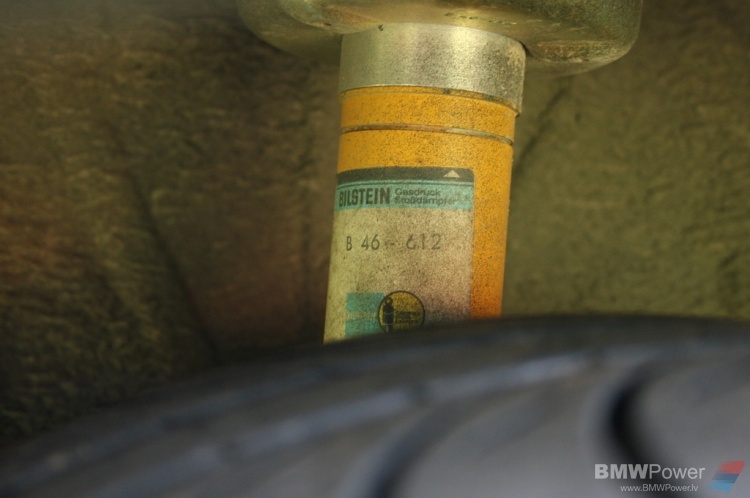
My first try to change something in suspension was putting H&R springs (-35mm) and Bilstein B4 shocks. It all was crap if we talking about trackday racing.
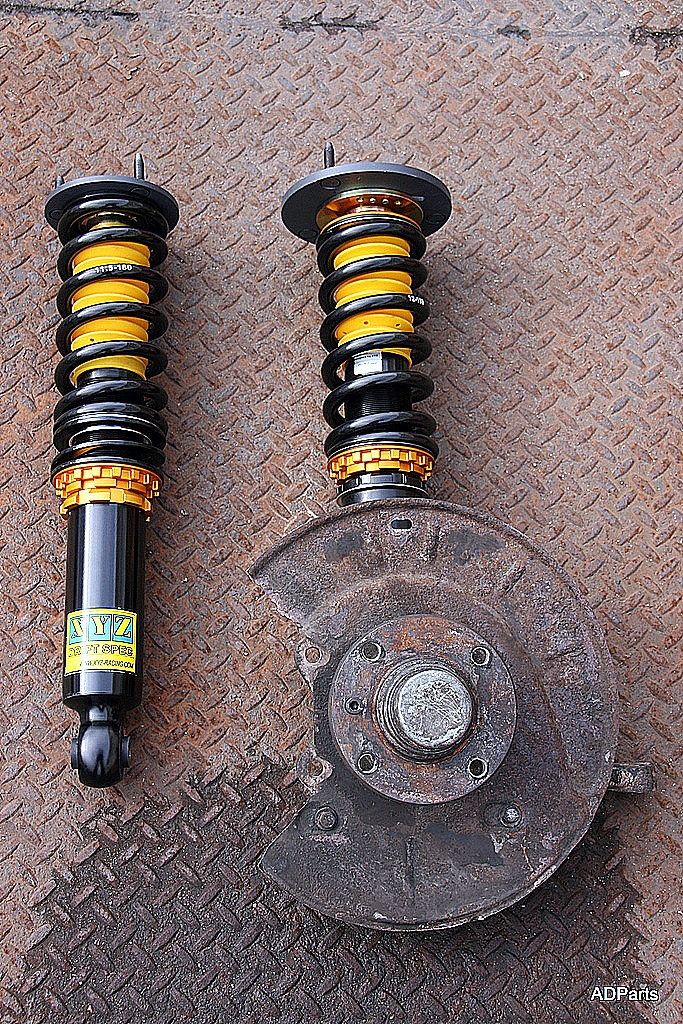
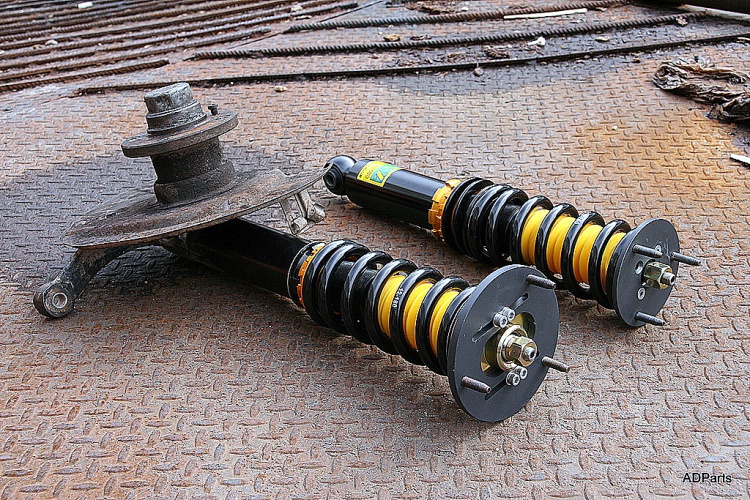
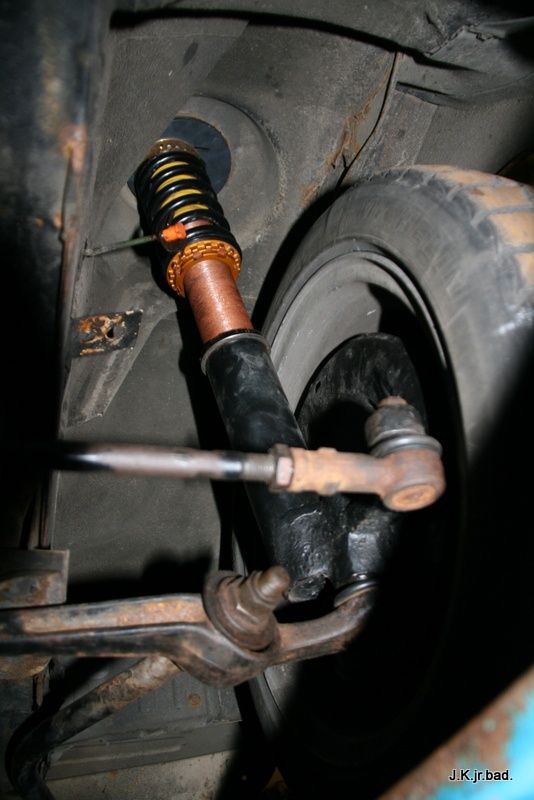
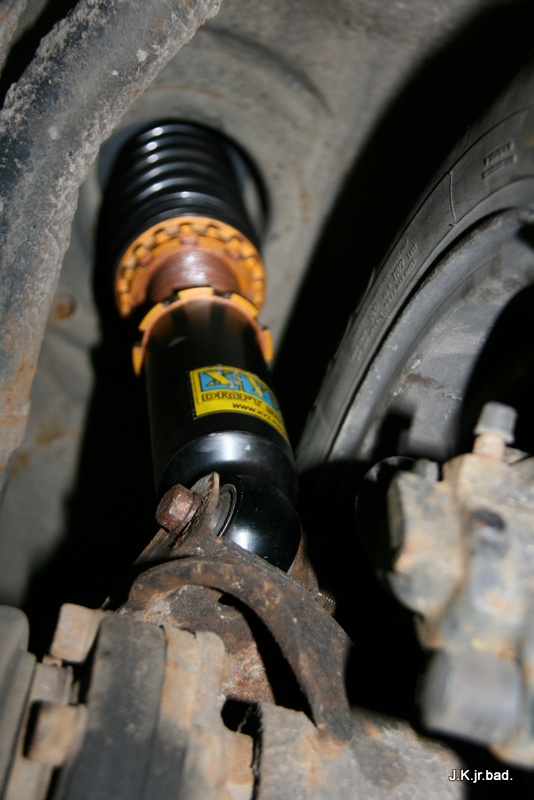
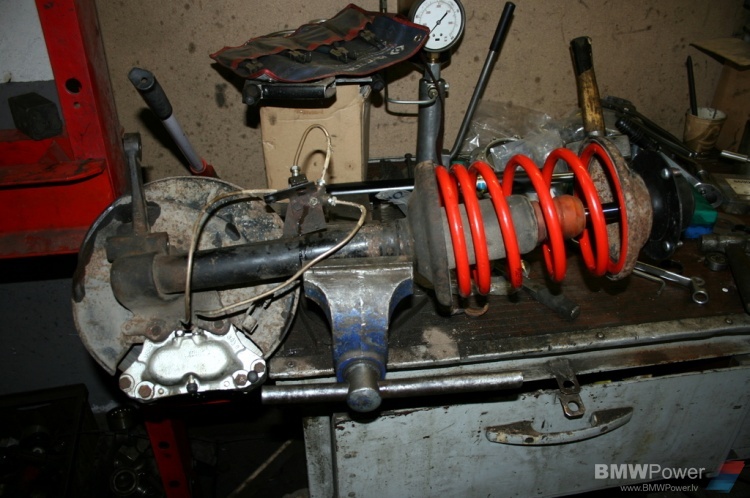
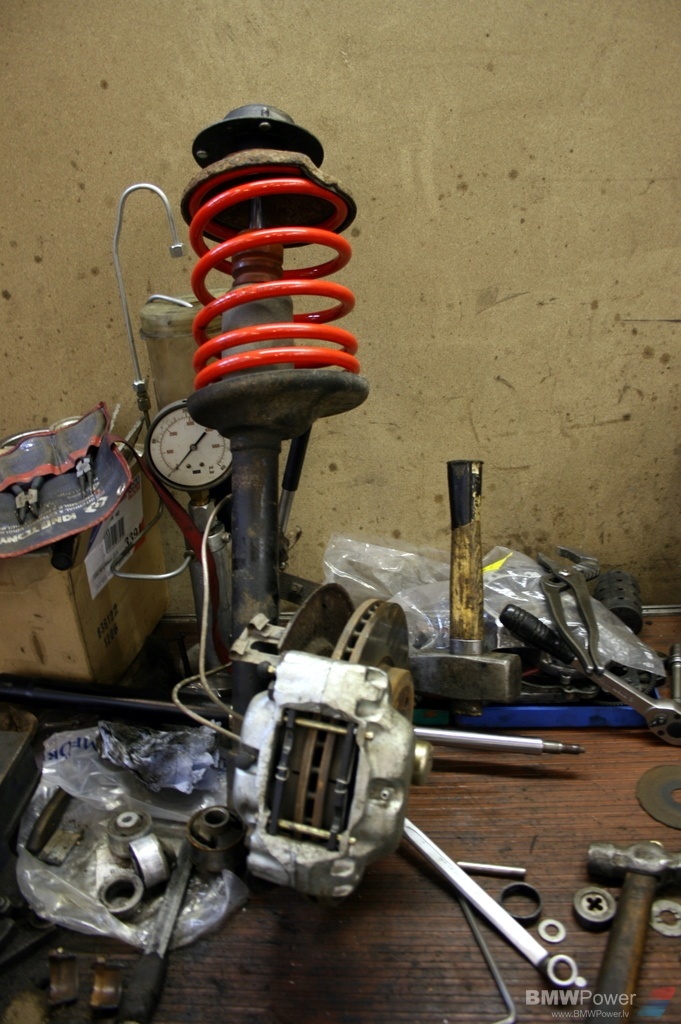
Next setup was smarter: Some Powertech springs (-60mm) + customized Koni Sport fronts and Bilstein B6 at the rear.
This is how this last set up looked like
As I said that this setup was customized and here is the explanation to it:
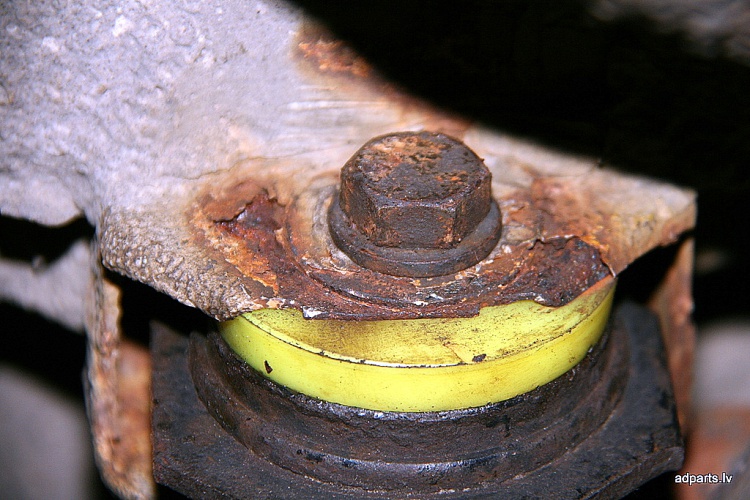
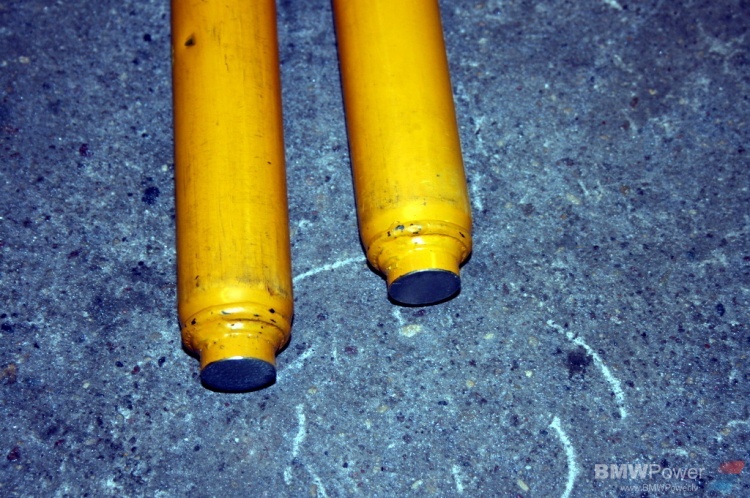
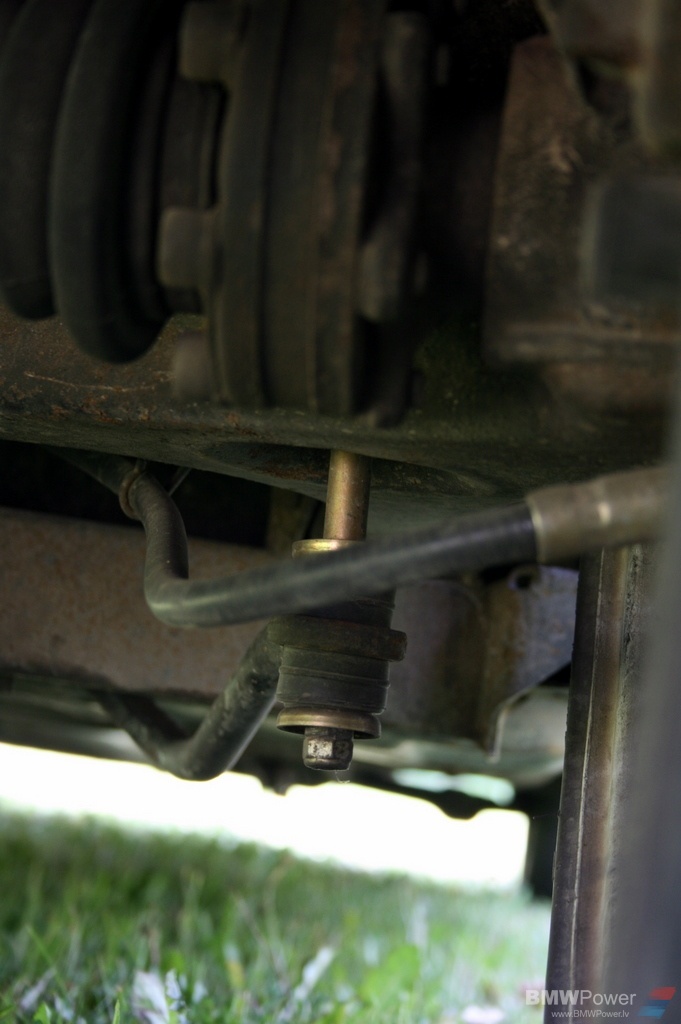
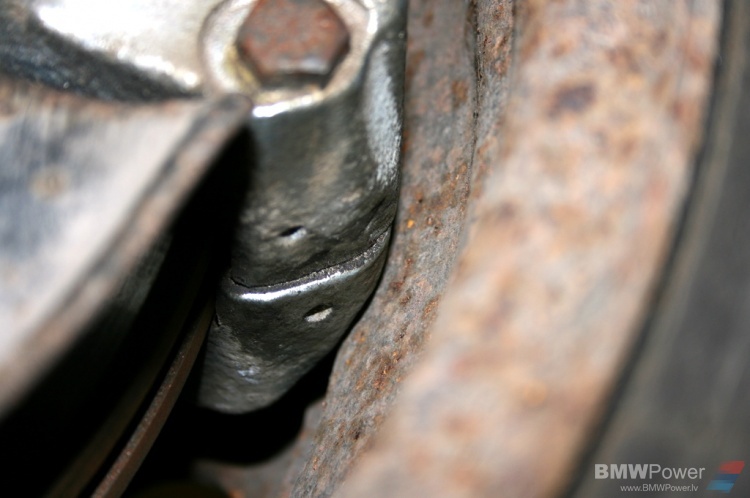
Due to “extreme” 60mm lowering turned out that stokes for shocks were too long and springs wouldn’t be compressed to keep in place. So there was some unpainful modification for fronts and rears.
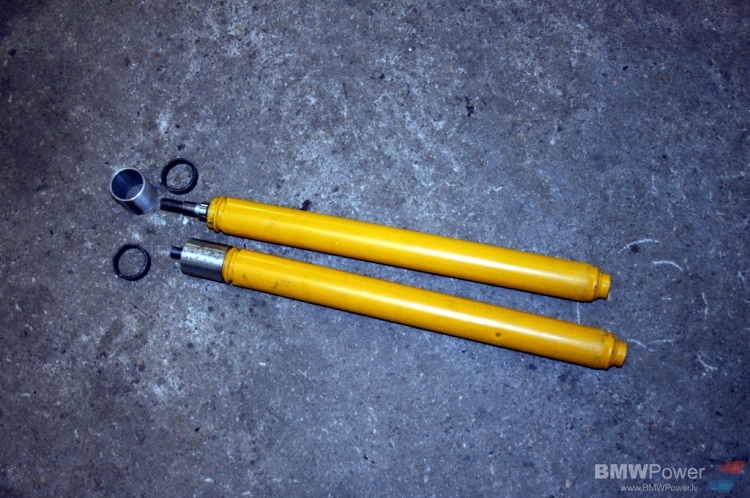
Fronts had to be pushed deeper in to struts and so lower part of Koni’ s were cut. In picture above you can see a metal sleeves that were used to keep shock abrorber from moving upwards.
At rear similar sleeve was used to rise spring plate to keep spring tensioned.
All still new and clean. But not for a long time.
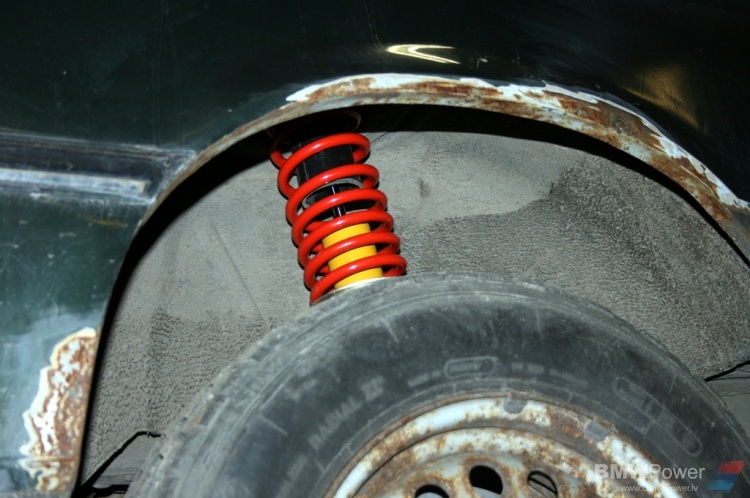
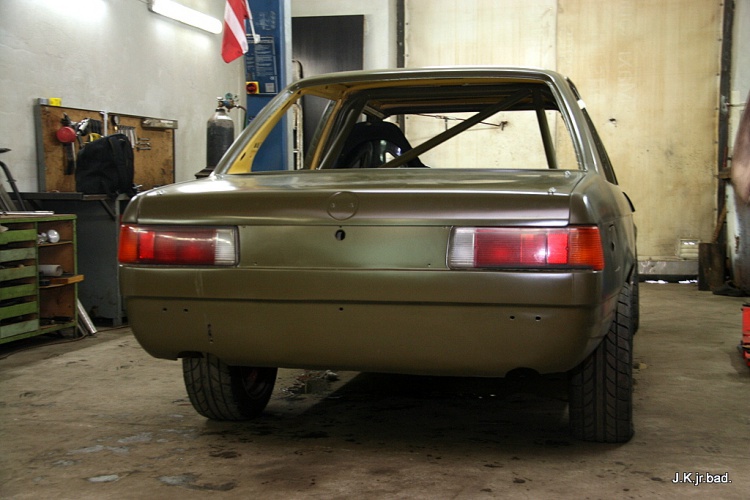
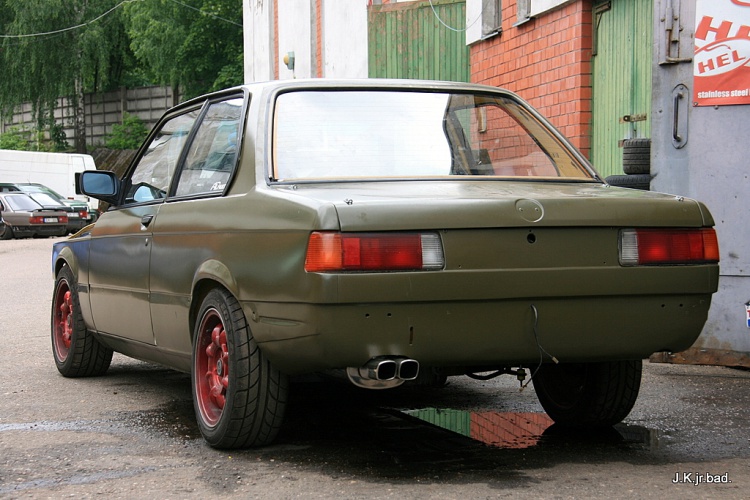
Originaly my 315 was not equipped with rear anti roll bar. So I found one and installed. Simply put it on. No modifications. And difference is huge!
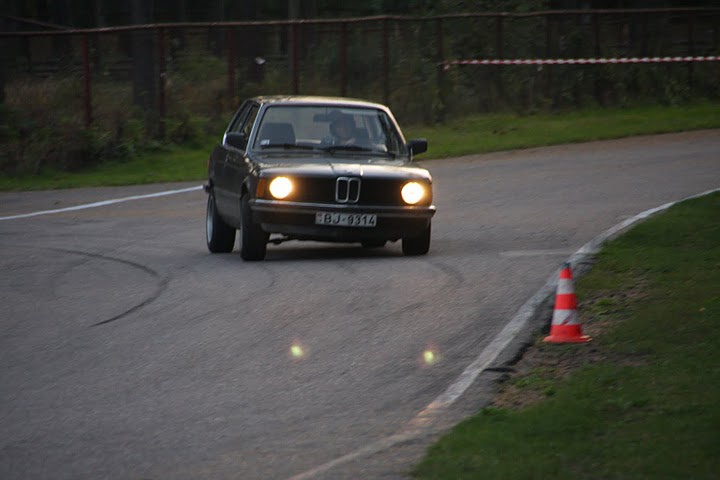
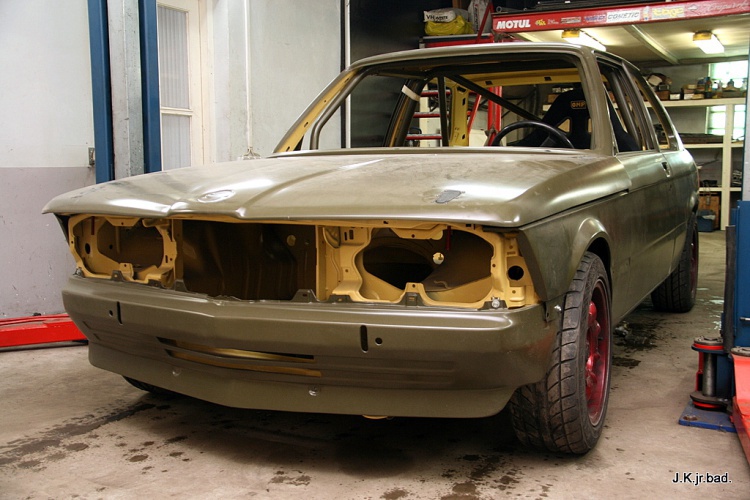
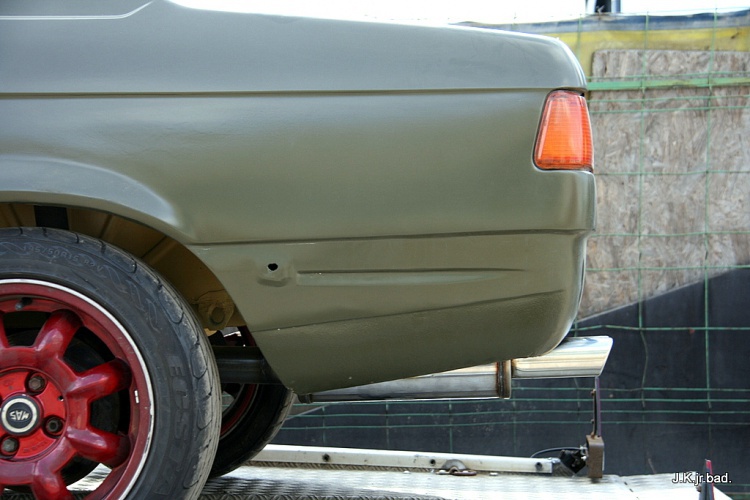
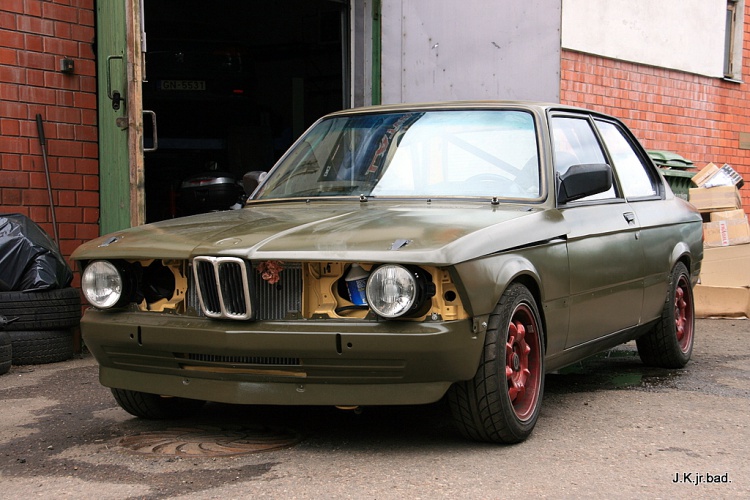
60mm!! lowered with winter rims/tyres on.
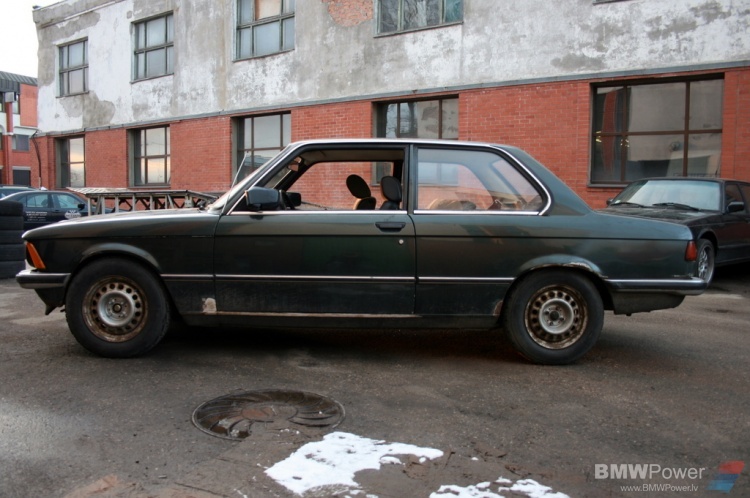
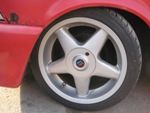
And this is how it was meant to be in summer. ATS Cup rims ET 25/28 and widened with 20mm flanges. Honda tires – 195/50 R15.

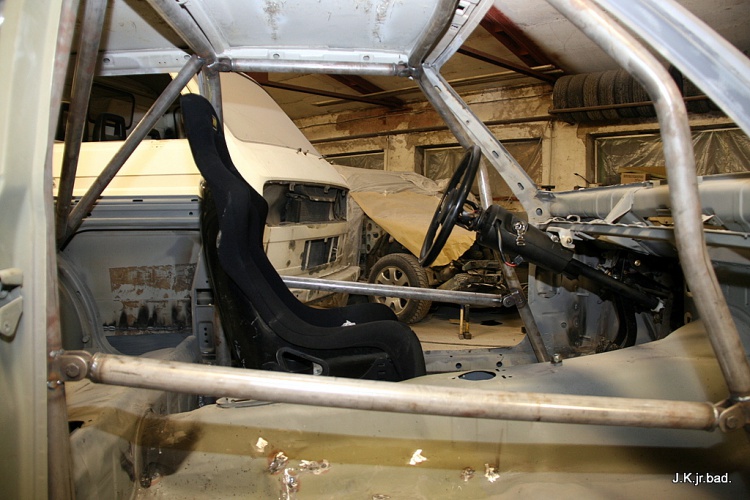
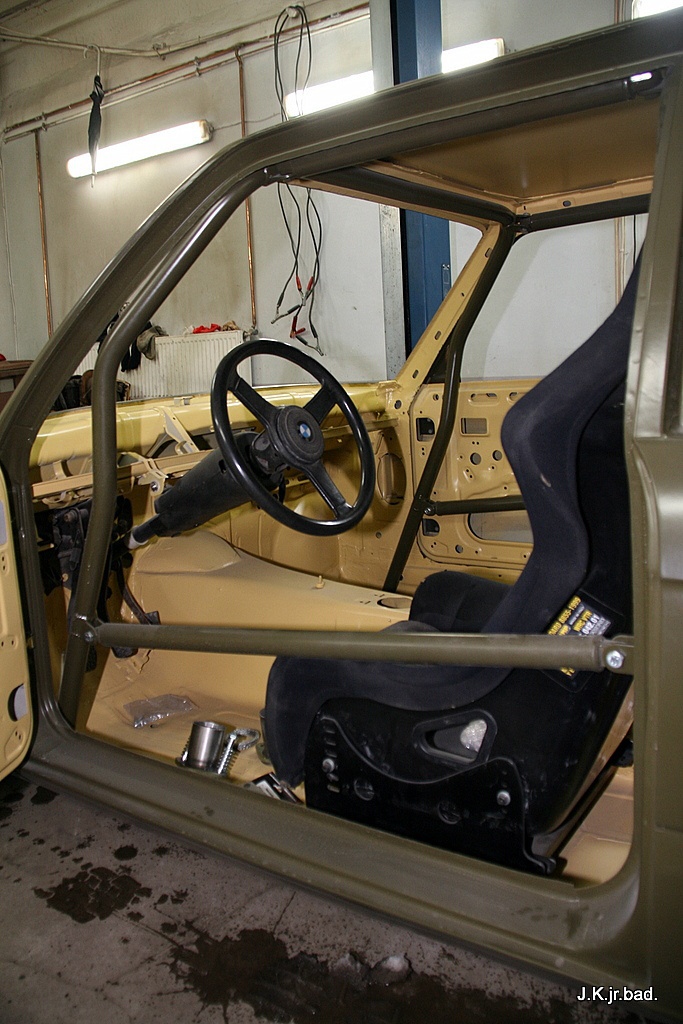
Interior
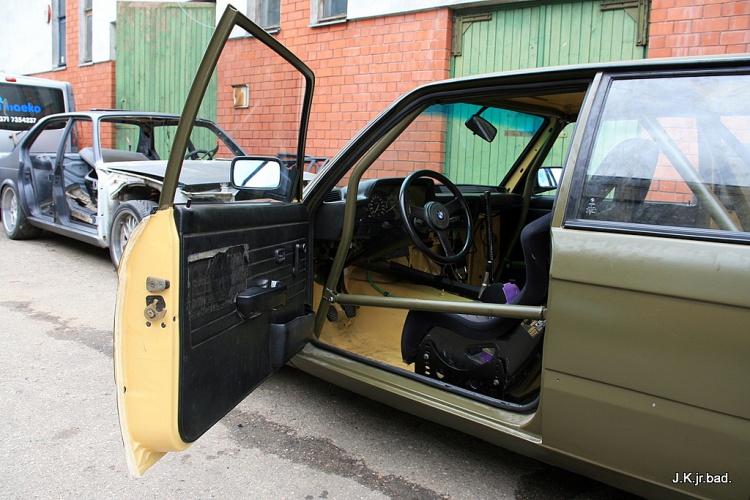
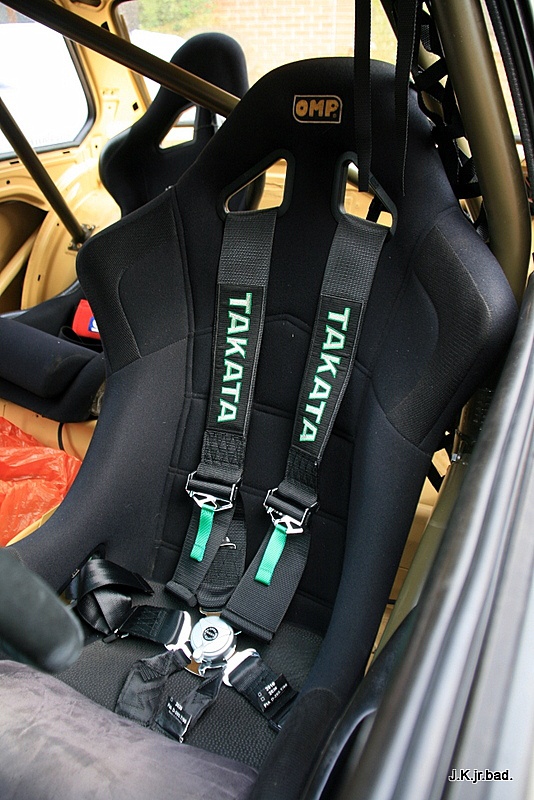
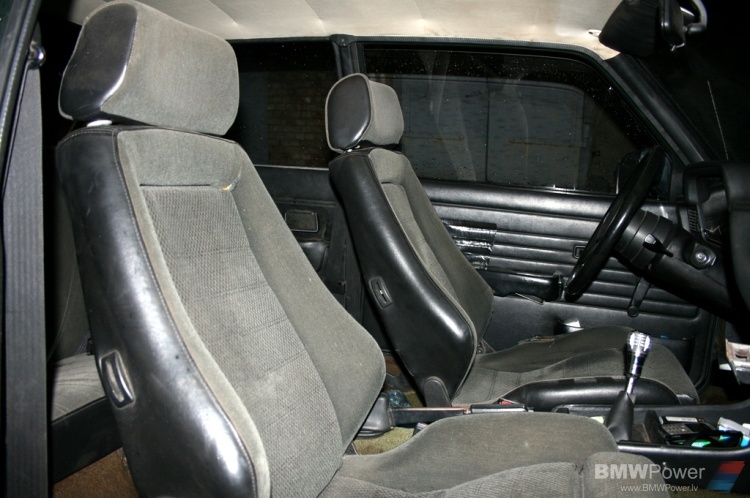
Original Recaros were found and main seat was installed. Some time later all interior was changed to Recaro.
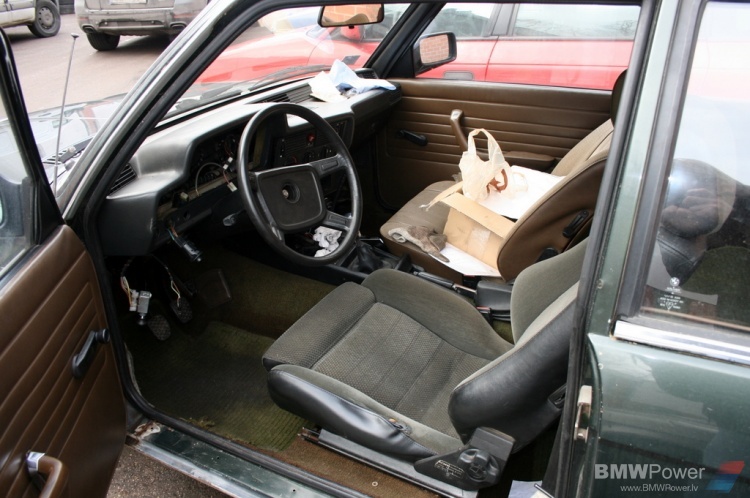
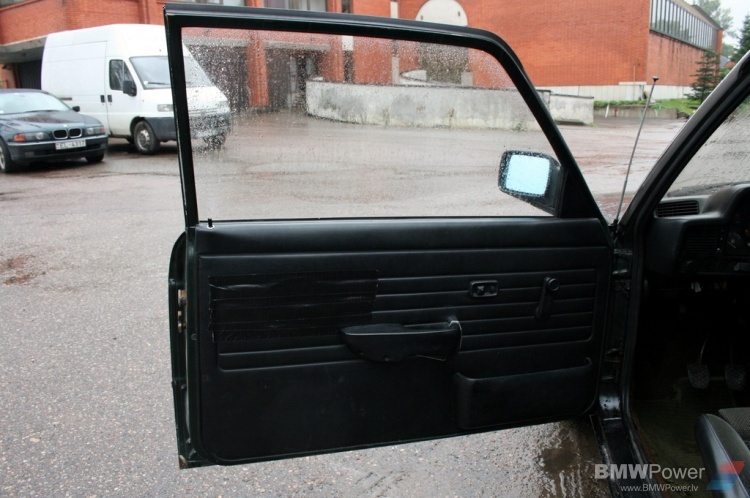
Black color door panels installed as well.
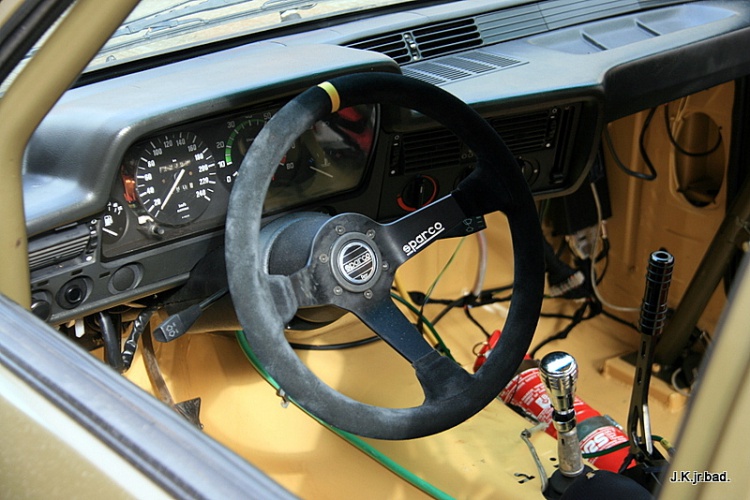
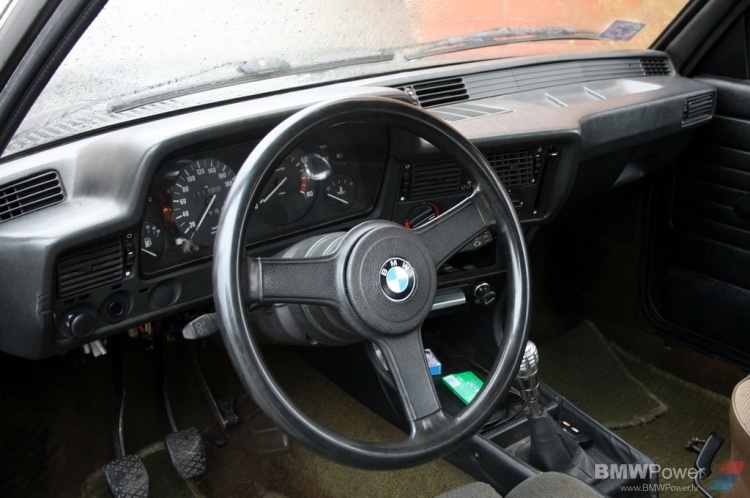
Mtech steering wheel. I think looks very good in this car!
Full install Recaro
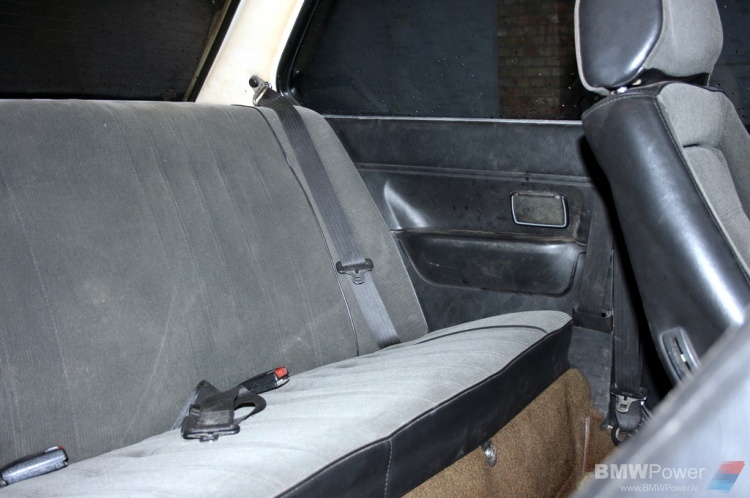
At rear as well. Also there is no such thing as rear Recaros but color/pattern match is important.
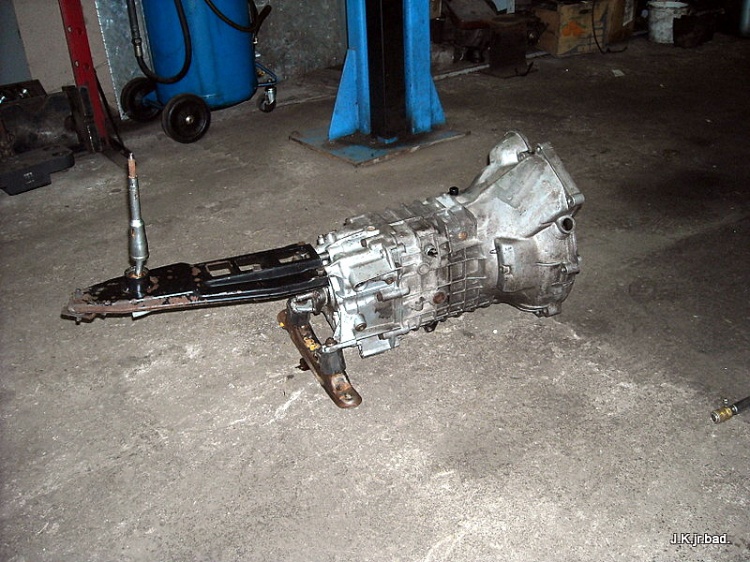
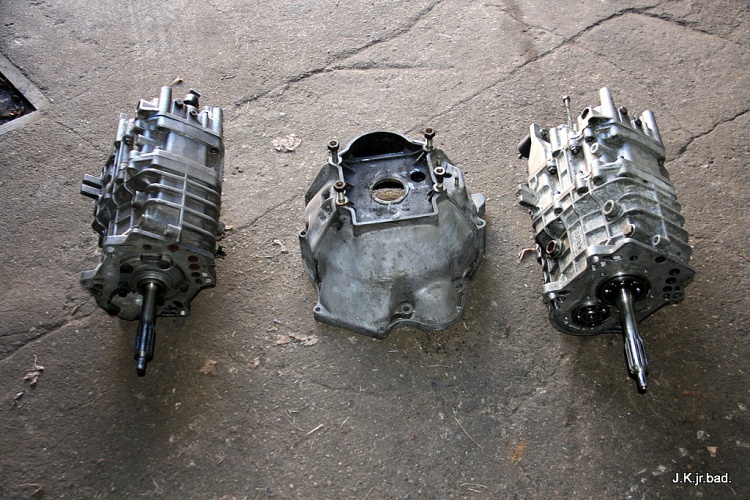
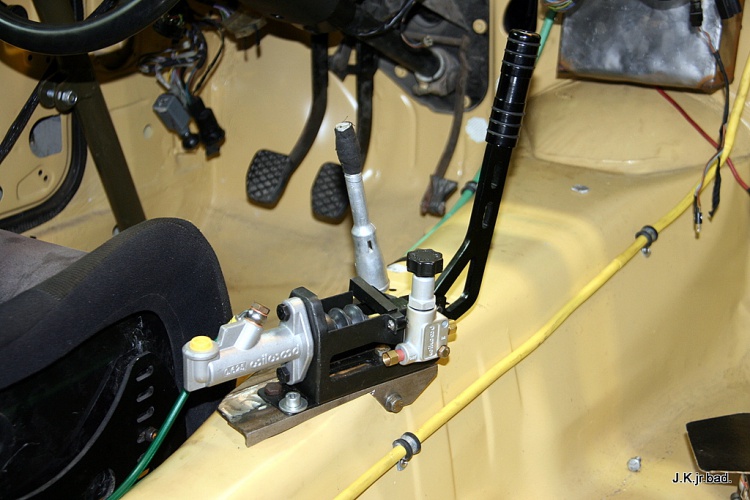
Transmision
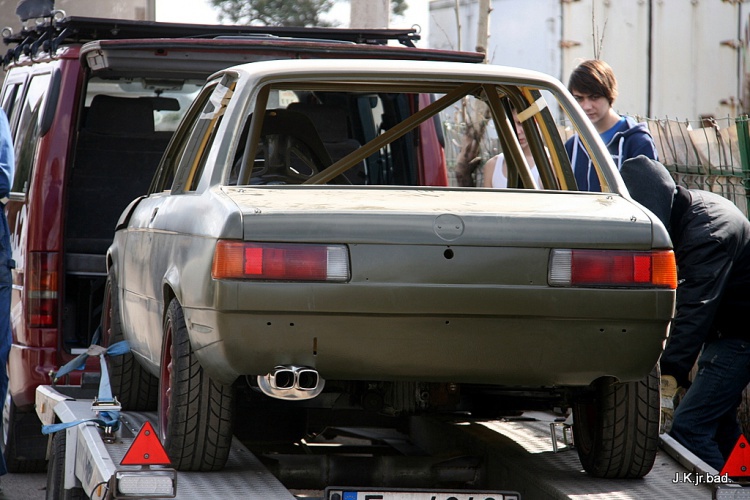
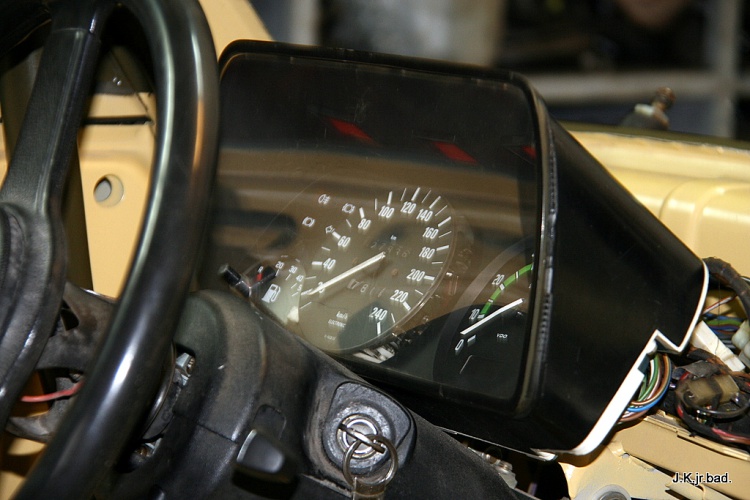
Originaly car was equipped with 4 speed manual. As sometimes car would be put on highway I wanted to get a 5 speed. Again there was a problem to get one from e21 including propshaft. So I got from e30 both things. But there was another problem – speedo. As you know e21 has mechanicaly driven speedometer but e30 electronic. So this is how I did.
A weapon!

Installed
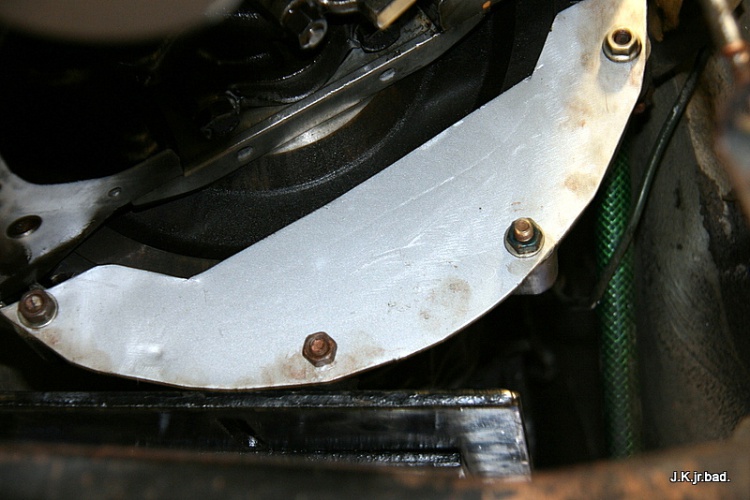
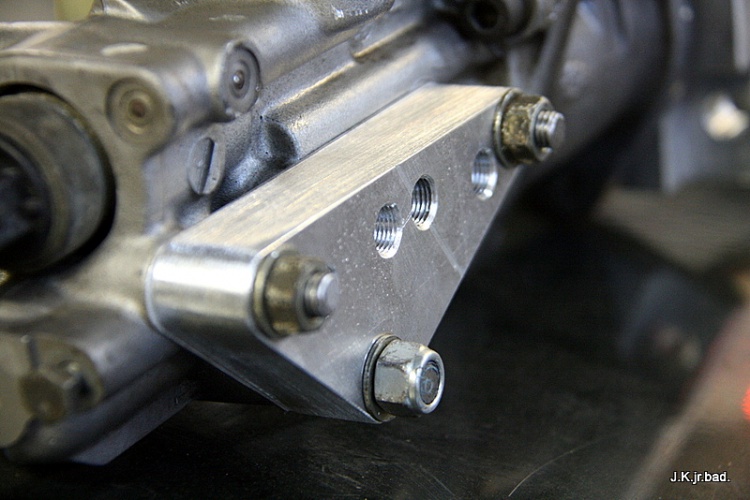
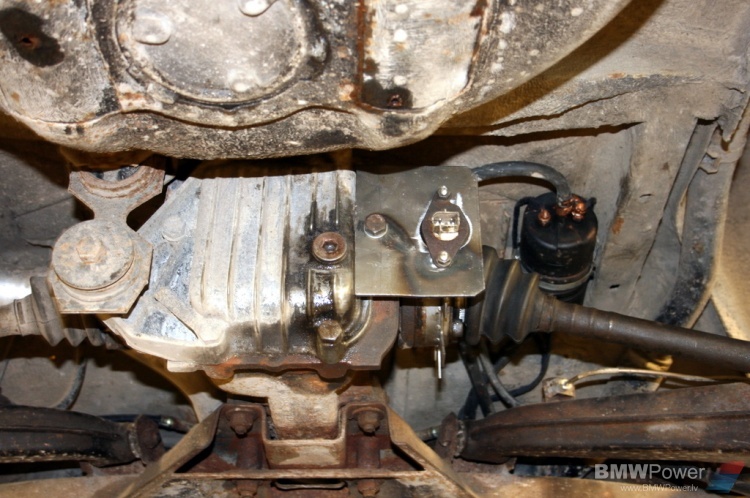
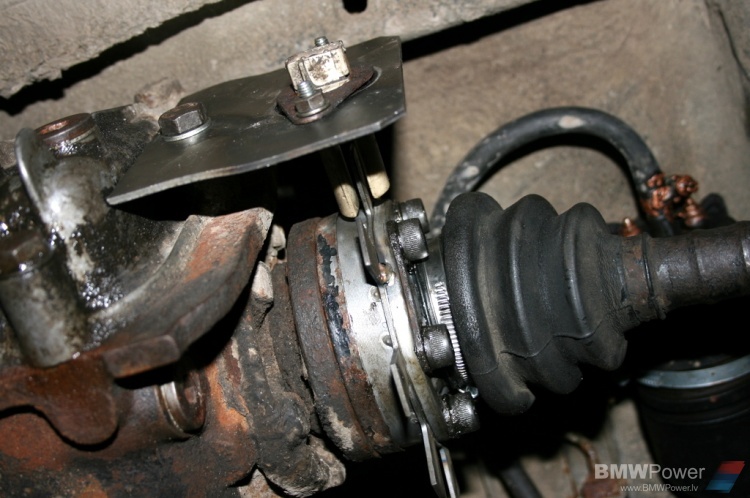
Adding a plate to hold sender which was taken out of some BMW diff
Aligned
Speedo from e30 installed into e21 dash
Originaly 315 has a 4.10 diff. As for everyday usage it was too short it was changed to 3.45 from 323. Also it was equipped with LSD which came out directly from e30/e36 small diff. Fits perfectly. Only to put it in to e21 diff case you have to unscrew LDS cap and bolt it back again in the diff case.
Putting prop shaft from e30 makes a problem. The bearing is located in different place. Some heavy hamer work had to be done + new brackets made. Later I found original e21 gearbox and prop shaft.
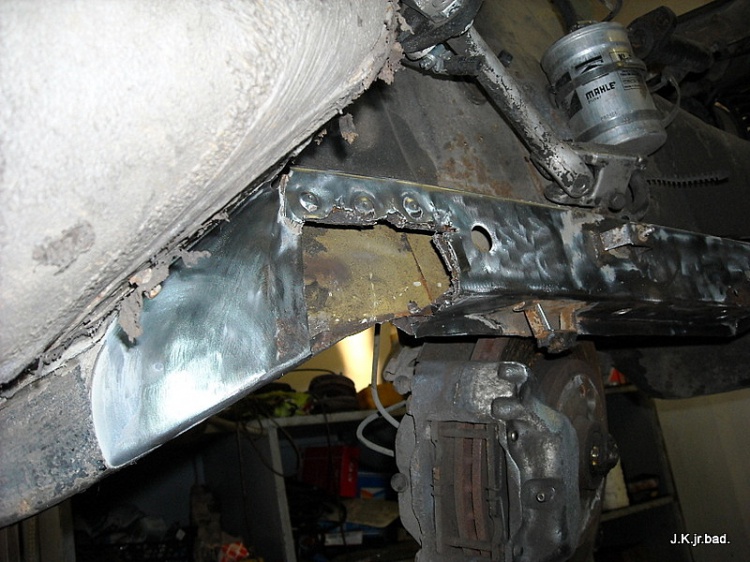
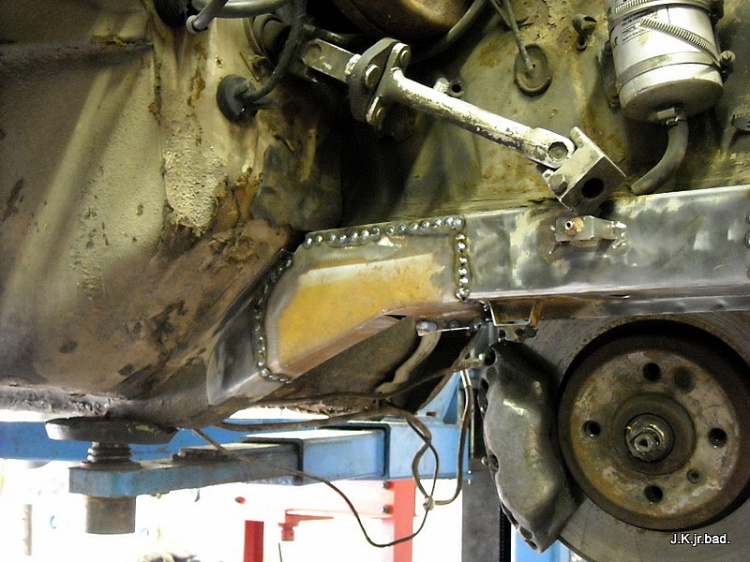
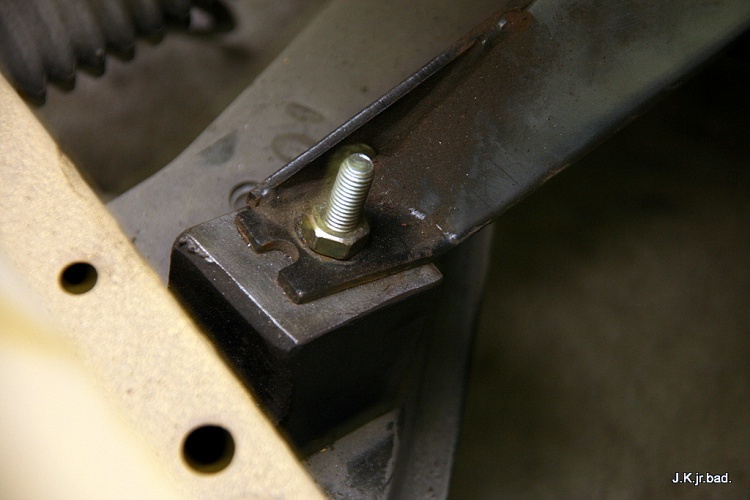
Brakes
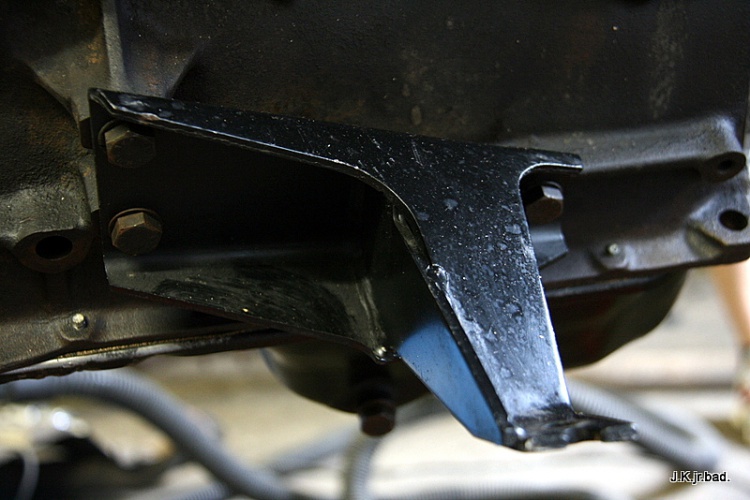
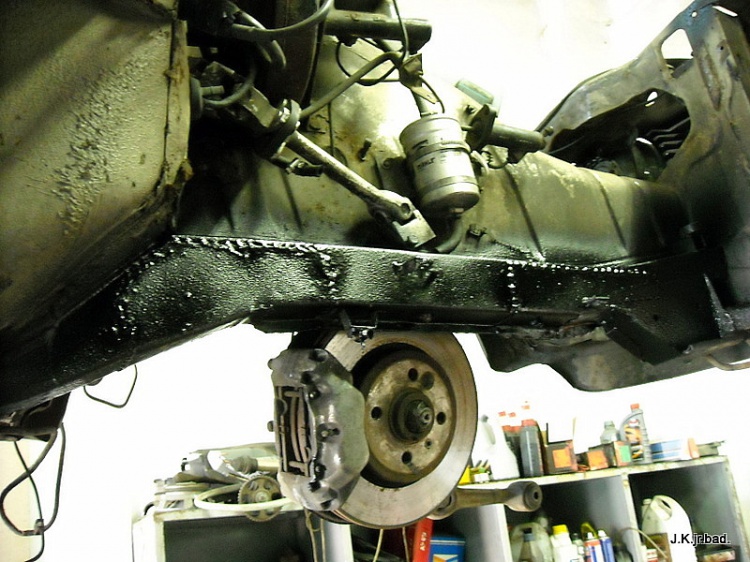
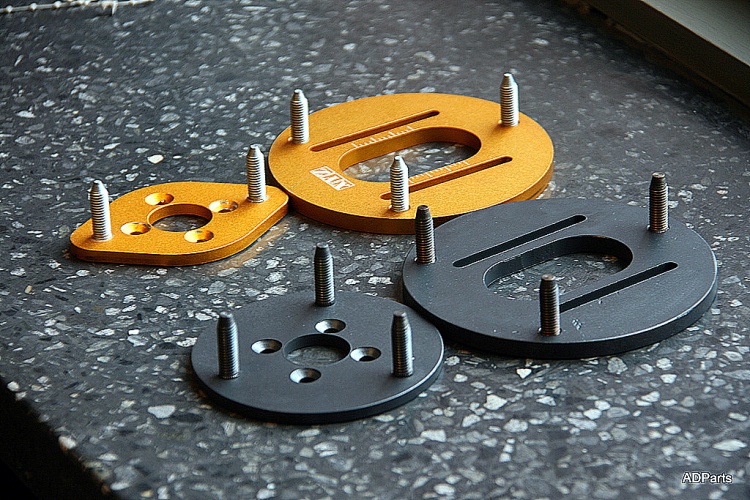
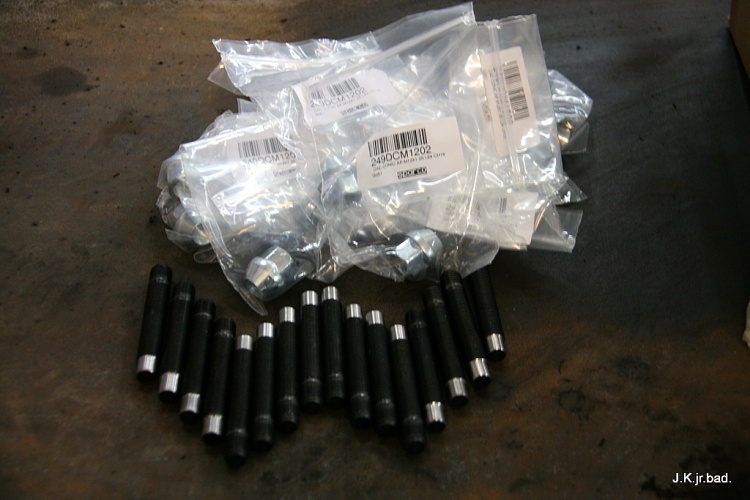
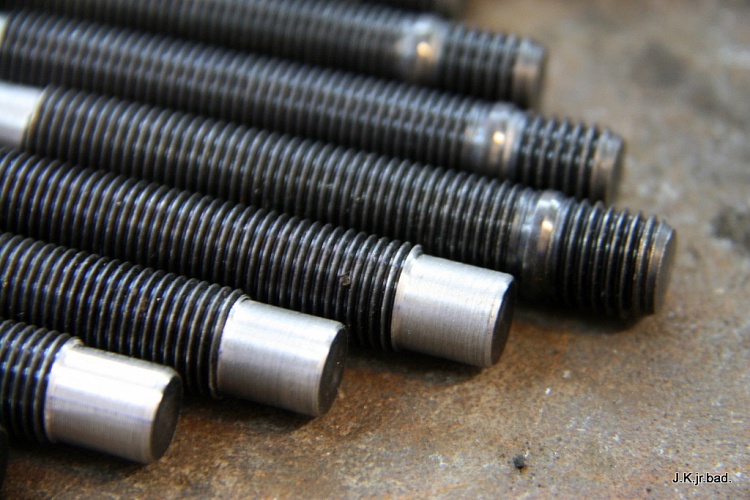
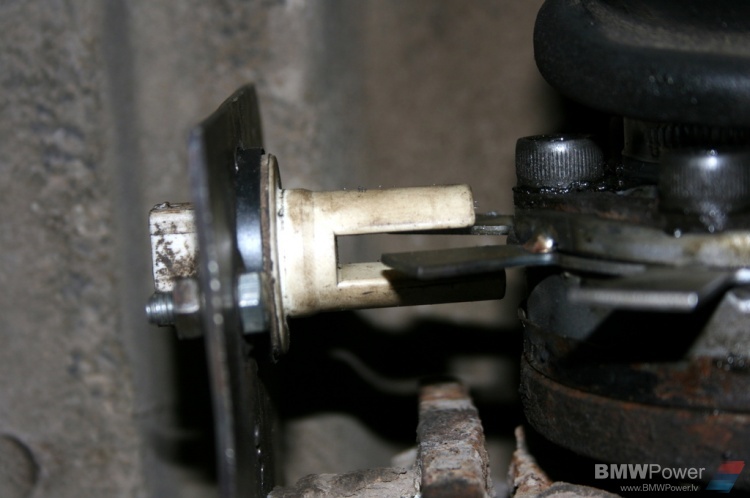
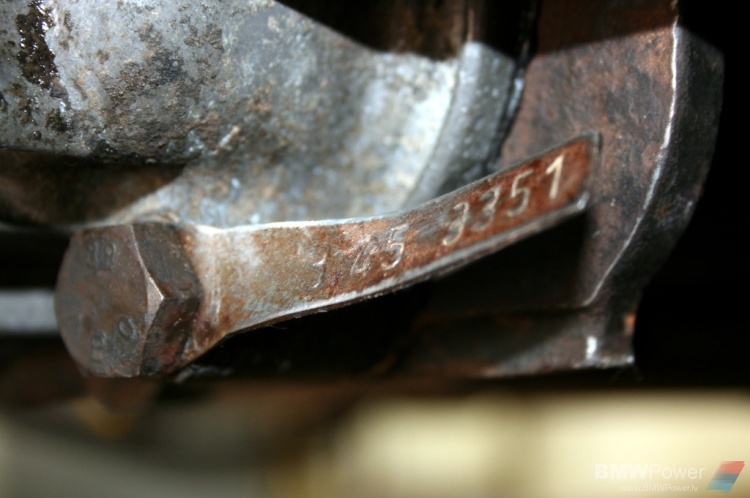
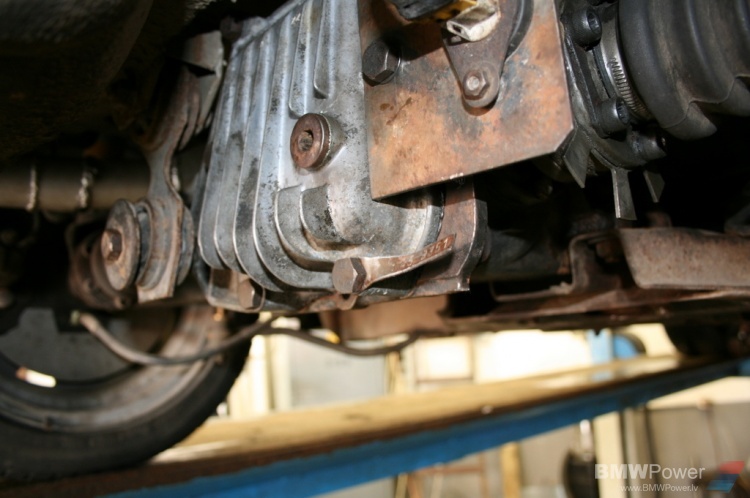
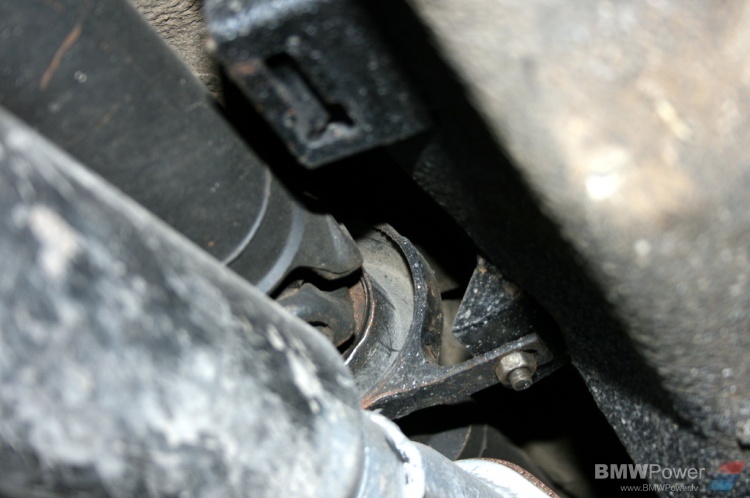
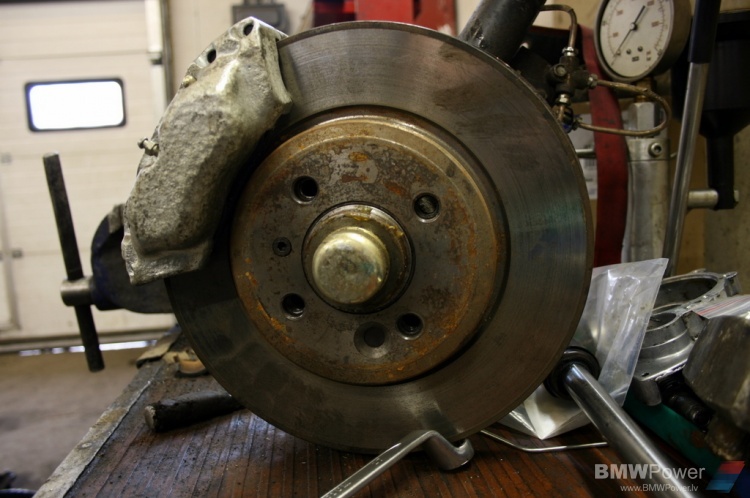
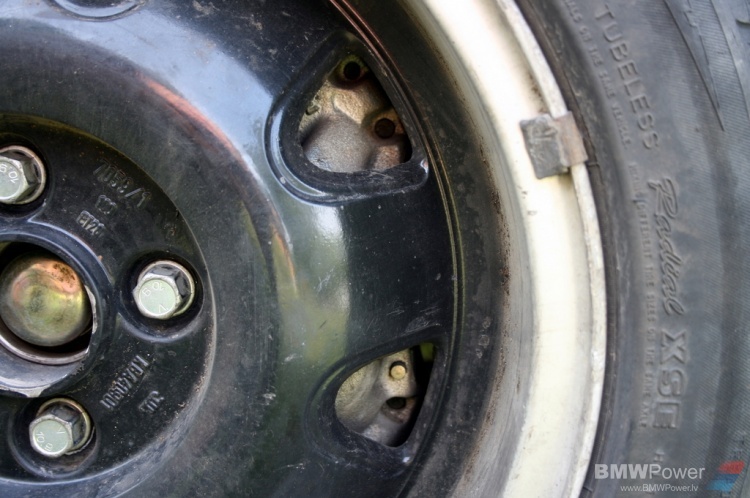
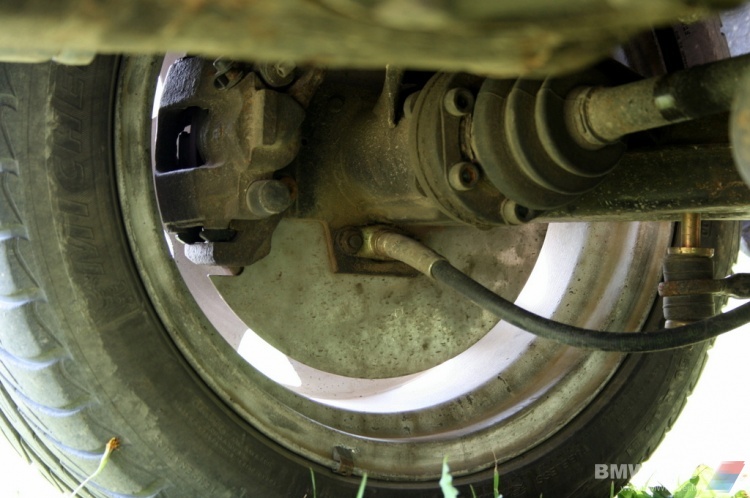
As original brakes are not perfect and rear brakes were antic drums I did some upgrade all around. As most of you know that to make front brakes better easy way is to choose calipers from Volvo 240 (Girling). Usualy you simply swap old calipers to new and that’s it. Well I did some better upgrade. I did some deep research and found bigger brake discs that would fit my car without heavy modification. I found that New Mini has right size and offset for my set up. The changes you have to make is to ask someone make a centering bush to center this brake disc to e21 hub. Plus dril a hole for a screw that keeps brake disc from falling off while rim is not on. Only in this case you have to attach caliper from other side of strut. See pictures below. And in the end you have not only 4cyl brakes but also a 276mm disc instead of 255! And as you can see on pictures you still can put on 14 inch steel wheels! Unfortunately you can’t use original offset rims as some 20mm spacer is required to put rims.
Some detailed pictures
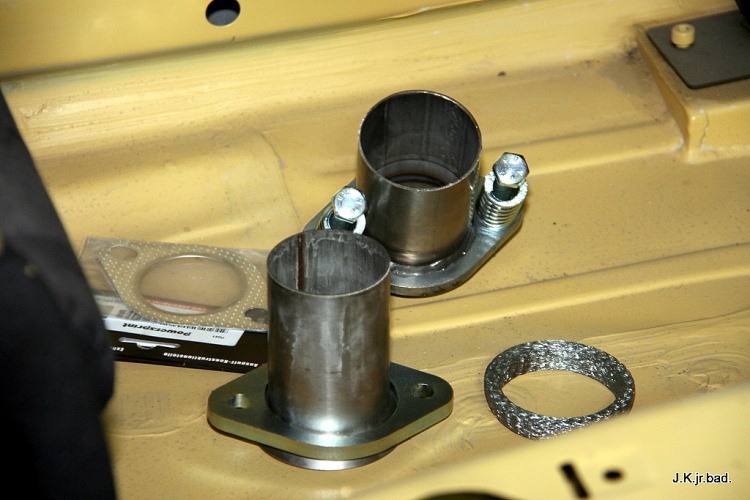
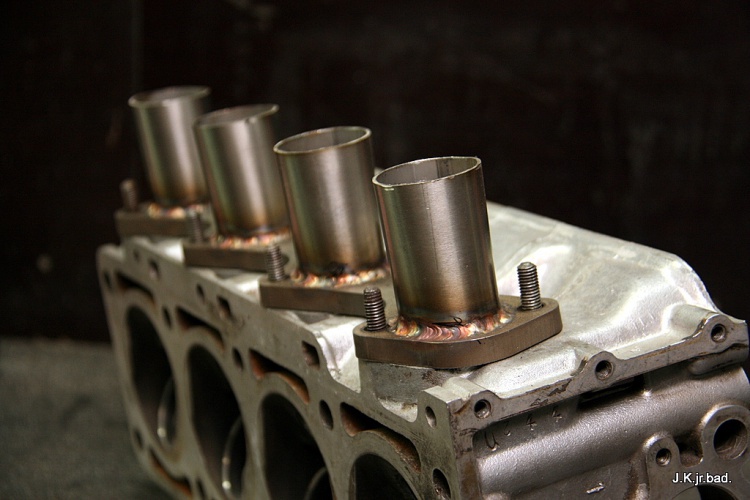
Bunch of tubing

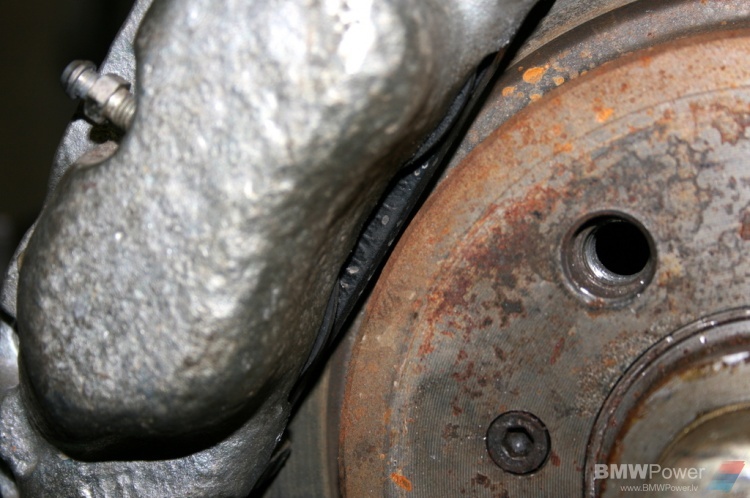
Here you can see that caliper is mounted on other side. The distance between brake disc and dust cover.
In this picture you cans see that now brake pads doesn’t reach the whole surface of brake disc.
Some 5mm of brake pads hangs over. Using original e21 discs this overhang will be on other side.
But there is one tricky part. To screw these calipers to struts you either have to split in two calipers or using lots of patients, millimeter by millimeter screw them.
All in place!
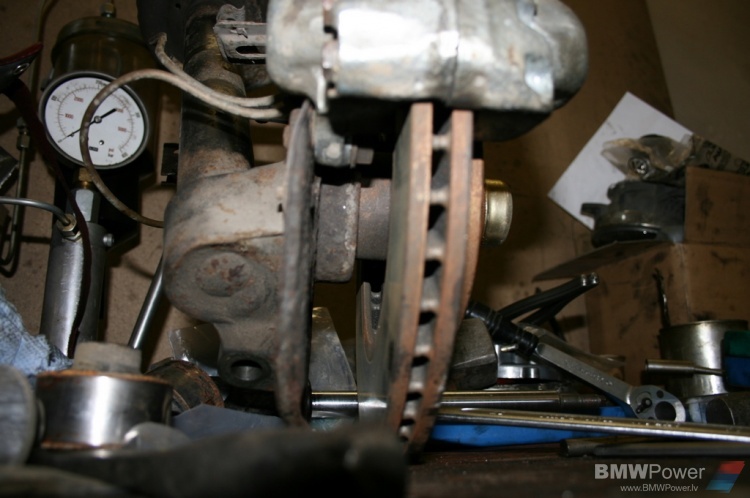
Here you can see clearance between steel R14” rims. Some 3-5mm only, but no problems.
And this is how it looks on alloy rims. But there is one another problem. No t all alloy rims will fit. As they have to be by design like ATS Cup with a place where caliper would fit in. Some hump.
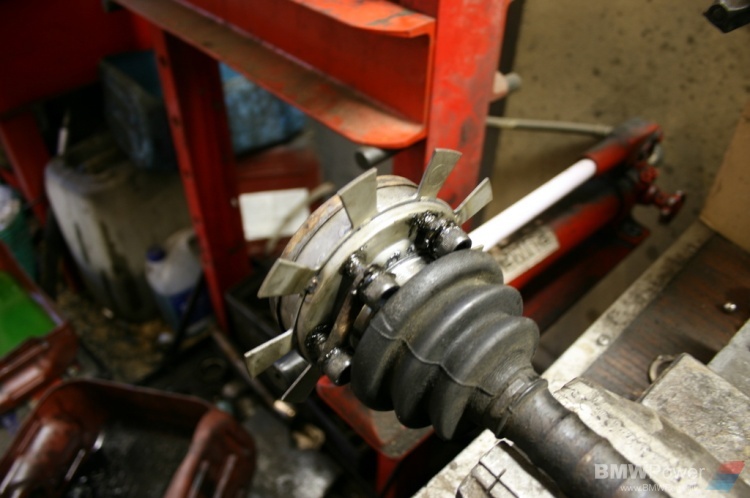
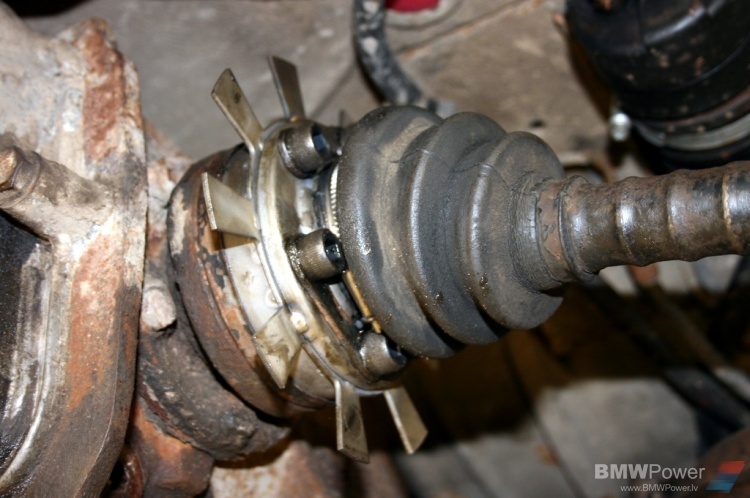
Rear is kind of easy if you have rear suspension (trailing arms) from 323. I had couple but Also you have to have them complete with all hubs and drive shafts. Otherwise you will have to do some magic like I did. Problem is that bearings are different between weak and powerful models. As I didn’t have inner parts of 323 trailing arms I had to search for new bearings that would fit weak version hubs. One I found without problems, but other one was found from some Honda motocycle gearbox!
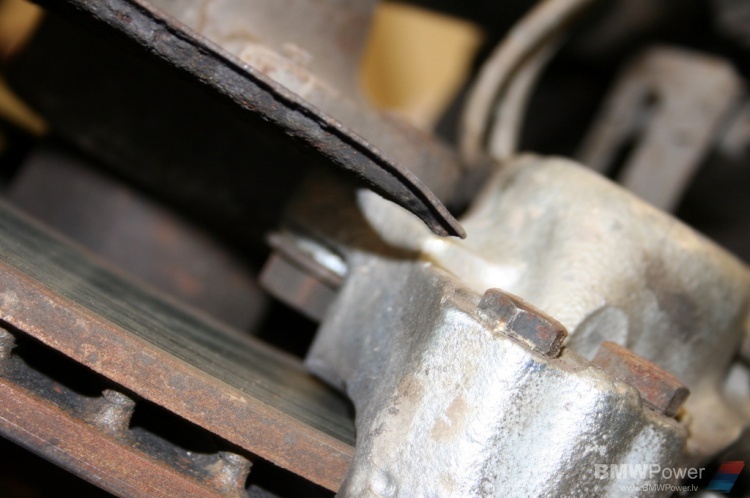
As original rear pads couldn’t be found in some sporty compound I did “upgrade” to e30 calipers, which fit directly. Also rear brake discs are the same as e30. So that is the story about rear brakes. As you see in pictures new dust covers from stainless steel were made as well.
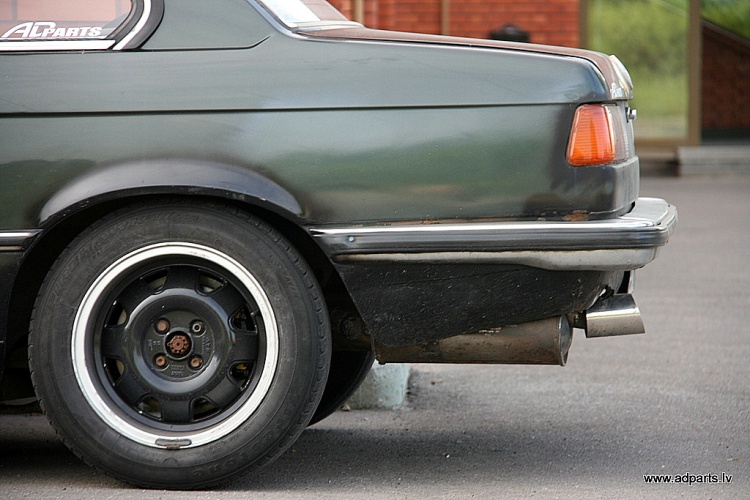
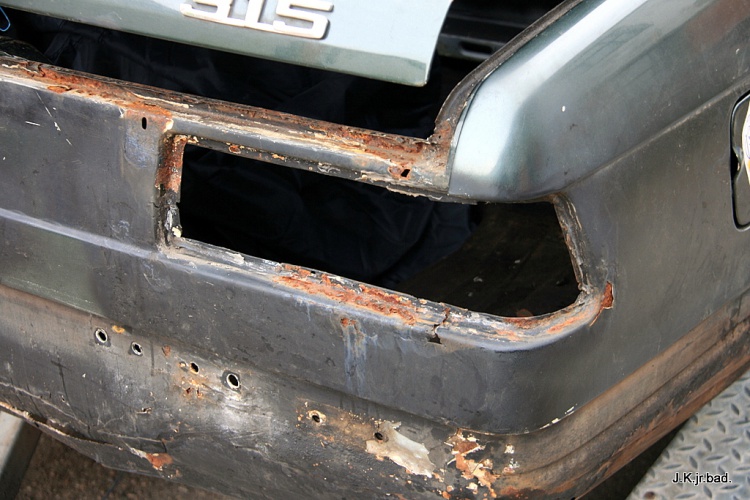
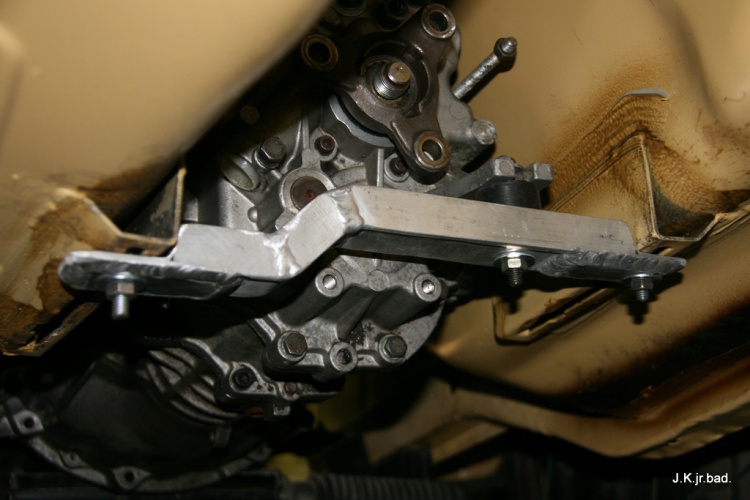
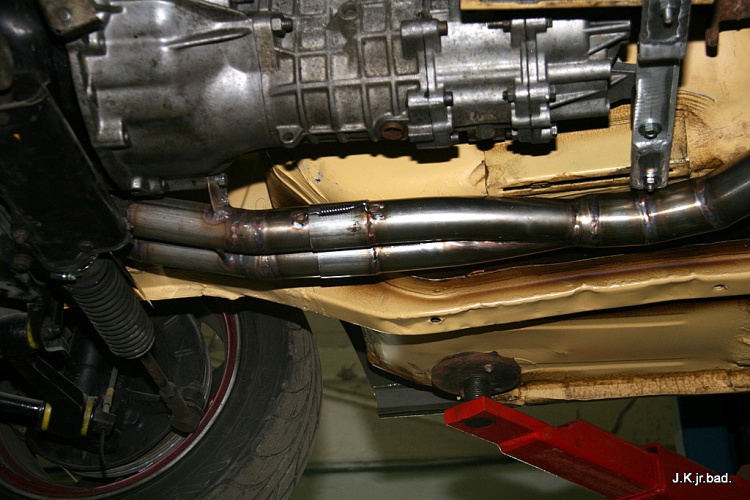
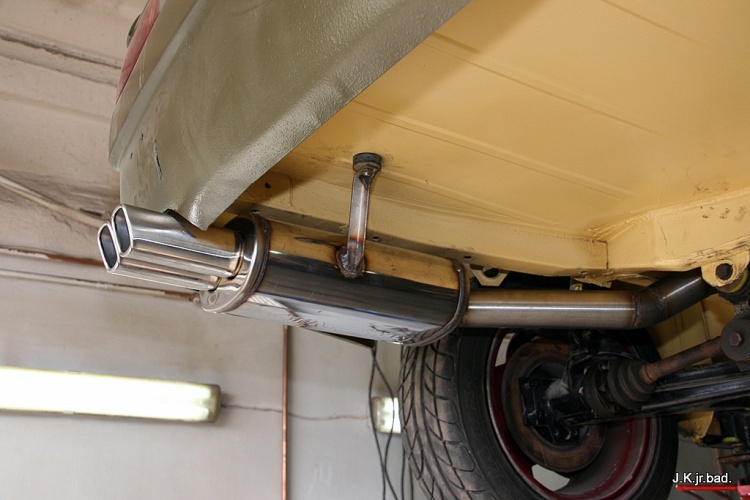
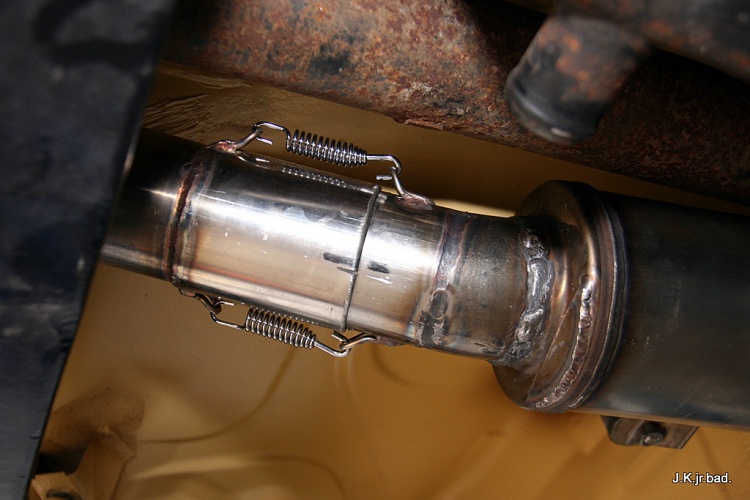
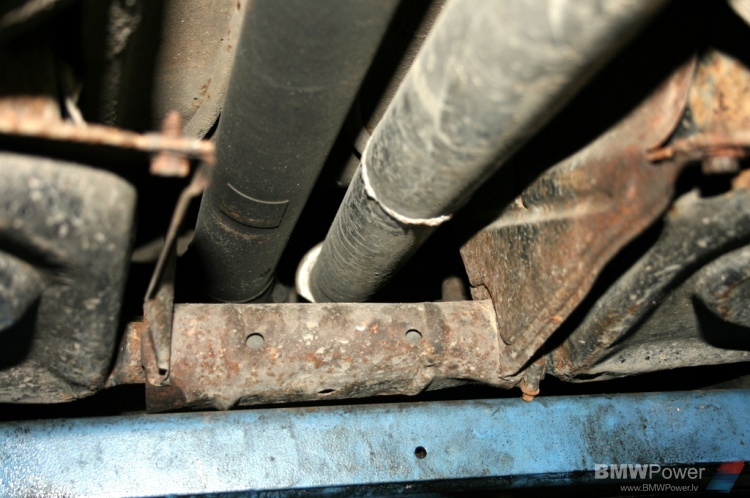
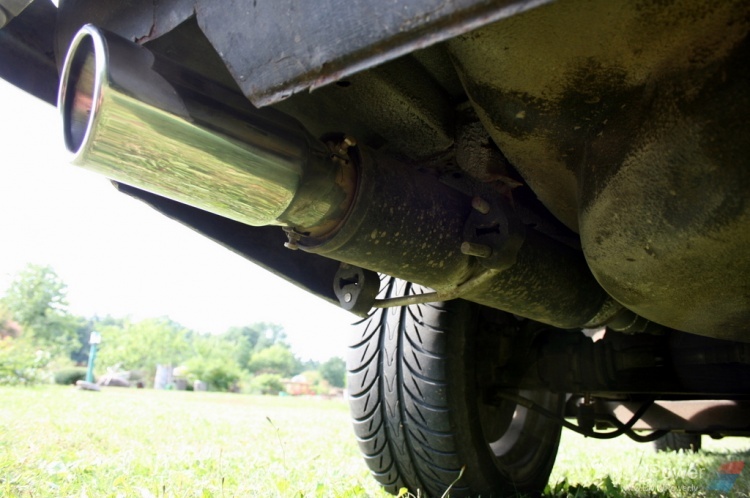
Exhaust
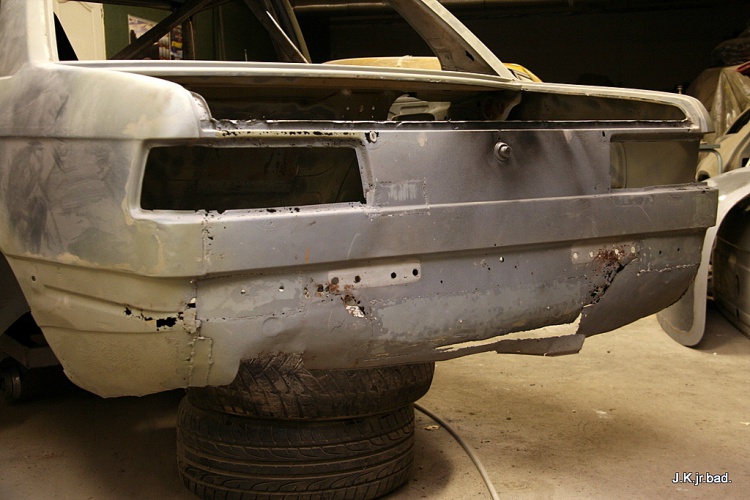
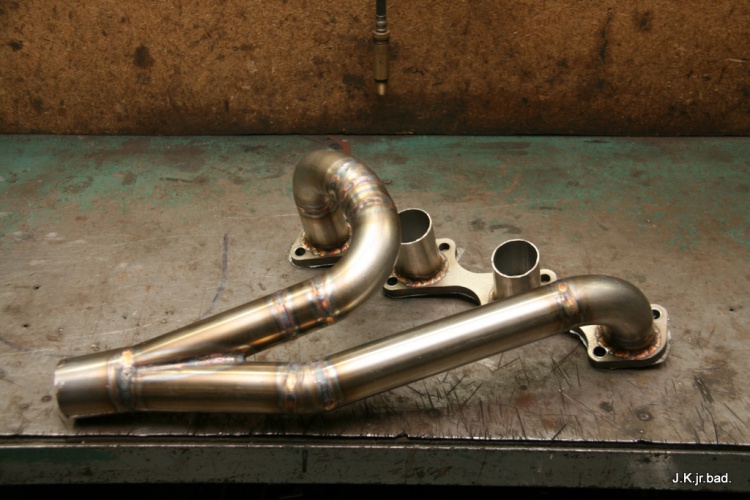
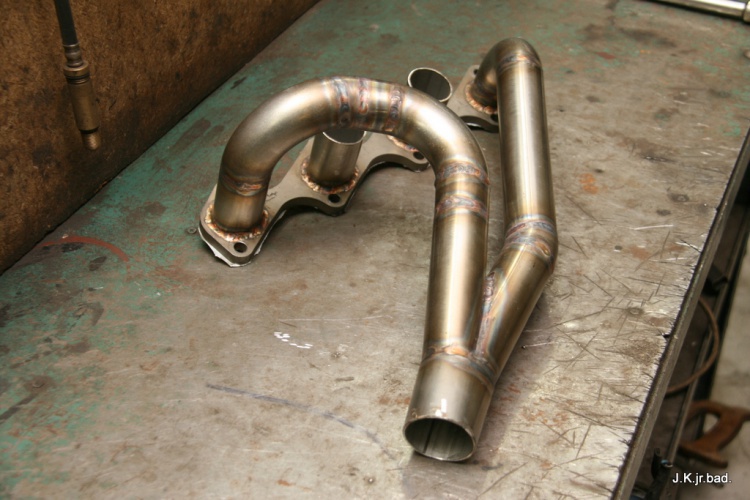
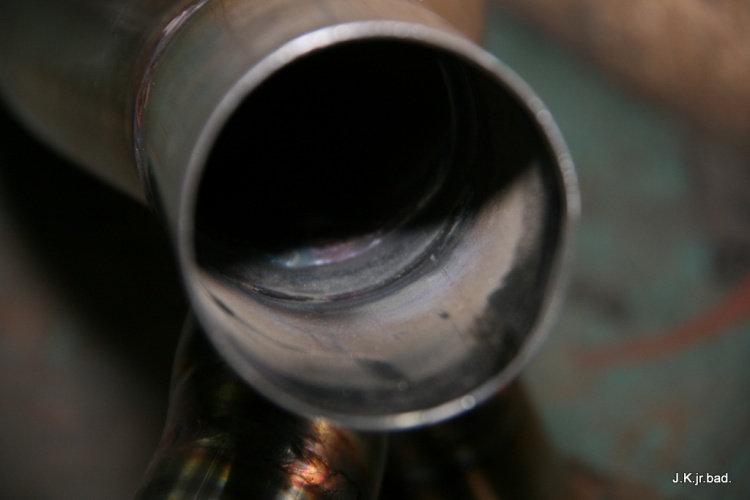
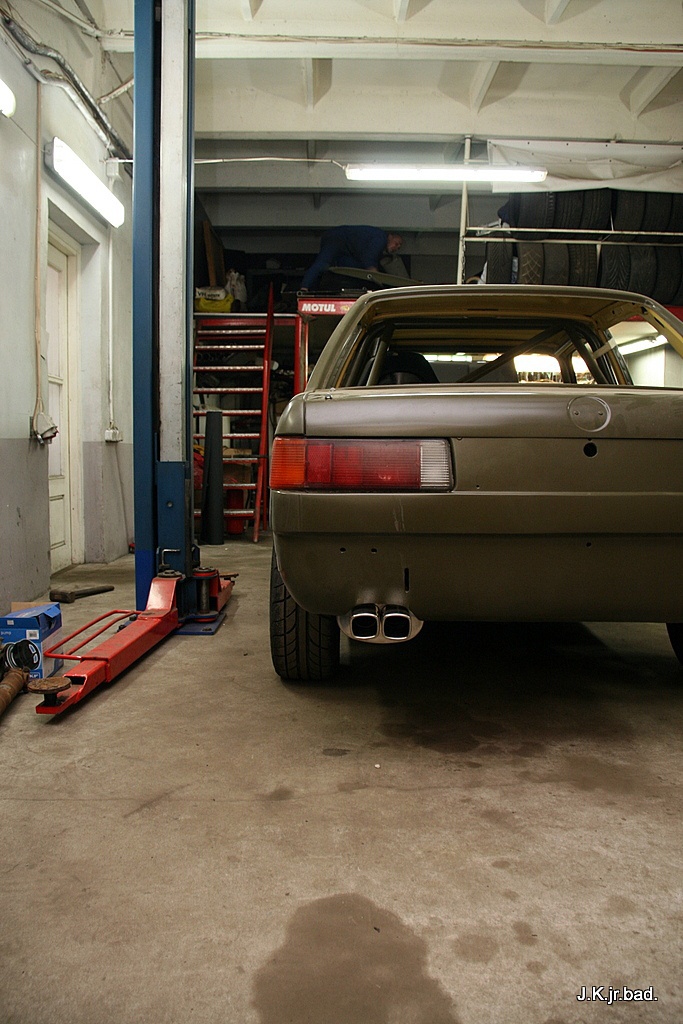
New is new. No need to mess up with old exhaust if you can make a new one.
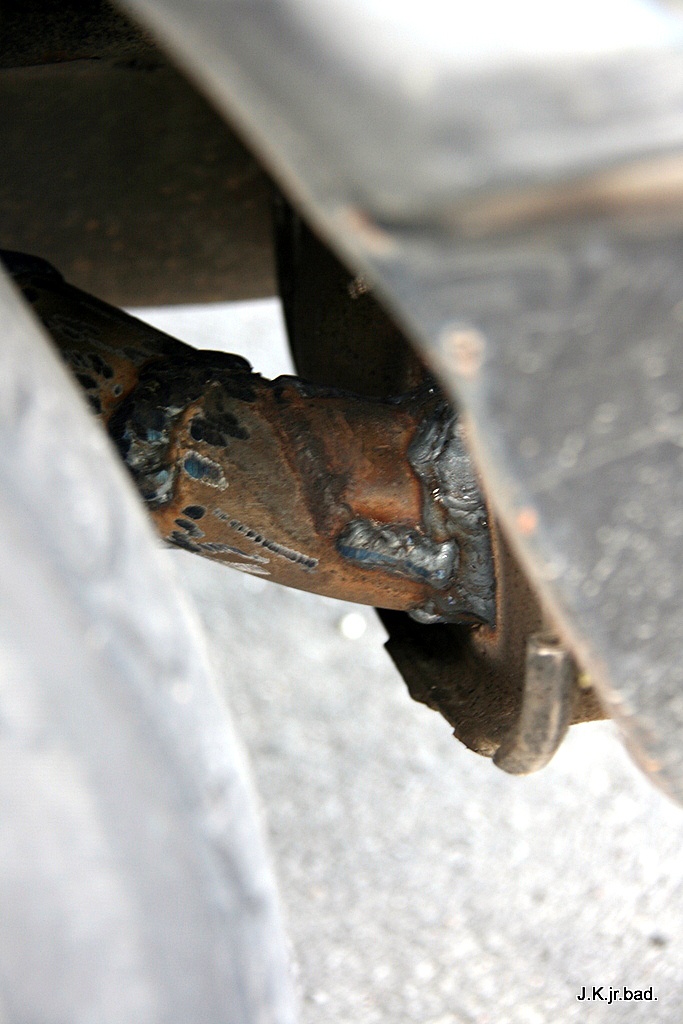
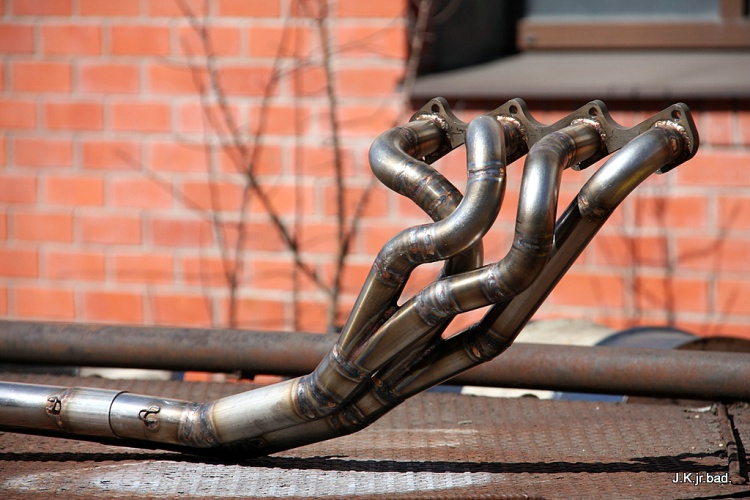
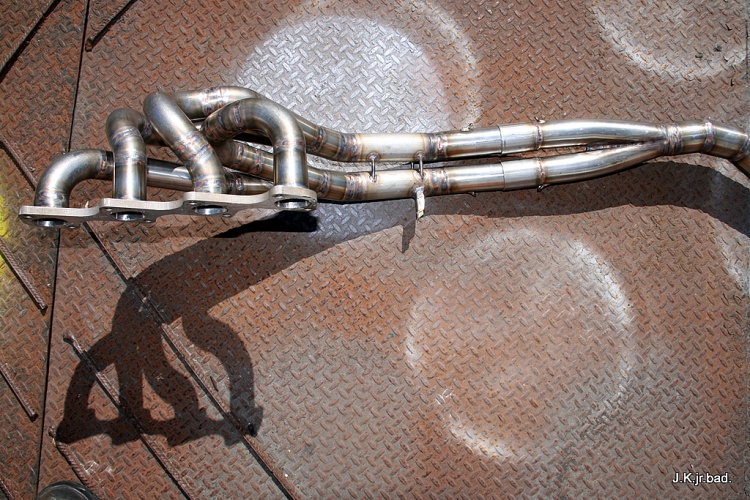
I found some m10 sporty 4-1 headers. Put them built exhaust, but this was no good as this header turned out to be from some other m10 car and on e21 is sits some 5cm too low. And all you get is hitting everything on your way. Modification of it was not possible so I changed to original cast headers.
Here you can see how headers are hanged away from cars body. Too low!
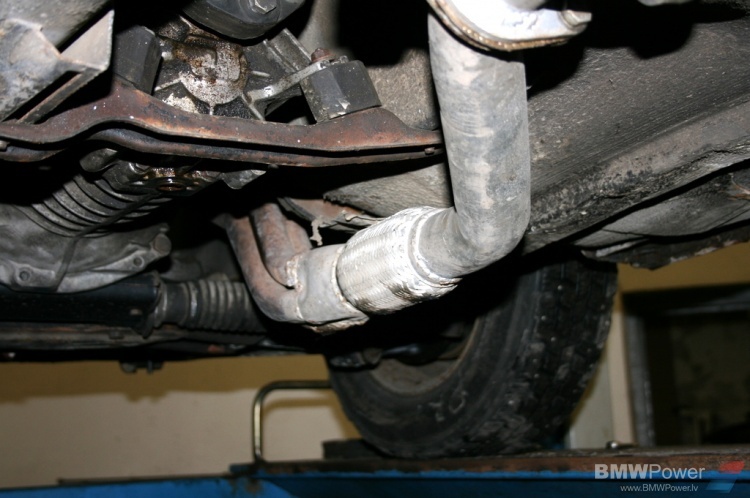
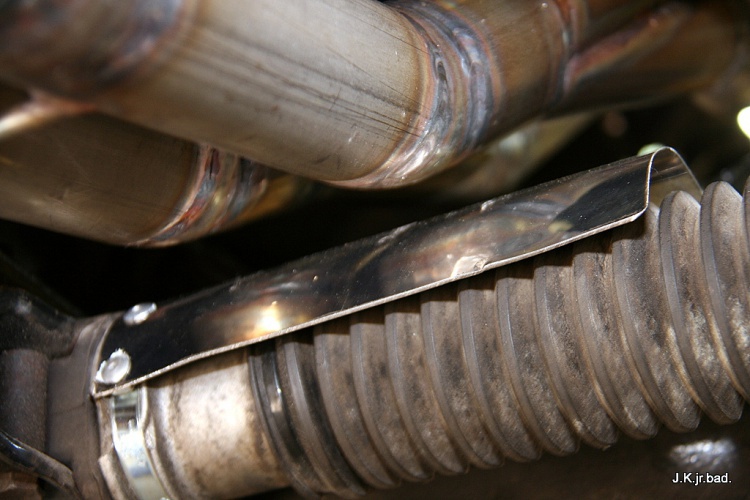
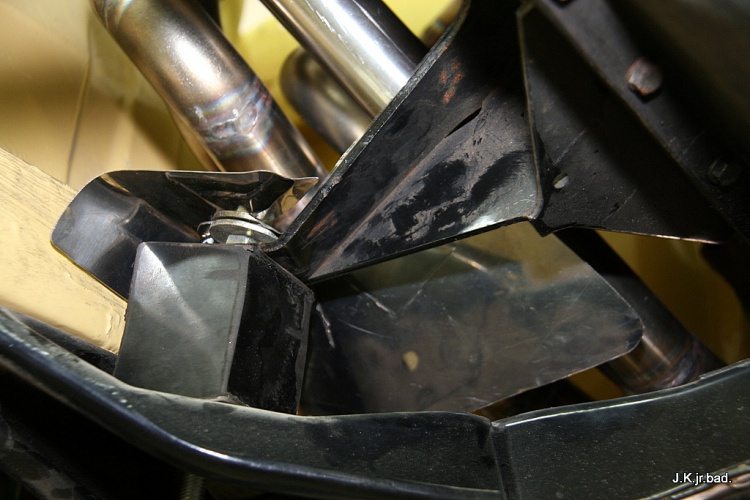
All exhaust consisted from 4 parts so it could be easily removed. And it was a very good decision as it were removed many time to do something.
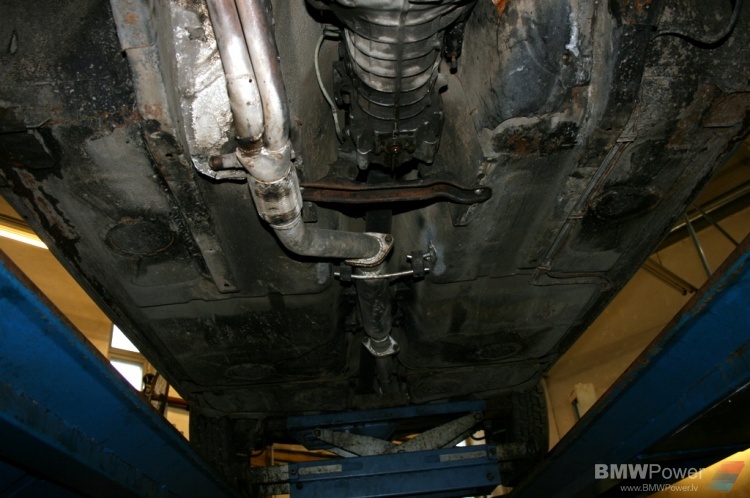
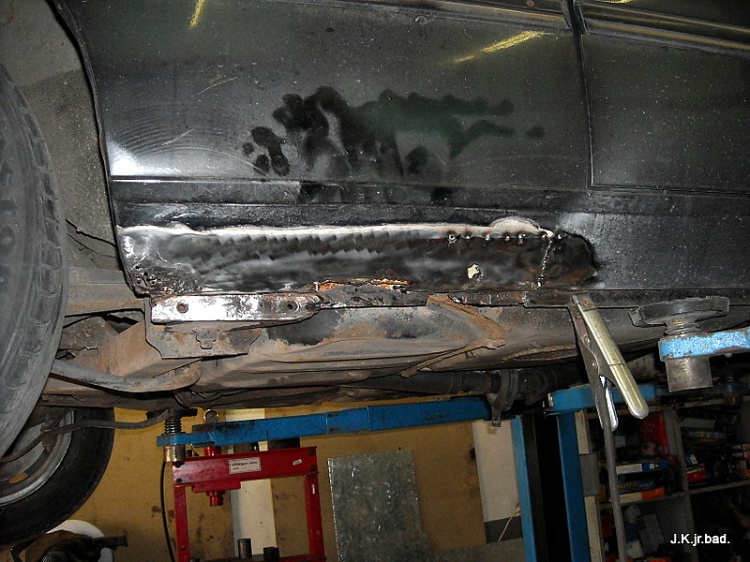
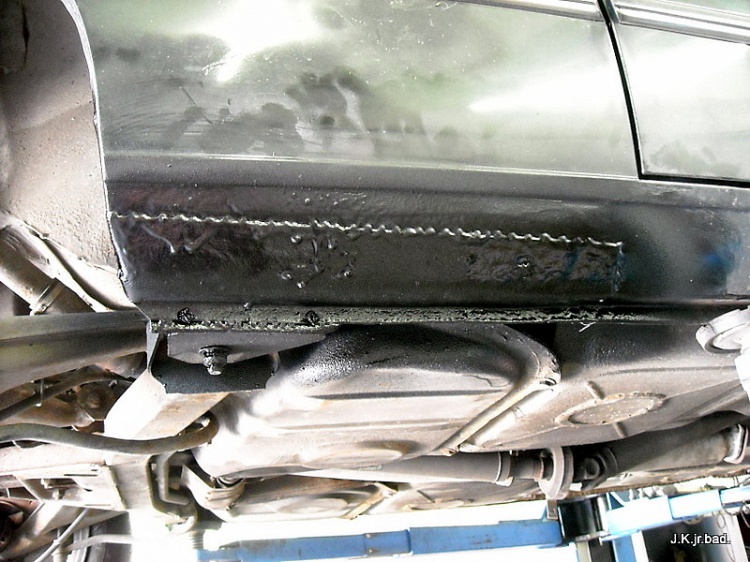
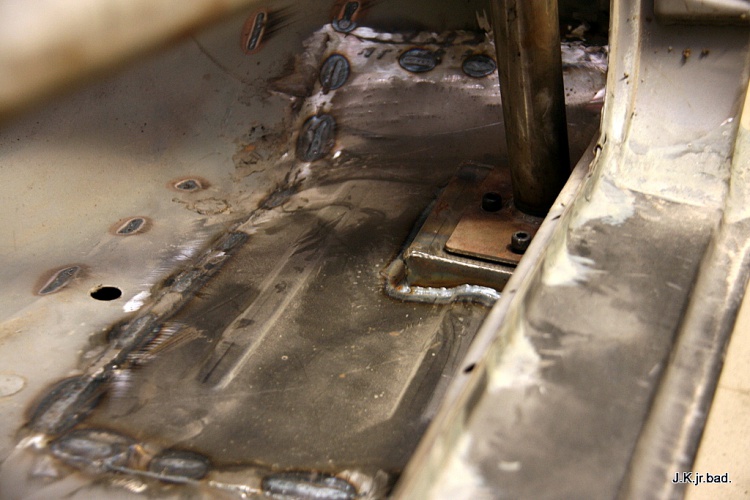
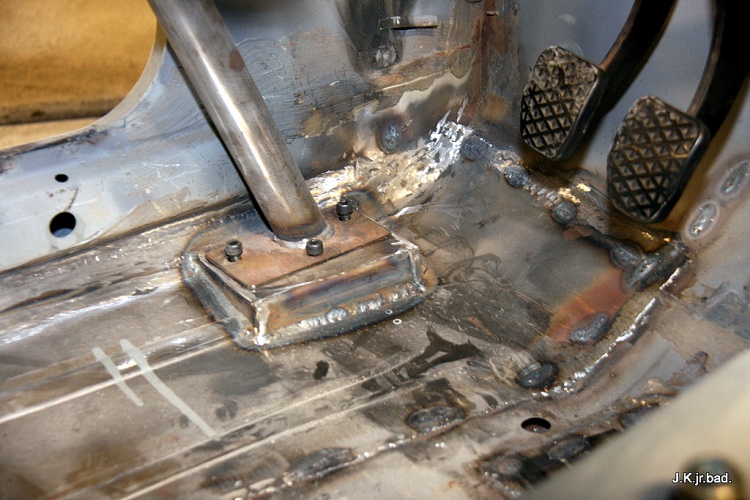
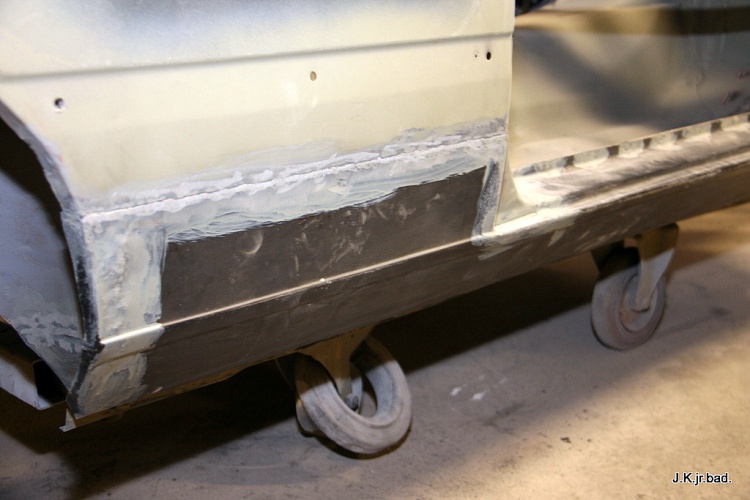
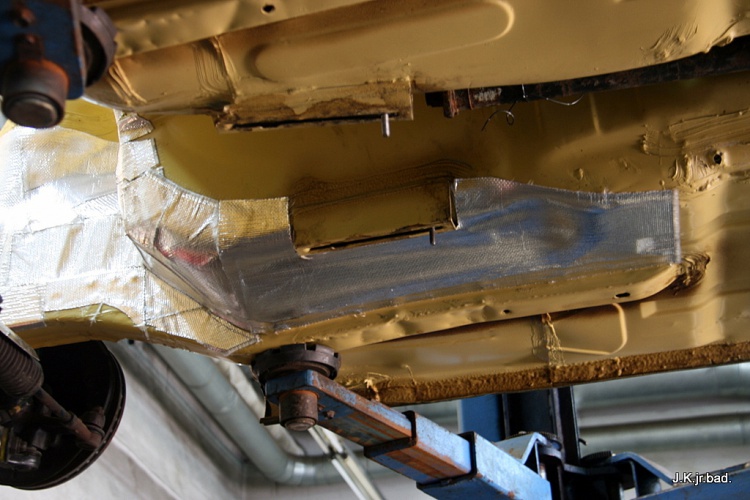
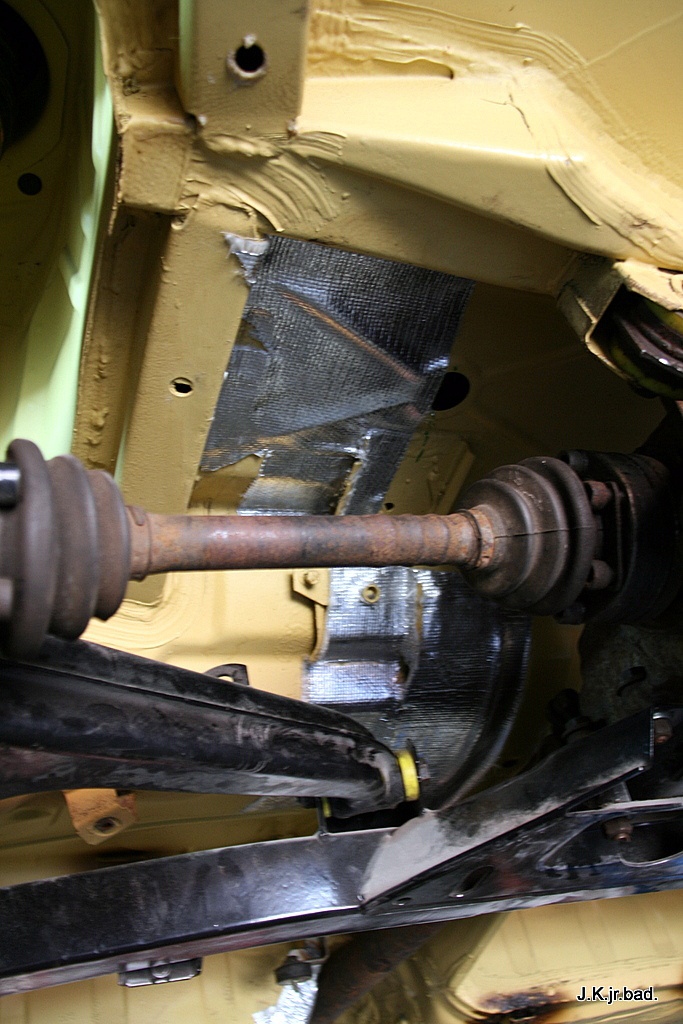
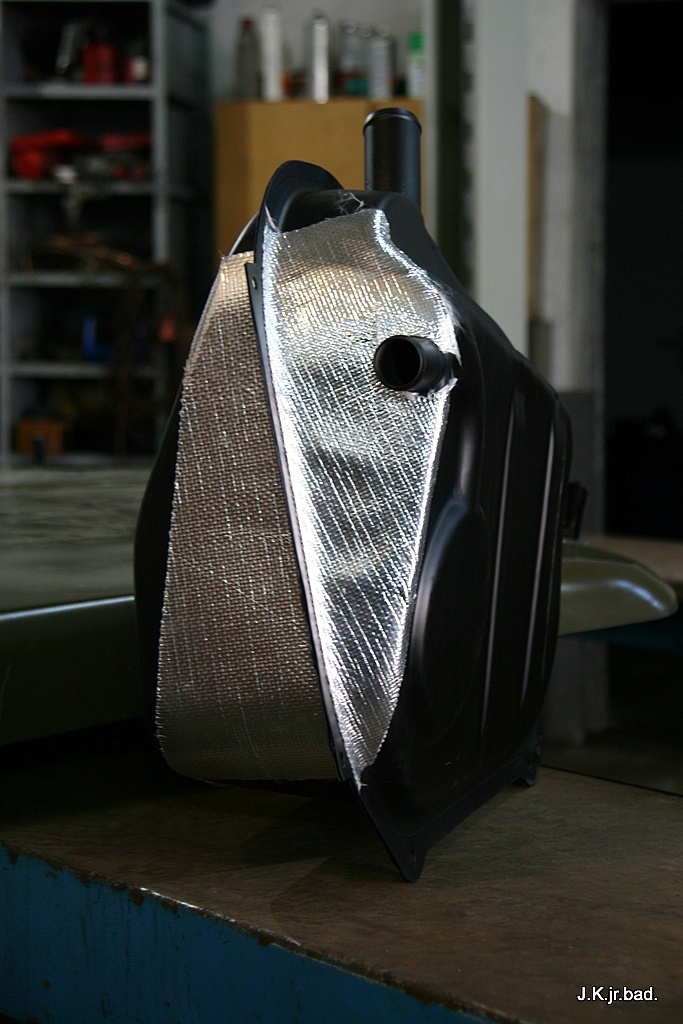
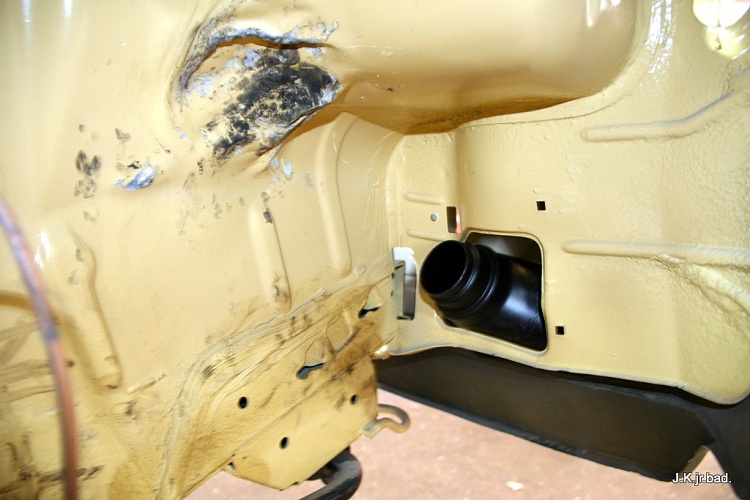
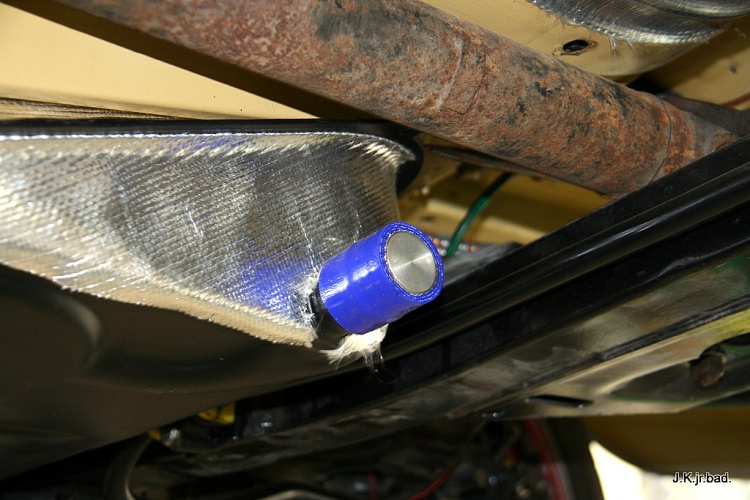
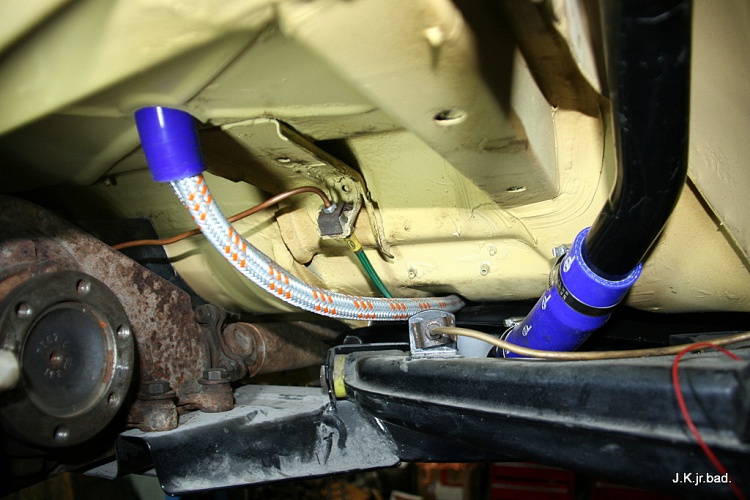
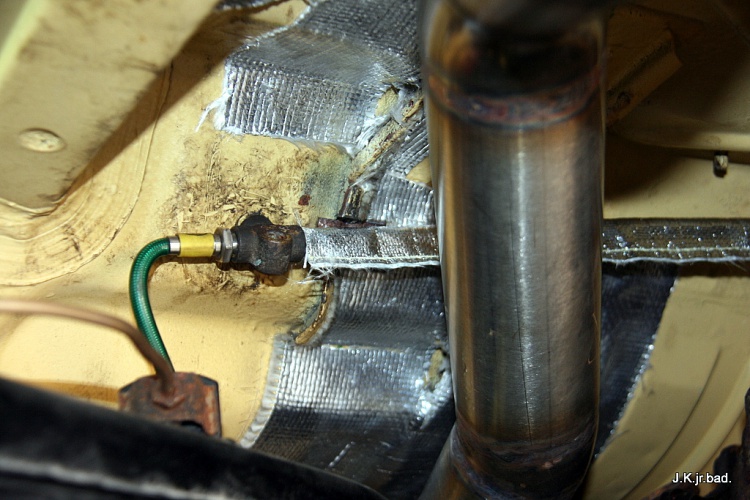
As car was lowered all exhaust was built as above all car parts: gas tank, rear subframe, driveshafts.
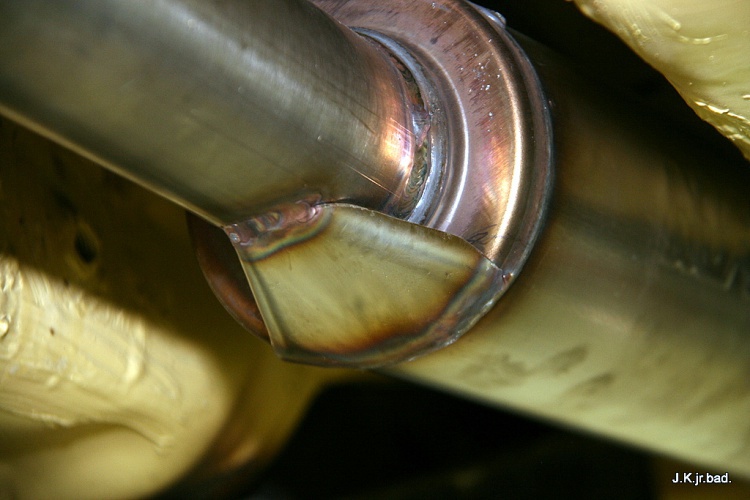
Simoni resonators. Turned out crap. After couple years they were dead alright.
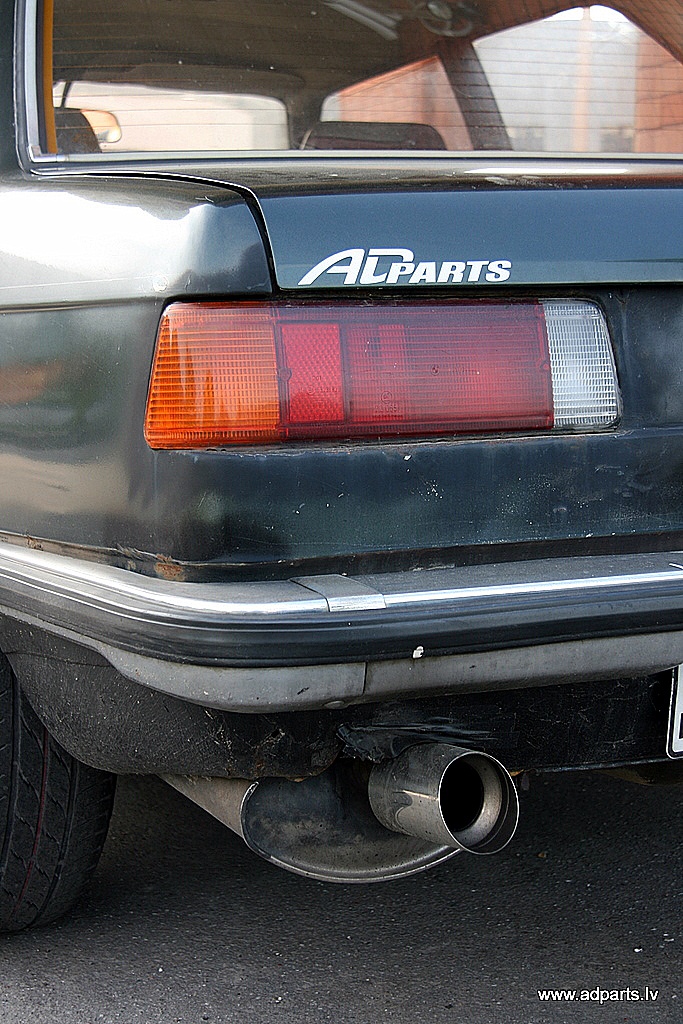
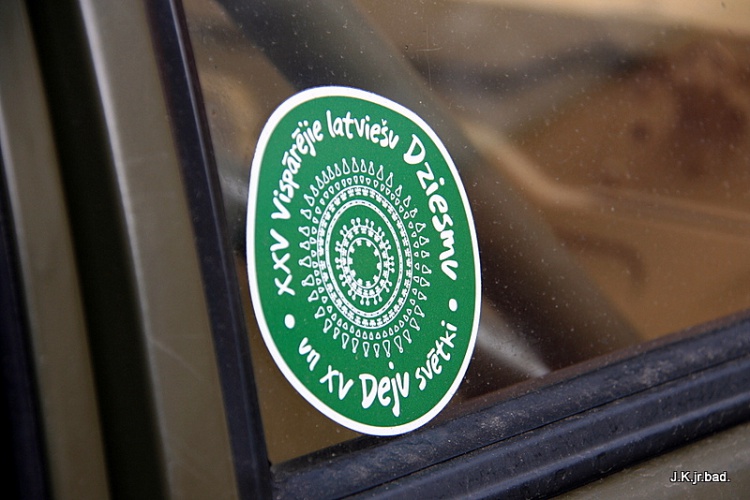
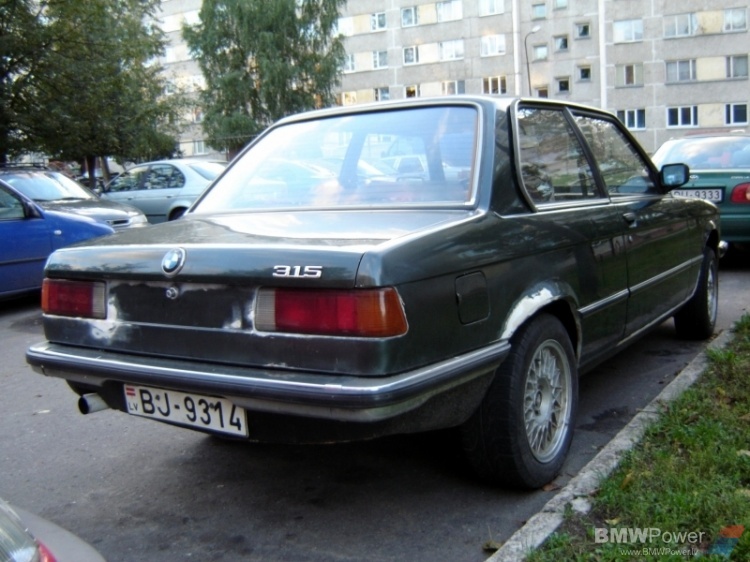
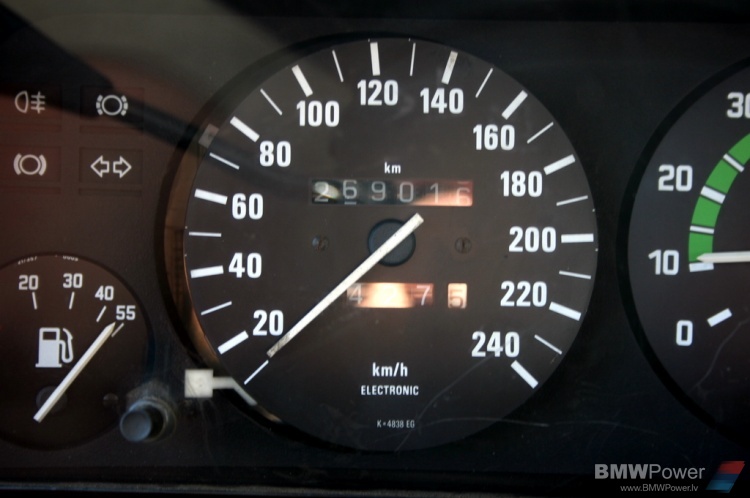
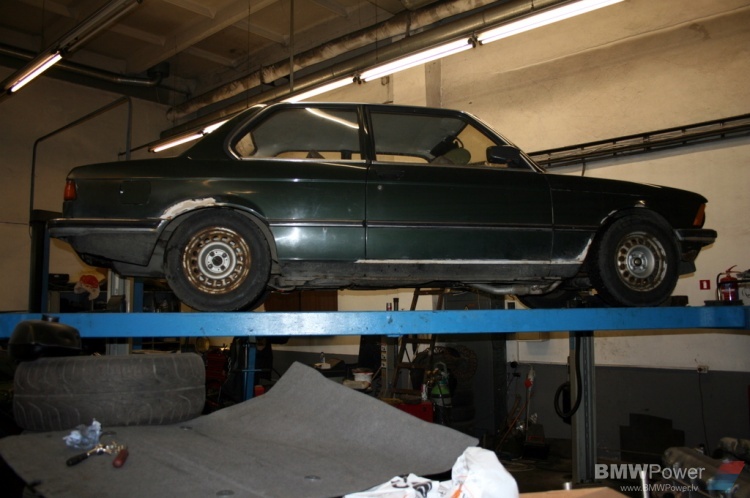
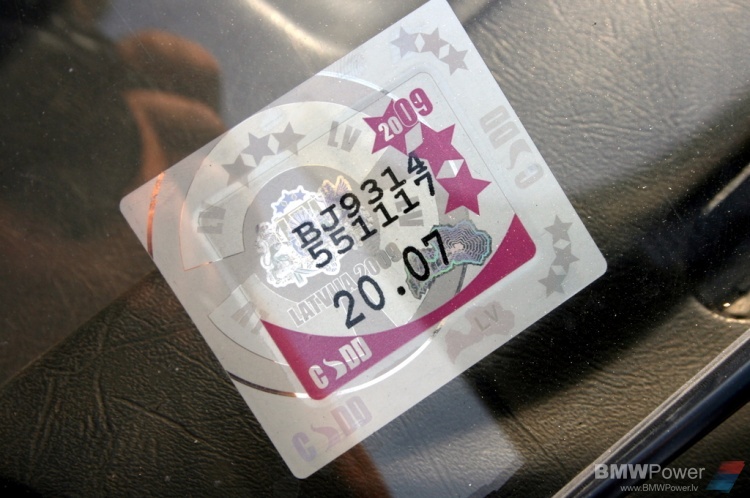
So after some time of work car got road leagal. This is how Latvian MOT sticker looks like. Indicates date before which you should get new MOT passed.
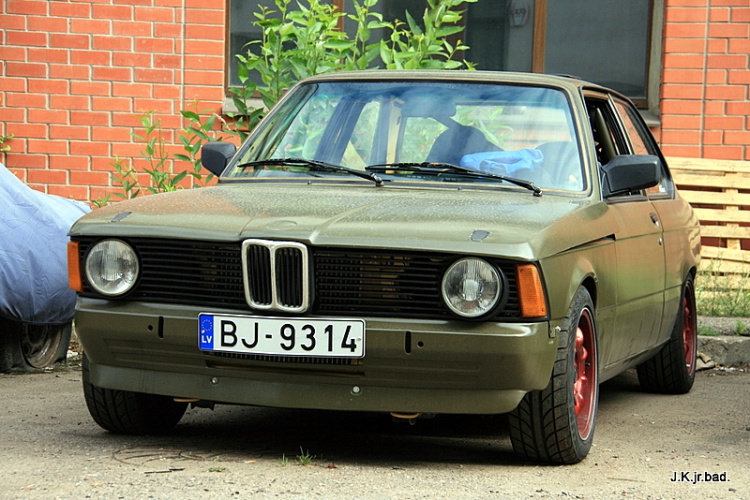
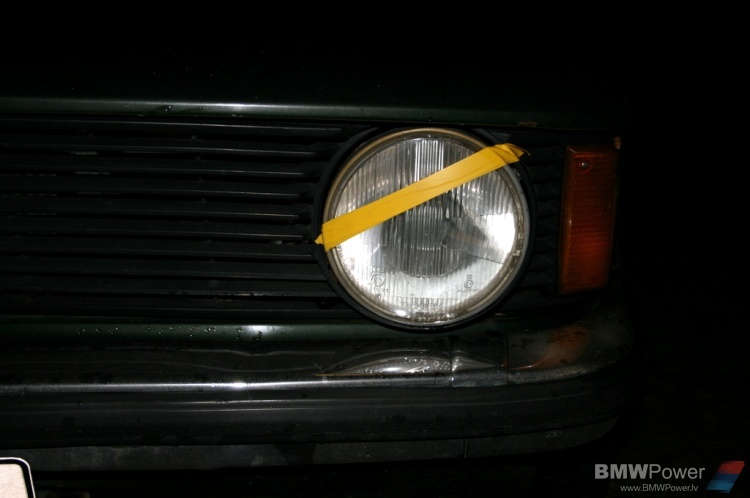
Don’t know how but one headlight got broken. So I mended it with some tape I found.
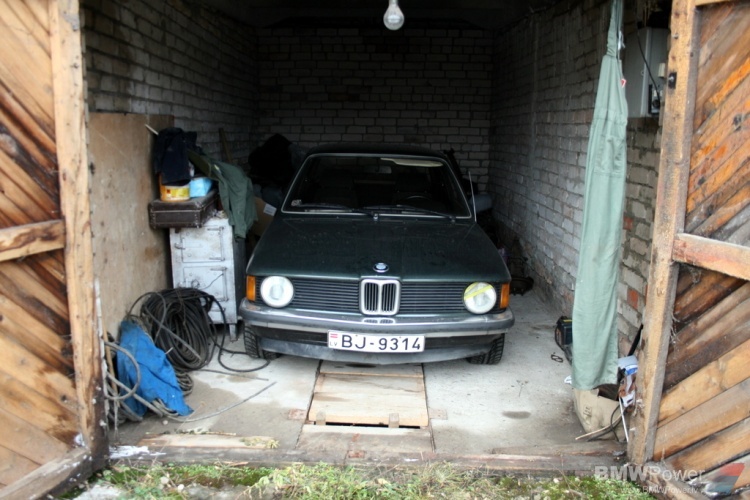
As this was supposed to be summer car I put it to sleep at the end of 2008. But sleep was not long as my winter car VW Passat Syncro (1986) gave up too early.
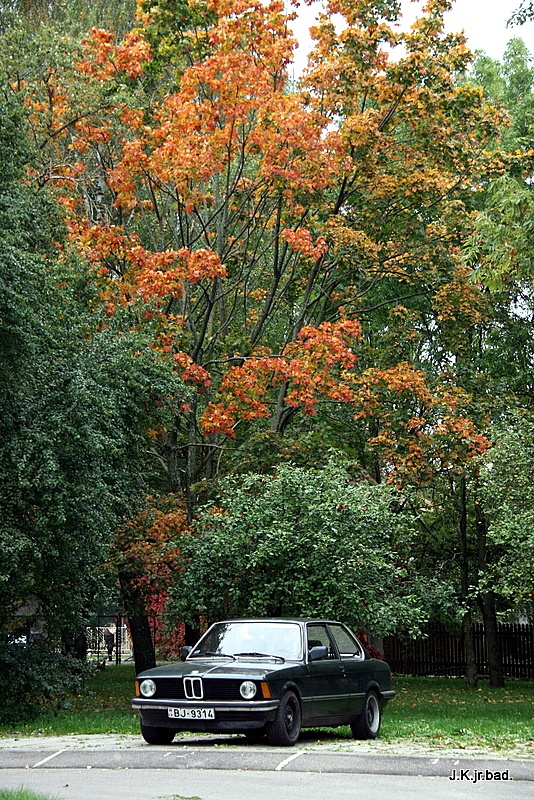
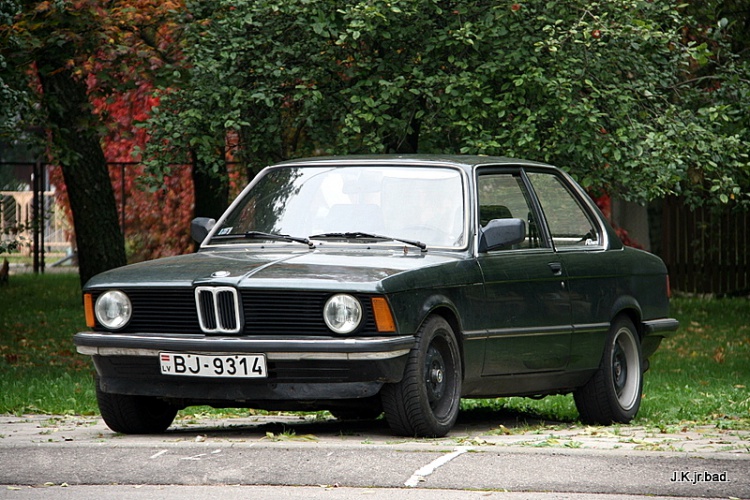
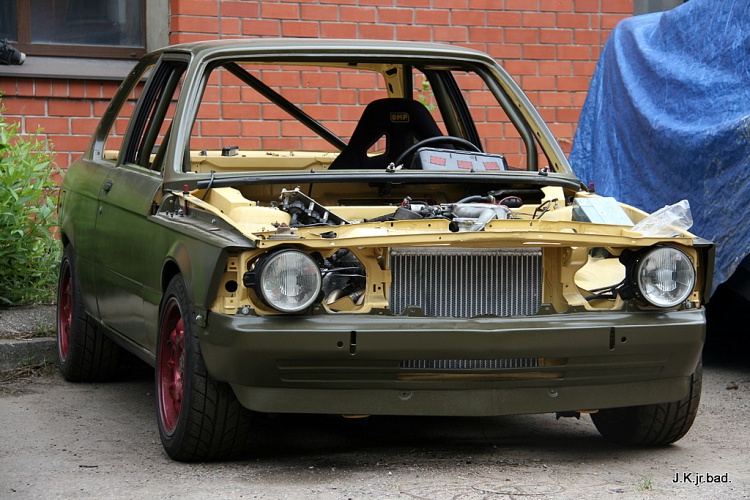
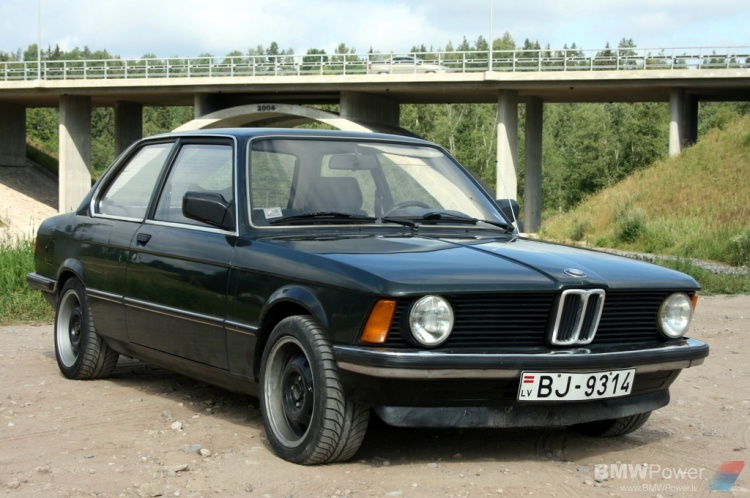
Some picture from 2010. From BMW festival. Foha front spoiler installed!